

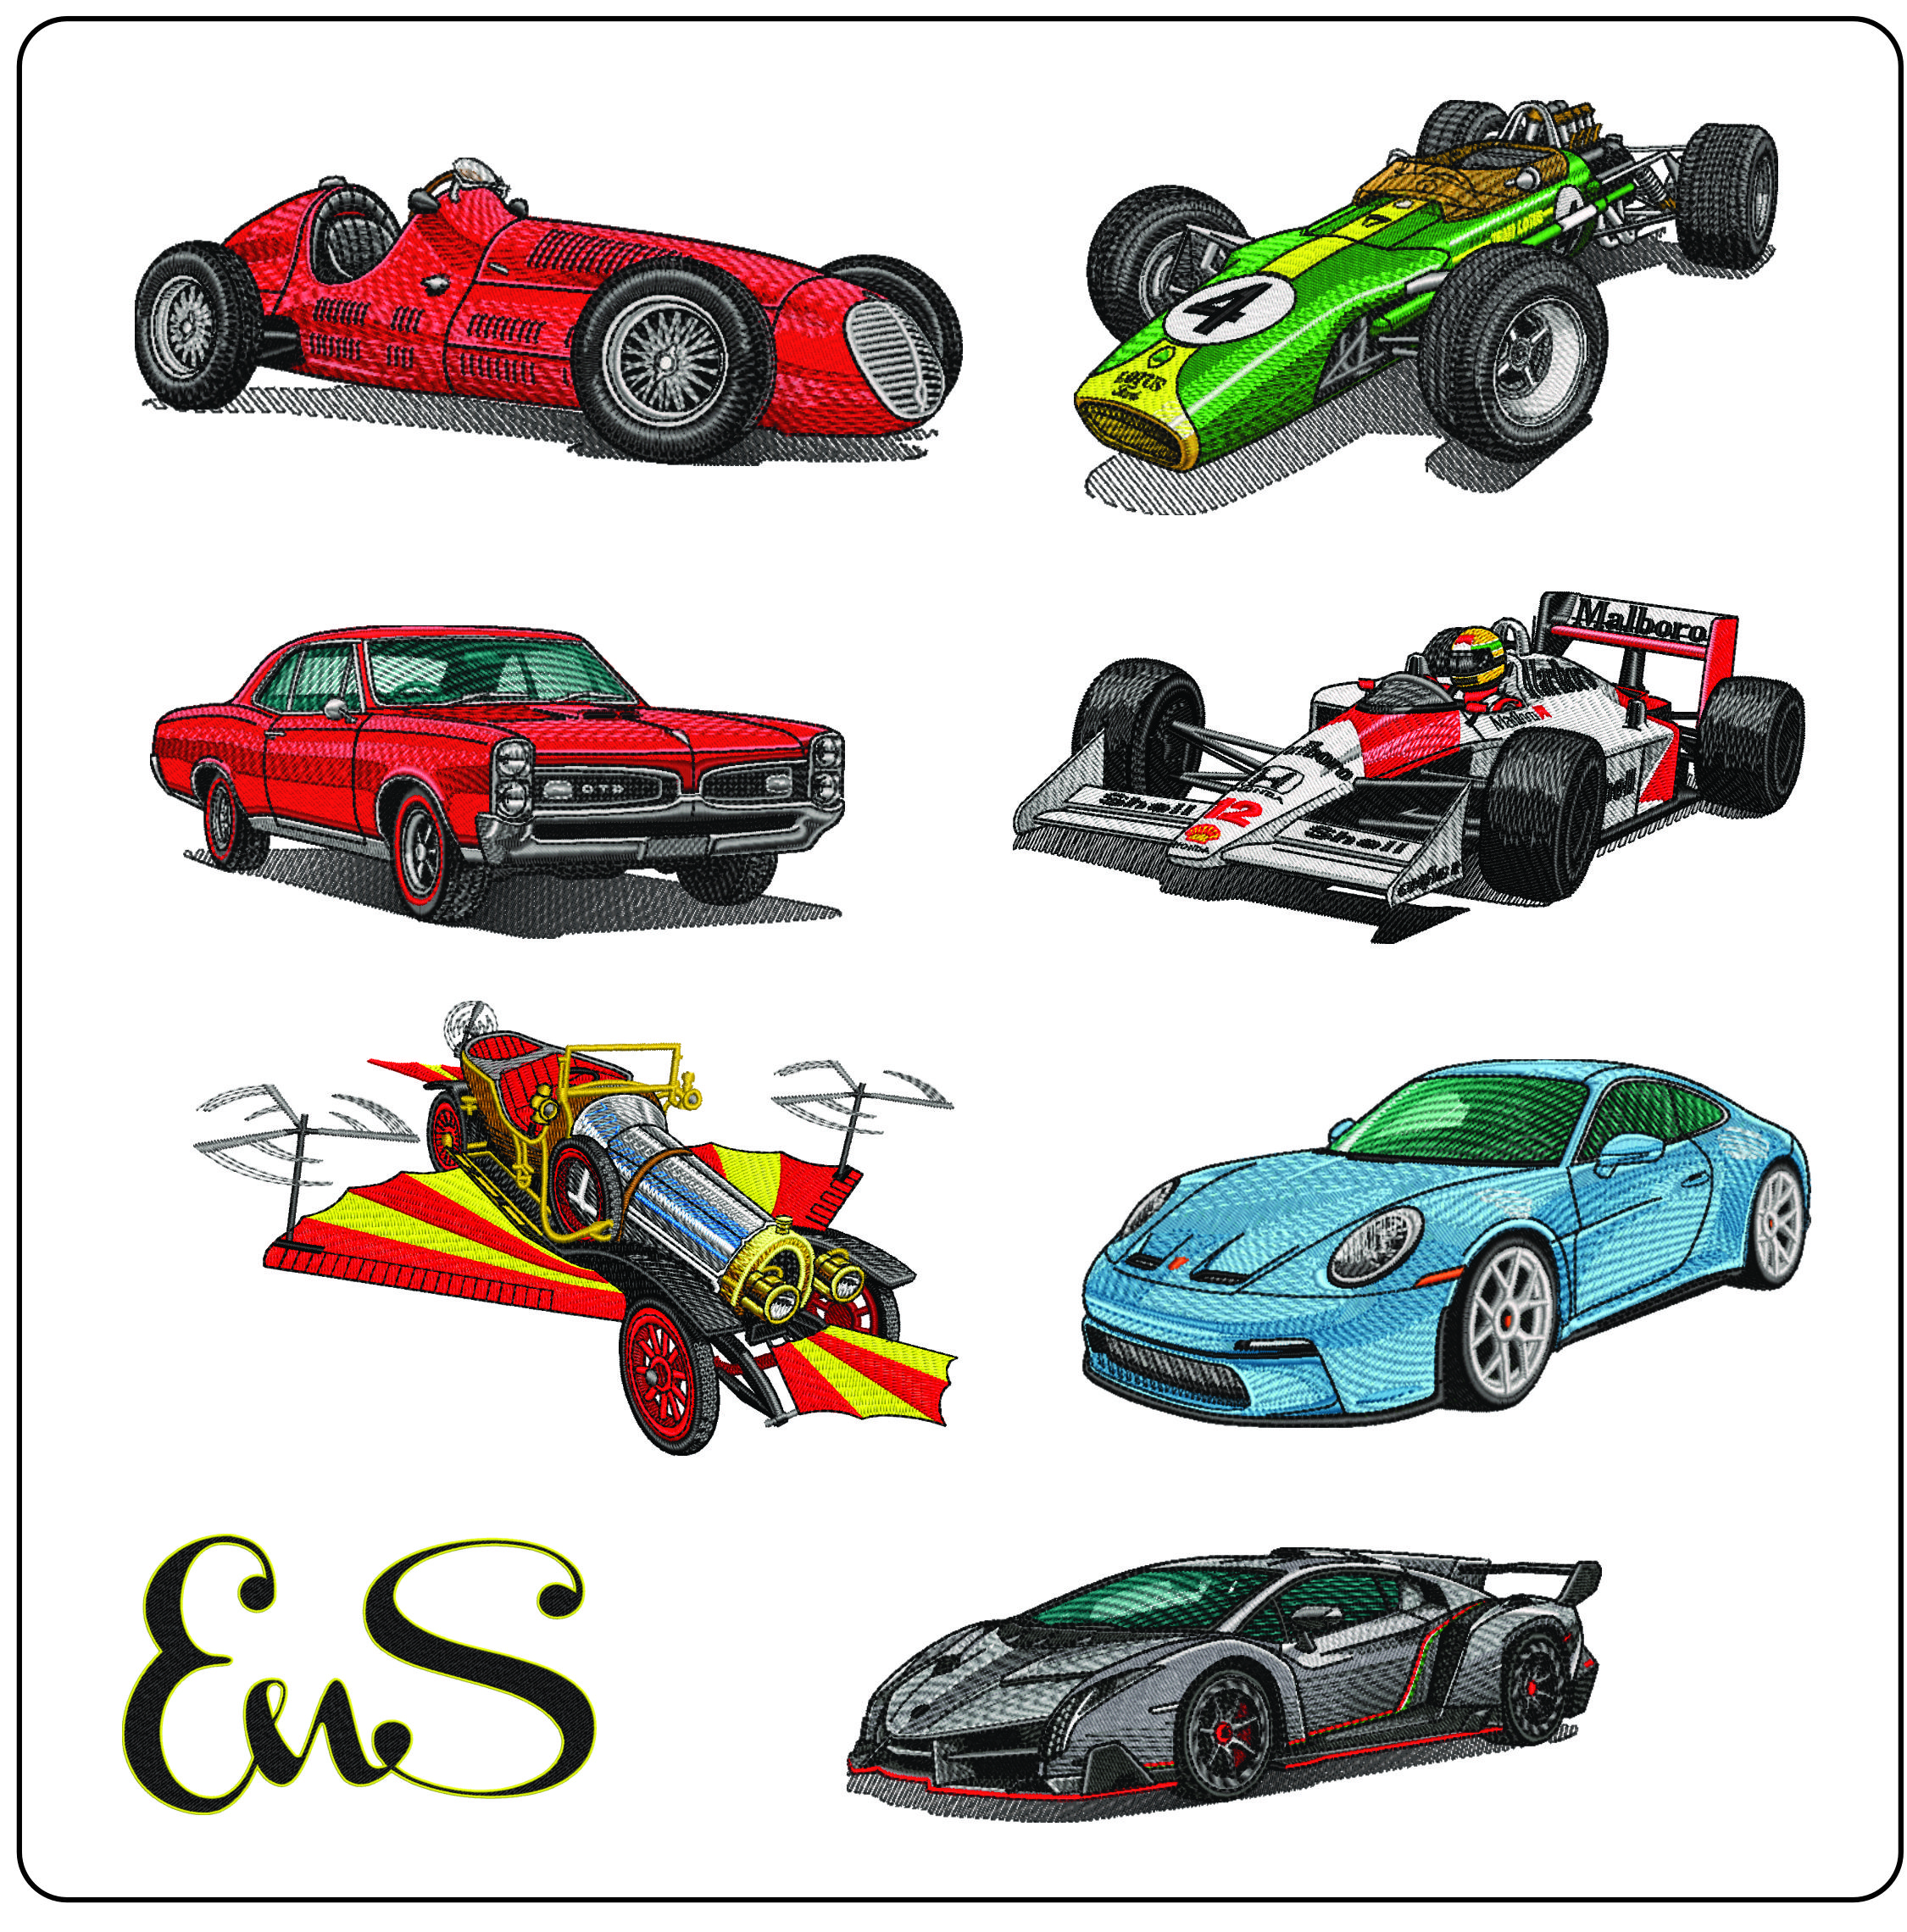
Car Embroidery Designs: how to stitch crisp, detailed cars that actually sew well
Car embroidery designs look simple at first glance, but they are one of the easiest motifs to get wrong. A vehicle has long straight lines, tight curves, small details around lights and wheels, and a silhouette people recognise instantly. If the proportions drift, the bonnet gets bulky, or the stitching turns heavy, the finished result can look soft instead of sharp.
That is why good car embroidery starts long before the machine runs. The best place to get a detailed car design is a marketplace or embroidery shop that understands digitising for stitch, not just drawing for screen. A beautiful illustration is not automatically a good embroidery file. The right file simplifies detail so the machine can reproduce the shape cleanly on fabric.
What makes a good car embroidery design?
A strong car design file balances recognisable detail with stitch reality. In practice, that means:
- A clear silhouette so the car is identifiable from a distance
- Controlled stitch density to avoid a stiff, raised block of thread
- Thoughtful underlay to support satin edges and fills without bulk
- Smart sequencing so trims, jumps and registration problems are reduced
- Details sized for thread, not for a digital mock-up
For example, tiny grill lines, badges, and wheel spokes often need to be reduced, merged, or suggested with negative space. On screen, a designer can add dozens of marks. On fabric, too many micro-elements make the piece noisy and unstable.
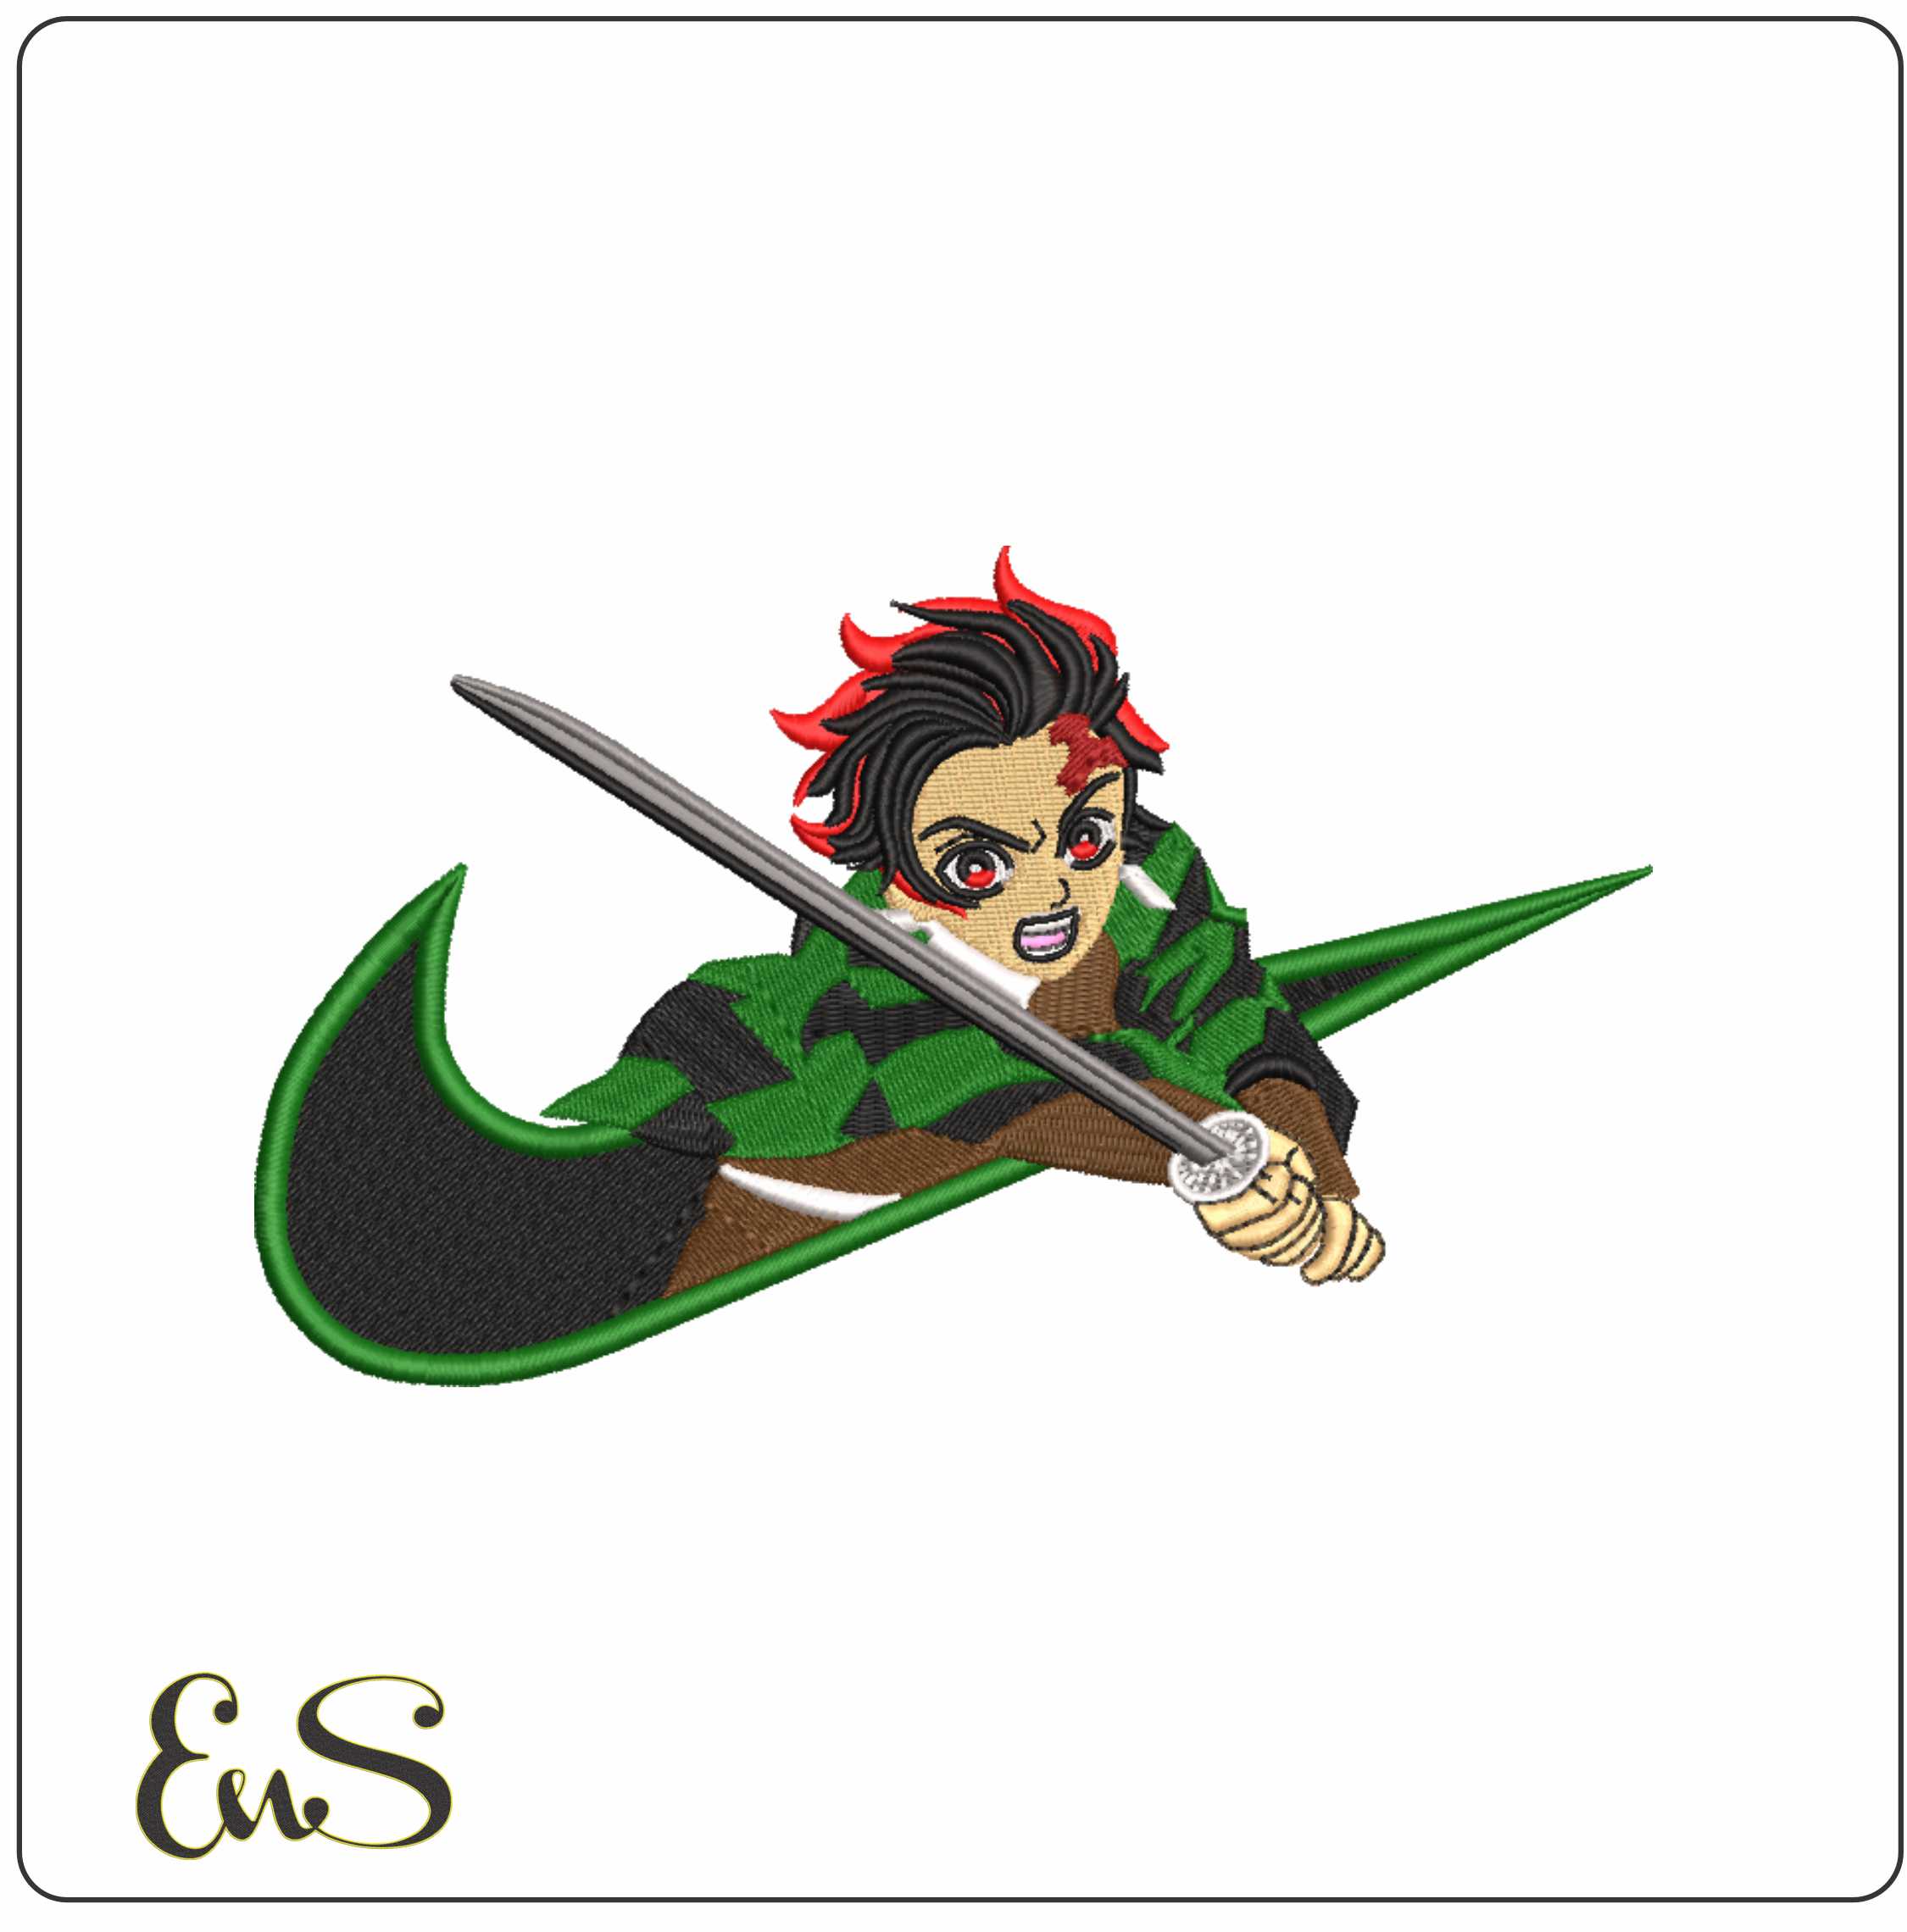
If you want to judge whether a marketplace handles intricate embroidery well, look at non-car files with fine linework and layered structure. Designs such as the Nike Swoosh Spider Man Teenager webshot embroidery file or the Nike Swoosh Tanjiro Sword anime embroidery design show the kind of controlled detail and shape simplification that also matters when digitising a car.
Why embroidery is a great medium for car designs
Cars suit embroidery particularly well when the design is built for thread. Satin borders can define bodywork, fills can create contrast between windows and paintwork, and short directional stitches can suggest motion, reflections, or shadow.
Embroidery also works across useful products:
- jackets and mechanics' shirts
- club polos
- caps
- garage signage textiles
- commemorative patches
- tote bags for events or rallies
The appeal is durability. A printed car graphic can crack or fade. A properly stitched vehicle keeps its edge over repeated wear and washing.
How you make a detailed car design for embroidery
The process is part drawing, part engineering. Here is the workflow that gives the best result.
1. Start with the right reference image
Use a clean side view, front view, or three-quarter photo with strong contrast. Avoid dramatic perspective unless you are experienced, because perspective makes wheel alignment and panel lines harder to digitise.
Look for:
- a high-resolution image
- uncluttered background
- clear separation between body, windows, tyres, and lights
- strong lighting that shows the shape without too many reflections
For most embroidery, side profiles are the safest option because they preserve the recognisable outline without requiring excessive detail.
2. Reduce the car to its essential shapes
Before digitising, trace only the forms that matter:
- roofline
- bonnet and boot line
- wheel arches
- window block
- wheel centres
- main light shapes
Do not try to stitch every panel gap. In embroidery, restraint usually produces the cleaner result. A detailed car design is not the same as a crowded car design.
3. Choose the right stitch types
Most car files use a combination of:
| Area | Best stitch approach | Why |
|---|---|---|
| Outer contour | Satin stitch or run stitch | Keeps the silhouette crisp |
| Body panels | Light fill stitch | Covers larger areas without excessive width |
| Window lines | Satin or bean stitch | Adds definition with minimal bulk |
| Small details | Run stitch, motif run, or short satin | Better control on narrow elements |
| Tyres | Fill or satin outline | Creates contrast and shape |
Long satin stitches across wide car bodies often snag or look uneven. Fills with the correct angle are usually more stable.
4. Plan for fabric movement
Detailed cars sew differently on twill, denim, fleece, and caps. A file that looks tidy on a flat jacket back can distort on stretchy knit.
To compensate:
- add suitable underlay
- account for pull compensation on long horizontal sections
- test narrow areas like mirrors and pillars
- avoid over-dense black fills, especially on small logos or patches
If the design is destined for caps, simplify further. Front cap areas do not tolerate delicate wheel spokes or thin window pillars as well as flat garments do.
5. Sequence from centre to outer detail where possible
A good sew order reduces shifting. For many car designs, that means stitching internal fills and windows first, then accents, then the final outer edge. Wheels should be placed carefully so they stay round and balanced.
6. Test and edit
Even excellent digitising needs a sample-out. On a test stitch, watch for:
- puckering around the roofline
- gaps between outline and fill
- overly heavy tyre areas
- lost detail in the lights or grille
- distortion in long horizontal body lines
Small edits make a big difference. A 0.2 mm compensation change or a reduced fill density can turn a heavy file into a clean one.
Where buyers should look when shopping for car embroidery designs
When choosing a marketplace for car embroidery, focus on practical quality rather than dramatic preview images. Good listings should make you confident that the design has been built for machine embroidery.
Look for:
- clear product previews with visible stitch logic
- realistic detail levels
- consistent edge quality across the shop
- design style suited to the intended size
- evidence that the seller handles intricate motifs well
Even if the catalogue includes other themes, detailed character and logo-inspired files can reveal the seller's digitising standard. For instance, the Nike Swoosh Sasuke Uchiha embroidery design and the Nike Swoosh Toge Inumaki elegant embroidery file are good examples of layered shapes and selective detail, which is exactly the discipline a clean car design needs.
Common mistakes that ruin detailed car embroidery
Too much detail for the size
A 75 mm patch cannot carry the same information as a 250 mm jacket back. Scale first, then decide which details survive.
Using only the artwork, not embroidery judgement
If the design is traced blindly from a photo, it often becomes dense and messy. Embroidery needs interpretation.
Heavy black fills
Cars often rely on black tyres, windows, and shadowing. If all of that is filled densely, the piece becomes stiff and starts pulling the fabric.
Thin elements with no support
Wing mirrors, antennae, and narrow trims may look elegant on screen but disappear or wobble in thread. It is often better to omit them.
Best use cases for a detailed car embroidery file
Detailed vehicle embroidery tends to work best for:
- collectors' jackets
- car club insignia
- motorsport teamwear
- commemorative event patches
- workshop uniforms with a premium finish
- gifts for restorers or enthusiasts
If you like highly stylised, sharp embroidery generally, it can be useful to compare with other complex marketplace files such as the Nike Swoosh Robin Flecha anime embroidery design, the Nike Swoosh Unzumaki Naruto embroidery file, or the Nike Swoosh Taz Bite elegant embroidery design. They are different subjects, but they show the same principle: bold shapes, controlled detail, and a file built to sew.
Final thought
The best car embroidery designs are not the ones with the most lines. They are the ones that keep the car instantly recognisable while respecting what thread, stabiliser, and fabric can actually do. If you are buying a car file, look for clean structure and believable stitch planning. If you are making one, simplify first and refine after testing. That is how detailed car embroidery ends up looking precise rather than overworked.


