Have you ever spent hours meticulously aligning individual letter files, only to have them stitch out unevenly? Or perhaps you’ve downloaded a gorgeous font, only to discover it’s a standard computer font (TTF) and not one designed for your machine. The frustration is real, and the alphabet soup of file formats-PES, JEF, BX-can feel overwhelming when all you want to do is create. If this sounds familiar, you're in exactly the right place. This guide is your new best friend for navigating the world of embroidery fonts for machines.
We’re going to clear up the confusion and empower you to create stunning, personalized text with confidence. By the end of this article, you will understand the crucial difference between font types, know how to choose the perfect file format for any project, and master the process from downloading a font to stitching it out flawlessly. Get ready to say goodbye to wasted thread and fabric and hello to professional-looking monograms and lettering you can be proud of. [
What Are Embroidery Fonts? (And How They Differ from PC Fonts)](https://embroiderynsewing.com/articles)
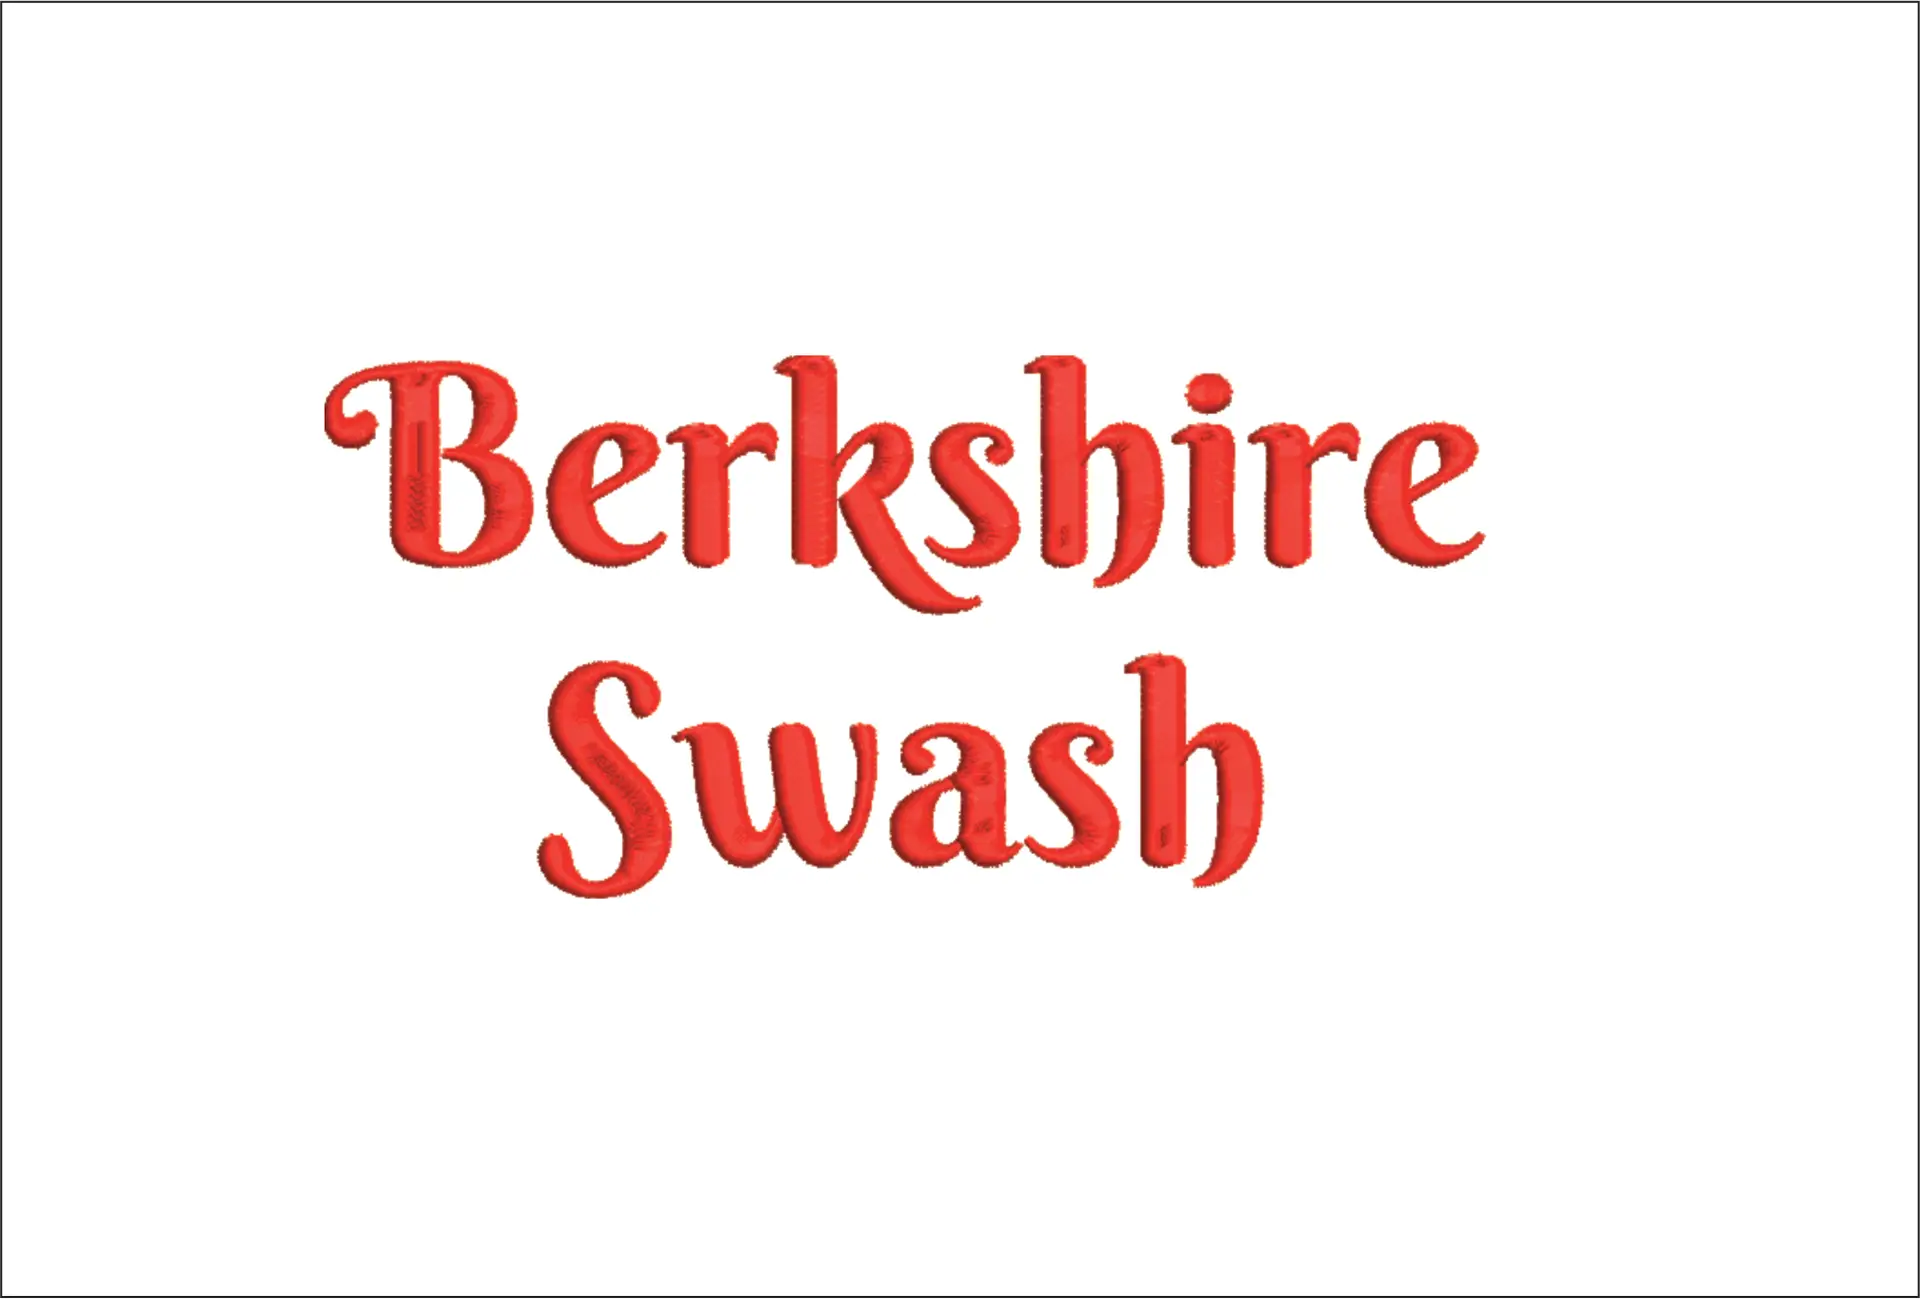
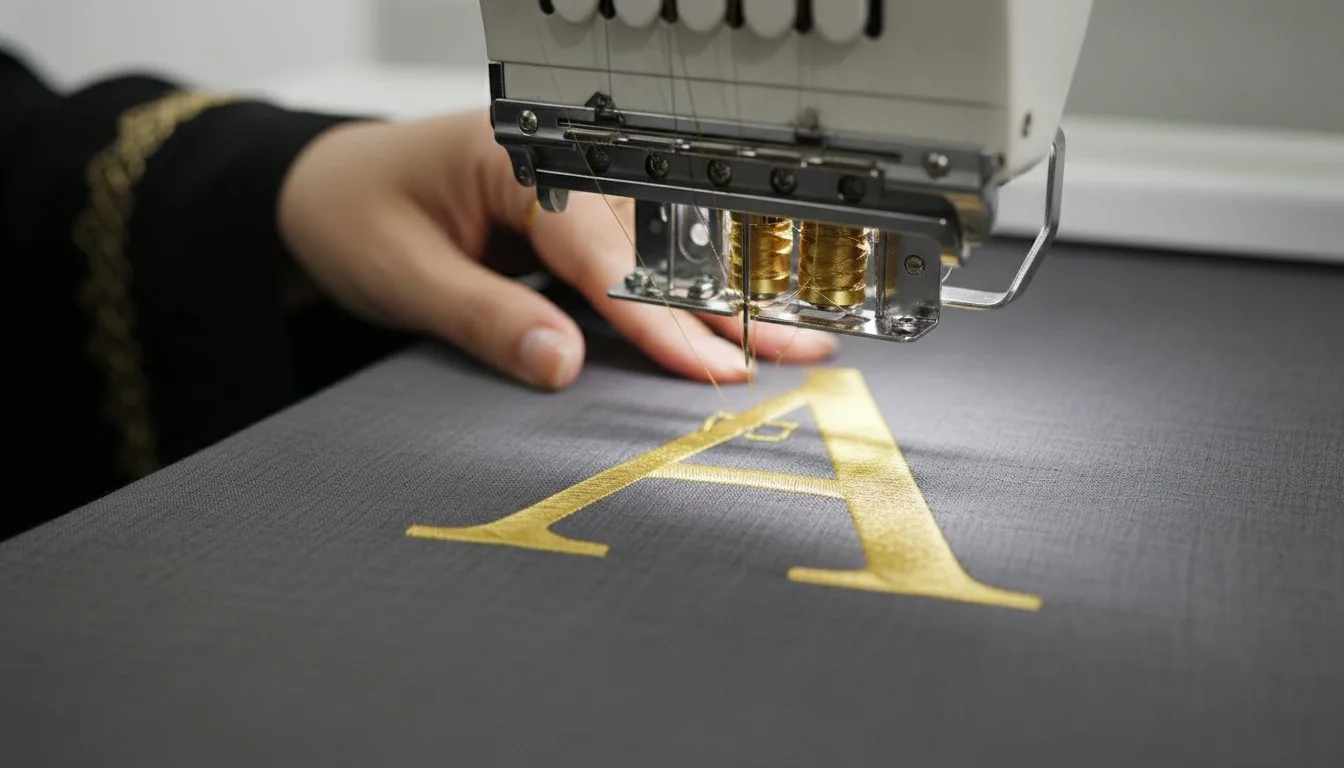
When you're new to the world of machine embroidery, the term "font" can be a bit misleading. An embroidery font is a set of digitized letters, numbers, and symbols created specifically for a sewing machine. Unlike the fonts on your computer (like Arial or Times New Roman), each letter in an embroidery font is an individual design file composed entirely of stitches. This is the single most important distinction to understand.
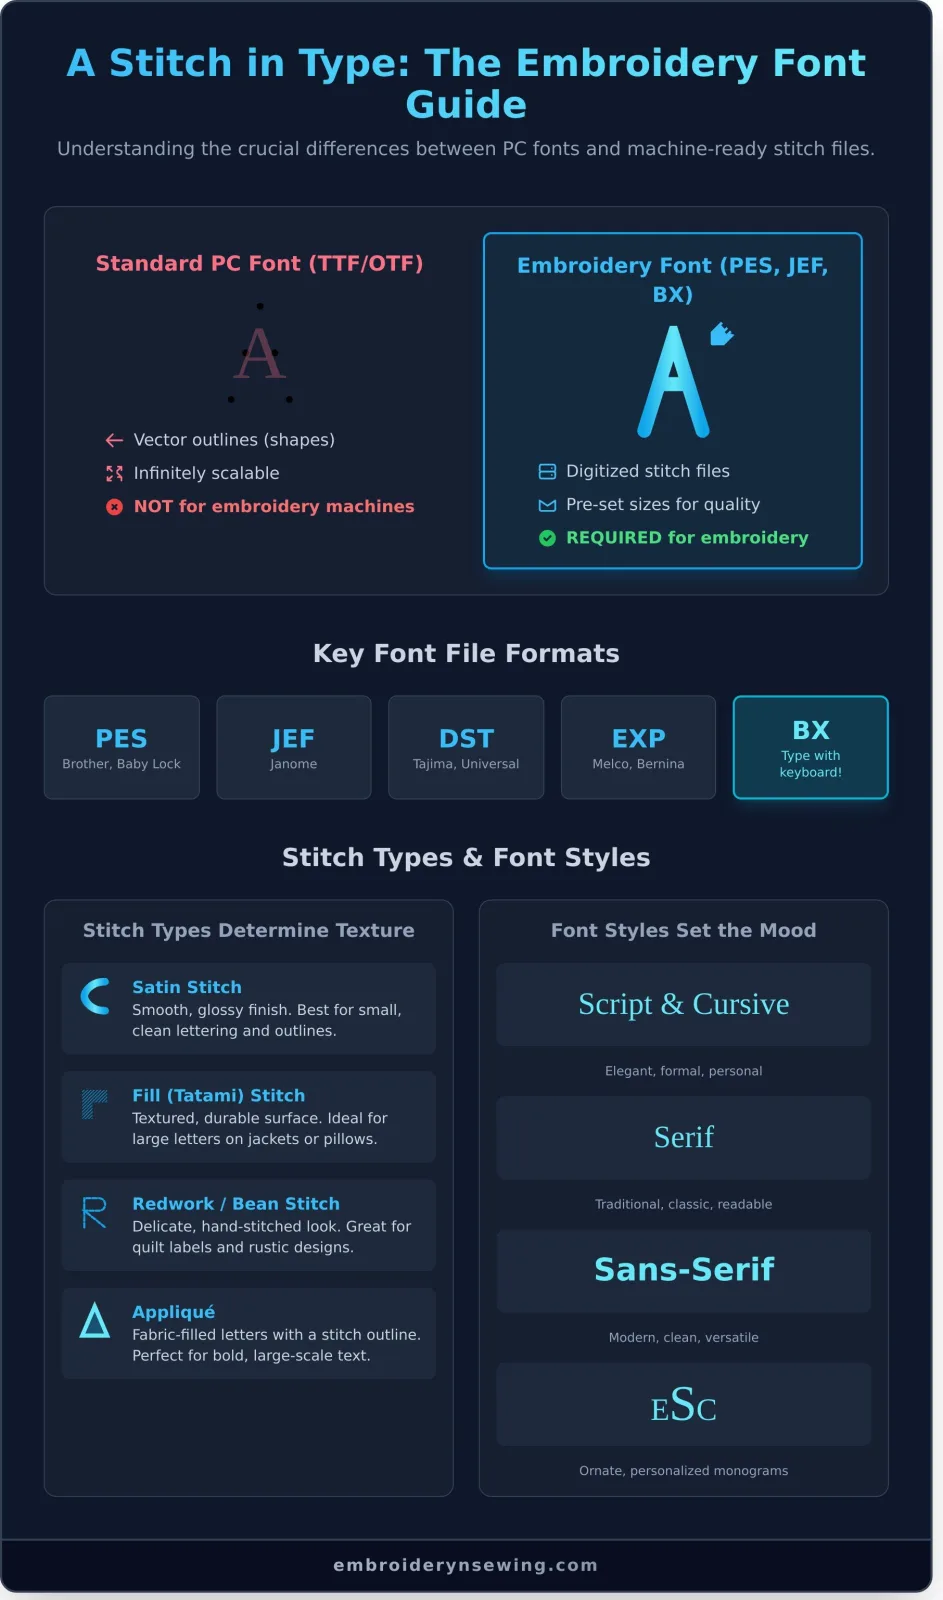
Standard computer fonts (known as TrueType or OpenType Fonts) are vector-based, meaning they are mathematical outlines that can be scaled to any size without losing quality. Embroidery fonts for machines, however, are pre-set stitch patterns. Attempting to drastically resize them can lead to gapping, distortion, or overly dense stitching, as you are stretching a fixed number of stitches over a larger or smaller area.
The Anatomy of an Embroidery Font: Stitches, Not Pixels
Think of an embroidery font not as a shape, but as a detailed blueprint for your machine's needle. This process, a key evolution in the history of machine embroidery, involves a professional digitizer who manually plots every single stitch. They assign specific stitch types, like elegant satin stitches for outlines and dense fill stitches for larger areas. Crucially, they also include foundational underlay stitches that stabilize the fabric and prevent puckering, ensuring a professional, high-quality result.
Understanding Key Font File Formats
Because embroidery fonts are stitch-based files, they must be saved in a format your specific machine can read. You cannot simply load a standard computer font onto your machine. When you purchase embroidery fonts for machines, you must select the correct file type for your brand. Common formats include:
- PES: For Brother, Baby Lock, and Deco machines
- JEF: For Janome machines
- DST: A universal commercial format, used by Tajima machines
- EXP: For Melco and Bernina machines
A special format, BX, has become a favorite for its convenience. BX fonts can be installed in certain embroidery software (like Embrilliance), allowing you to type out words directly with your keyboard, just like a regular font. This saves you the tedious task of importing and aligning each letter file one by one.
A Guide to Embroidery Font Styles & Stitch Types
When choosing embroidery fonts for machines, the style of the lettering is only half the story. The other half is the stitch type used to create it. The combination of font style and stitch type determines the final texture, density, and overall aesthetic of your embroidered text. Understanding these two components is the key to selecting the perfect font for any project, from a delicate monogram on a handkerchief to a bold name on a sports bag.
Stitch-Based Font Types
The stitch type dictates how the thread fills the shape of each letter. Each one offers a distinct look and is suited for different sizes and fabrics, so choosing the right one is crucial for a professional result.
- Satin Stitch Fonts: These create a smooth, glossy finish with threads running parallel across the letter's width. Satin stitch is perfect for small, clean lettering on items like shirt collars or towels, as it provides excellent definition. However, it can pucker on very wide letters.
- Fill Stitch Fonts: Also known as Tatami stitch, this type uses a pattern of shorter, overlapping stitches to fill in large areas. It creates a textured, durable surface, making it the ideal choice for large letters on jackets, pillows, or banners. The process of converting character shapes into dense stitch data is a complex digital task, detailed in foundational documents like this Embroidery design system patent.
- Redwork/Bean Stitch Fonts: These fonts use a simple running stitch (often layered for a thicker "bean stitch" effect) to outline the letters. This creates a delicate, hand-stitched, or rustic appearance, perfect for quilt labels and tea towels.
- Appliqué Fonts: Instead of filling letters with thread, appliqué fonts create an outline stitch where you place a piece of fabric. A final satin stitch secures the fabric edge. This technique is fantastic for very large, decorative letters on sweatshirts and blankets.
Common Font Styles
Once you understand stitch types, you can explore the creative styles of lettering. Matching the font style to your project's theme will bring your vision to life.
- Script & Cursive Fonts: Flowing and elegant, these fonts mimic handwriting. They are a go-to choice for wedding gifts, formal monograms, and adding a personal touch to linens.
- Serif & Sans-Serif Fonts: These are your classic block and print letters. Serif fonts (with "feet" on the letters) feel traditional, while Sans-Serif fonts are clean, modern, and highly readable-perfect for names on workwear or school uniforms.
- Monogram Fonts: Specifically designed for creating 2 or 3-letter monograms, these sets often feature ornate letters for the last name initial. They are a timeless choice for personalizing towels, bags, and home decor.
- Novelty & Themed Fonts: This broad category includes everything from playful, kid-friendly fonts to decorative holiday lettering. Use them to add personality to themed projects like Christmas stockings, birthday banners, or sports-themed gear.
How to Use Purchased Embroidery Fonts: A Step-by-Step Workflow
You’ve found the perfect font, but how do you turn those digital files into beautiful stitched text? This process can seem intimidating, but it’s quite simple once you understand the workflow. There are two primary methods for using purchased embroidery fonts for machines: arranging letters manually or using the incredibly convenient BX format. We'll walk you through both.
Step 1: Downloading and Unzipping Your Font Files
Your new embroidery font will almost always arrive as a single, compressed .zip file. This keeps all the letters and sizes neatly bundled together. Before you can use them, you must "unzip" or "extract" the folder.
- On Windows: Right-click the .zip file and select "Extract All..." then follow the prompts.
- On Mac: Simply double-click the .zip file, and it will automatically create a new, unzipped folder.
Inside this new folder, you'll typically find sub-folders organized by size (e.g., 1 inch, 2 inch) and then by machine format (e.g., PES, DST, JEF). Navigate to the folder that matches your machine's format and the size you need.
Step 2: Arranging Letters into Words (The Classic Method)
This is the traditional way to create words. You will open your embroidery software and import each letter file individually. For example, to spell "HOME," you would open H.pes, then O.pes, M.pes, and E.pes, merging them into one design file. You are then responsible for manually aligning the letters, adjusting the spacing, and making sure they are perfectly centered. While this method gives you complete creative control, it can be very time-consuming for anything more than a simple monogram. Free software like Embrilliance Express is perfect for this task.
Step 3: The Easy Way with BX Fonts
The BX format is a game-changer. Instead of managing dozens of individual files, a BX font is a single file that you "install" into compatible software. With a program like Embrilliance, you just drag and drop the .bx file into the open program window, and it's instantly installed. From then on, you can simply select the font from a dropdown menu and type your words directly with your keyboard. The software handles all the alignment and spacing perfectly, saving you an incredible amount of time and frustration. For this reason, we highly recommend them.
Ready to experience the simplicity for yourself? Shop our collection of easy-to-use embroidery fonts and find your next favorite typeface.
5 Keys to Choosing a High-Quality Embroidery Font
Choosing a font based on style alone is a common pitfall. A beautiful script on screen can quickly turn into a puckered, unreadable mess on fabric. To ensure a flawless stitch-out, you must evaluate the technical quality. When you're searching for the best embroidery fonts for machines, use this checklist to look beyond aesthetics and assess the digital craftsmanship that guarantees a professional result.
1. Sizing and Scalability
Unlike the text on your computer, embroidery fonts are not infinitely scalable. They are digitized for specific sizes. Attempting to resize a font file by more than 10-20% will distort the stitch density, leading to gaps or bulky, thread-breaking stitches. Always purchase a font that is pre-digitized in the exact size you need. If a seller offers a font in multiple sizes (e.g., 1", 2", and 3"), you can be confident each one was optimized for that scale.
2. Stitch Density and Fabric Matching
The "weight" of a font must match the "weight" of your fabric. A font with high stitch density will overwhelm lightweight fabrics like t-shirt jersey, causing it to pucker and warp. A good rule of thumb is:
- For lightweight knits and delicate fabrics, look for fonts with a lighter, more open density.
- For stable, heavy fabrics like denim, canvas, or terry cloth towels, a robust, high-density font will provide excellent coverage and a bold look.
3. Underlay and Push/Pull Compensation
Professional digitizers build in two critical elements: underlay and compensation. Underlay is a foundation of stitches that stabilizes the fabric before the top stitches are applied. Push/Pull Compensation accounts for how fabric stretches and shifts during sewing. A well-digitized font will have these built-in, resulting in crisp, clean letters. The best way to verify this? Look for real photos of stitched-out samples, not just digital mockups.
4. Included Characters and Formats
Before you click "buy," confirm the font package includes everything you need. Does it contain a full set of uppercase and lowercase letters, numbers, and common punctuation? Nothing is more frustrating than discovering your font is missing the symbol you need. Equally important, verify that the seller provides the file format your specific embroidery machine requires (e.g., PES, JEF, DST, EXP). High-quality sellers often provide multiple formats in a single download.
5. Stitch Pathing and Efficiency
This is a detail that separates amateur fonts from professional ones. Efficient pathing means the letters are digitized to sew in a logical order with minimal jump stitches between them. This not only saves you time trimming threads but also reduces the risk of the final product looking messy. A well-planned path results in a smoother, more polished embroidery project from start to finish.
Built-in Machine Fonts vs. Purchased Digital Fonts
As you begin your machine embroidery journey, you’ll face a key decision: should you stick with the fonts pre-loaded on your machine, or venture into the world of purchased digital fonts? Both have their place, but understanding the differences is crucial for taking your projects from basic to breathtaking.
Pros and Cons of Built-in Fonts
The fonts that come with your embroidery machine are your starting point. They are designed for immediate success and are perfect for simple labels or quick personalizations. However, they come with significant trade-offs.
- Pros: They are free, incredibly convenient to use directly from your machine's screen, and perfectly digitized for a flawless stitch-out on your specific model.
- Cons: The selection is often extremely limited, usually to just a few basic block and script styles. Because everyone with your machine has the same fonts, your work can lack a unique, creative touch.
Pros and Cons of Purchased Fonts
When you're ready to unlock true creative freedom, investing in purchased embroidery fonts for machines is the answer. They open up a universe of design possibilities that built-in options simply cannot match, allowing you to create truly custom work.
- Pros: You gain access to an endless variety of styles, from elegant wedding scripts to playful children's lettering and specialized monogram sets. A distinctive font gives your project a high-quality, professional finish that stands out.
- Cons: These fonts are an additional investment in your craft. They also require the extra step of using a computer to download the files and transfer them to your machine, typically with a USB drive.
While built-in fonts are excellent for learning, building a personal library of purchased embroidery fonts for machines is the single best way to define your unique style. The small cost and extra step of transferring files are minor trade-offs for the ability to create stunning, professional-grade embroidery. Ready to find the perfect typeface for your next creation? Elevate your projects with a unique font from our library.
Unlock Your Creative Potential with Perfect Lettering
Choosing the right font is about more than just style; it's about understanding how typography translates into thread. As we've explored, professionally digitized fonts are engineered specifically for a clean, beautiful stitch-out, setting them apart from standard computer fonts. Prioritizing quality ensures your text-based projects always look polished, avoiding common issues like puckering and poor density. Having a diverse library of high-quality embroidery fonts for machines is a true game-changer for any creator.
Ready to find the perfect typeface for your next masterpiece? Our collection is curated for excellence, with every font professionally digitized for flawless results. When you shop with us, you get instant downloads after purchase and files for all popular machine formats (PES, JEF, DST, and more). Stop settling for built-in options and start creating stunning, professional-grade text.
Browse Our Full Collection of Machine Embroidery Fonts and discover the difference quality makes. Go ahead, bring your words to life in thread!
Frequently Asked Questions
What is a BX font and why is it so popular?
A BX font is a special format that works with Embrilliance software, allowing you to type letters directly from your keyboard. This is incredibly popular because it eliminates the tedious process of importing and aligning individual letter files (like PES or DST) one by one. You can simply type out words and names just like in a word processor, saving a significant amount of time and effort when creating text-based embroidery designs.
Can I use my computer's Microsoft Word fonts for embroidery?
No, you cannot directly use standard computer fonts like Times New Roman (TTF or OTF files) for embroidery. These fonts lack the essential stitch data that an embroidery machine needs to create the design. To use them, you must first convert them into a stitch file using digitizing software. This process, called auto-digitizing, translates the font's outline into a sequence of stitches that your machine can read and sew out.
What embroidery font format do I need for my Brother (or Janome/Singer) machine?
The file format you need depends entirely on your machine's brand. Brother machines primarily use the .PES format, while Janome machines typically require .JEF. Singer machines often use .XXX or .DST. It is crucial to check your machine’s manual to confirm which file types it supports. Fortunately, most purchased embroidery fonts for machines are sold in a zipped folder containing all the most common formats, ensuring compatibility.
How small can I stitch an embroidery font before it becomes unreadable?
The minimum legible size depends on the font's style. As a general guideline, satin stitch fonts should not be stitched smaller than about 1/4 inch (6-7mm) tall. Thinner, less complex fonts (like a simple running stitch font) can sometimes go smaller. Always perform a test stitch on a scrap piece of the same or similar fabric before starting your final project to ensure the letters are clear and not merging together.
Why do my embroidered letters look puckered or distorted?
Puckering and distortion are almost always caused by improper stabilization. This means the fabric is shifting during the stitching process. To fix this, ensure you are using the correct type and weight of stabilizer for your fabric (e.g., cut-away for knits, tear-away for stable wovens). Also, make sure the fabric and stabilizer are hooped together tautly, like a drum, but not stretched out of shape. Using a dense font on thin fabric can also cause puckering.
Do I need expensive software to use purchased embroidery fonts?
Not necessarily. For BX fonts, you can use the free Embrilliance Express software to arrange your letters into words. For individual letter files (like .PES or .DST), many modern embroidery machines have built-in editing features that allow you to combine and align letters on the screen. While paid software offers more advanced control and features, you can often get started without a significant investment by using these free or built-in tools.
How do I create a three-letter monogram with an embroidery font?
To create a classic monogram where the last initial is larger in the center, you typically need a font set designed specifically for monograms. These sets include separate files for left, center, and right letters. You will import the first initial (left position), then the large last initial (center position), and finally the middle initial (right position). Use your software or machine’s screen to align the letters correctly, ensuring they are properly spaced and centered.