Have you ever admired a beautifully stitched piece of art and thought, “I wish I could do that”? The desire is there, but the next step can feel overwhelming. What’s the difference between a pattern and a full kit? Do you start with hand stitching or a machine? The good news is that modern embroidery kits are designed to make starting this timeless craft easier than ever, taking all the guesswork out of your first project and giving you everything you need in one neat package.
This "project-in-a-box" concept is a popular way to start many intricate hobbies, from needlepoint to model building. For instance, those interested in miniature trains can learn more about OO9 Locomotive & Wagon Kits to see a similar approach in a different field.
In this ultimate beginner's guide, we'll unravel it all for you. We’ll break down exactly what comes in a traditional hand embroidery kit and explore how you can build your own modern 'kit' for machine embroidery. You'll get a clear list of essential supplies and gain the knowledge to choose the right path for your creative journey. By the end, you'll feel confident, inspired, and ready to pick up a needle and start stitching your very first masterpiece.
## What is an Embroidery Kit? Unboxing the Traditional Craft
Think of a traditional hand embroidery kit as a creative project in a box. It’s an all-in-one package designed to give a newcomer everything they need to complete one specific stitching design from start to finish. The core purpose is to eliminate the guesswork and overwhelm of visiting a craft store, where you'd face a wall of countless fabric types, thread colors, and tools. Embroidery is a craft with a deep and fascinating past, and while the history of embroidery spans centuries, modern kits make it incredibly accessible.
The appeal is threefold: convenience, low startup cost, and the chance to enjoy a relaxing, mindful hobby. Instead of investing in large quantities of supplies you may never use again, a kit provides the perfect amount for a single piece. This approach is ideal for beginners, contrasting sharply with experienced stitchers who often prefer to buy materials individually to build a personal collection for more complex, custom projects.
Core Components of a Hand Embroidery Kit
While designs vary, most beginner embroidery kits contain a standard set of essential tools and materials to ensure you can get stitching right away. Here’s what you can typically expect to find inside:
- The Embroidery Hoop: Usually made of wood or plastic, this two-ringed frame holds your fabric taut, creating a drum-like surface that makes stitching much easier and neater.
- Fabric: The foundation of your project, this is often a piece of cotton or linen that comes pre-printed with the pattern, so you don't have to worry about transferring the design yourself.
- Embroidery Floss: Bundles of colored cotton thread, often pre-sorted and labeled by color to match the pattern guide.
- Accessories: At a minimum, this includes one or two embroidery needles, a threader, and a set of clear, step-by-step instructions. Some kits may also include a small pair of scissors.
Who Are Traditional Kits For?
Embroidery kits are perfect for anyone curious about stitching but unsure where to begin. They cater to a wide range of people and make for a wonderfully versatile creative outlet. They are especially great for:
- Absolute beginners looking for a simple, guided entry into a new craft.
- Individuals seeking a mindful, screen-free hobby to de-stress and unwind.
- Crafters who want a single, contained project without the commitment of buying bulk supplies.
- Anyone looking for a thoughtful and creative gift for a friend or family member.
Hand vs. Machine Embroidery: Choosing Your Creative Path
As you step into the world of embroidery, you’ll encounter two primary methods: stitching by hand or using a machine. Neither is better than the other; they are simply different paths to a beautiful result. One is a timeless, meditative craft, while the other offers modern efficiency and precision. Understanding their differences will help you choose the perfect starting point and the right type of embroidery kits for your creative goals.
The Hand Embroidery Experience
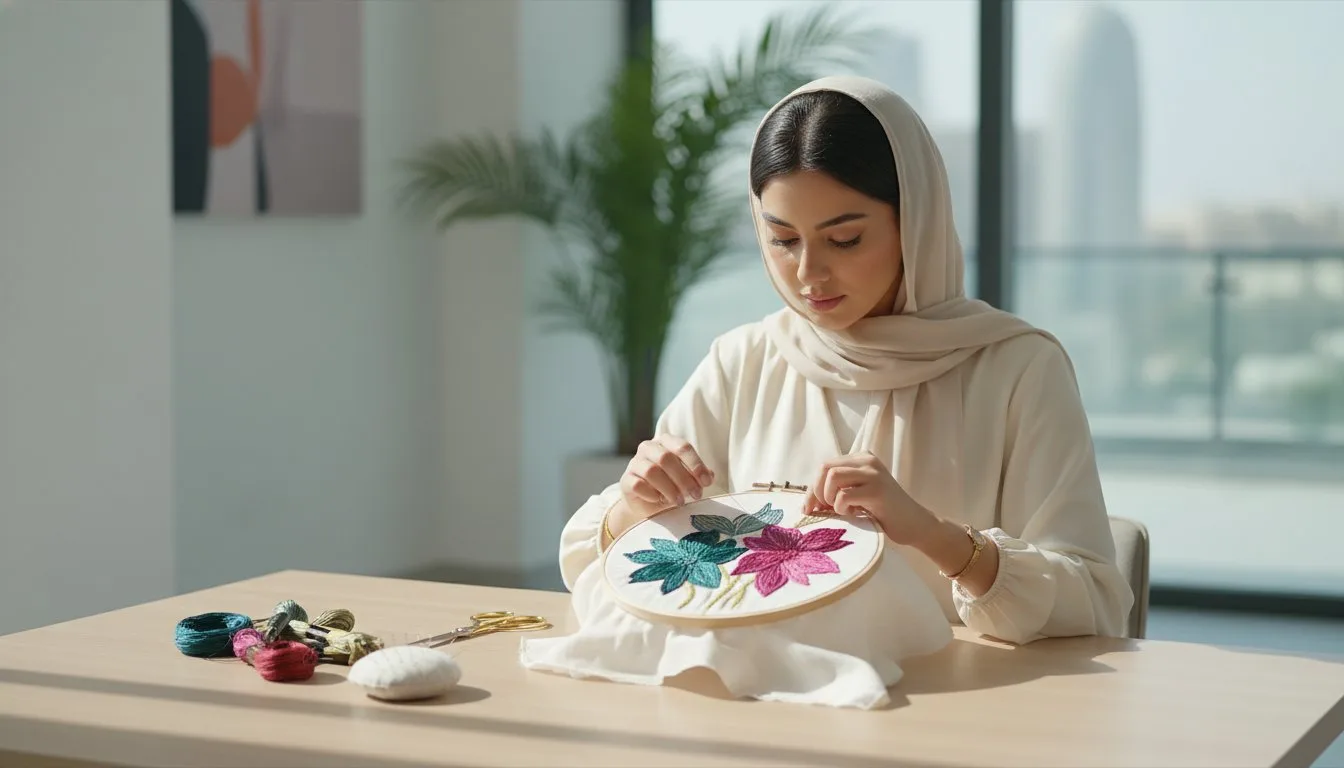
Hand embroidery is the art of decorating fabric using a needle and thread. It’s a deeply personal and portable craft that allows you to feel the rhythm of every stitch. The process involves learning fundamental techniques like the satin stitch, backstitch, and French knot to build textures and create designs. With minimal startup equipment-just a hoop, fabric, needle, and floss-you can create anywhere. This method results in unique, one-of-a-kind pieces with a charming, handmade quality, making it perfect for wall art, delicate lettering, and adding personal touches to clothing.
The Machine Embroidery Advantage
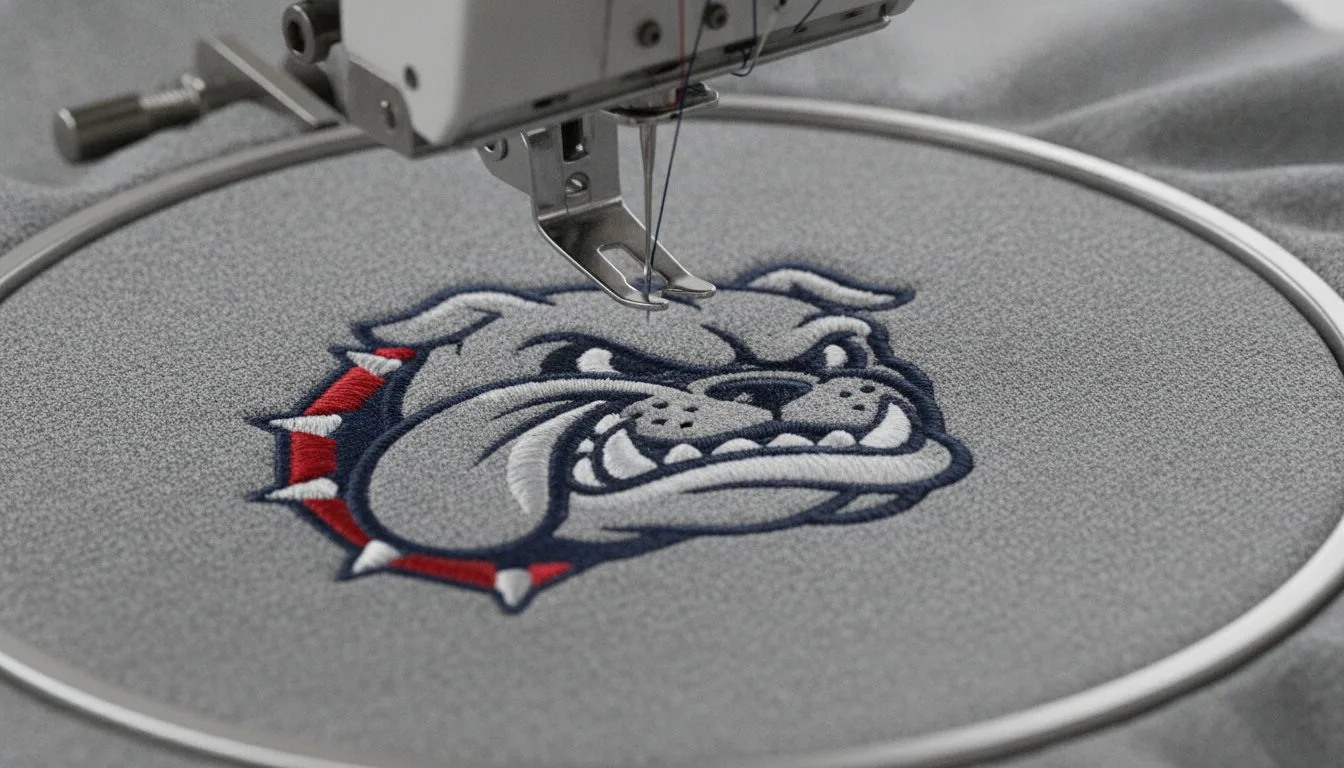
Machine embroidery leverages technology to achieve fast, flawless, and consistent results. This method uses a specialized sewing machine that reads a digital design file and automatically stitches it onto hooped fabric. It excels at creating complex, multi-color designs with incredible precision, something that would take countless hours by hand. The learning curve involves understanding the machine and software, but excellent guides on getting started with machine embroidery make the process accessible. This technique is ideal for branding items with logos, personalizing hats and bags, and creating batches of identical items with a professional, store-bought finish.
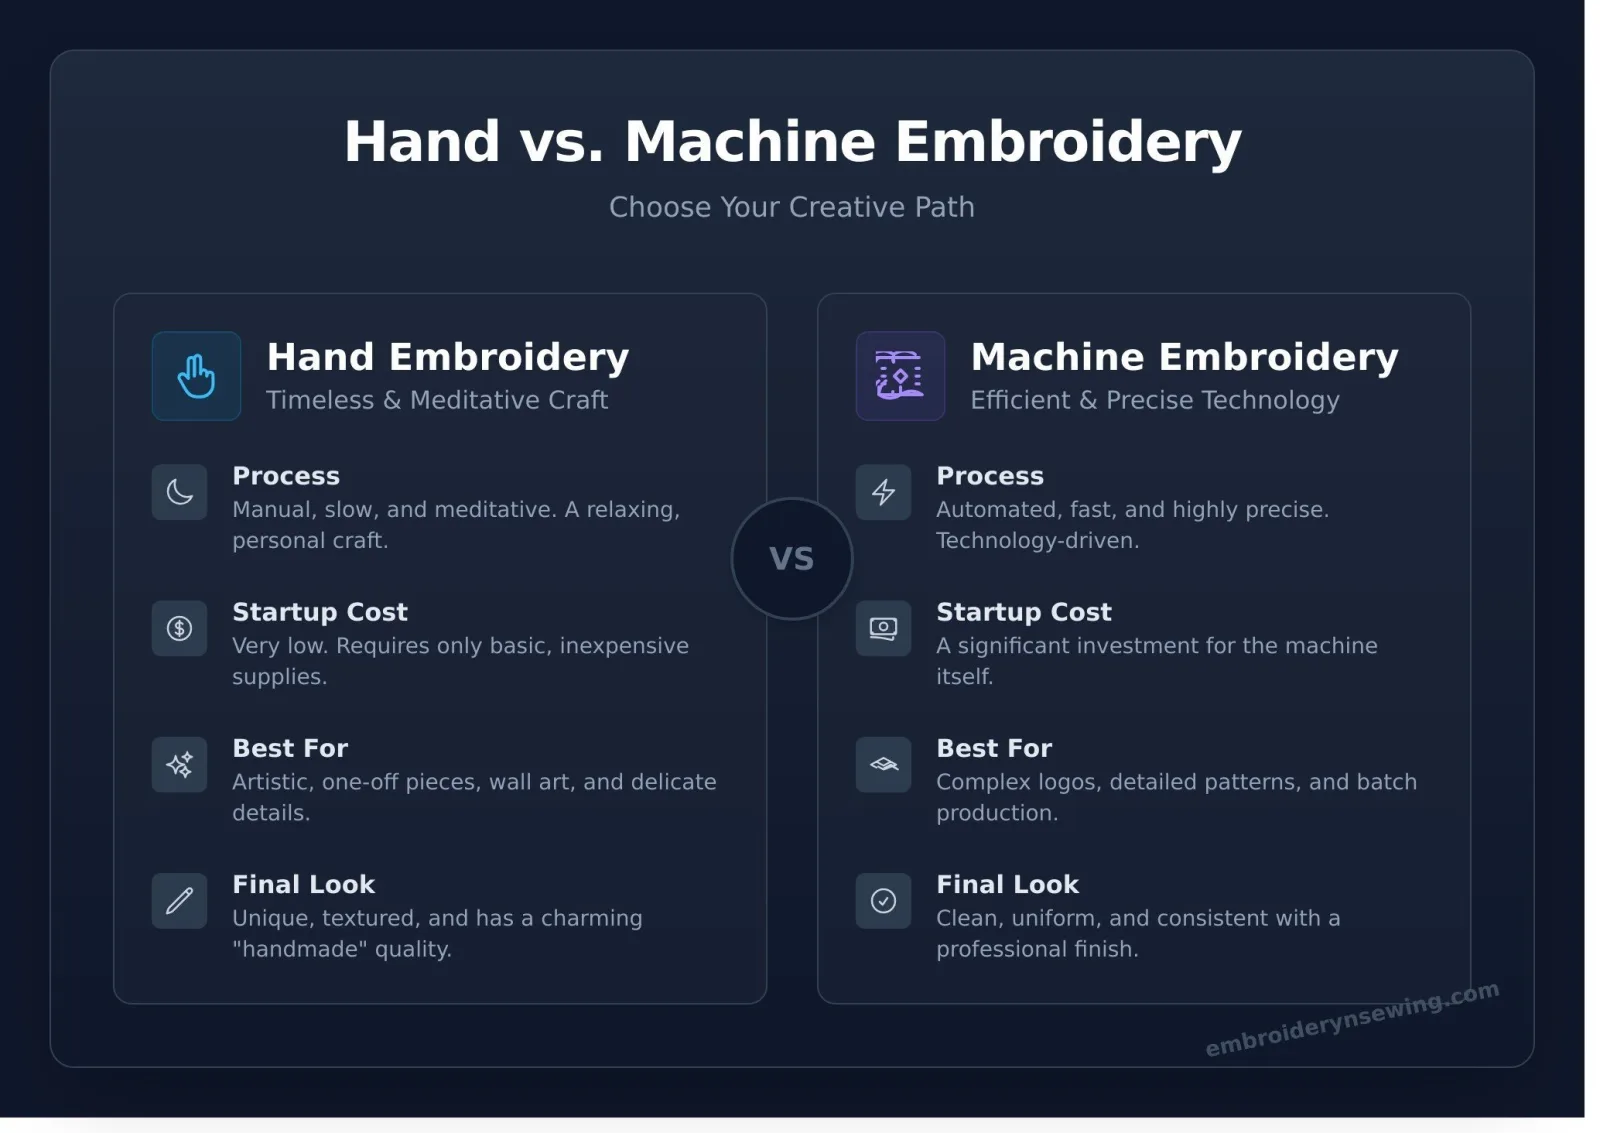
To help you decide, here’s a quick comparison of the two styles:
- Process: Hand is manual, slow, and meditative. Machine is automated, fast, and precise.
- Startup Cost: Hand is very low, requiring only basic supplies. Machine is a significant investment for the machine itself.
- Best For: Hand excels at artistic, one-off pieces and simple designs. Machine is perfect for complex logos, detailed patterns, and batch production.
- Final Look: Hand produces a unique, textured, and "handmade" aesthetic. Machine creates a clean, uniform, and professional finish.
Ultimately, your choice depends on whether you seek a relaxing hobby or a tool for efficient, high-quality production. Both paths offer immense creative satisfaction, and you can find beginner embroidery kits tailored to either journey.
How to Build a 'Machine Embroidery Kit': The Modern Crafter's Setup
While traditional hand embroidery kits come with everything in one box, the world of machine embroidery offers a more modern, modular approach. Instead of buying a single pre-packaged set, you assemble your own 'kit' by purchasing the components separately. This à la carte method gives you ultimate control and opens the door to infinite creative possibilities, allowing you to build a setup perfectly tailored to your projects.
The core concept to grasp is that your "pattern" isn't printed on fabric. It's a digital file that instructs a machine exactly where to place each stitch. This shift from physical to digital is what makes machine embroidery so powerful and versatile.
The Heart of Your Kit: The Digital Embroidery Design
The creative core of any machine embroidery project is the digital design file. This is a specialized file (with extensions like .PES, .DST, or .JEF) that contains all the stitch data your machine needs to create the final artwork. Unlike waiting for a pattern to arrive in the mail, you can purchase and download these designs instantly from online marketplaces. Building your digital library is one of the most exciting parts of the craft. Explore thousands of digital designs to start your collection today.
Essential Hardware: Your Embroidery Machine
To bring your digital designs to life, you need a dedicated embroidery machine. These sophisticated devices are engineered to read your design files from a USB stick or a direct computer connection and execute the stitches with precision. Popular and reliable brands for beginners include Brother, Janome, and Singer. Choosing the right machine is a crucial first step, and we cover the fundamentals in our Embroidery Machine Basics article.
The Physical Supplies You'll Need
With your design and machine ready, you'll need the physical consumables. Think of these as the ink and paper for your embroidery printer. While the history of needlework samplers showcases centuries of work done with simple linen and silk, modern machines require specific materials for the best results. Your essential supplies include:
- Embroidery Thread: Available in a vast spectrum of colors and materials like rayon and polyester.
- Stabilizer: A crucial backing material that supports the fabric during stitching to prevent puckering.
- Fabric: The base for your project, from cotton and denim to felt and leather.
- Other Tools: Small, sharp scissors (like appliqué or snips) and a pair of tweezers are invaluable for cleaning up your finished work.
Assembling these elements yourself is how you create modern embroidery kits that are customized for any project you can imagine.
Choosing Your First Digital Design: A Beginner's Guide
Once your machine is threaded and ready, the real fun begins: choosing a digital design to stitch. The right first project can build your confidence and set you up for success. As a beginner, look for designs with clean lines, solid blocks of color, and minimal color changes. A simple design is easier to monitor and helps you learn how your machine operates without the frustration of constant thread swapping or complex alignment.
Most importantly, always choose a high-quality file. A well-digitized design ensures smooth stitching, prevents unnecessary thread breaks, and produces a professional-looking result. This is a critical step that even the best embroidery kits can't replace.
Understanding File Formats and Sizes
Before you click "download," you need to know two key things about your machine: its required file format and its hoop size. Every embroidery machine brand reads a specific file type. For example:
- Brother/Baby Lock: .PES
- Janome: .JEF
- Husqvarna/Viking: .HUS or .VP3
- Singer: .XXX
Always check the design's dimensions (e.g., 4x4 inch, 5x7 inch) to ensure it fits within your machine's hoop. To learn more, read our Embroidery File Types Explained article.
Popular Design Categories for Beginners
Starting with simple projects is the best way to learn. Consider designs like bold monograms, basic geometric shapes, or simple cartoon characters with few colors. Popular themes like floral elements, sports logos, or short, fun quotes are excellent choices. These designs are perfect for personalizing everyday items like t-shirts, towels, tote bags, and hats, giving you a finished product you can be proud of. Ready to get inspired? Find your first project in our New Arrivals section.
Where to Find High-Quality Embroidery Designs
Reputable online stores are your best resource for beautiful, well-crafted designs. Unlike free files from questionable sources, designs from a trusted shop are professionally digitized and tested to guarantee quality. Look for stores like embroiderynsewing.com that offer clear product images, detailed information (like stitch count and size), and a vast collection for instant download. While many embroidery kits include a few starter patterns, building your own digital library is one of the most exciting parts of the hobby.
Your Creative Journey Starts Now
Embroidery doesn't have to be intimidating. As we've explored, understanding the fundamentals-from what's inside a traditional kit to the key differences between hand and machine stitching-is the first step to unlocking your creative potential. Whether you choose the classic needle and thread or build your own modern machine setup, the right embroidery kits and supplies are your launchpad into this rewarding hobby.
Now that you're equipped with the knowledge, the most exciting part is choosing your first design. At Embroidery N' Sewing, our huge collection features everything from sports logos to cartoons, compatible with all major machine brands. With instant digital downloads, you can begin your project in minutes. Ready to bring your ideas to life?
Browse thousands of digital embroidery designs to start your project!
Embrace the process, experiment with colors, and don't be afraid to make mistakes. Your first masterpiece is just a few stitches away. Happy crafting!
Frequently Asked Questions
What is the main difference between an embroidery kit and an embroidery pattern?
An embroidery kit is an all-in-one package that includes all the necessary supplies: fabric, embroidery floss, a hoop, a needle, and the pattern. In contrast, an embroidery pattern is just the design itself, requiring you to purchase all your materials separately. For this reason, embroidery kits are fantastic for beginners as they eliminate the guesswork of gathering the correct supplies and let you start stitching right away, making the process much more approachable.
Can I use a hand embroidery pattern with my embroidery machine?
Generally, you cannot use a hand embroidery pattern directly with an embroidery machine. Machines require specific digital files (like .PES or .DST formats) that have been digitized with stitch-by-stitch instructions. A visual pattern for hand stitching does not contain this data. While it's possible to convert a pattern using special digitizing software, this is an advanced skill. It is much easier to purchase files specifically created for machine embroidery.
Are embroidery kits good for absolute beginners?
Yes, embroidery kits are an excellent choice for absolute beginners. They conveniently provide every item you need to complete a project, which removes the potential overwhelm of visiting a craft store and choosing the right fabric, needles, and thread colors. Most beginner-focused kits also come with detailed, step-by-step instructions and stitch guides, making them the perfect, stress-free introduction to the craft of embroidery and helping you build confidence.
What is the average cost to get started with machine embroidery?
The initial investment for machine embroidery is considerably higher than for hand embroidery. An entry-level, embroidery-only machine typically costs between $400 and $1,000. You will also need to budget for essential supplies like stabilizers, a variety of thread colors, specialty needles, and digital designs. Factoring in these additional items, a realistic startup budget for a beginner would be in the $600 to $1,200 range to get fully equipped.
Do I need a computer for machine embroidery?
While some machines have a small selection of built-in designs, a computer is practically essential for modern machine embroidery. You will need a computer to browse, purchase, and download new digital design files. From there, you typically transfer the files to your embroidery machine using a USB flash drive. A computer is also necessary if you want to use software to edit, resize, or combine designs for custom projects.
Are digital embroidery designs reusable for multiple projects?
Absolutely. Once you purchase and download a digital embroidery design, the file is yours to keep and use as many times as you like for personal projects. This is a major advantage of machine embroidery, as you can stitch the same flower design on a set of kitchen towels, a tote bag, and the pocket of a denim jacket. This reusability makes digital designs a very cost-effective way to build a versatile library for all your creative ideas.