

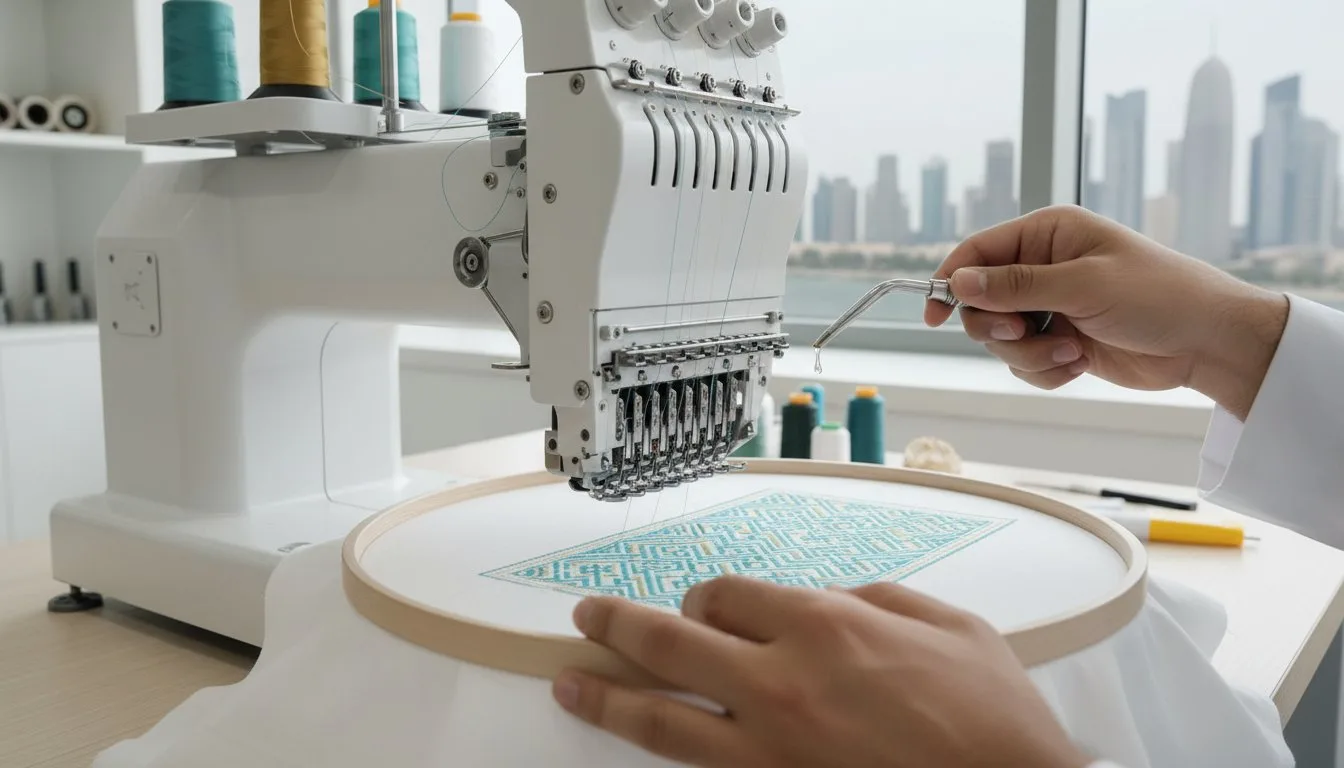
There’s nothing quite like the frustration of a perfectly planned embroidery project being derailed by a snapped thread or a dreaded bird’s nest. You’ve invested in a fantastic piece of equipment, but the thought of causing accidental damage can be intimidating. If you're unsure what to do beyond basic lint cleaning and feel that professional servicing is a costly last resort, you're not alone. This is where our essential embroidery machine maintenance tips come in, designed to empower you and put an end to those stitching headaches for good.
In this complete guide, you'll discover the simple daily, weekly, and monthly routines that will keep your machine humming happily. We'll show you exactly how to clean, oil, and inspect your machine to achieve consistent, high-quality results on every project. Get ready to extend the lifespan of your investment, save money on costly repairs, and gain the confidence to ensure every creation you stitch is a flawless masterpiece.
- Discover how consistent care is the secret to eliminating frustrating thread breaks, skipped stitches, and tension issues. - Implement a simple 2-minute checklist after every project to prevent lint buildup and ensure flawless performance on your next design. - Learn the essential weekly and monthly embroidery machine maintenance tips that tackle deep-seated dust for long-term reliability.
- Understand which tasks require a professional technician and when to schedule an annual service to protect your investment.
Table of Contents
- Why Machine Maintenance is Non-Negotiable for Perfect Embroidery
- The Essential 'After Every Project' Maintenance Checklist
- Your Weekly & Monthly Deep-Cleaning Routine
- Annual Maintenance and Knowing When to Call a Professional
Think of your embroidery machine not just as a tool, but as a high-precision instrument. Every flawless design you create is the result of thousands of perfectly timed movements between the needle, hoop, and thread-handling mechanisms. Understanding how machine embroidery works reveals a complex interplay of gears, sensors, and motors. When this intricate system is clean and properly lubricated, the result is beautiful, professional-quality stitching. Neglect it, and you're inviting frustration.
Poor maintenance is the number one cause of common embroidery headaches like constant thread breaks, skipped stitches, and inconsistent tension. These issues don't just ruin a project; they waste valuable time and expensive materials. Following a regular schedule of basic embroidery machine maintenance tips is the best way to ensure your machine performs reliably every time you turn it on. More than just ensuring quality, this routine care protects your investment, significantly extending your machine's lifespan and helping you avoid costly, time-consuming professional repairs. Preventative care is always cheaper than an emergency fix.
The Cost of Neglect: Common Problems Explained
Seemingly small oversights can lead to major performance issues. Here are the most common culprits that routine cleaning and care can prevent:
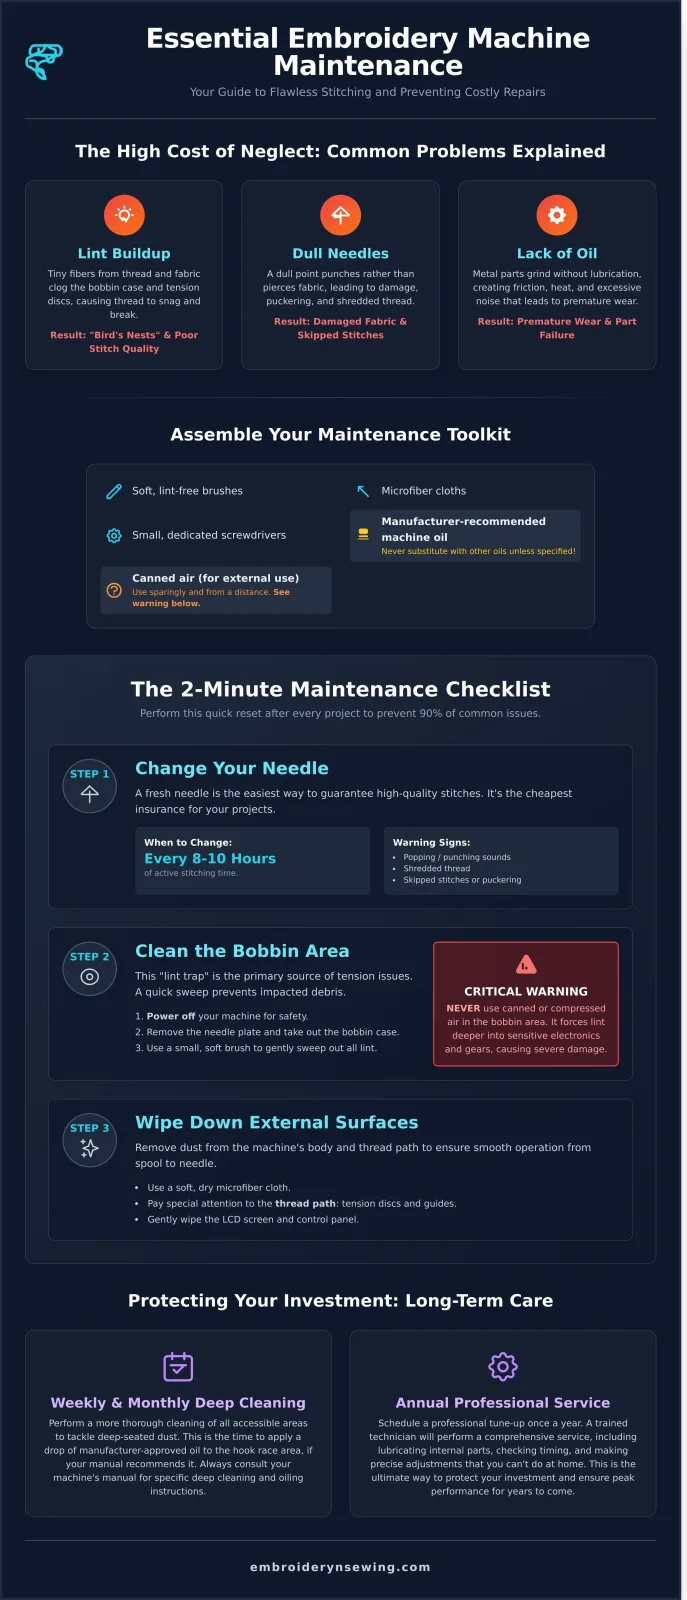
- Lint Buildup: Tiny fibers from thread and fabric accumulate in the bobbin case and tension discs, causing thread to snag. This leads to frustrating "bird's nests" on the underside of your fabric and poor stitch quality.
- Dull Needles: A needle's point dulls over time, causing it to punch rather than pierce the fabric. This results in puckering, fabric damage, and shredded or broken thread.
- Lack of Oil: Without proper lubrication, metal parts grind against each other. This creates friction and heat, leading to excessive noise, premature wear, and eventual part failure.
Setting Up Your Maintenance Toolkit
You don't need a professional workshop to keep your machine in top shape. Assembling a small, dedicated toolkit is the first step. Your basic kit should include:
- Soft, lint-free brushes (like a nylon brush or a clean makeup brush)
- Microfiber cloths for wiping down surfaces
- Small, dedicated screwdrivers for removing the needle plate
- Manufacturer-recommended machine oil (never substitute with other oils like 3-in-1 or sewing machine oil unless specified)
- Canned air (use sparingly and from a distance to avoid pushing lint deeper into the machine)
The Essential 'After Every Project' Maintenance Checklist
You’ve just finished a beautiful embroidery project, and the satisfaction is immense. Before you walk away, take two minutes for a quick reset. Committing to this simple routine after every session is one of the most effective embroidery machine maintenance tips you can follow. This small habit is your best defense against lint buildup, tension issues, and other common problems that can lead to major headaches and costly repairs down the road.
Step 1: Change Your Needle
If you only do one thing on this list, make it this. A fresh needle is the cheapest and easiest way to guarantee high-quality, professional-looking stitches. A good rule of thumb is to replace your needle every 8 to 10 hours of active stitching. Listen for signs of a dull or damaged needle, such as a distinct popping or punching sound as it penetrates the fabric. Other red flags include shredded thread, skipped stitches, or fabric puckering. Remember to always match your needle type (e.g., sharp, ballpoint, titanium) to your fabric for the best results.
Step 2: Clean the Bobbin Area
Your bobbin area is a magnet for lint, dust, and tiny thread bits. Left unchecked, this buildup can become impacted, throwing off your bobbin tension and causing messy stitches. A quick clean is simple:
- For safety, always power off your machine first.
- Remove the needle plate and take out the bobbin case.
- Using a small, soft brush (like the one that came with your machine), gently sweep out all visible lint and debris.
A crucial warning: never use canned or compressed air. While it seems fast, it can force lint deeper into your machine's sensitive gears and electronics, causing far more harm than good. This quick clean is a core part of the daily and weekly maintenance routines that keep professional machines running flawlessly for years.
Step 3: Wipe Down External Surfaces
Finish your routine with a quick wipe-down. Use a soft, dry microfiber cloth to remove dust from the machine's body. Pay special attention to the thread path, including the tension discs and thread guides. A clean path ensures your thread can glide smoothly from the spool to the needle without snagging. Finally, gently wipe your LCD screen and control panel to remove any fingerprints or dust, keeping your machine looking and functioning at its best.
Your Weekly & Monthly Deep-Cleaning Routine
While daily upkeep is essential, a more thorough deep-cleaning routine is what truly safeguards your machine's longevity and performance. These more involved tasks tackle the hidden areas where lint, dust, and thread fragments conspire to cause tension issues and mechanical failures. If you use your machine daily for a business, aim to perform this routine weekly. For the dedicated hobbyist, a monthly schedule is sufficient. These deeper embroidery machine maintenance tips are your best defense against costly repairs.
Deep Cleaning the Thread Path and Tension Discs
Your thread travels a long and winding road from the spool to the needle, and any debris along this path can wreak havoc on your tension. To ensure it's perfectly clear, follow these steps:
- 'Floss' the Tension Discs: With the presser foot up (which opens the discs), gently slide a piece of unwaxed dental floss between the tension discs to pull out any trapped lint or thread bits.
- Clean Under the Needle Plate: Unscrew and remove the metal needle plate. Use a small brush and a vacuum with a micro-attachment to clear out the packed-in lint that accumulates around the feed dogs and in the bobbin area.
- Check the Take-up Lever: Visually inspect the take-up lever and other exposed parts of the upper thread path for any stray threads that may have wrapped around them.
Oiling Your Machine: The Right Way
Proper lubrication reduces friction and heat, allowing mechanical parts to move smoothly. However, this is one step where you must consult your manual first. Many modern computerized machines are self-lubricating and oiling them can cause damage. If your manual does recommend oiling, less is always more. While your manual is the final word, this university guide to machine maintenance provides excellent foundational knowledge on why proper care is so critical. For machines that require it:
- Apply a single drop of high-quality sewing machine oil to the felt wick in the center of the bobbin case or hook race area.
- After applying oil, run the machine without thread for about 30 seconds to distribute it evenly.
- Wipe away any excess oil to prevent it from staining your next project.
Checking for Wear and Tear
Finally, use this time to give your entire setup a quick inspection. Catching small problems early prevents them from becoming major issues. Look for:
- Damaged Cords: Check the power cord and foot pedal cord for any signs of fraying, cracking, or exposed wires.
- Worn Hoops: Inspect your embroidery hoops for cracks or warping that could affect fabric tension. Ensure the hardware tightens properly.
- Unusual Noises: When you run the machine, listen for any new grinding, clunking, or squealing sounds. These are often the first sign that professional servicing is needed.
Annual Maintenance and Knowing When to Call a Professional
While daily and monthly user-led care is crucial, some tasks are best left to a certified technician. Think of an annual professional servicing as a comprehensive check-up for your machine, much like you'd take your car in for a tune-up. Ignoring major warning signs can lead to costly, catastrophic failures. Knowing your limits and when to seek expert help is one of the most important embroidery machine maintenance tips for ensuring your machine's longevity and performance.
Signs It's Time for Professional Servicing
Even with diligent cleaning, your machine will eventually need an expert's touch. Watch for these clear indicators that it's time to book a service appointment:
- Persistent Performance Issues: You experience constant thread shredding, looping, or tension problems that your own adjustments can't fix.
- Unusual Noises: Loud grinding, clunking, or squealing sounds indicate internal mechanical problems that need immediate attention.
- Timing is Off: The most critical sign is the needle hitting the hook mechanism or the embroidery hoop. Stop using the machine immediately to prevent severe damage.
- Recurring Error Messages: If you see persistent error codes on the digital display that you cannot resolve with the user manual, a technician can run diagnostics to find the root cause.
What a Technician Does During a Service
A professional service goes far beyond what a user can do at home. A certified technician will perform a deep, internal tune-up to restore your machine to factory specifications. This typically includes:
- A thorough internal cleaning to remove compacted lint and dust from the mechanics.
- Checking and adjusting the machine's critical timing and belt tension.
- Lubricating internal gears, shafts, and other hard-to-reach moving parts.
- Updating the machine's firmware and running full diagnostic tests.
Home vs. Multi-Needle Machine Maintenance
While these general guidelines apply to all machines, it's vital to recognize that multi-needle and commercial machines require more frequent and intensive care. Their complex mechanics, numerous oiling points, and heavy-duty usage mean professional servicing is not just recommended-it's essential for protecting your investment. Following a robust schedule of professional and personal embroidery machine maintenance tips is the key to keeping these workhorses running smoothly. A perfectly tuned machine deserves the best. Explore our premium embroidery designs.
From Flawless Stitches to Lasting Performance
Ultimately, consistent care is the secret ingredient to flawless embroidery. By embracing a simple post-project checklist and a more thorough weekly or monthly cleaning routine, you transform your machine from a simple tool into a reliable creative partner. These essential embroidery machine maintenance tips are your blueprint for preventing frustrating thread breaks, ensuring crisp designs, and extending the life of your investment. Remember, knowing when to call a professional for an annual tune-up is just as crucial as the daily upkeep you perform yourself.
Now that your machine is cleaned, oiled, and humming with potential, it’s time to put it to the test! Discover your next masterpiece from our curated library featuring thousands of high-quality digital designs. Every pattern is rigorously tested for a perfect stitch-out and is available for instant download for all machine formats.
Ready to test your newly tuned machine? Browse our stunning collection of embroidery designs!
Keep your machine happy, and it will reward you with beautiful, trouble-free creations for years to come. Happy stitching!
Frequently Asked Questions
How often should I really oil my embroidery machine?
The best guide is always your machine’s manual, as requirements vary. A good general rule is to apply a drop of oil after every 8-10 hours of stitching. For hobbyists, this may mean weekly or just before a large project. Consistent oiling, especially around the shuttle hook in the bobbin area, is one of the most essential embroidery machine maintenance tips for preventing friction and wear on your machine's moving parts.
Can I use sewing machine oil on my embroidery machine?
In many cases, yes, as long as it is a high-quality, clear sewing machine oil. However, you must consult your manual first. Some high-speed or commercial machines require a specific lubricant viscosity to function correctly. Using the wrong type can lead to gumming and sluggish performance. When in doubt, always use the oil recommended by your machine's manufacturer to avoid potential damage and ensure optimal performance.
What is the most common mistake people make in machine maintenance?
The most common and damaging mistake is neglecting regular cleaning of the bobbin case area. Lint and tiny thread bits accumulate quickly, leading to tension problems, skipped stitches, and thread nests. Many users wait until a problem occurs instead of performing preventative cleaning. Making a habit of de-linting the bobbin area after every few projects is a simple step that prevents the vast majority of common embroidery machine issues.
My thread keeps breaking. What maintenance step am I missing?
Frequent thread breaks often point to a dirty thread path or a lack of lubrication. Start by thoroughly cleaning from the spool pin down to the needle, paying close attention to the tension discs where lint loves to hide. Also, ensure the bobbin case is completely free of debris. If cleaning doesn't solve the issue, your machine is likely overdue for oiling. A dry shuttle hook creates excess friction that shreds and snaps thread.
Is it safe to use compressed or canned air to clean my machine?
No, you should never use compressed or canned air. While it seems like an easy solution, the force can push lint and dust deeper into the machine’s sensitive mechanics. This debris can mix with oil, creating a sludge that can seize parts and lead to expensive repairs. Instead, always opt for a small, soft brush or a micro-attachment for a vacuum cleaner to safely remove lint without causing internal damage.
Does the type of thread I use affect how often I need to clean my machine?
Yes, absolutely. The type of thread you use has a significant impact on cleaning frequency. Metallic threads can shed small, abrasive particles, while some rayon and cotton threads are notoriously linty compared to high-quality polyester. If you frequently work with these materials, you should clean your machine more often-perhaps after every single project-to prevent buildup in the bobbin case and tension discs, ensuring consistent stitch quality and machine health.


