

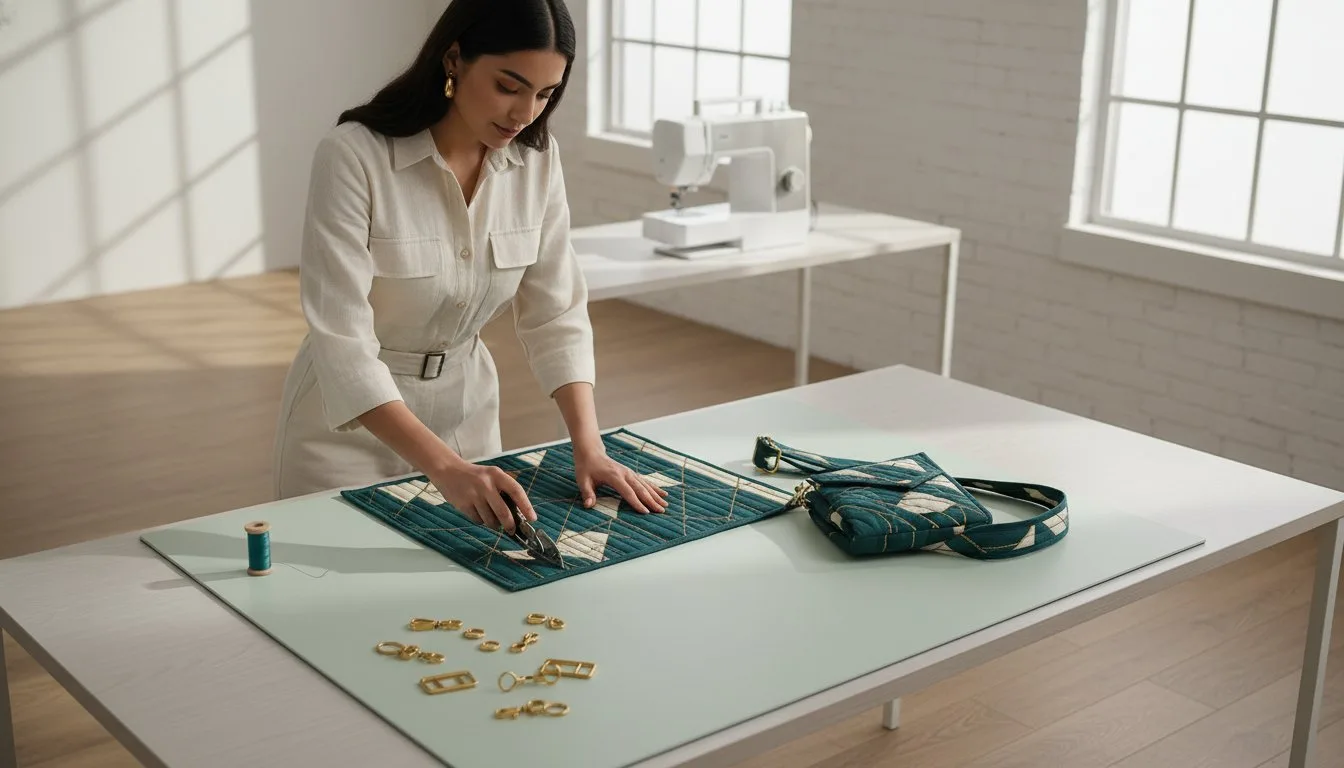
Have you ever spent hours searching for the perfect bag, only to settle for one that’s not quite the right color, size, or style? It’s a common frustration when store-bought options just can’t capture your unique personality. But what if you could create an accessory that’s not only perfectly functional but also a true reflection of you? Imagine designing and sewing a stunning, custom quilted crossbody bag that turns heads and holds everything you need, exactly how you want it.
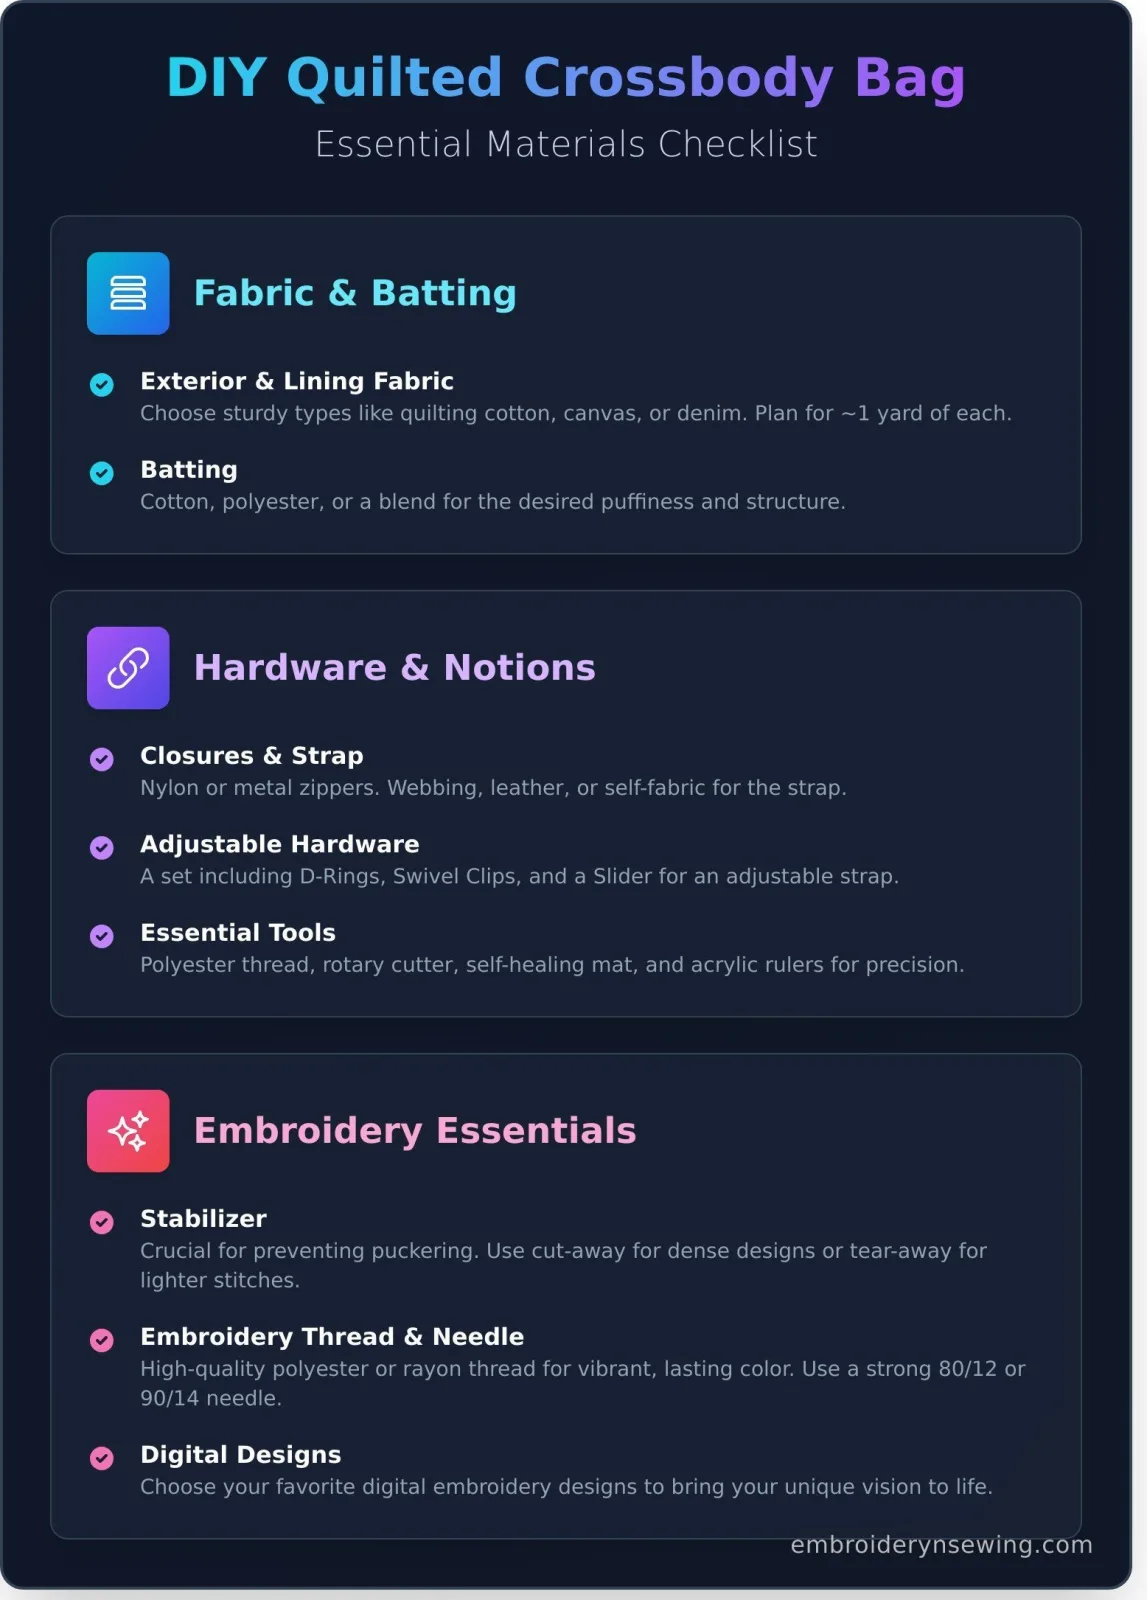
The body of your bag needs structure and style. Sturdy fabrics like quilting cotton, canvas, or denim are excellent choices; for beautiful, sustainably sourced options, check out specialists like Jean Pool. You can save time with pre-quilted fabric, or you can quilt your own panels for complete creative control. By making your own, you'll gain a deeper understanding of the process of quilting itself. For the filling, choose a batting-cotton, polyester, or a blend-based on the desired puffiness. As a general rule, plan on purchasing about one yard of exterior fabric and one yard for the lining.
This complete DIY guide is here to make that vision a reality. We’re taking the intimidation out of bag-making and quilting, walking you step-by-step through the entire process from fabric to finished accessory. You’ll learn essential sewing skills and discover how to add a beautiful, personalized touch with machine embroidery. Get ready to unlock your creativity, build your confidence, and craft a one-of-a-kind bag you’ll be proud to carry everywhere you go!
Gathering Your Materials: The Foundation of a Great Bag
Creating a professional-looking quilted crossbody bag starts long before you sit down at your sewing machine. Selecting the right supplies is the most critical first step, ensuring your finished project is not only beautiful but also durable enough for daily use. Each component, from the fabric and batting to the smallest piece of hardware, plays a vital role. Let's explore the essentials you’ll need for quilting, sewing, and adding that perfect touch of custom embroidery.
Choosing Your Fabric and Batting
The body of your bag needs structure and style. Sturdy fabrics like quilting cotton, canvas, or denim are excellent choices. You can save time with pre-quilted fabric, or you can quilt your own panels for complete creative control. By making your own, you'll gain a deeper understanding of the process of quilting itself. For the filling, choose a batting-cotton, polyester, or a blend-based on the desired puffiness. As a general rule, plan on purchasing about one yard of exterior fabric and one yard for the lining.
Essential Hardware and Notions
The small details make all the difference. For closures, nylon zippers are flexible and easy to install, while metal zippers offer a classic, heavy-duty look. Your strap can be made from sturdy webbing, premium leather, or a matching self-fabric strip. To make it adjustable, you’ll need a set of hardware, typically including:
- D-Rings: To attach the strap to the bag.
- Swivel Clips: To allow the strap to move freely without twisting.
- A Slider: To easily adjust the strap length.
Don’t forget other must-haves like all-purpose polyester thread, a rotary cutter, a self-healing mat, and acrylic rulers for precise cuts.
Machine Embroidery Essentials
Personalization is what makes a DIY project truly special, and an embroidery machine is your best tool for the job. To prevent puckering on your quilted fabric, a stabilizer is crucial; use a cut-away type for dense designs or a tear-away for lighter stitches. High-quality polyester or rayon embroidery thread will ensure your designs are vibrant and long-lasting. Now for the fun part: choosing your digital embroidery designs to bring your unique vision to life.
Prep Work: Cutting and Quilting Your Fabric Panels
Proper preparation is the secret to a stress-free sewing experience and a professional-looking final product. This is the stage where your fabric transforms from flat pieces into the beautiful, textured panels that will become your quilted crossbody bag. Taking your time here ensures every piece fits together perfectly later on.
Finding and Understanding Your Pattern
You can find countless free and paid patterns online, or you can create your own! A simple pattern for a crossbody bag is essentially a rectangle. Decide on your final dimensions-a great starting size is 9 inches wide by 10 inches tall. Remember to add a seam allowance (typically ½ inch) to all sides of your main, lining, and pocket pieces when cutting.
Cutting the Main and Lining Pieces
Before cutting, always pre-wash and iron your fabric to prevent shrinking later. For precise, straight cuts, a rotary cutter, mat, and ruler are your best friends. Pay close attention to the fabric's grainline (the direction of the threads) and cut parallel to the selvage edge for maximum strength. To avoid mix-ups, use clips or masking tape to label each piece (e.g., "Outer Front," "Lining," "Pocket").
Quilting Your Panels: Creating the Signature Look
This is where the magic happens! To create your quilted fabric, you'll make a "quilt sandwich." Lay your backing fabric wrong-side up, place your batting on top, and finish with your main fabric right-side up. Baste the layers together with pins or a temporary spray adhesive.
Mark your quilting lines with a fabric pen-classic diamonds, modern straight lines, or organic wavy stitches all look fantastic. This is also the perfect time to add custom details, from intricate free-motion designs to personalizing with embroidery, before you quilt the layers together. Use a walking foot on your sewing machine to feed all three layers evenly. Important: Quilt your fabric as one large piece before cutting out your final pattern shapes. This prevents warping and ensures your finished quilted crossbody bag pieces are perfectly sized.
Personalization: Adding Embroidery for a Custom Touch
This is where the magic happens. By adding a touch of embroidery, you transform your project from a simple handmade item into a bespoke, designer-quality piece. It’s the step that makes your quilted crossbody bag truly and uniquely yours. The key to a professional finish is timing: always complete your embroidery after the quilting is done but before you begin the final bag assembly.
Why Embroider Your Quilted Bag?
Embroidery adds a layer of personality that fabric alone cannot. Consider adding a classic monogram, your name, or a meaningful symbol that tells a story. A beautifully stitched floral or geometric pattern can create a stunning focal point, turning your bag into a wearable piece of art. Coordinating your embroidery thread with a color from your fabric print creates a cohesive, polished look. Just as The history of quilting shows how artisans have always used stitching for personal expression, embroidery allows you to infuse your own style into every stitch.
Best Practices for Embroidering on Quilted Panels
Embroidering on a thick, quilted "sandwich" requires a few specific techniques to ensure a crisp, clean result. Follow these best practices for success:
- Use the Right Stabilizer: Hoop your quilted panel with a medium-weight cut-away or tear-away stabilizer on the back. This prevents the fabric from shifting and supports the stitches.
- Perform a Test Stitch: Always stitch your design on a scrap piece of quilted fabric first. This allows you to check thread tension, colors, and design density before committing to your final panel.
- Choose a Strong Needle: A standard embroidery needle may struggle. Opt for a sharper, stronger 80/12 or 90/14 embroidery or topstitch needle to cleanly penetrate all layers.
- Ensure Perfect Placement: Use a water-soluble fabric marker and a clear ruler to mark the center point of your design on the panel. This guarantees your embroidery is perfectly centered and straight.
Choosing the Perfect Embroidery Design
The design you choose sets the tone for your entire quilted crossbody bag. Think about the scale of the pattern in relation to your bag's finished size-a delicate design suits a small bag, while a larger one can feature a more intricate scene. Explore elegant florals, modern geometric patterns, or even whimsical characters. Built-in fonts on your embroidery machine are perfect for creating custom monograms or names. Ready to find the perfect pattern? Browse our collection of embroidery designs for instant inspiration!
Step-by-Step Bag Assembly: Bringing It All Together
You’ve quilted your panels and cut your pieces-now for the exciting part! Assembling your bag is a process of building from the smallest details to the final structure. Follow these steps in order for a smooth construction process. Remember, patience and a consistent seam allowance are your best tools for achieving a professional finish.
Preparing and Attaching Pockets
If you're adding pockets, now is the time to attach them before the main bag panels are sewn together. Decide whether you want a simple patch pocket on the interior lining or a more complex zippered welt pocket on the exterior. Stitch your chosen pockets securely to the flat lining or main panels, ensuring they are straight and centered.
Installing the Zipper
A well-installed zipper elevates your entire project. We recommend creating fabric zipper tabs to encase the raw ends of the zipper tape for a clean, high-end look. To install:
- Place your main exterior panel right side up.
- Lay the zipper right side down, aligning the top edges.
- Place the lining panel right side down on top, creating a "zipper sandwich."
- Using a zipper foot, sew along the edge.
- Flip the fabrics away from the zipper and press. Topstitch for a crisp, durable finish. Repeat for the other side.
Constructing the Bag Body and Lining
With the zipper installed, open it halfway. Fold and pin the two main exterior panels right sides together and sew around the sides and bottom. Repeat for the lining panels, but leave a 4-5 inch opening in the bottom seam for turning. To create depth, box the corners on both the exterior and the lining. Finally, place the exterior bag (still inside-out) inside the lining bag so their right sides are facing each other, and sew around the top edge.
Creating and Attaching the Strap
For the final step, construct your strap by sewing a long fabric tube and turning it right-side-out. If using hardware, create small fabric tabs to hold D-rings and baste them to the bag's exterior side seams before the final assembly. Once everything is sewn, carefully pull the entire bag through the opening you left in the lining. Press everything neatly, stitch the lining gap closed, and admire your beautiful, finished quilted crossbody bag. For more advanced hardware techniques, check out the tutorials at embroiderynsewing.com.
Your Custom Creation: The Final Stitch
You’ve journeyed from selecting the perfect fabrics to mastering the final assembly. By carefully preparing your materials and following the step-by-step guide, you now have all the skills needed to craft a beautiful and functional accessory. Remember, the true magic happens when you infuse your own personality into the project, and adding a custom embroidery design is the perfect way to do that.
Now that you've completed this guide, you are ready to create a stunning quilted crossbody bag that is truly one-of-a-kind. To find the perfect finishing touch, why not explore a new design? Find the perfect digital pattern to personalize your bag at Embroidery n Sewing! They offer thousands of high-quality digital embroidery designs, with instant downloads in all major machine formats, perfect for elevating your bags, clothes, and more.
Don't wait to start your next masterpiece. Grab your materials, choose a design you love, and enjoy the satisfaction of creating something with your own two hands. Happy sewing!
Frequently Asked Questions
What is the best sewing machine needle for making a quilted bag?
For sewing through the multiple layers of a quilted crossbody bag, a strong needle is essential. We recommend using a Quilting or Jeans/Denim needle in a size 90/14 or even 100/16. These needles have a sharp, reinforced point designed to penetrate thick fabric, batting, and interfacing without skipping stitches or breaking. A fresh needle ensures clean stitches and prevents damage to your project, so it's always best to start with a new one.
Can I make this bag without an embroidery machine?
Absolutely! You do not need an embroidery machine to create a beautiful quilted texture. The quilting can be done on a standard sewing machine. For straight lines, a walking foot is your best friend as it feeds all layers through evenly. If you prefer a more free-form, stippled look, you can use a darning or free-motion quilting foot. This project is designed to be accessible for all types of sewing machines.
How do I make an adjustable strap for my crossbody bag?
To create an adjustable strap, you will need one rectangular ring and one strap slider, both matching your strap's width. First, attach one end of the strap to the bag with the rectangular ring. Then, thread the other end of the strap up through the slider, down through the ring, and back up through the other side of the slider. Fold the raw end under and stitch it securely to the bar of the slider.
What is 'boxing the corners' and why is it important for bag making?
'Boxing the corners' is a technique used to give a flat-bottomed bag depth and a three-dimensional shape. After sewing the main bag panels together, you pinch a corner so the side and bottom seams meet, forming a triangle. You then sew a straight line across the base of this triangle. This simple step transforms a flat pouch into a structured bag that can stand on its own, providing more interior space and a professional finish.
How do I prevent my fabric from puckering when I quilt it?
Fabric puckering is often caused by the layers of fabric and batting shifting during quilting. The best way to prevent this is to use a walking foot on your sewing machine, which feeds all layers evenly. You should also baste your quilt sandwich thoroughly before sewing, either with plenty of safety pins or a temporary spray adhesive. Starting your quilting lines in the center of the panel and working your way out also helps to smooth the fabric.
What's the best way to clean my finished quilted crossbody bag?
To keep your bag looking its best, spot cleaning is the preferred method. Use a soft cloth with a small amount of mild detergent and water to gently treat any stains. If a deeper clean is necessary, you can machine wash your bag on a gentle cycle with cold water. Place it inside a mesh laundry bag to protect the hardware and strap. Always let the bag air dry completely to maintain its shape and structure.


