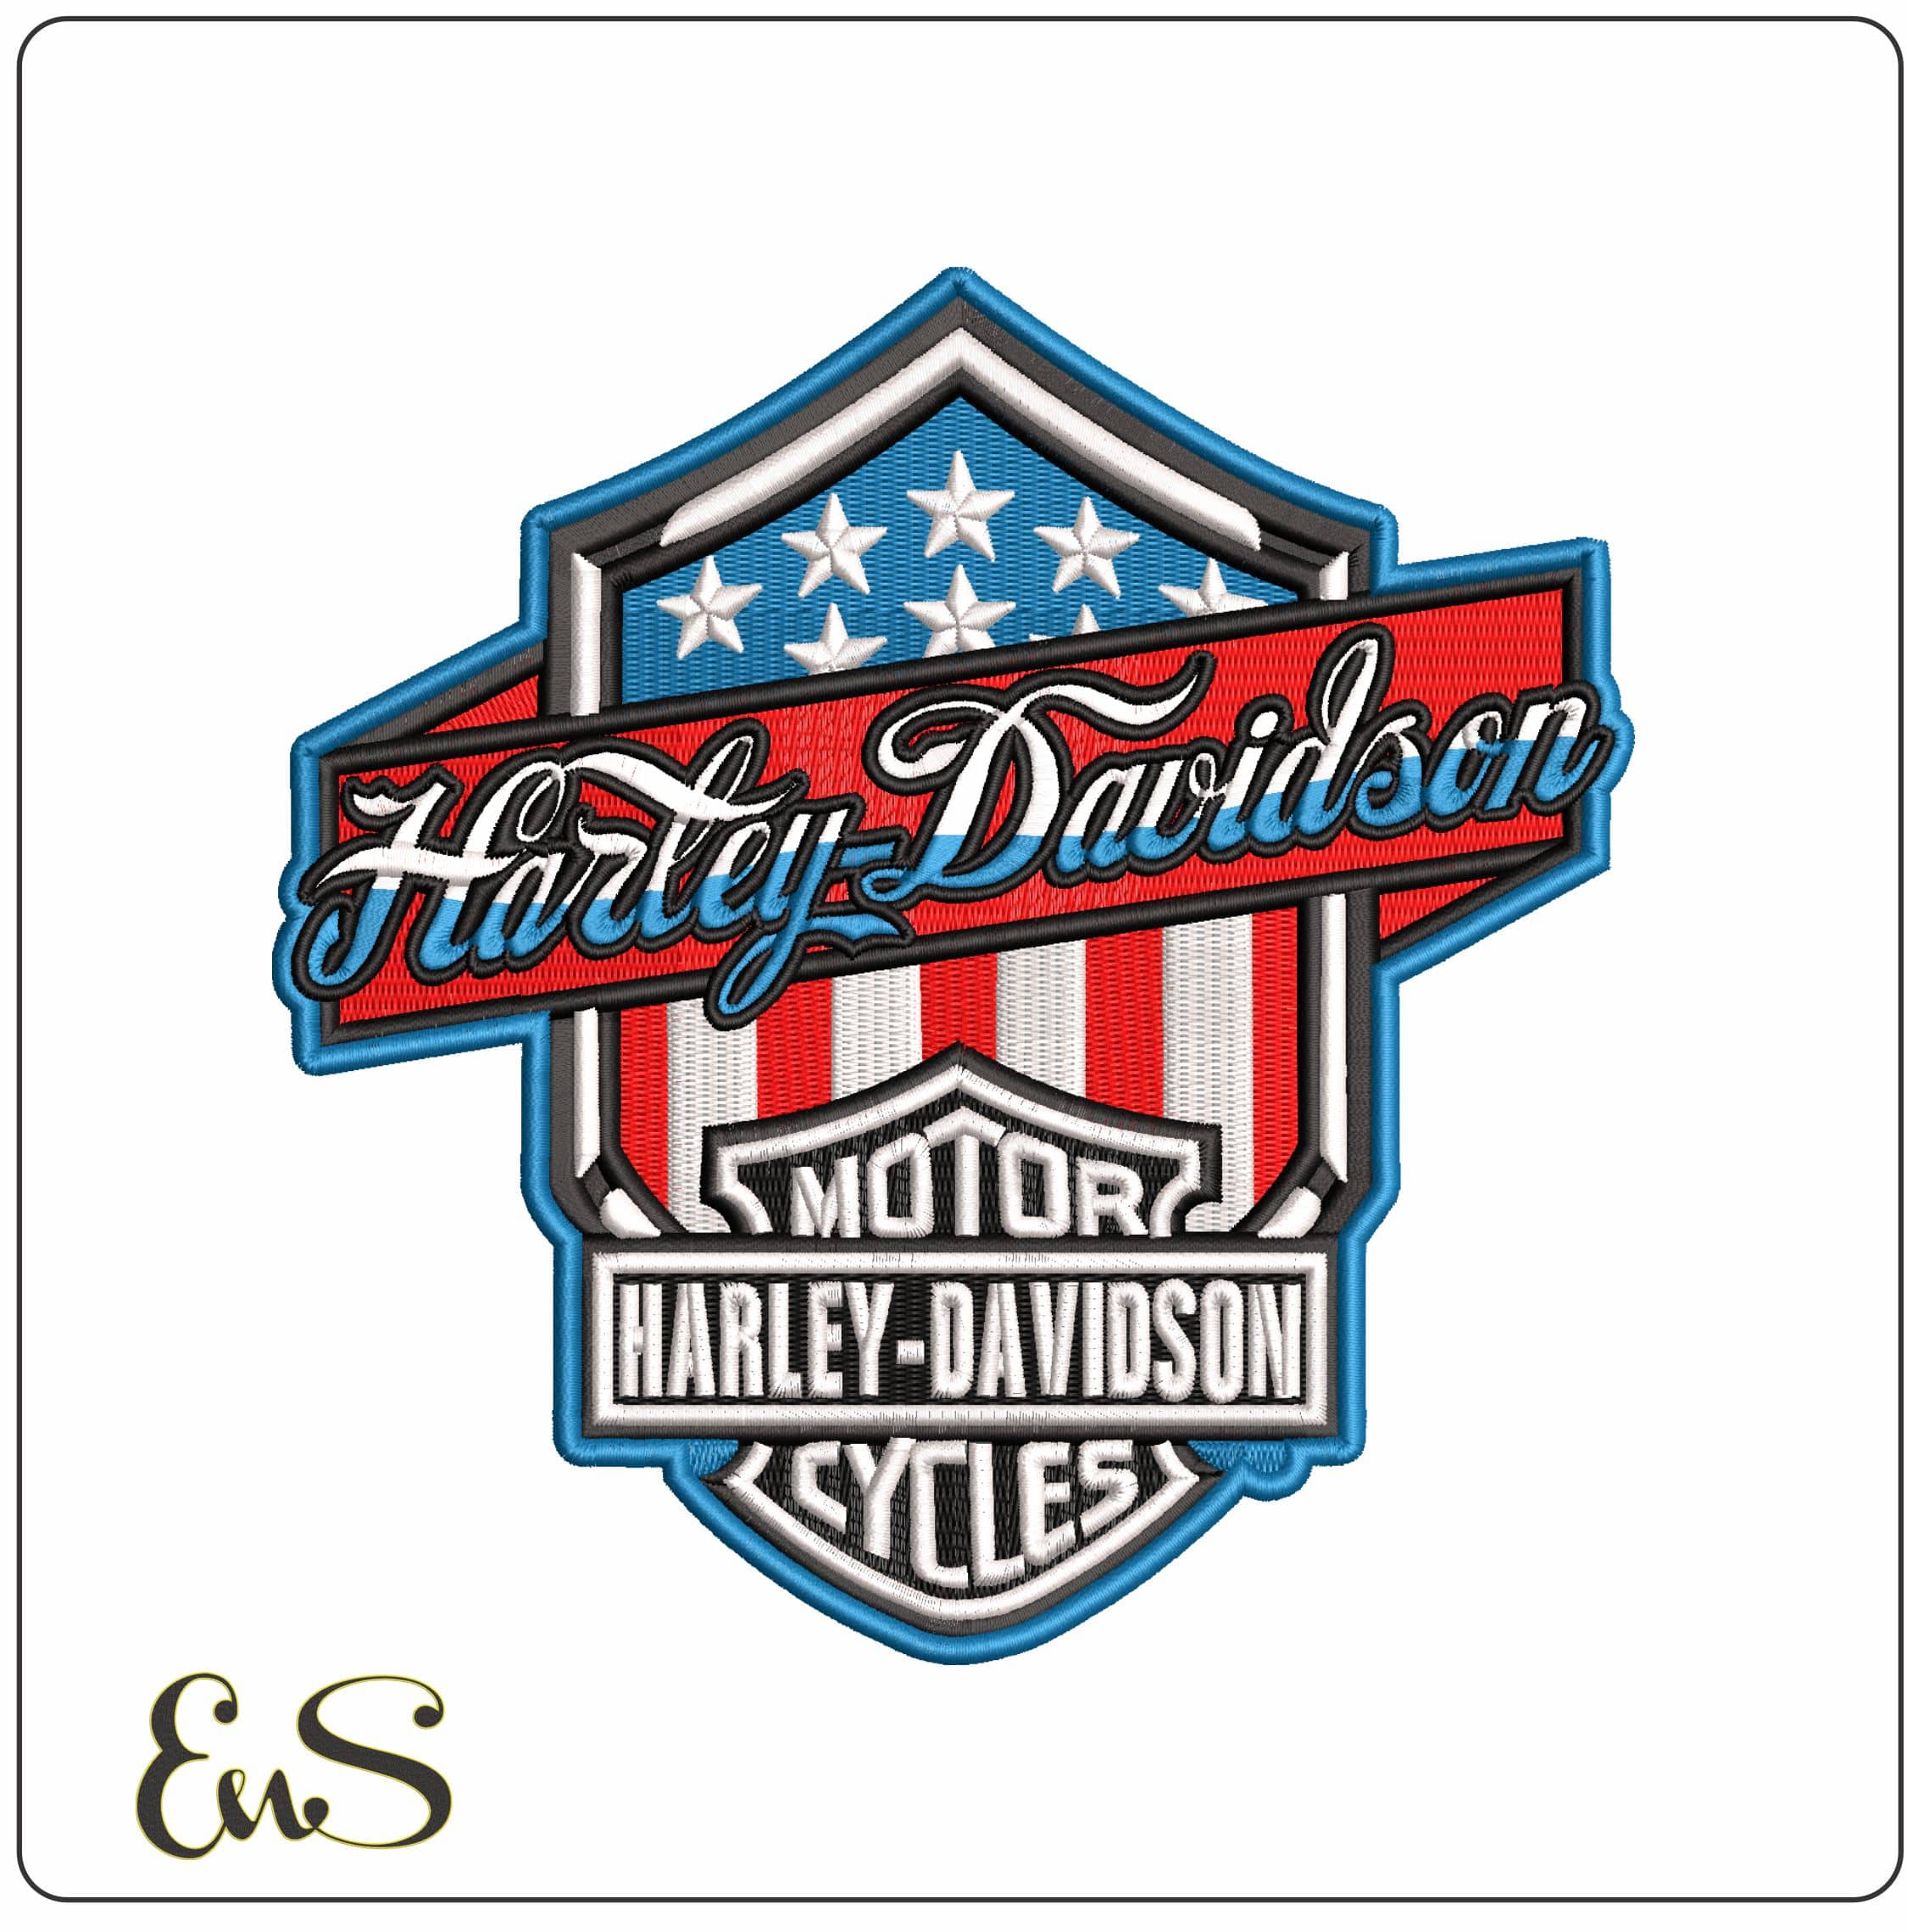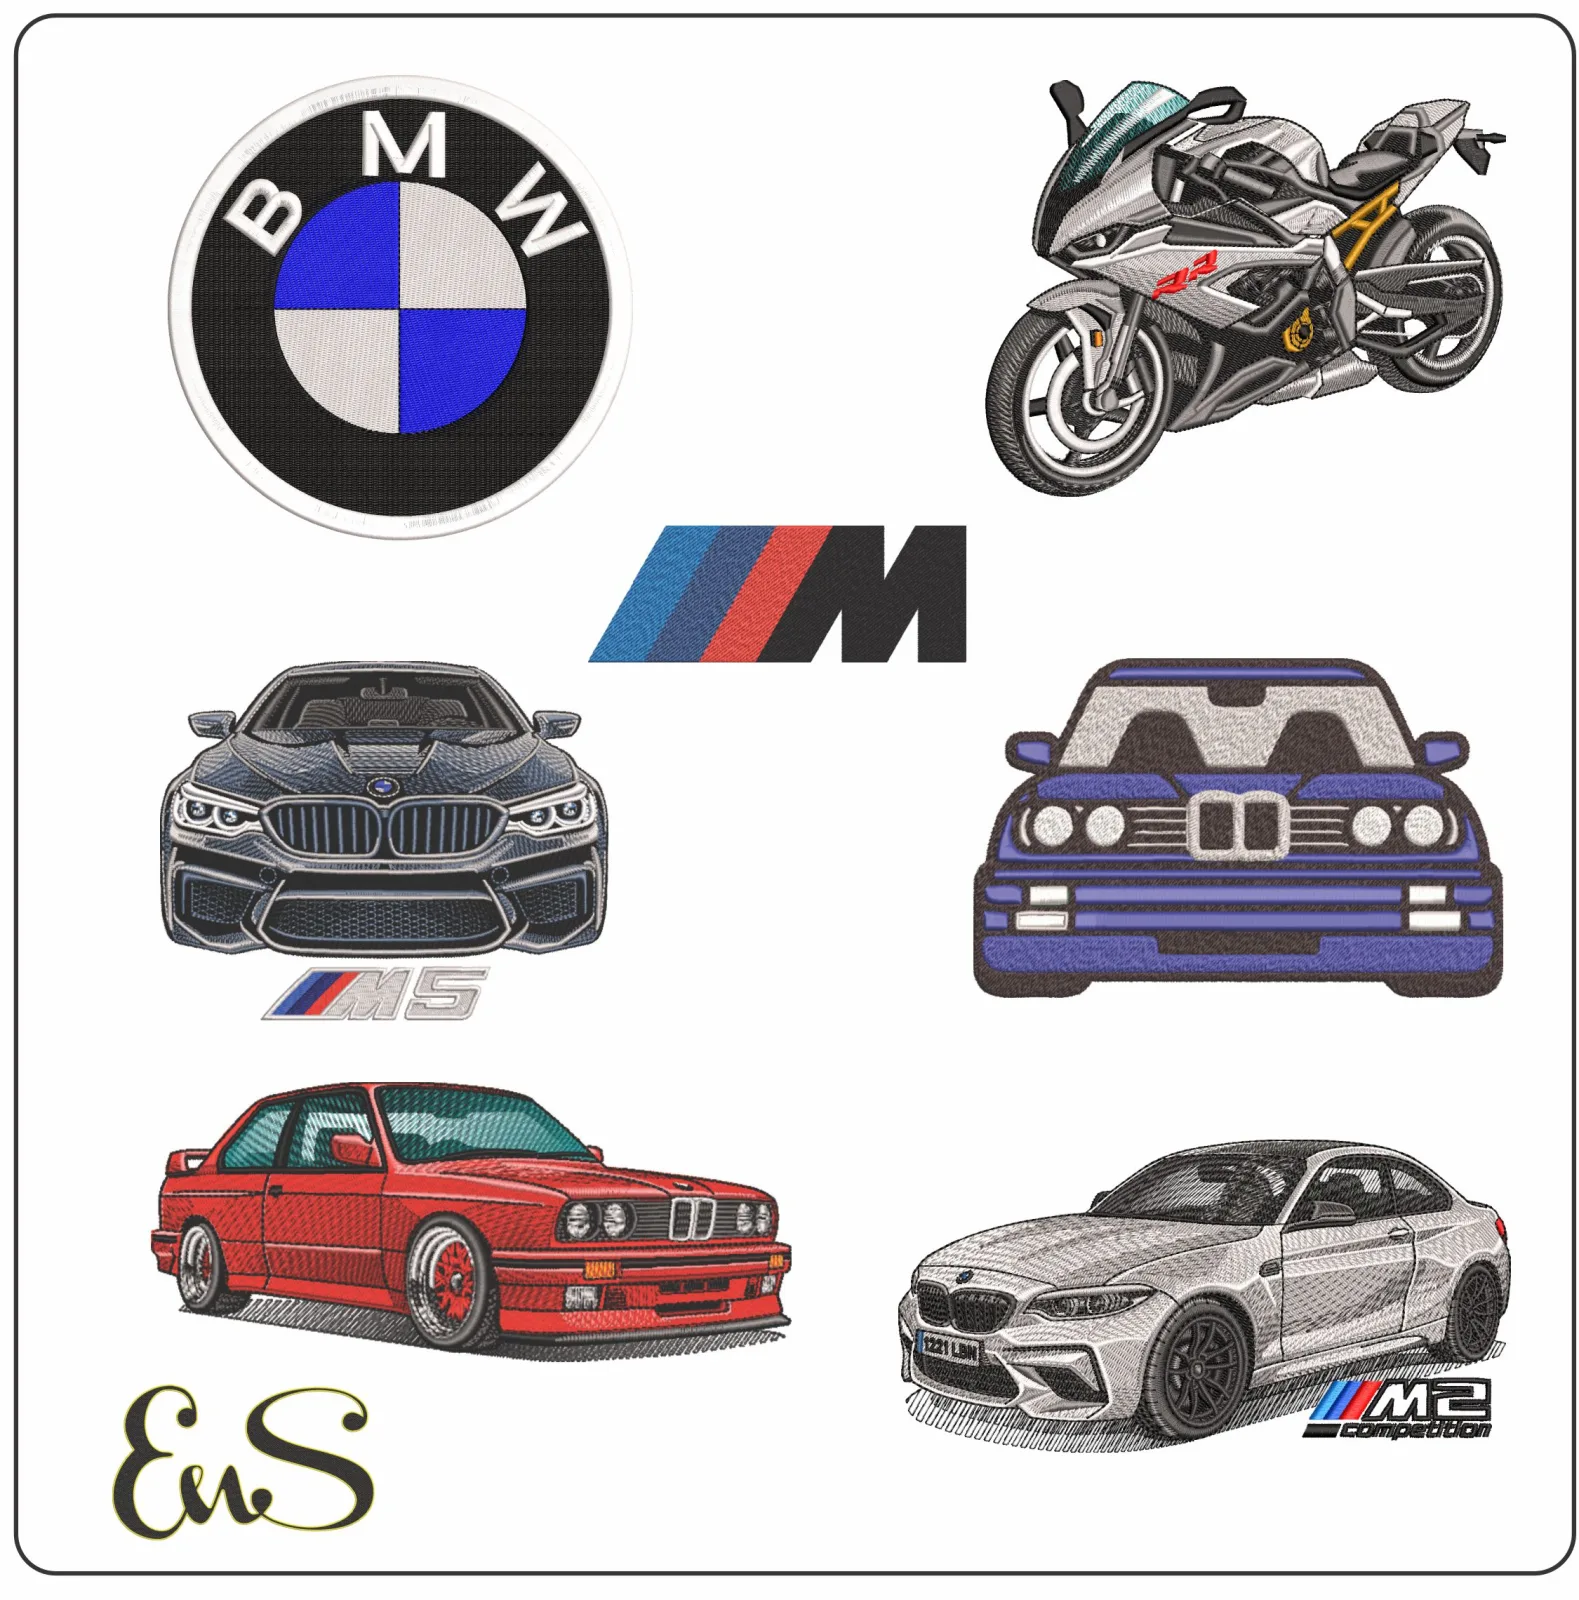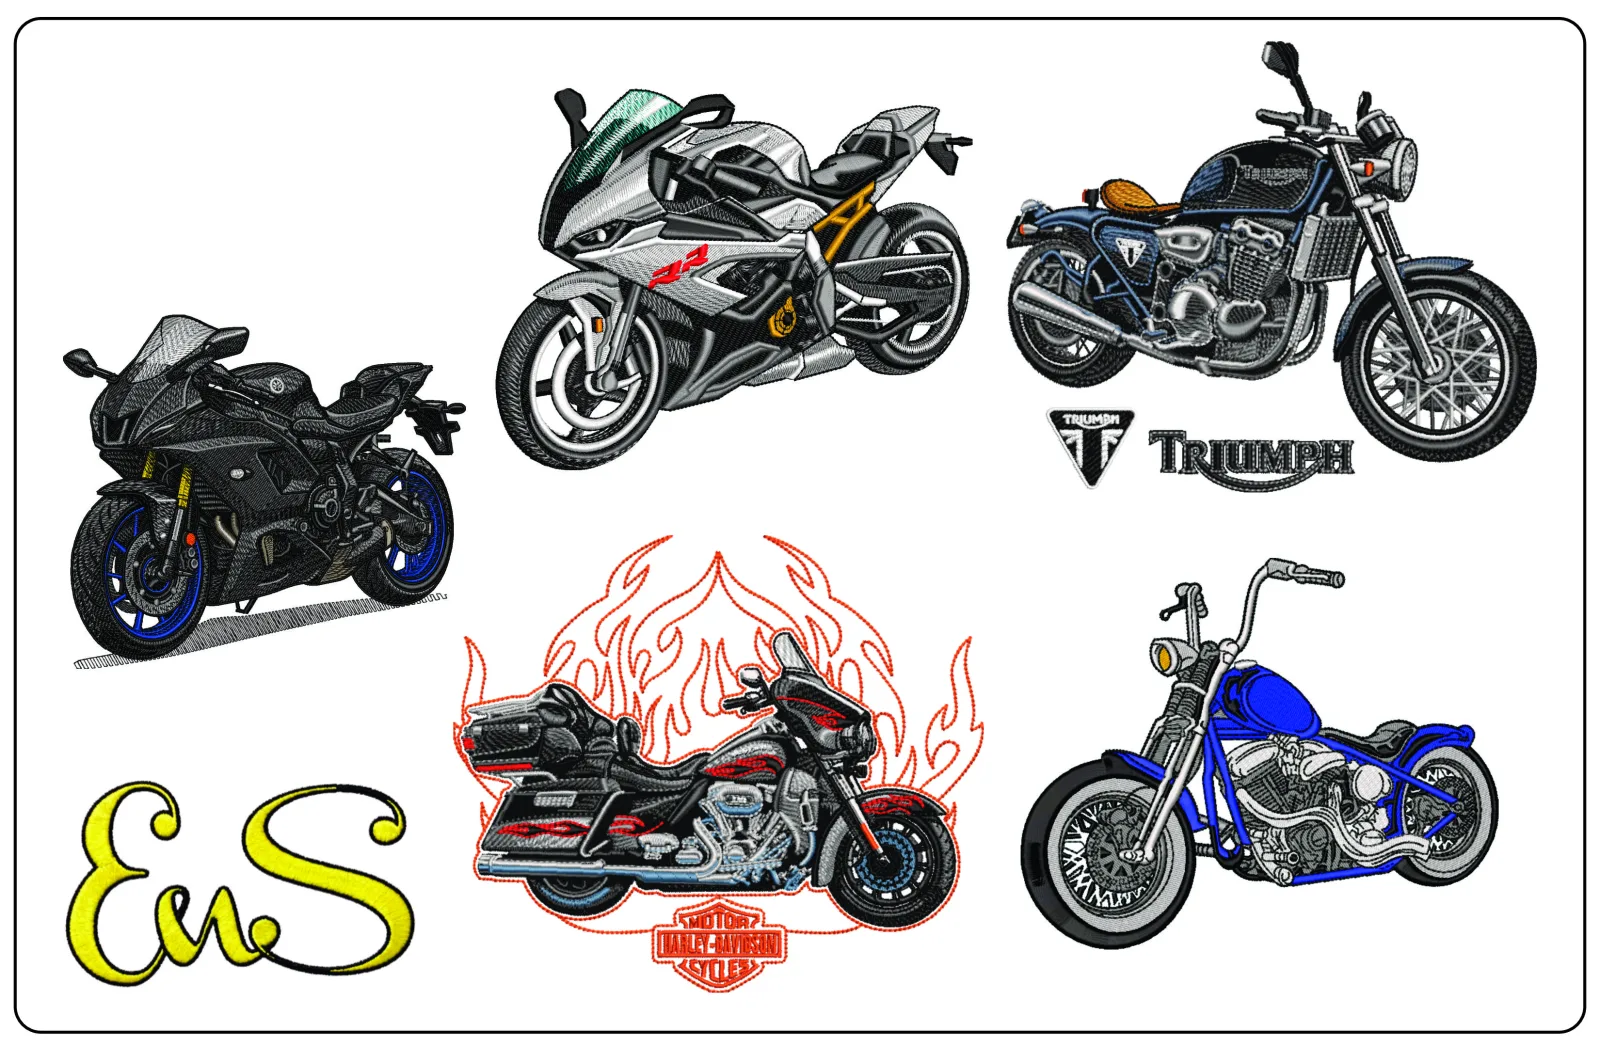
- Choosing high-stitch-count files designed specifically for the rigors of heavy biker gear.
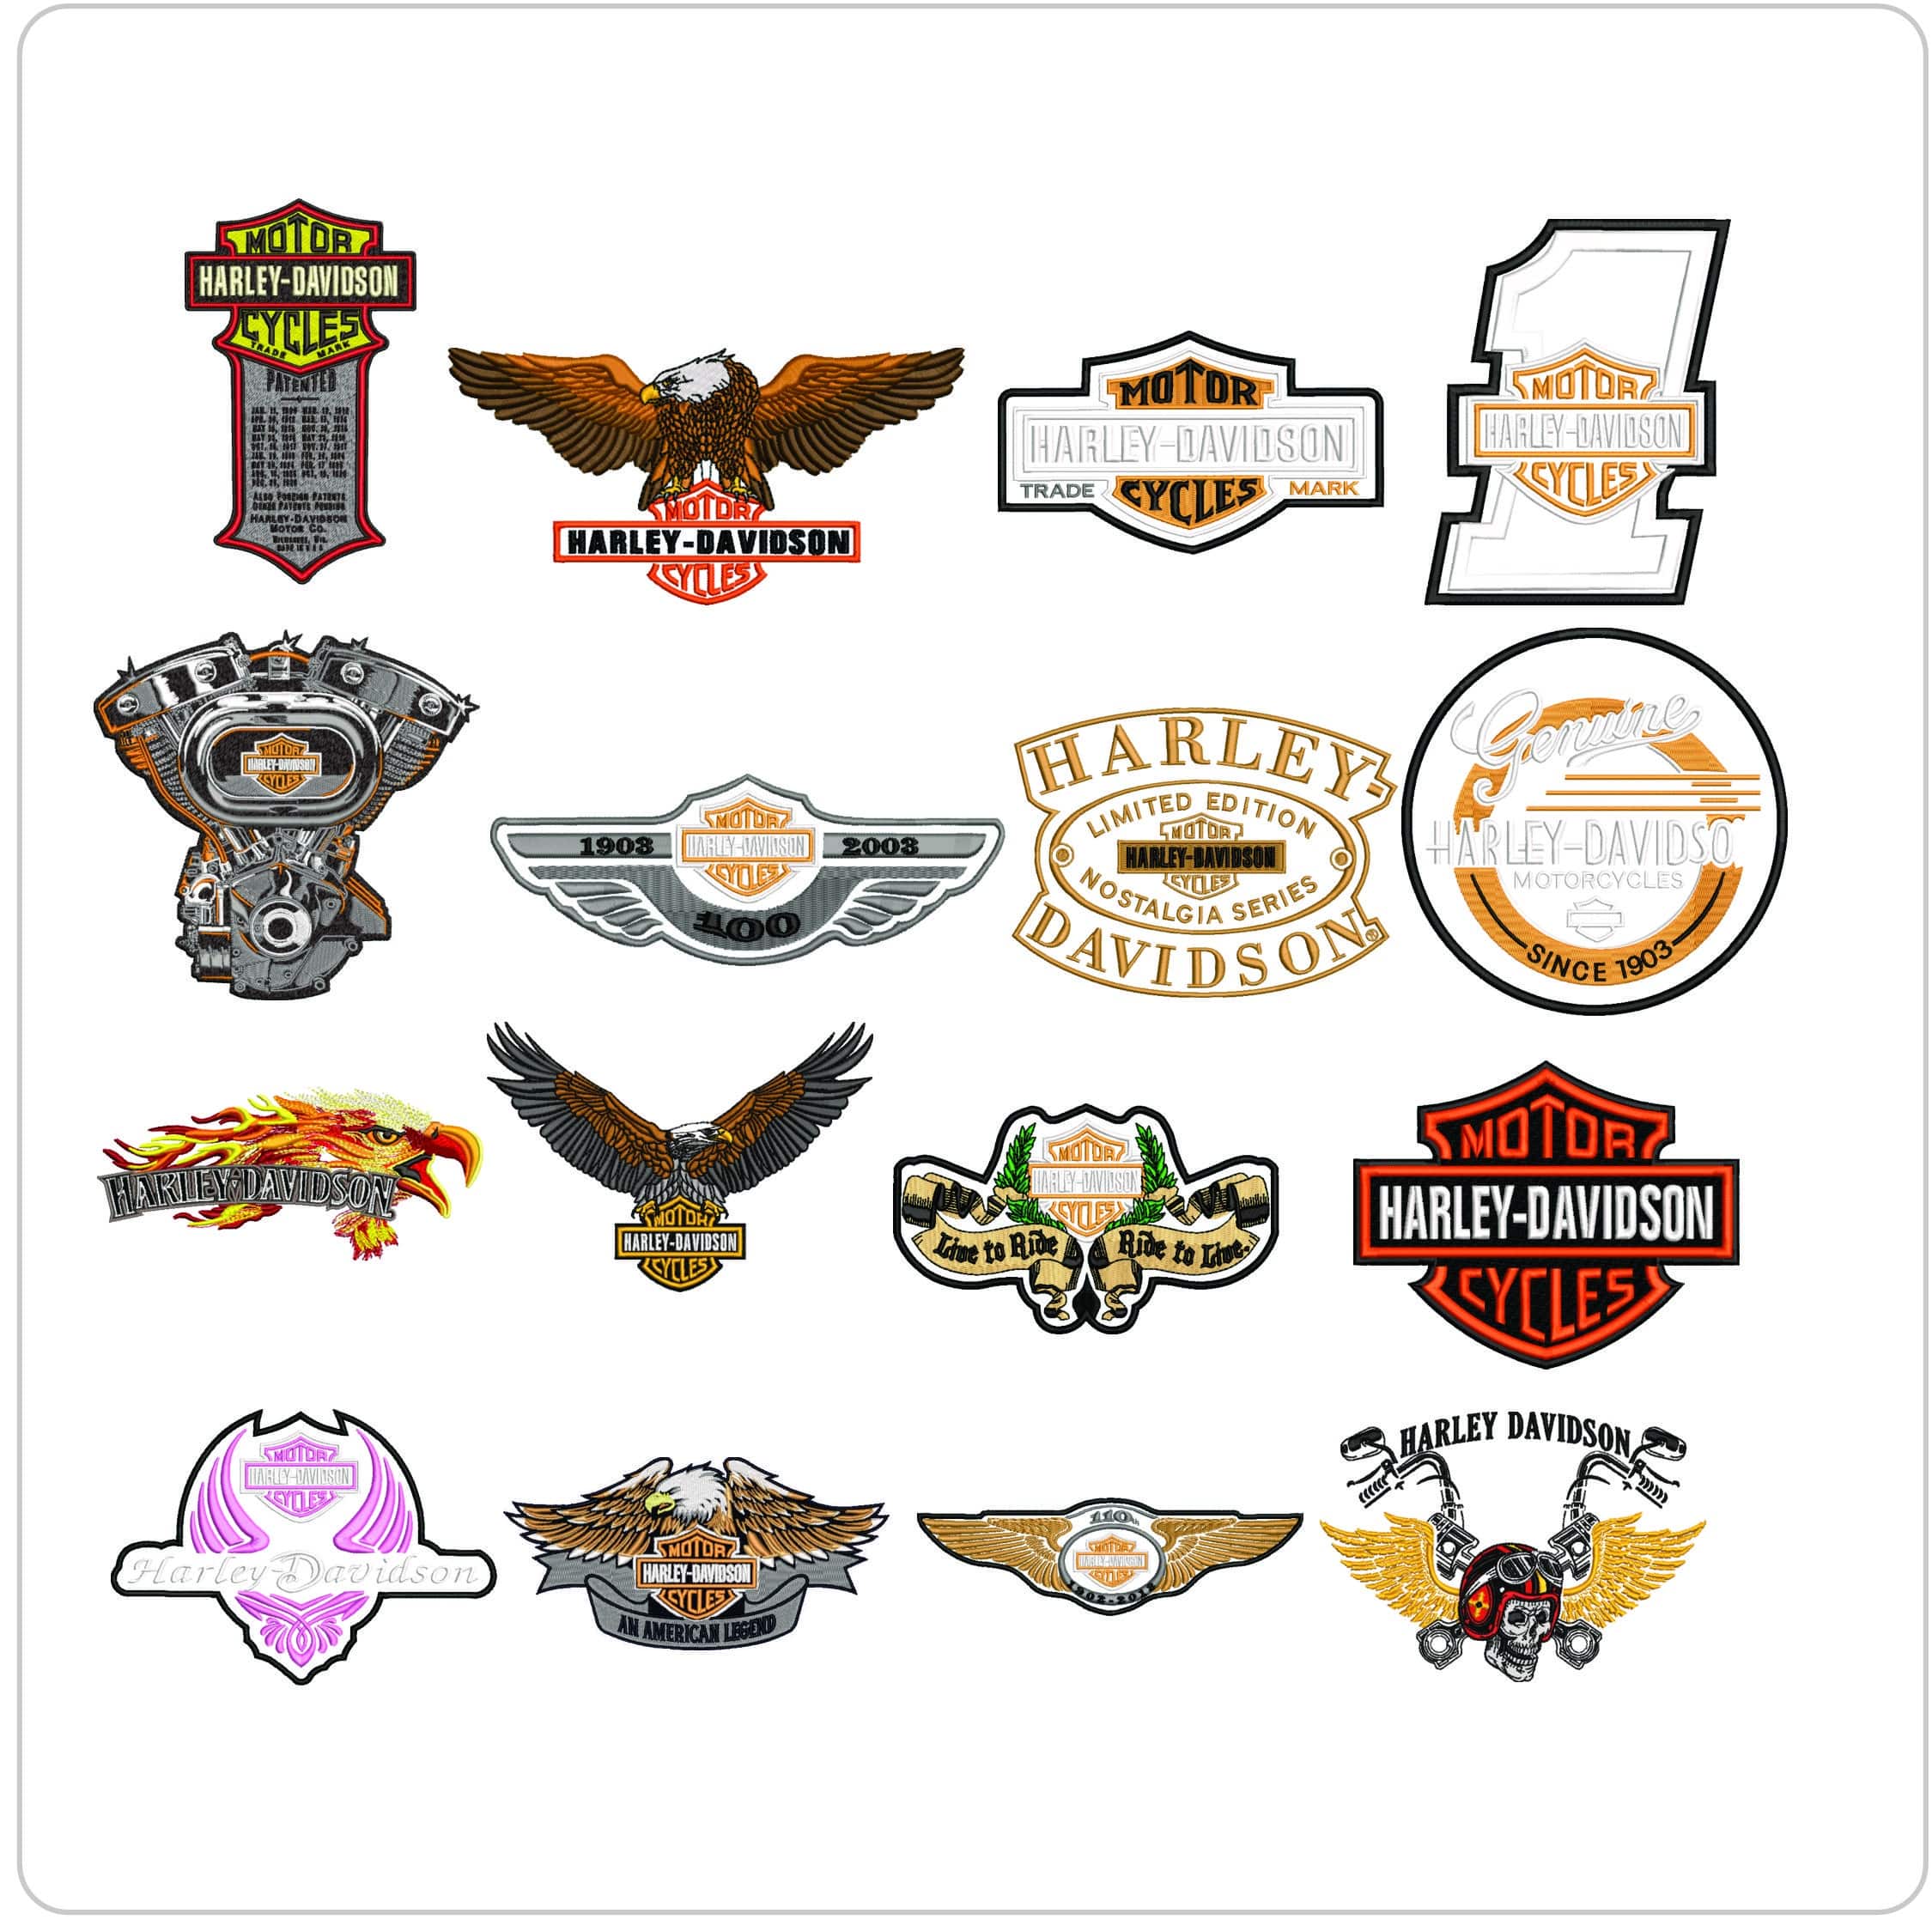 Embroidery design16 Harley Davidson Bulk Designs - Elegant embroidery design file - instant downloadView this design →
- Understanding the 2026 market landscape for digital files and professional embroidery software.
- Learning about the cultural etiquette and legal protections surrounding motorcycle patches in the United States.
What if your embroidery machine could handle a heavy leather vest as easily as a standard cotton t-shirt? I'm sorry to report that we don't offer physical embroidery services or the machines themselves; our expertise is strictly in the digital files that make these projects possible. This technical barrier is why it's so important to choose the right motorcycle embroidery designs from the start. It's frustrating when a design looks great on screen but causes thread nests or broken needles on your actual gear. I've seen many enthusiasts struggle with this, so I'll help you understand how to match your digital density to the ruggedness of your fabric. We'll explore the best stabilizers, the right needle sizes, and how to create professional patches that look sharp even after a long day on the road. [ILLUSTRATION: MATERIAL VS. NEEDLE GUIDE] - Light Denim: 80/12 Sharp Needle - Heavy Denim: 90/14 Jeans Needle - Leather Vests: 100/16 Leather Needle**[PROCESS FLOW: THE PERFECT PATCH]** Select High-Density File → Hoop with Cut-Away Stabilizer → Slow Machine Speed → Professional Result
Key Takeaways
- Understand why high-density motorcycle embroidery designs are essential for achieving crisp results on thick biker leather and heavy denim.
- Identify the correct needle sizes and stabilizer types needed to prevent equipment damage when working with rugged gear.
- Learn the stylistic differences between cruiser and sportbike designs to ensure your patches match your personal riding aesthetic.
- Discover how to personalize your projects by combining custom thread colors and machine embroidery fonts for a unique look.
- Save time by verifying your machine's specific file format requirements before you start your digital download.
Table of Contents
- Executive Summary: Quick Tips for Motorcycle Embroidery
- Understanding Motorcycle Embroidery Design Styles
- Technical Essentials for Stitching on Biker Gear
- How to Personalize Your Motorcycle Designs
Executive Summary: Quick Tips for Motorcycle Embroidery
- Select high-density designs: Heavy materials like leather or denim vests require motorcycle embroidery designs with higher stitch counts to prevent the fabric from showing through the stitches.
- Verify your file format: Always check if your machine requires PES, DST, JEF, or EXP formats before you finalize your download to avoid technical compatibility issues.
- Upgrade your hardware: Use a specialized 90/14 or 100/16 leather needle and heavy-weight cut-away stabilizer to keep the design from shifting during the high-speed stitching process.
- Personalize with text: Use specific embroidery fonts for machine embroidery to add names or custom slogans to your gear.
I'm sorry to inform you that we don't provide physical embroidery services or machines; our expertise is limited to the digital files that power your creative projects. This technical focus allows us to ensure that our digital files are optimized for the toughest materials. When you're working with biker gear, the fabric density is your biggest challenge. If you use a design meant for a light t-shirt on a heavy leather jacket, the stitches will literally disappear into the material. You need a file that's digitized specifically for rugged use.
Why Design Quality Matters
Professional digitizing is what keeps your machine running smoothly. High-quality files include "pull compensation," which is a technique where the digitizer adjusts the stitch width to account for the way fabric naturally bunches. Without this, your circles will look like ovals and your borders won't align. Good quality also means fewer "jump stitches." This reduces the risk of your thread snagging or breaking while you're halfway through a complex logo.
Choosing Your Aesthetic: Cruiser vs. Sport
Matching the design to the bike is a detail many people overlook. Cruiser enthusiasts often look for traditional motorcycle club insignia, featuring classic wings, skulls, or chrome-effect gradients. These designs are usually more rounded and ornate. On the other hand, sportbike and racing designs lean toward sharp, aerodynamic lines and high-contrast neon colors that mimic professional track gear. If you're into the vintage or "cafe racer" scene, look for minimalist, blocky designs that have a 1970s retro feel. Choosing the right style ensures your gear looks intentional rather than just random.
Understanding Motorcycle Embroidery Design Styles
- Cruiser and chopper designs emphasize heavy satin stitches to create chrome effects and ornate, flowing lines.
- Sportbike motifs utilize high-contrast colors and sharp, aerodynamic shapes for a racing-inspired look.
- Vintage and cafe racer styles focus on minimalist, retro-themed badges with a distressed or "sketch" stitch appearance.
- Properly scaling your designs ensures a professional look whether you're stitching a small hat logo or a large back-piece.
I'm sorry to inform you that we don't sell physical patches or embroidery machines; we provide the digital files that make your projects possible. This technical barrier means I can offer you a deeper look into the specific digitizing styles used in motorcycle embroidery designs. For those who ride cruisers, the aesthetic is all about bold presence. These designs often feature intricate detail meant to look like polished metal or flowing script. This style is a cornerstone of American motorcycling culture and requires a high-density file to stand out against heavy leather. Sportbike racing styles take a different approach. They're built on the concept of speed, so the designs use high-contrast colors and sharp, aerodynamic shapes. You'll often see sponsor-style logos that look fast even when the bike is parked. If you prefer a more understated or "old school" look, the vintage cafe racer style uses minimalist, retro badges. These often feature a distressed stitch pattern to give your gear an immediate sense of history. Icons like skulls, wings, and pistons remain universal favorites because they symbolize the freedom of the road across all riding sub-cultures.
Matching Designs to Your Project
Choosing the right file size for your specific project is a vital step. A small 4x4 design is perfect for a hat or a pocket, but a vest back requires a much larger, high-density file to look balanced. You can use various embroidery patterns to create a cohesive theme across your entire riding outfit. For example, you might put a small logo on your glove cuffs that matches the main design on your jacket. If you're ready to start your next project, feel free to explore our high quality embroidery designs to find a matching set for your gear. 
Technical Essentials for Stitching on Biker Gear
- Needle Selection: Use a 90/14 or 100/16 needle to pierce through thick leather or heavy denim without snapping.
- Stabilizer Strategy: Apply heavy-weight cut-away stabilizer to support the high stitch count of complex motorcycle logos.
- Thread Choice: Opt for polyester thread over rayon to ensure your gear withstands constant wind, rain, and UV exposure.
- Hooping Techniques: Use magnetic hoops or sticky-back stabilizers to avoid "hoop burn," which can permanently mark expensive leather vests.
I am sorry to state that we do not sell physical embroidery supplies or machines; our expertise is strictly focused on providing high-quality digital files. This technical barrier means I can only advise you on the hardware requirements needed to successfully run our motorcycle embroidery designs. When you're working with biker gear, your standard sewing setup won't cut it. A thin needle will bend the moment it hits a leather seam, which can lead to timed-out motors or broken internal components. You need a needle with a reinforced blade. Stabilization is your next priority. Because motorcycle patches are often dense and heavy, a tear-away stabilizer will simply fail mid-stitch. This causes the fabric to shift, resulting in misaligned borders. I always recommend a heavy-duty cut-away stabilizer that stays behind the design to provide long-term support. For thread, polyester is the only real choice for riders. Rayon is beautiful, but it lacks the tensile strength and colorfastness required for life on the open road. Polyester won't fade or fray when you're hitting highway speeds.
Stitching on Leather vs. Denim
Leather is an unforgiving material because every needle strike is permanent. I strongly suggest you never use pins; instead, secure your material with embroidery clips or a temporary adhesive spray. If you're working on heavy denim, you'll likely face uneven seams. You may need to slow your machine down to ensure your embroidery stitches remain uniform as the presser foot moves over different fabric heights. If you want to test these techniques, you can browse our machine embroidery designs to find a file optimized for rugged gear.
File Formats for Your Machine
We provide our digital files in several industry-standard formats, including PES, DST, JEF, and HUS, to ensure they work with almost any modern machine. Digitizing is the professional process of converting a static image into these specific machine-readable paths. A well-digitized file ensures that the paths are logical, which prevents your machine from nesting thread on the underside of your project.
How to Personalize Your Motorcycle Designs
- Add custom text: Merge your motorcycle embroidery designs with specialized fonts to include club names or personal callsigns.
- Match your ride: Swap standard thread colors for specific shades that mirror your bike's custom paint job or chrome accents.
- Incorporate textures: Use appliqué techniques to layer in rugged materials like leather or high-visibility reflective fabric for safety.
- Ensure longevity: Trim all stabilizers closely and use a thread sealant to protect your work from the harsh elements of the road.
I regret to inform you that we cannot provide physical thread or fabric samples; our operational focus is exclusively on the digital architecture of your designs. This technical limitation means you have the freedom to choose your own materials once you download our files. When you want to make a design truly yours, start by blending your motorcycle embroidery designs with professional machine embroidery fonts. This allows you to add a rider’s name or a chapter location directly into the digital layout before you ever hit the start button on your machine. Color customization is another easy way to create a bespoke look. Most digital files allow you to pause and swap thread colors at specific intervals. You can easily match a "Candy Apple Red" or "Electric Green" paint scheme by selecting the right polyester thread. If you want to add more dimension, consider using applique. By layering in pieces of actual leather or reflective safety fabric, you create a patch that looks professional and provides extra visibility during night rides. Once finished, always seal your knots with a tiny drop of fabric glue to prevent them from unraveling in the wind.
Creating Custom Back Patches
Large back patches often exceed the size of a standard hoop, so you'll need to use multi-hooping techniques. This involves splitting the digital design into sections and aligning them perfectly using registration marks. Once your large patch is complete, you can use various machine embroidery sewing methods to attach it to your vest. A tight zigzag or satin stitch around the border is the most secure way to ensure the patch doesn't peel off while you're riding at high speeds.
- Minimize jump stitches: Choose professionally digitized files that reduce the risk of thread snags and equipment errors.
- Ensure format flexibility: Access all major machine formats like PES, DST, and JEF instantly to keep your project moving.
- Explore diverse styles: Select from a wide variety of motorcycle embroidery designs ranging from vintage heritage badges to sleek modern racing logos.
Hit the Road with Professional Results
I'm sorry to say that we don't offer physical embroidery services or supplies; our focus is entirely on the technical quality of the digital files you use. This constraint means I can't physically help with your stitching, but I can ensure the code behind your design is flawless. As we've discussed throughout this guide, the secret to a great biker patch is matching the ruggedness of your gear with a file that's actually built to handle it. By choosing high-density, professionally digitized patterns, you avoid the common headaches of bunching and thread breaks. You're now ready to take your gear to the next level. If you're looking for your next project, you can browse our high-quality digital motorcycle embroidery designs right now. Every file is optimized for clean paths and minimal jump stitches, so your machine spends more time stitching and less time trimming. Whether you're working on a classic cruiser vest or a sportbike jacket, we have the styles you need to make it yours. I can't wait for you to see how sharp these look once they're on your gear. Safe riding and happy stitching.
- File Compatibility: Always match the digital format to your machine's brand, such as PES for Brother or DST for commercial Tajima units.
- Leather Safety: While direct embroidery is possible, creating a patch is often safer to prevent permanent needle damage to expensive leather jackets.
- Hoop Requirements: Large back patches typically require a 360mm x 200mm hoop or the use of multi-hooping techniques for smaller machines.
- Thread Selection: Use 100% polyester thread for all biker gear to ensure the design survives UV exposure and high-speed wind.
- Machine Settings: Slowing your stitch speed to 400-600 SPM helps prevent thread breaks on dense, high-stitch-count logos.
Frequently Asked Questions
What is the best file format for motorcycle embroidery designs?
The best file format depends entirely on the specific requirements of your embroidery machine brand. While DST is widely considered the industry standard for commercial use, hobbyists often require PES for Brother machines or JEF for Janome models. I'm sorry to state that we cannot provide technical support for converting files; however, we ensure our motorcycle embroidery designs are available in all major formats at download to prevent compatibility issues.
Can I embroider a motorcycle design directly onto a leather jacket?
You can embroider directly onto leather, but I must warn you that every needle penetration is permanent and cannot be undone. To avoid the risk of "hoop burn" or ruining an expensive jacket, many riders prefer stitching the design onto a separate piece of heavy fabric or leather to create a patch. If you choose to go direct, use a specialized leather needle and a sticky-back stabilizer to avoid clamping the leather in a standard hoop.
What size hoop do I need for a motorcycle back patch?
Most traditional back patches require a large hoop, typically starting at 360mm x 200mm (approximately 14 x 8 inches) or larger. If your machine's maximum hoop size is smaller than your desired design, you'll need to use multi-hooping techniques to stitch the logo in sections. I regret to inform you that we don't sell physical hoops, so please verify your machine's maximum embroidery area before purchasing a large-scale digital file.
How do I prevent thread breaks when stitching dense biker logos?
Preventing thread breaks requires a combination of high-quality digitizing and proper machine settings. I recommend slowing your machine speed to about 400 to 600 stitches per minute when working with dense motorcycle embroidery designs on heavy materials. This reduction in speed minimizes heat buildup on the needle. Additionally, ensure you're using a sharp 90/14 or 100/16 needle designed to handle the resistance of thick denim or leather without snagging the thread.
Do I need special thread for motorcycle gear that stays outdoors?
You should strictly use high-tenacity polyester thread for any gear that will be exposed to sunlight, wind, and rain. Polyester is specifically engineered to be UV resistant and colorfast, meaning it won't fade or weaken after a season of riding. Rayon thread is often too delicate for the high-speed friction and environmental stress associated with biker gear. Using polyester ensures your custom designs remain vibrant and intact for years of road use.