

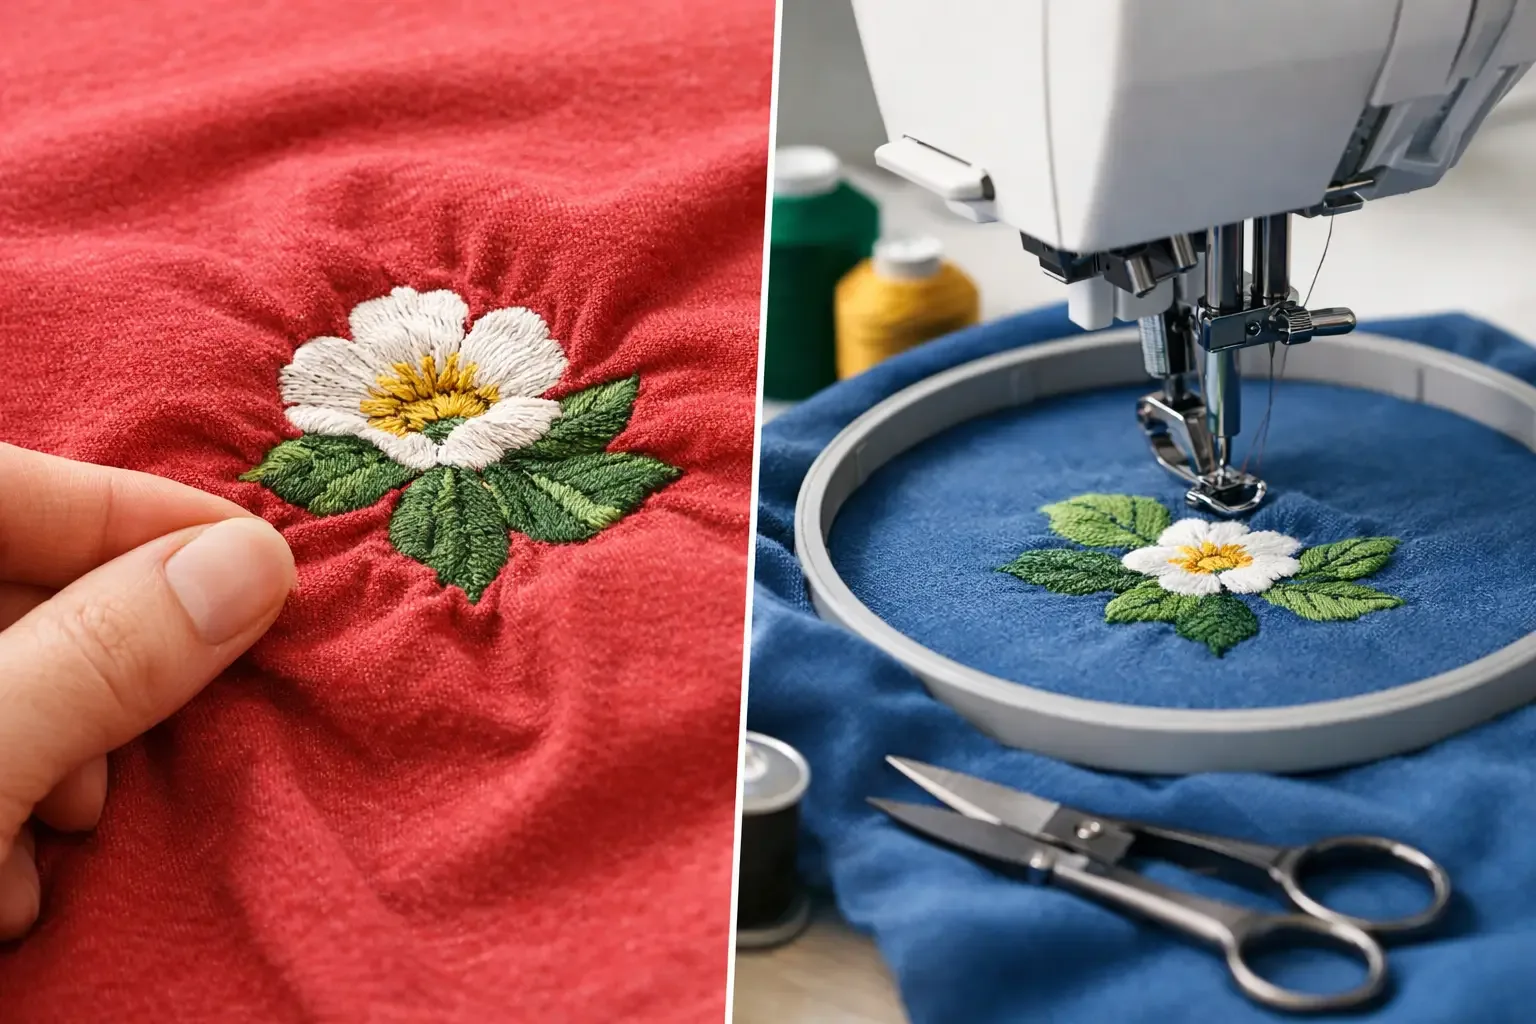
A design can look perfect on screen, stitch beautifully for the first few minutes, then leave ripples around every letter or fill area. That frustrating result is why embroidery designs pucker so often: the stitches, fabric, stabilizer, hooping, and machine settings are pulling against one another instead of working as one system. The good news is that puckering is usually fixable without changing your entire project.
For home machine embroiderers, boutique makers, and gift creators, a smooth finish matters. Whether you are stitching a sports-inspired logo on a hoodie, a name on a baby blanket, or a detailed anime design on a tote, puckering can make even a great file look less professional. Start by identifying where the pull began.
## Why Embroidery Designs Pucker on Fabric
Embroidery adds thousands of stitches to a material that was not necessarily made to hold them. Every stitch creates tension. Dense fill stitches pull inward, satin columns pull sideways, and repeated needle penetrations can distort lightweight or stretchy fabric. If the fabric has too much freedom to move, it gathers around the stitched area.
Puckering is not always a sign of a bad design file. A file can stitch cleanly on stable twill and pucker on jersey knit because the materials react differently. Likewise, a small monogram may need very little support, while a large, dense mascot-style design may need a stronger stabilizer, careful hooping, and a fabric appropriate for the stitch count.
The fastest way to troubleshoot is to look at the direction of the ripples. If fabric is pulling toward the center of a filled shape, the design may be too dense for the fabric or lack adequate stabilization. If wrinkles extend beyond the design, hooping tension or excess top-thread tension may be the problem. If the stitches themselves look loose, uneven, or sunken, check the needle, thread path, bobbin, and stabilizer before blaming the file.
## Start With the Right Stabilizer
Stabilizer is the foundation that helps fabric resist the force of embroidery. Using too little is one of the most common reasons a design puckers. A single lightweight tear-away sheet may be fine for a simple outline on woven cotton, but it is rarely enough for a dense chest logo, layered lettering, or detailed fill design.
Match the stabilizer to the fabric and project. Cut-away stabilizer stays behind the stitches and offers lasting support, making it a dependable choice for T-shirts, polos, sweatshirts, performance knits, and other stretch fabrics. Tear-away stabilizer works well for stable woven fabrics and lighter stitch counts. Wash-away stabilizer is useful when the backing must disappear, but it is not automatically the best answer for a dense design because it provides less permanent support.
For difficult fabrics, use more than one layer rather than hoping one sheet will do the job. Two layers of medium tear-away can support a structured tote or cotton apron. A cut-away backing plus a temporary topping can help stabilize a textured polo or fleece. The exact combination depends on fabric weight and design density, but the principle is simple: the more stitch force you add, the more support the fabric needs.
Do not confuse stabilizer with topping. Topping sits on the surface to keep stitches from sinking into materials such as towels, minky, fleece, and plush blankets. It improves stitch visibility, but it does not replace a proper backing underneath.
Hoop Fabric Firmly, Not Like a Drum
Overhooping and underhooping can both create puckering. Fabric that is loose in the hoop shifts while the machine stitches. Fabric stretched tight like a drum may look smooth at first, then relax after it is removed from the hoop, leaving ripples around the design.
Aim for fabric that is smooth, flat, and supported without being stretched out of shape. On knit shirts, gently smooth the garment into the hoop rather than pulling it in every direction. If you stretch the shirt to make it tight, the embroidery may contract after unhooping and create a wavy outline.
A good test is to press lightly near the hooped area. The material should feel secure and should not slide or bounce, but it should still look like it did before hooping. If your fabric is delicate, very small, or difficult to hoop evenly, adhesive stabilizer or floating the item over a hooped backing can be a better option. This is especially helpful for cap panels, pockets, towels, and pre-made items with seams that make standard hooping awkward.
Check Design Density and Size Before Stitching
A dense design placed too small is a puckering risk even when hooping is excellent. When you reduce a design inside your machine or software, stitch spacing can become too tight. The result is extra needle penetrations packed into a small area, which can cause stiff, warped embroidery and fabric ripples.
Avoid shrinking a file unless your software can recalculate the stitch settings correctly. If you need a smaller result, choose a design made for that size or request a properly digitized version. The same rule applies when enlarging. Stretching a small logo too large can create long stitches, gaps, and poor coverage.
Watch for designs with large fill areas, wide satin borders, small text, or multiple overlapping colors. These can look fantastic, but they require the right fabric and support. A dense stadium, team-inspired, cartoon, or full-color character design may be better on a structured sweatshirt, jacket back, canvas bag, or twill patch than on a thin fashion tee.
Quality digitizing also includes underlay stitches, pull compensation, sensible stitch direction, and travel planning. Those details help the design hold its shape. When you shop for ready-to-stitch files, select the design size that fits your hoop and finished item rather than forcing one size to work for every project.
Reduce Thread Tension Problems
Thread tension can make puckering worse, especially when the upper thread is too tight. Excess upper tension pulls the fabric upward and inward as stitches form. You may also see bobbin thread showing on top, narrow satin columns, or a stiff, pinched look.
Before changing tension settings, rethread the machine with the presser foot raised so the thread enters the tension discs correctly. Check that the bobbin is installed in the proper direction and that lint is not caught in the bobbin area. A damaged needle can drag fibers, create skipped stitches, and add unnecessary stress to the fabric.
Use embroidery thread and an embroidery needle sized for the project. For most standard 40-weight embroidery thread, a 75/11 embroidery needle is a common starting point. Move to a larger needle when working with heavier thread, dense designs, or tougher materials, and use a ballpoint or stretch needle when your machine manufacturer recommends one for knits. Always test on a scrap made from the same fabric and stabilizer as the finished item.
Treat Stretch, Texture, and Thin Fabric Differently
Some materials need special handling because they are naturally prone to distortion. Lightweight T-shirts, athletic knits, rayon blends, and thin cottons can pucker with moderate stitch counts. Stretch fabrics need cut-away support and should be hooped without stretching. A temporary spray adhesive can help keep layers from shifting, used lightly and according to the product directions.
Textured materials create a different challenge. Towels, sherpa, fleece, and plush blankets may not pucker badly, but the design can sink into the pile and look uneven. Add water-soluble topping over the fabric, then remove it after stitching. For very fluffy materials, choose a design with bolder lettering and less tiny detail.
For thin or delicate fabric, consider a patch, applique, or a lighter design instead of a large, dense fill. That is not settling for less. It is choosing the construction that gives your project the cleanest finish.
## A Quick Test Stitch Saves the Project
Test stitching is the most practical habit for preventing puckering. Use the actual thread, backing, topping, needle, fabric, hoop, and design size you plan to use. A test on a random scrap of heavier cotton does not tell you how a lightweight hoodie or performance polo will behave.
If the sample puckers, change one variable at a time. Add stabilizer first, then review hooping. If the fabric is still pulling, try a less dense or differently sized design. Only adjust machine tension after confirming the basics, because tension changes can hide the real issue and create new stitch problems.
A beautiful embroidery project is built before the first color starts. Choose a design that suits the item, stabilize it for the stitch count, and give yourself one test run. With thousands of instant-download design options available for every team, season, hobby, and gift idea, that small preparation step helps every finished piece look ready to wear, sell, or give with confidence.


