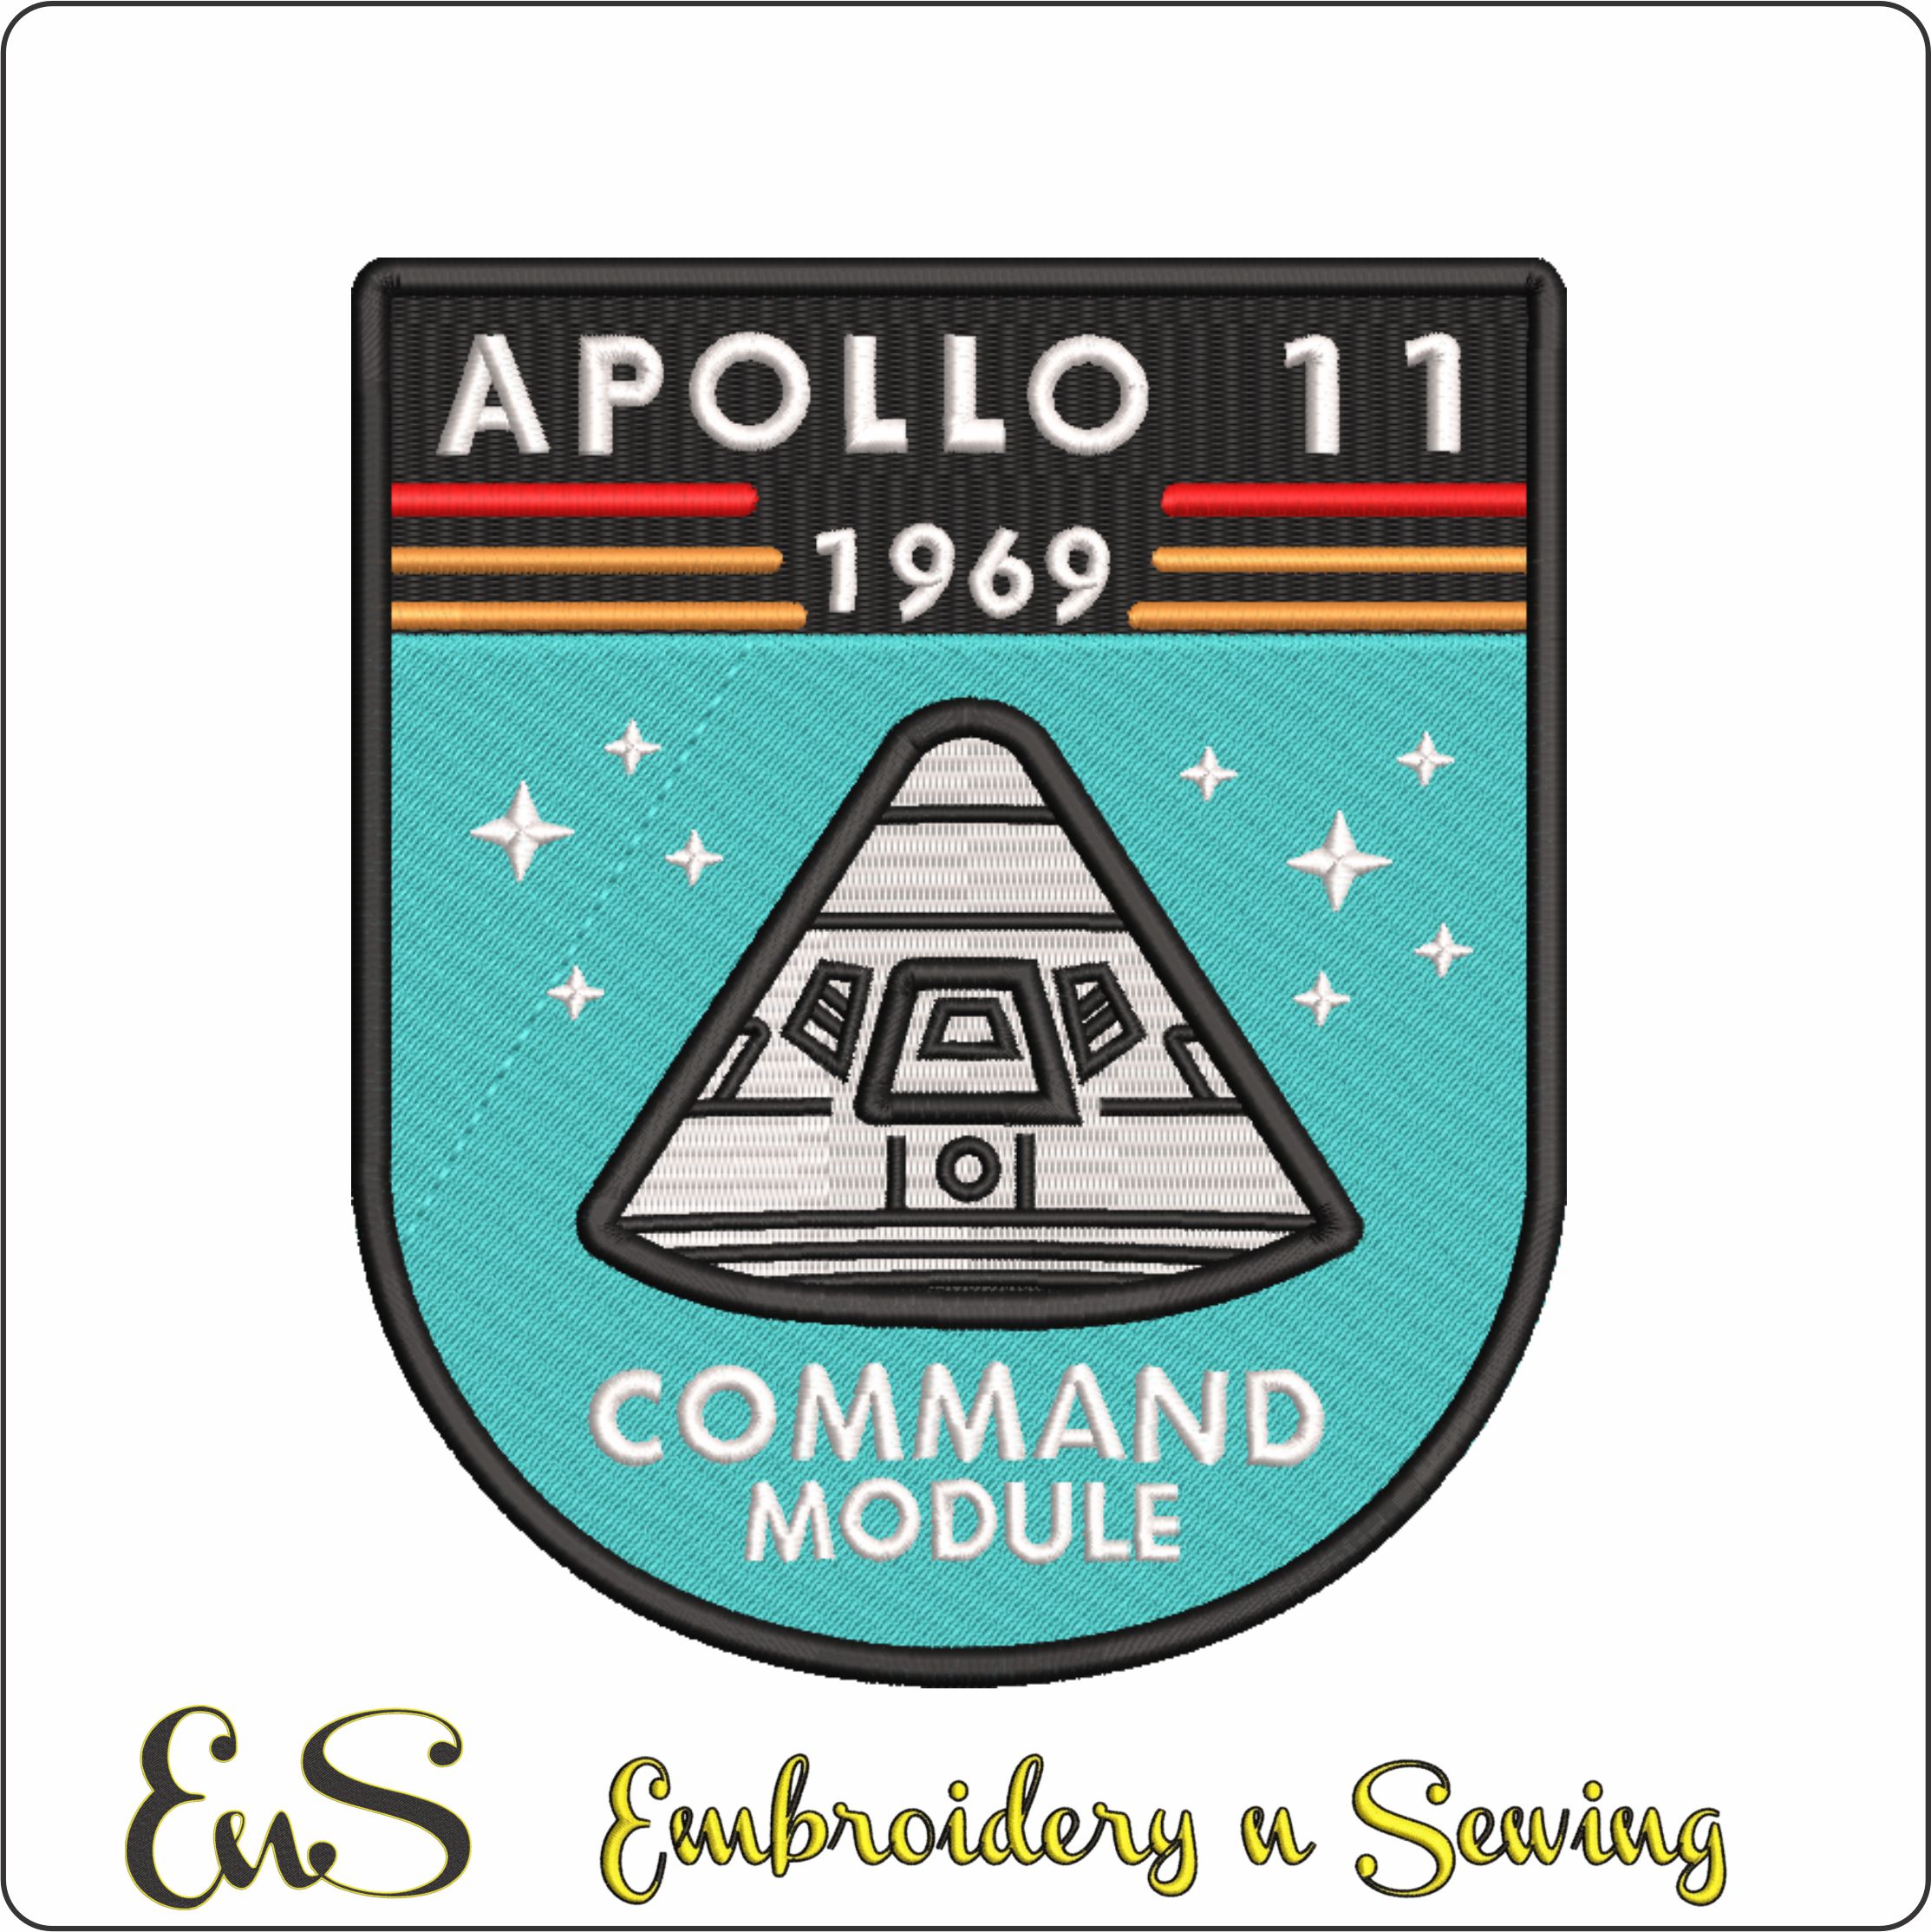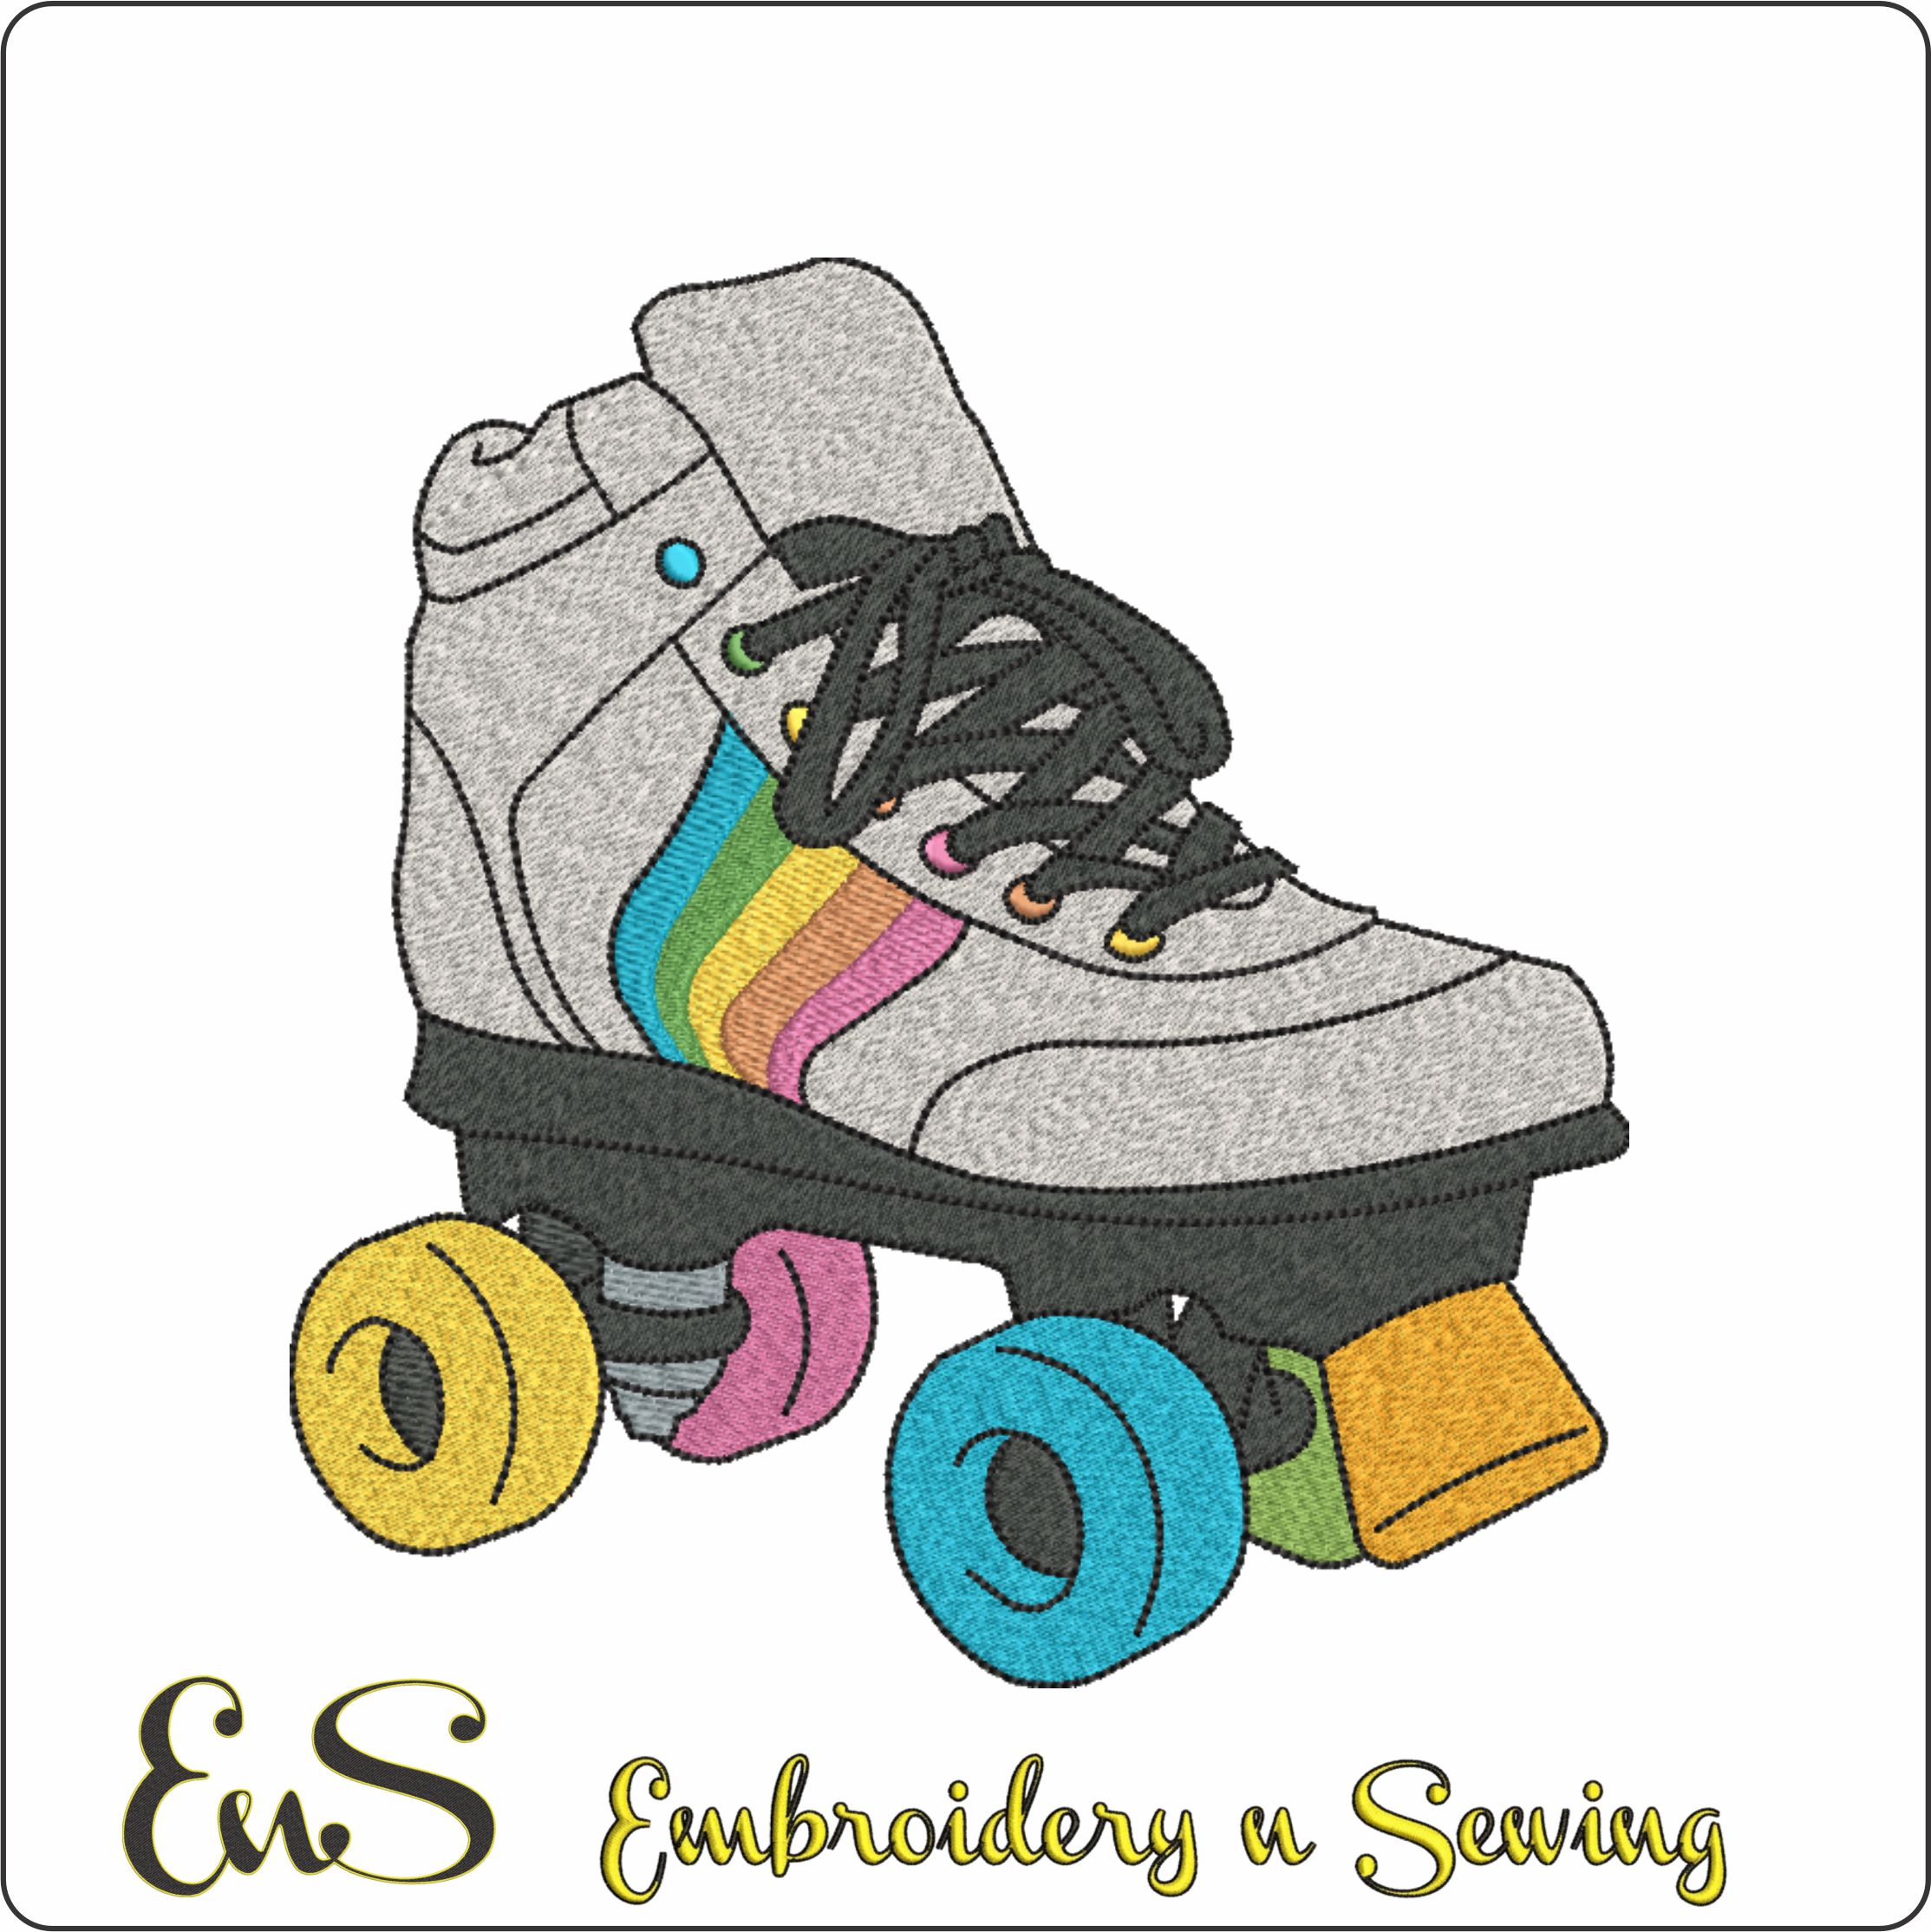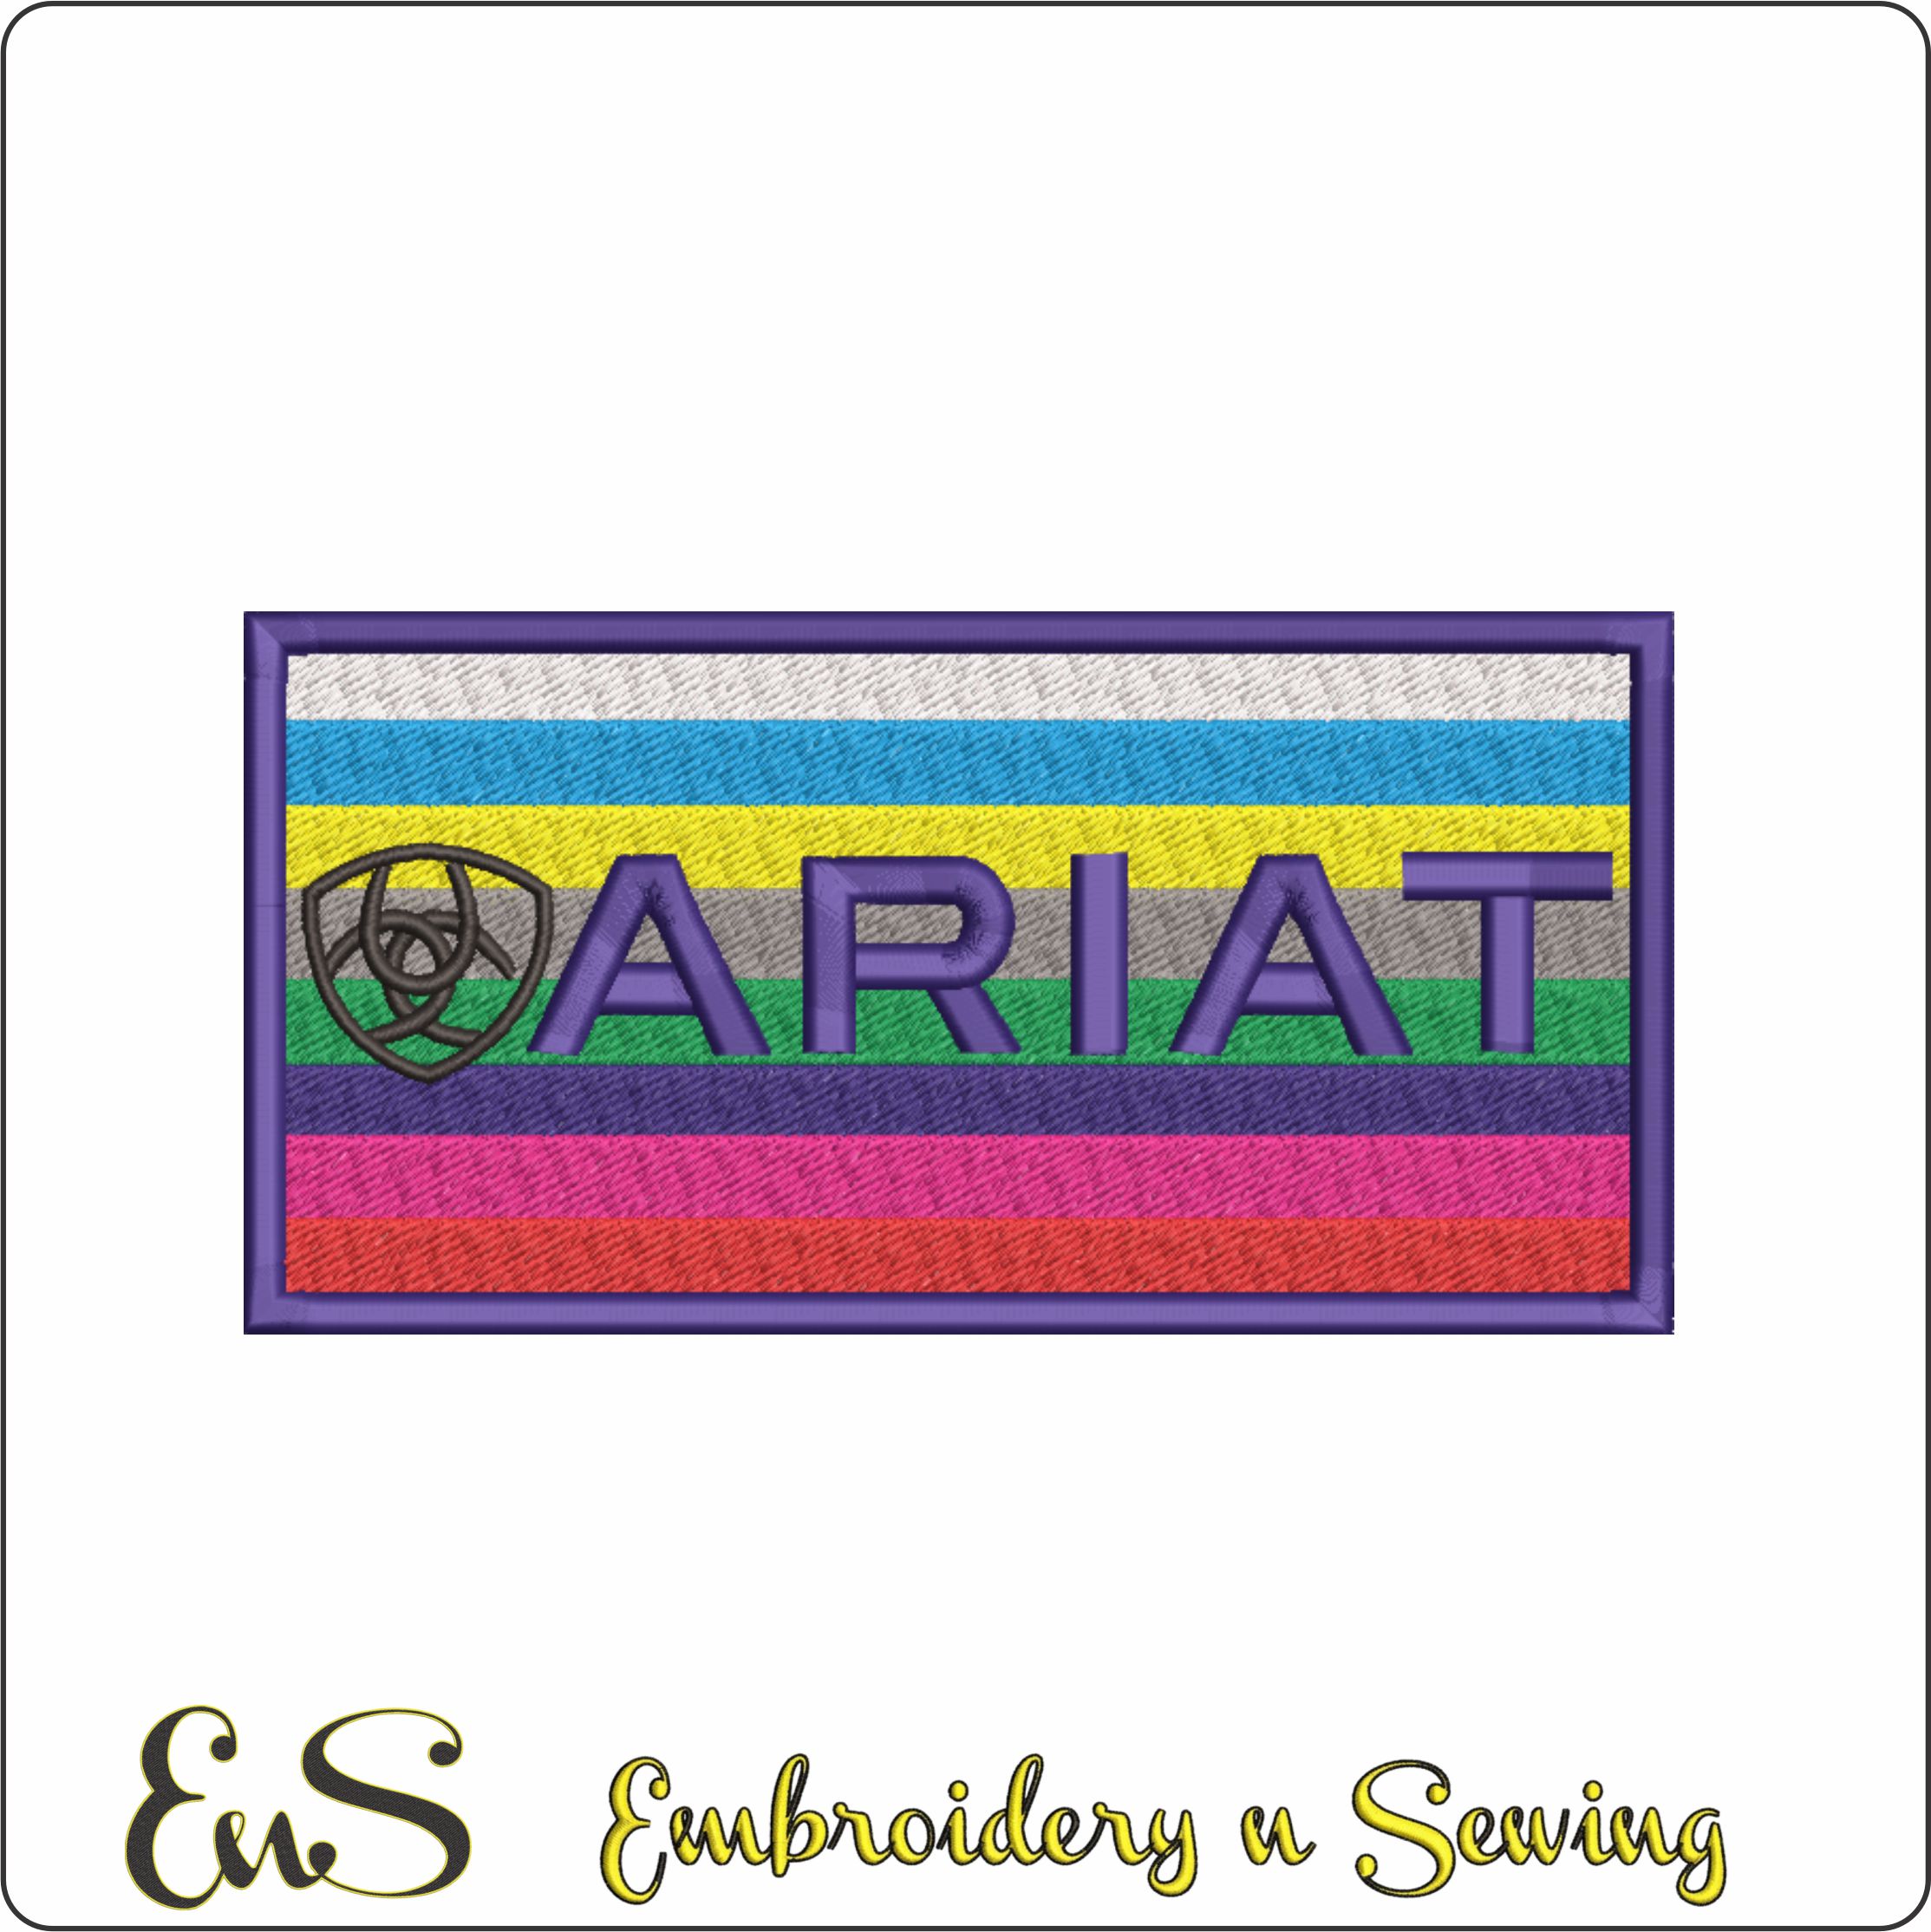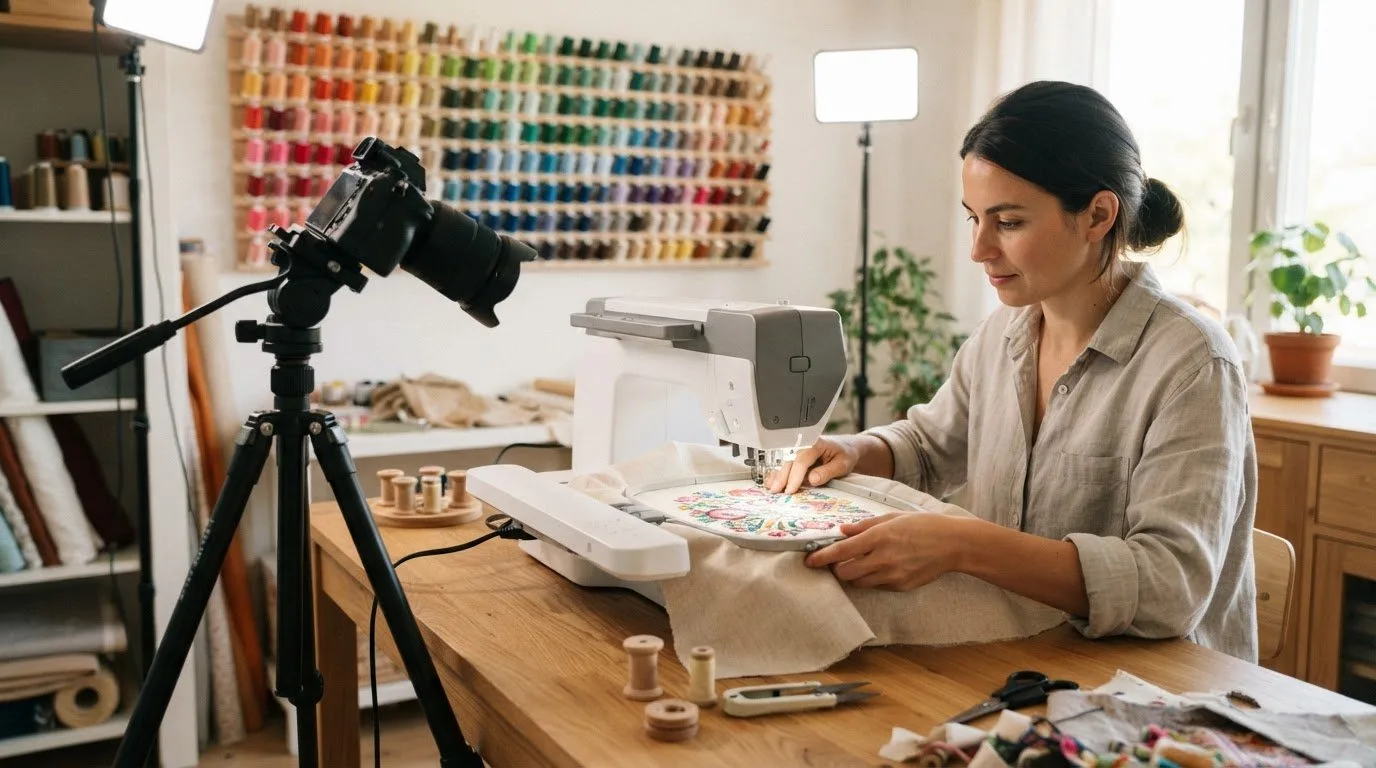

Have you ever looked at a plain jacket, tote bag, or pair of jeans and thought, "This needs a little something extra"? Well, you are in the right place. Creating custom embroidery patches at home is one of the most fun and rewarding craft projects you can dive into, and the best part is that you do not need to be an expert to get started.
Custom embroidery patches let you express your personality, add a handmade touch to your favorite items, or even create thoughtful gifts for the people you love. Whether you want to stitch a cute floral design, a quirky logo, or your favorite quote, the possibilities are truly endless.
In this tutorial, we are going to walk you through everything you need to know as a beginner. From gathering your supplies to finishing your very first patch, we have got you covered every step of the way. By the end, you will have a beautiful handmade patch and a brand new skill to show off. So grab your embroidery hoop and let's get stitching!

## Why Custom Patches Are Having a Major Moment in 2026
If you've noticed patches popping up everywhere lately, from denim jackets at coffee shops to custom team gear on social media, you're not imagining things. Custom embroidery patches have been called one of the hottest apparel trends of 2026, and the reason goes deeper than just aesthetics. A genuine cultural shift is happening, and it's moving people away from mass-produced, cookie-cutter clothing toward pieces that actually mean something to them.
At the heart of this shift is hyper-personalization, which experts are calling the single largest transformation in fashion this year. People simply don't want to wear the same thing as everyone else anymore. The great news about patches is that they let you express your personality, your interests, and your story without having to rebuild your entire wardrobe from scratch. You can take a plain jacket you already own and make it completely, unmistakably yours with just a few well-placed embroidered designs.
The anti-fast-fashion movement is fueling this even further. Consumers are pushing back against throwaway clothing culture, and patches fit perfectly into that mindset because they extend the life of existing garments while adding genuine personal meaning.
The business world is paying close attention, too. At least three independent research firms, including Business Research Insights, TechSci Research, and The Insight Partners, have all published or updated embroidered patches market reports in 2026, with forecasts stretching as far as 2034 and 2035. That kind of long-range institutional interest signals real, sustained momentum in this category.
For DIY crafters and machine embroidery hobbyists, this moment is genuinely exciting. Rather than buying pre-made patches, you can use downloadable embroidery design files to create exactly what you envision, right at home, with full creative control over every stitch.
## Types of Custom Embroidery Patches You Can Make at Home
Not all custom embroidery patches are created equal, and knowing which style you want to make before you sit down at your machine will save you a lot of frustration (and wasted materials). Here's a friendly breakdown of the main types you can produce at home.
Standard Embroidered Patches are the best starting point for beginners. You stitch dense fill stitching onto a twill or felt base, then finish the edges with a satin border stitch that gives the patch that clean, structured badge look everyone recognizes. Cotton twill is a popular base choice because it holds stitches firmly without stretching. The key thing to remember is that stabilizer is non-negotiable here; skipping it is the number one reason borders pucker and patches lose their shape.
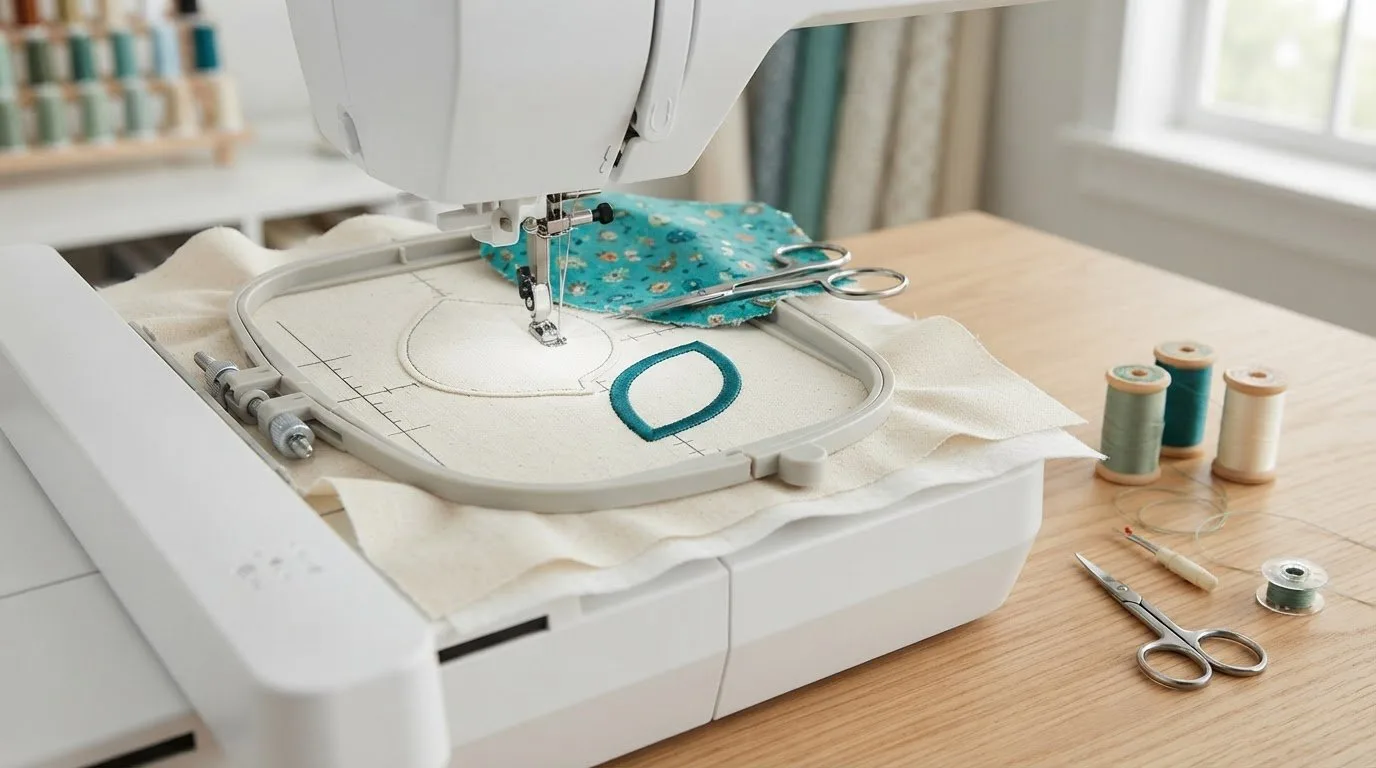
Appliqué Patches take a different approach. Instead of filling an entire design area with thread, you layer a pre-cut fabric piece onto the base before stitching it down. This dramatically reduces stitch count, which matters a lot for larger designs where heavy fill stitching can actually distort and buckle the fabric underneath. You also get beautiful color blocking and texture variety that pure thread-fill can't easily replicate. If you want to learn how to make custom embroidered patches, appliqué is worth adding to your skill set early.
3D Puff Patches are one of the biggest trends in 2026 branded apparel right now. You place a thin piece of foam under the top stitching layer, and the thread compresses and wraps around it, creating a raised, dimensional surface that pops visually on hats, jackets, and bags. The designs need to be digitized specifically for foam, with wider satin stitches to cover it cleanly.
Bold Typography Patches are a natural fit for home machines because they rely on embroidery font files rather than complex artwork. Oversized slogans, quotes, and stylized lettering stitched onto caps or jacket backs are a confirmed top trend this year, and sites like Embroidery n Sewing offer a wide selection of downloadable font files that make this style genuinely approachable for beginners.
Chenille-Style Patches replicate the loopy, textured surface you see on varsity and letterman jackets. True chenille requires specialized equipment, but a dense loop-fill stitch setting on a standard home machine can get you surprisingly close to that cozy, retro texture for smaller personal projects.
Each of these patch types calls for a different combination of stabilizer weight, thread type, and backing method, so deciding on your style first helps you shop and prep smarter before a single stitch is made.
What You Need to Get Started
Before you stitch a single thread, it helps to know exactly what's sitting on your supply list. The good news is that you probably don't need to overhaul your entire setup to get started, but a few key decisions about equipment and materials will make a real difference in your finished patches.
Your embroidery machine and hoop size are the natural starting point. A machine with at least a 4x4 inch hoop is your baseline, and it will handle the majority of everyday patches since most designs fall comfortably in the 2 to 4 inch range. If you're planning larger statement patches or back patches, upgrading to a 5x7 or 6x10 hoop gives you the extra real estate you'll need. Both hobby machines and commercial single-head machines are genuinely viable here, so don't let your current setup hold you back from experimenting.
Stabilizer choice is one of those decisions that beginners often underestimate, and it directly affects how professional your finished patch looks and feels. Cutaway stabilizer is the standard recommendation for patch work because it stays permanently inside the finished piece, creating that firm, structured base that keeps your design from warping or distorting with wear. Tearaway stabilizer is a workable alternative when you're using stiffer base fabrics like twill or felt, where the fabric itself adds enough support to compensate.
Base fabric shapes the entire aesthetic of your patch. White or natural twill is the traditional go-to substrate; its tight weave handles dense stitch coverage without puckering, which is exactly what you want for clean, crisp results. Wool felt is genuinely beginner-friendly and produces a softer, more handmade look that suits casual or decorative patches beautifully. Stiff canvas is worth considering for rugged or outdoor-themed designs where durability matters most.
Thread selection carries more weight on patches than on standard garment embroidery because the entire surface is exposed stitching with nothing else competing for the eye. 40-weight polyester is the workhorse choice, offering durability and reliable colorfastness. If you want a subtle sheen for fashion-forward or decorative designs, 40-weight rayon delivers that extra polish. You can explore a helpful walkthrough of the full patch-making process in this complete guide to making custom embroidery patches to see how these materials work together in practice.
Backing material is the final piece of the puzzle, and it determines how your finished patch actually attaches to whatever it's destined for. Heat-activated iron-on backing is the most convenient option for home use and works well for most casual applications. Sew-on backing is the smarter choice when heat could damage the receiving fabric, like synthetics or leather. Hook-and-loop velcro backing is the preferred route for uniforms, team gear, and tactical applications where patches need to be swapped out regularly.
How to Choose the Right Embroidery Design File for Patches
Your design file choice can make or break your patch project, so this step deserves more attention than most beginners give it. Let's walk through exactly what to look for before you hit download.
Start with file format compatibility. Every embroidery machine brand reads specific file types, and using the wrong one means your machine simply won't recognize the file. DST works with Tajima machines, PES is the format for Brother and Babylock, JEF is Janome's native format, and HUS and VP3 are both associated with Viking/Husqvarna machines. EXP covers Melco and Bernina, while XXX is Singer's format. The simplest way to avoid headaches is to download from a library like embroiderynsewing.com that offers multiple formats in a single purchase, so you're covered no matter which machine you're working with.
Look for design files built specifically for patches. Not every embroidery file translates well to patch making. A patch-ready design will have clean, well-defined outlines that hold up at small sizes, a high stitch density that covers your base fabric completely, and a built-in satin or e-stitch border that creates that polished, badge-like finished edge. Files digitized for direct garment embroidery often skip that border entirely, which means your patch won't have the structured look you're going for. If a file doesn't mention a border stitch, check the preview image closely before buying.
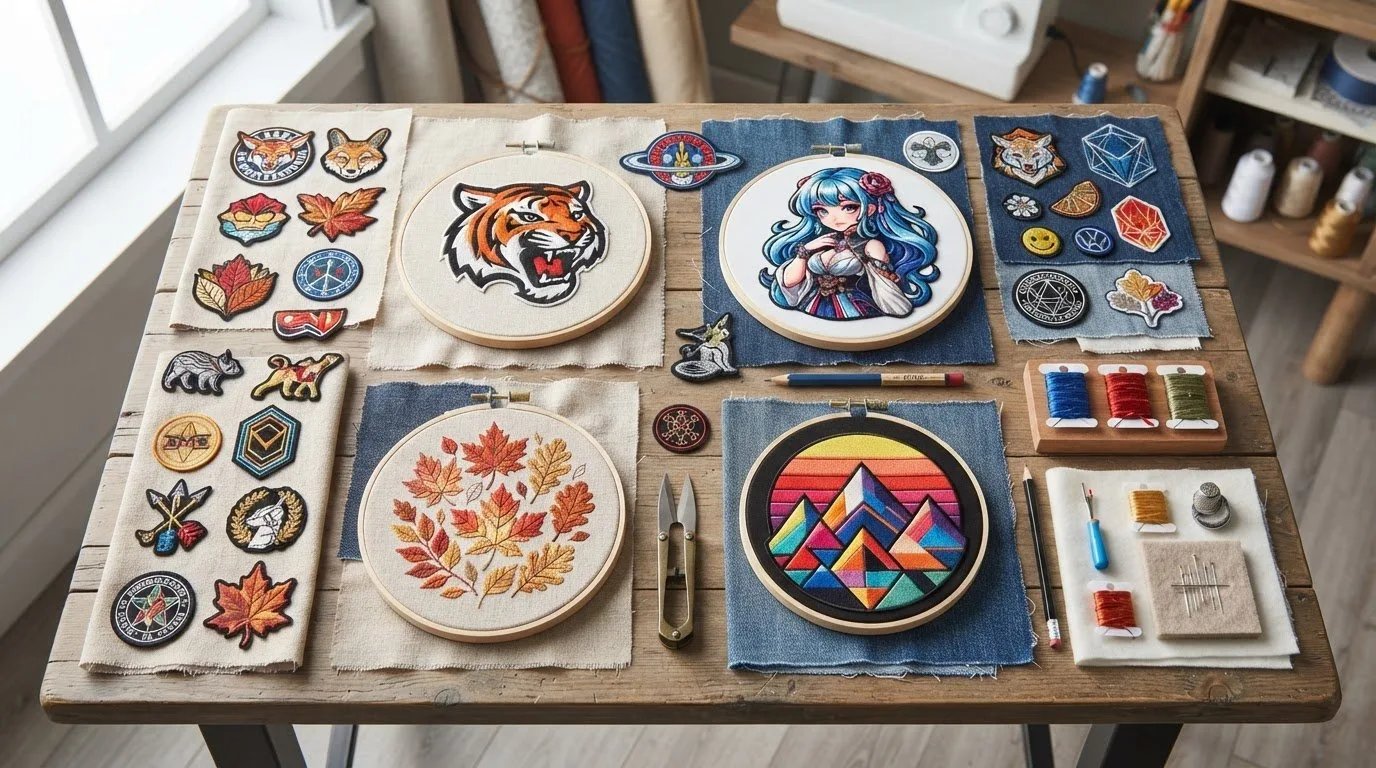
Match your design subject to your patch purpose. Sports team and athletics-inspired files are consistently among the most searched patch designs, and for good reason. They tend to feature bold silhouettes that read clearly at the 3 to 4 inch range that works best for sleeve or chest patches. Anime and fandom character designs are another natural fit, especially for backpacks and denim jackets, because their bold outlines and limited color palettes hold up beautifully at patch scale. Country flag designs, nature motifs, and heritage themes work well as statement patches, and embroidery font files let you personalize with names, slogans, or initials in styles from varsity block to flowing script.
Pay attention to stitch count before you download. For standard patch sizes, aim for design files in the 3,000 to 15,000 stitch range. A smaller patch around 2 inches typically lands between 3,000 and 5,000 stitches, while a 4-inch patch might run closer to 8,000 to 12,000. Files with very high stitch counts can distort your base fabric or cause the backing to separate if the design isn't properly stabilized, which is a frustrating and avoidable problem. Check out this helpful video tutorial on making custom embroidered patches to see how stabilization and stitch count work together in a real project.
Step-by-Step: Making Your First Custom Embroidery Patch
You've done the prep work, gathered your supplies, and chosen your design file. Now it's time to actually make something. Here's exactly how your first custom embroidery patch comes together, start to finish.
Step 1: Download and confirm your design file format. Head to your design library, select your patch design, and look for a multi-format zip download if one is available. Once it's on your computer, open the folder and locate the file that matches your machine brand. Brother machines use .PES files, Janome machines use .JEF, and most commercial or Tajima-style machines use .DST. Loading the wrong format is one of the most common beginner mistakes, and catching it before you touch your machine saves you a genuinely frustrating do-over. If you're unsure which format your machine reads, check your user manual or look it up by model number before moving forward.
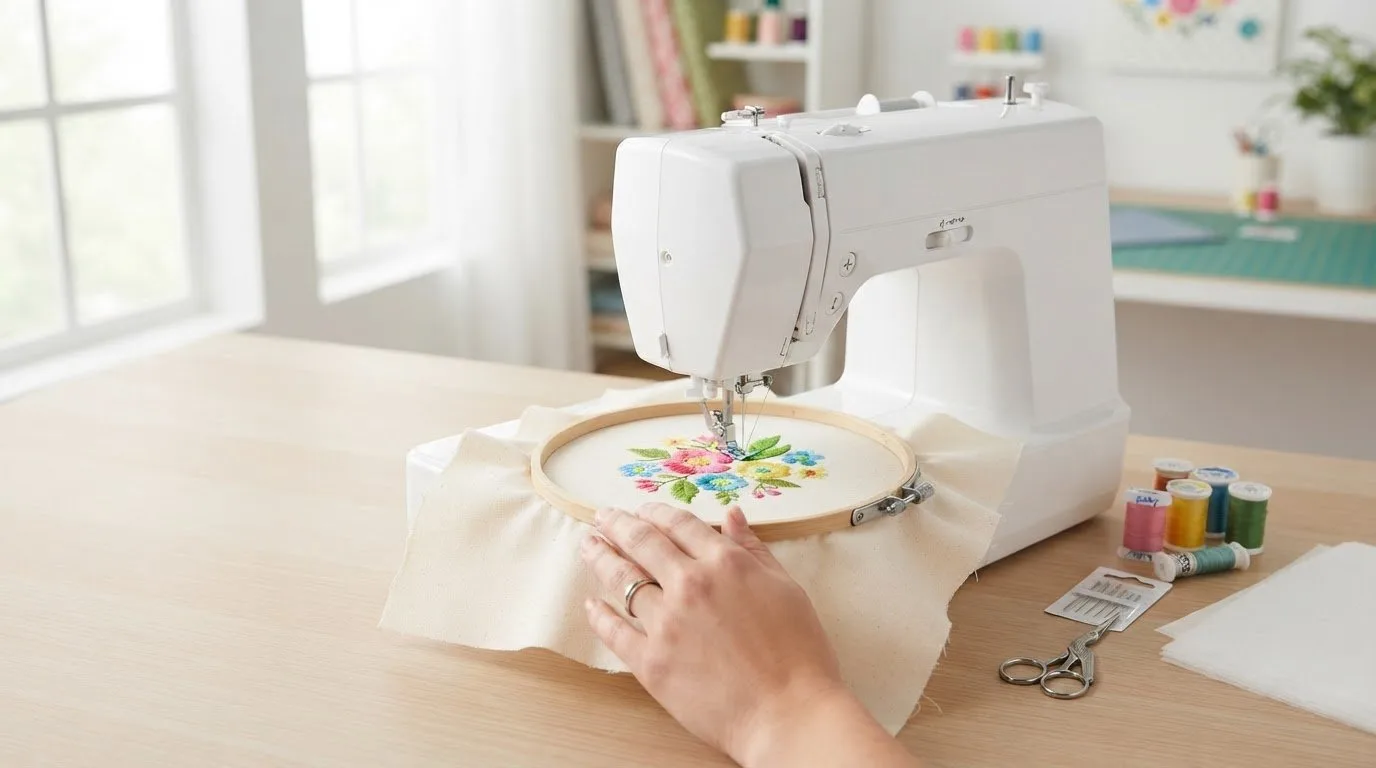
Step 2: Prepare your base fabric and hoop up. Cut your twill or felt base fabric a bit larger than your intended finished patch size, roughly an inch or two of extra material around all edges. This gives you room to hoop the fabric properly and trim cleanly later. Place a piece of cutaway stabilizer behind the base fabric, then hoop both layers together with moderate, even tension. The fabric should lie perfectly flat inside the hoop, no puckering, no pulling. Patch-making is generally more forgiving than embroidering directly onto a garment, which is great news if this is your first time.
Step 3: Add topping if needed, then stitch. If your base fabric has any texture or pile to it, lay a piece of water-soluble topping over the hooped fabric before you start. This thin layer keeps your stitches sitting on top of the weave rather than sinking into it. Load your design file onto your machine, confirm your thread colors are loaded in the correct order, and embroider at the speed your machine recommends for dense fill designs. Many machines suggest a slower speed for stitch-heavy files, so trust that setting.
Step 4: Remove stabilizer and trim your patch. Once stitching is complete, take the hoop off the machine and carefully cut or tear away the excess stabilizer close to the design edge. Then, using small sharp embroidery scissors, trim your base fabric just outside the satin border stitch. That dense border stitch is doing the work of holding everything together, so cutting just outside it gives you a clean, professional-looking edge without any fraying.
Step 5: Apply your backing. For iron-on adhesive backing, cut your adhesive piece slightly smaller than the finished patch so it doesn't ooze past the border when heated. Place the adhesive side face-down on the back of your patch and press with a household iron for 15 to 20 seconds at whatever temperature the backing manufacturer specifies. Don't guess on heat settings here; too hot can damage your threads or distort the patch shape.
Step 6: Attach the patch to your garment. For iron-on patches going onto cotton or denim, place the patch adhesive-side down on your item, cover it with a pressing cloth, and apply firm, even pressure with your iron for 30 to 45 seconds. Lift the iron straight up rather than sliding it. Then leave the patch completely alone until it cools fully. Peeling it up while it's still warm is how patches end up with lifted corners within a week. Once it's cool, give a corner a gentle tug to confirm the bond before wearing or gifting your finished piece.
Pro Tips for Better-Looking Patches
Once you've got your first patch under your belt, these refinements are what separate decent results from patches that look like they came from a pro shop.
Always finish with a satin border stitch. This single habit will improve every patch you make. The satin border runs as the last color sequence in your design file, and its job is threefold: it locks down the base fabric, prevents fraying when you trim the patch free, and creates that clean, crisp outline that signals a quality finished piece. If you download a design file and it doesn't include a border stitch, add one in your embroidery software before you ever load thread. Think of it as the frame around a painting. Without it, everything else you did looks unfinished.
Want to try 3D puff embroidery? It's one of the top embroidery patch trends shaping 2026 fashion, and it's more approachable than it looks. Use 2mm to 3mm foam sheets, cut them slightly smaller than the design element you want raised, and tack them down with a light spray of temporary adhesive before your fill stitching begins. The key technical detail here is stitch angle: keep it at 45 degrees or less. A steeper angle sends the needle punching through the foam instead of compressing it, which collapses the effect you're working to create.
Scaling downloaded designs requires real attention. Most design files are digitized for a specific size range, and shrinking a 6-inch file down to a 3-inch patch without adjusting stitch density causes underlay gaps and patchy coverage. Wherever you can, choose designs that were digitized natively at patch scale rather than resizing larger files.
Sustainable materials are a genuine option in 2026. The embroidery community is shifting toward recycled-fiber rayon thread and organic cotton base fabric, and since patch projects are small, the cost difference is minimal. It's an easy swap worth considering.
Finally, always test stitch on scrap fabric first. Even a well-digitized file from a trusted source can behave differently across fabric weights. A quick two-minute test run can reveal tension issues or speed adjustments before you waste materials on your final patch. Custom patches are called 2026's hottest apparel trend for good reason, and a little patience in the testing phase is exactly what keeps your results looking sharp enough to match that reputation.
Creative Ways to Use Your Custom Embroidery Patches
Now that you've made your first patch (or a whole stack of them), the fun part begins: actually putting them to use. The good news is that custom embroidery patches are remarkably versatile, and the ways you can deploy them go way beyond just slapping one on a jacket.
Denim and jacket personalization is the most popular application right now, and for good reason. A row of coordinated patches along a denim jacket sleeve, or a single bold statement patch centered on the back panel, transforms a basic garment into something that feels genuinely yours. The best part is that patches don't permanently alter the fabric's construction, so you're not committing to anything irreversible. Brand strategist Brooke Yoakam has called patches the biggest fashion trend of 2026, noting that retailers are already converting store spaces into patch bars where customers personalize pieces on the spot.
Sports and fan apparel programs are another smart application, especially if you're making patches for a whole team or group. Produce one batch of your team logo design, then apply patches to jackets, hats, bags, and scarves across multiple seasons without re-embroidering every individual item from scratch. Velcro-backed patches work especially well here because they swap easily across different garment types.
Gifts and keepsakes are where custom patches really shine emotionally. A patch featuring someone's name, monogram, or favorite team logo applied to a tote bag, backpack, or pillow cover feels personal in a way that a mass-produced gift simply can't replicate.
Small business owners and independent makers are also embracing patches as an entry point into branded merchandise. A single patch run applied to off-the-shelf hats, aprons, or canvas bags delivers a premium badge aesthetic without requiring full custom garment production for every product.
Finally, don't overlook repair and upcycling projects. A well-placed embroidered patch over a worn knee, a small tear, or a faded area on a favorite bag turns a repair into a deliberate design choice. This approach aligns perfectly with the anti-fast-fashion movement shaping apparel trends in 2026, turning something worn-out into something worth keeping.
Start Making Your Own Custom Patches Today
If you've made it this far, you already have everything you need to get started. Custom embroidery patches are genuinely one of the most beginner-friendly machine embroidery projects out there, and the payoff, a finished, wearable piece of personalized craft, happens fast. The core process is straightforward: pick a patch-appropriate design file, prep your base fabric with the right stabilizer, stitch it out, trim cleanly, add your backing, and attach it to whatever you want to make your own.
The part where it really gets fun is design selection. Sports motifs, fandom graphics, embroidery fonts, country flags, nature-inspired designs: the catalog at embroiderynsewing.com gives you a broad, ready-to-stitch starting library covering virtually every style and subject you could want for a patch project. You can watch a beginner-friendly patch tutorial to see the full process in action before you commit your first spool of thread.
With hyper-personalization driving fashion in 2026 and anti-fast-fashion thinking pushing people to customize what they already own rather than buy new, this is a skill that keeps paying off. Every patch you make is a repeatable, portable personalization tool. Browse the full design catalog at embroiderynsewing.com and find your first patch design today.
Conclusion
Creating custom embroidery patches at home is simpler than you might think, and the results are incredibly rewarding. You now know how to gather the right supplies, choose a design that reflects your personality, stitch with confidence, and finish your patch so it is ready to wear or gift.
The real beauty of this craft is that every patch you make is completely one of a kind. No two will ever look exactly the same, and that is what makes handmade so special.
Now it is time to put down this guide and pick up your needle and thread. Start with a small, simple design, and do not worry about perfection. Your skills will grow with every stitch. Share your finished patches with friends, add them to your favorite pieces, and most importantly, have fun creating something that is entirely your own.
 Embroidery designAres PatchView this design →