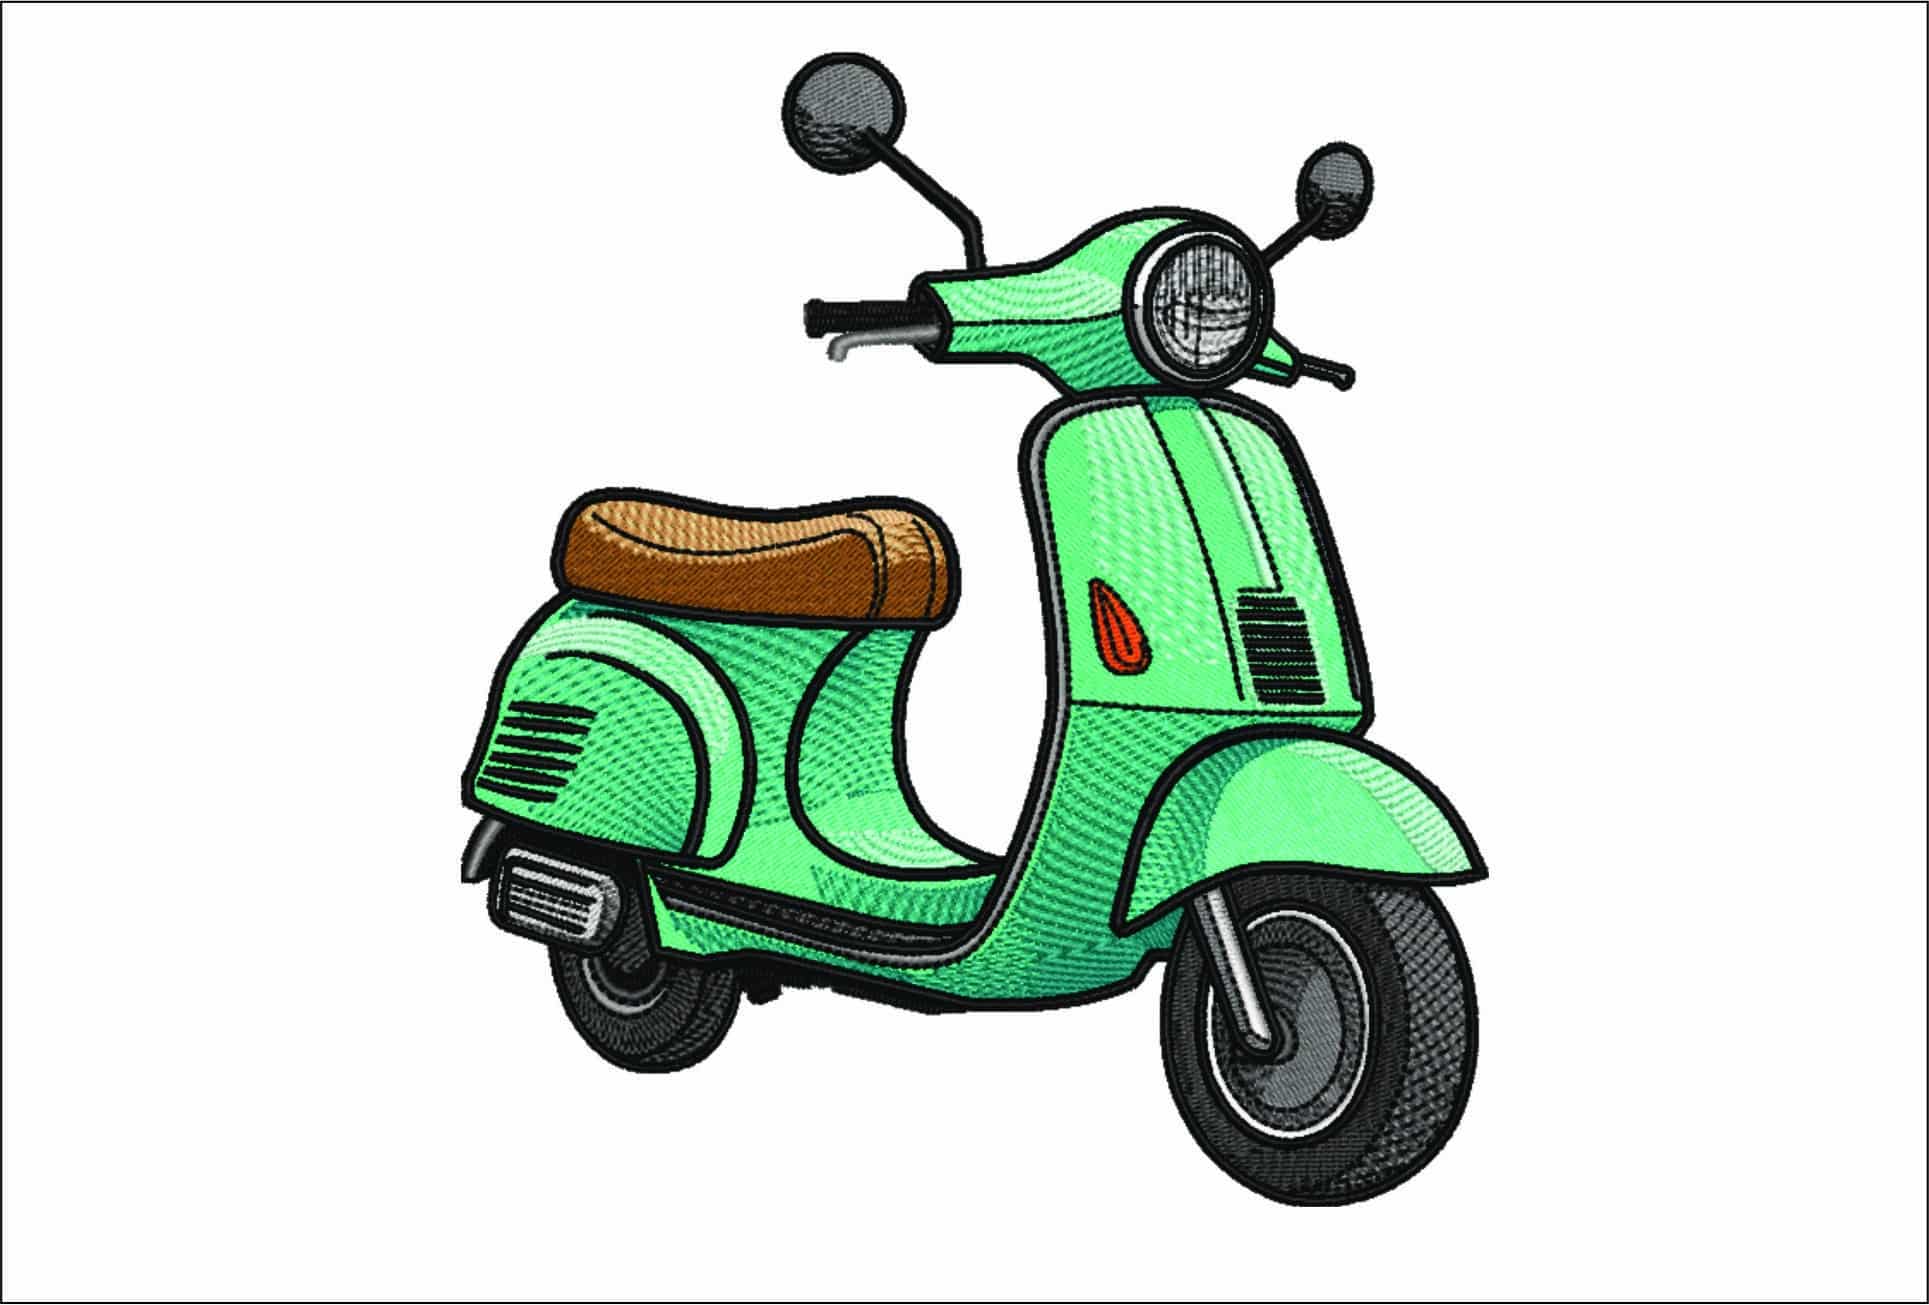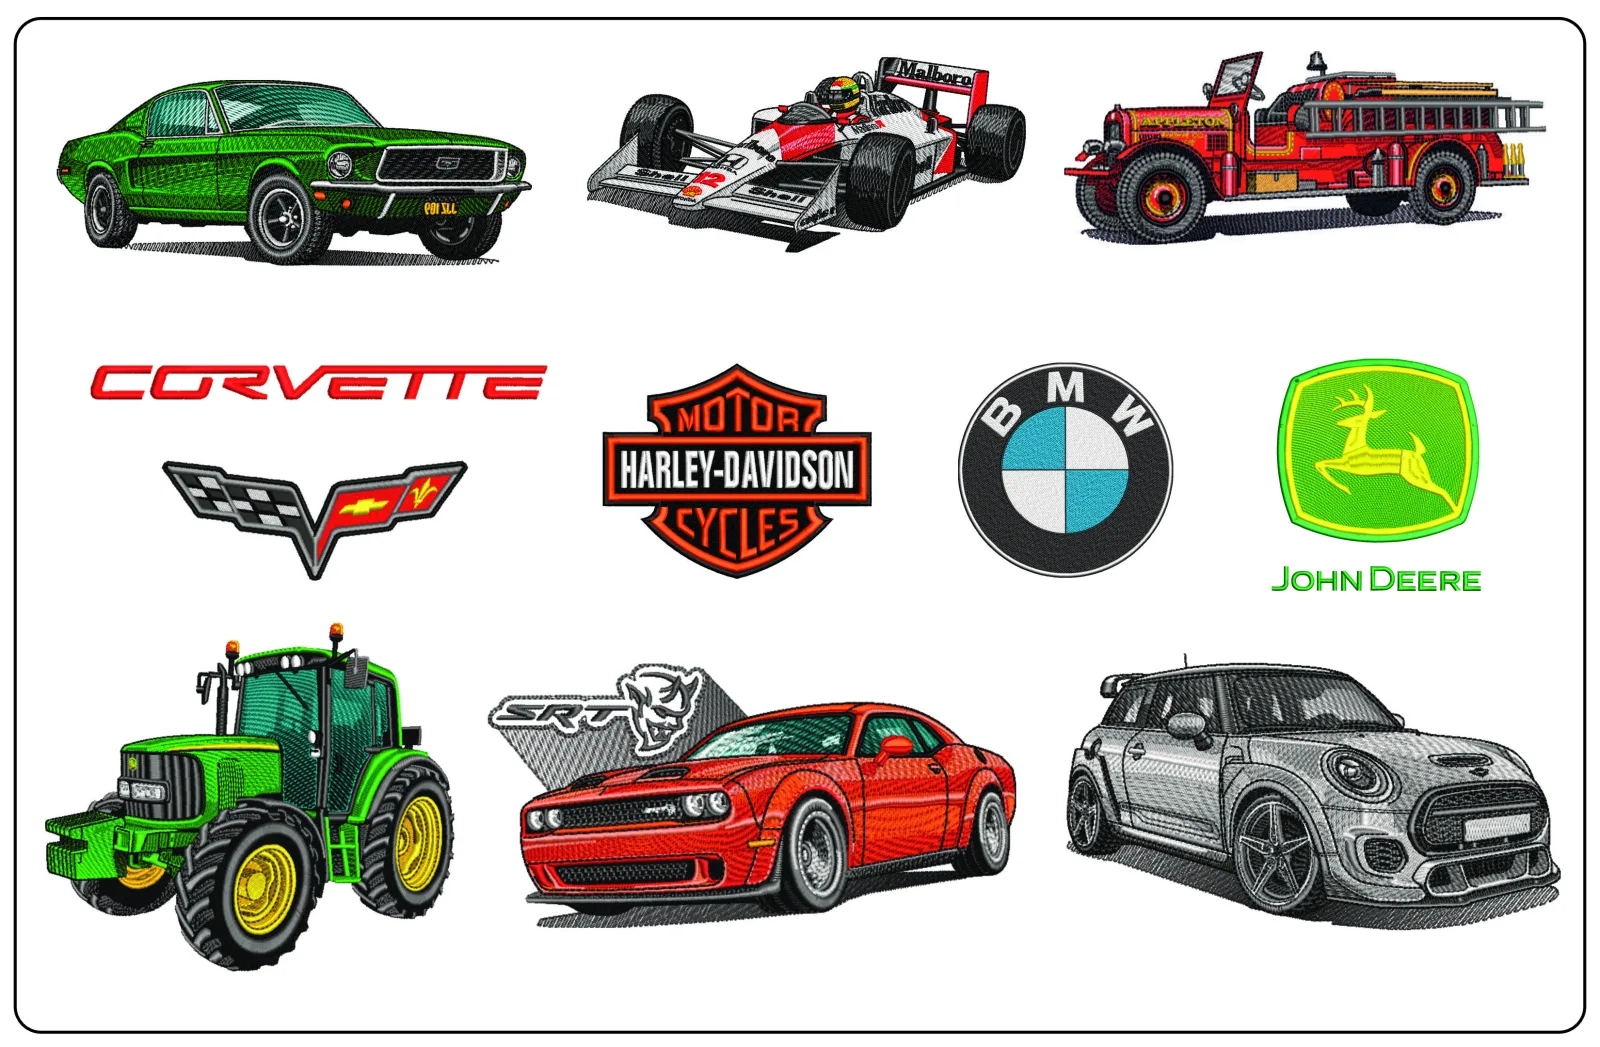
- Finding high-quality [Car Embroidery designs] that don't cause fabric puckering. - Solving common issues like lost detail in small vehicle outlines. - Ensuring your files are properly digitized for smooth machine performance. - Selecting the right software and formats for professional-grade results.
Have you ever spent hours prepping a project only to have your machine jam because the file wasn't properly digitized for your specific fabric? I'm sorry to say that many standard files simply aren't built to handle the complex curves of a car's silhouette without causing technical issues. It's incredibly frustrating when a design looks perfect on your computer but turns into a puckered, messy "bird-nest" once the stitching starts. You want those vehicle outlines to be sharp and the details to pop, not get lost in a sea of tangled thread.
I understand these technical barriers can be a real headache for US auto enthusiasts. However, I'm here to help you overcome them. I promise to show you how to choose and stitch the perfect [Car Embroidery designs] so you get professional, crisp results every time, regardless of which machine you use. We will explore how to avoid high stitch density issues, manage file formats like those used in the latest 2026 software, and ensure your digitized files run smoothly from the first stitch to the last. [
[Key Takeaways]](https://embroiderynsewing.com/articles)
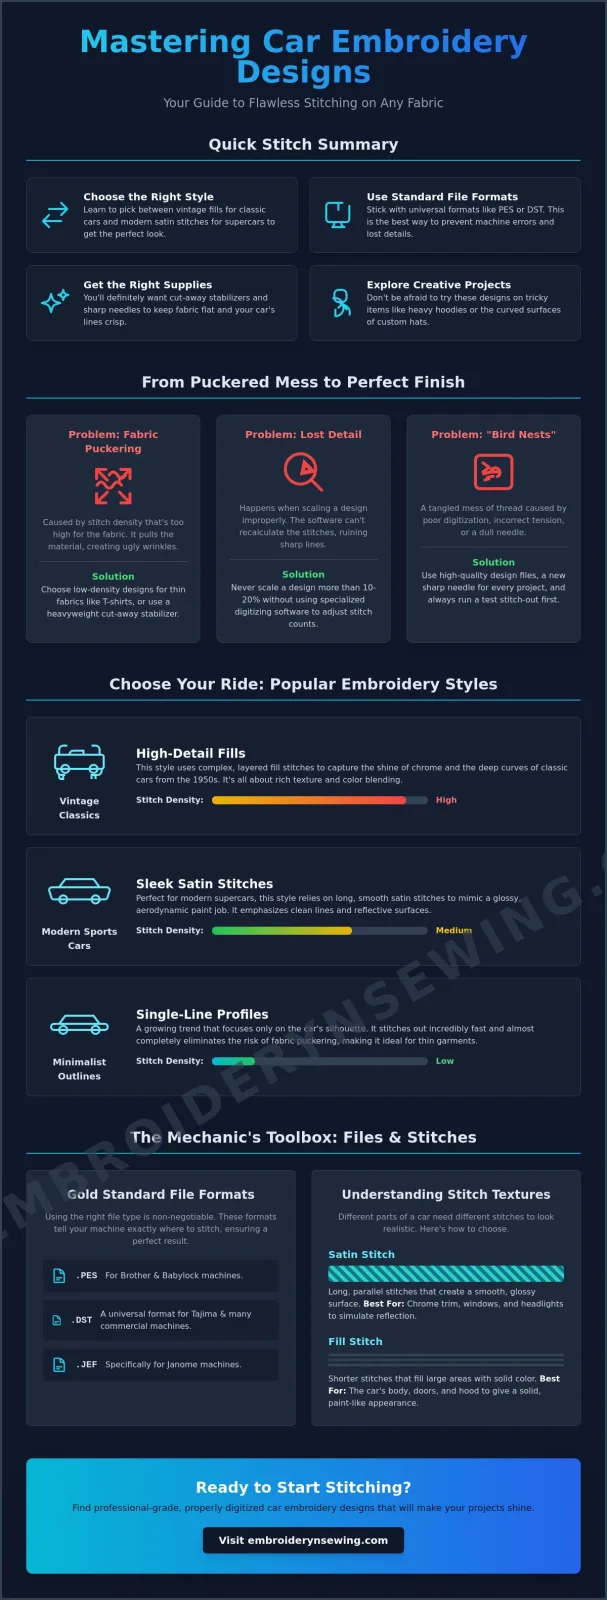
- Learn how to pick between vintage fills and modern satin stitches to capture the exact look of your favorite vehicle. - See why using standard file formats like PES or DST is the best way to ensure your Car Embroidery designs don't run into machine errors.
- Find out why you'll need cut-away stabilizers and sharp needles to keep your fabric flat and your lines crisp. - Explore creative ways to use these designs on everything from heavy hoodies to the tricky curved surfaces of custom hats.
Table of Contents
-
Vintage car designs use high-detail fills to capture the distinct chrome and curves of 1950s models.
-
Modern sports car patterns utilize sleek satin stitches to create a glossy, aerodynamic finish.
-
Cartoon and racing styles feature bold colors and thick outlines, making them ideal for children's apparel.
-
Minimalist outlines are a growing trend because they stitch quickly and significantly reduce fabric puckering.
I've noticed that many hobbyists get overwhelmed by the sheer variety of Car Embroidery designs available today. It's a bit of a technical hurdle because a design that looks great on a vintage truck might look completely wrong on a modern supercar. I'm sorry if that sounds restrictive, but the structural differences in these vehicles actually dictate how we have to stitch them to get a clean result.
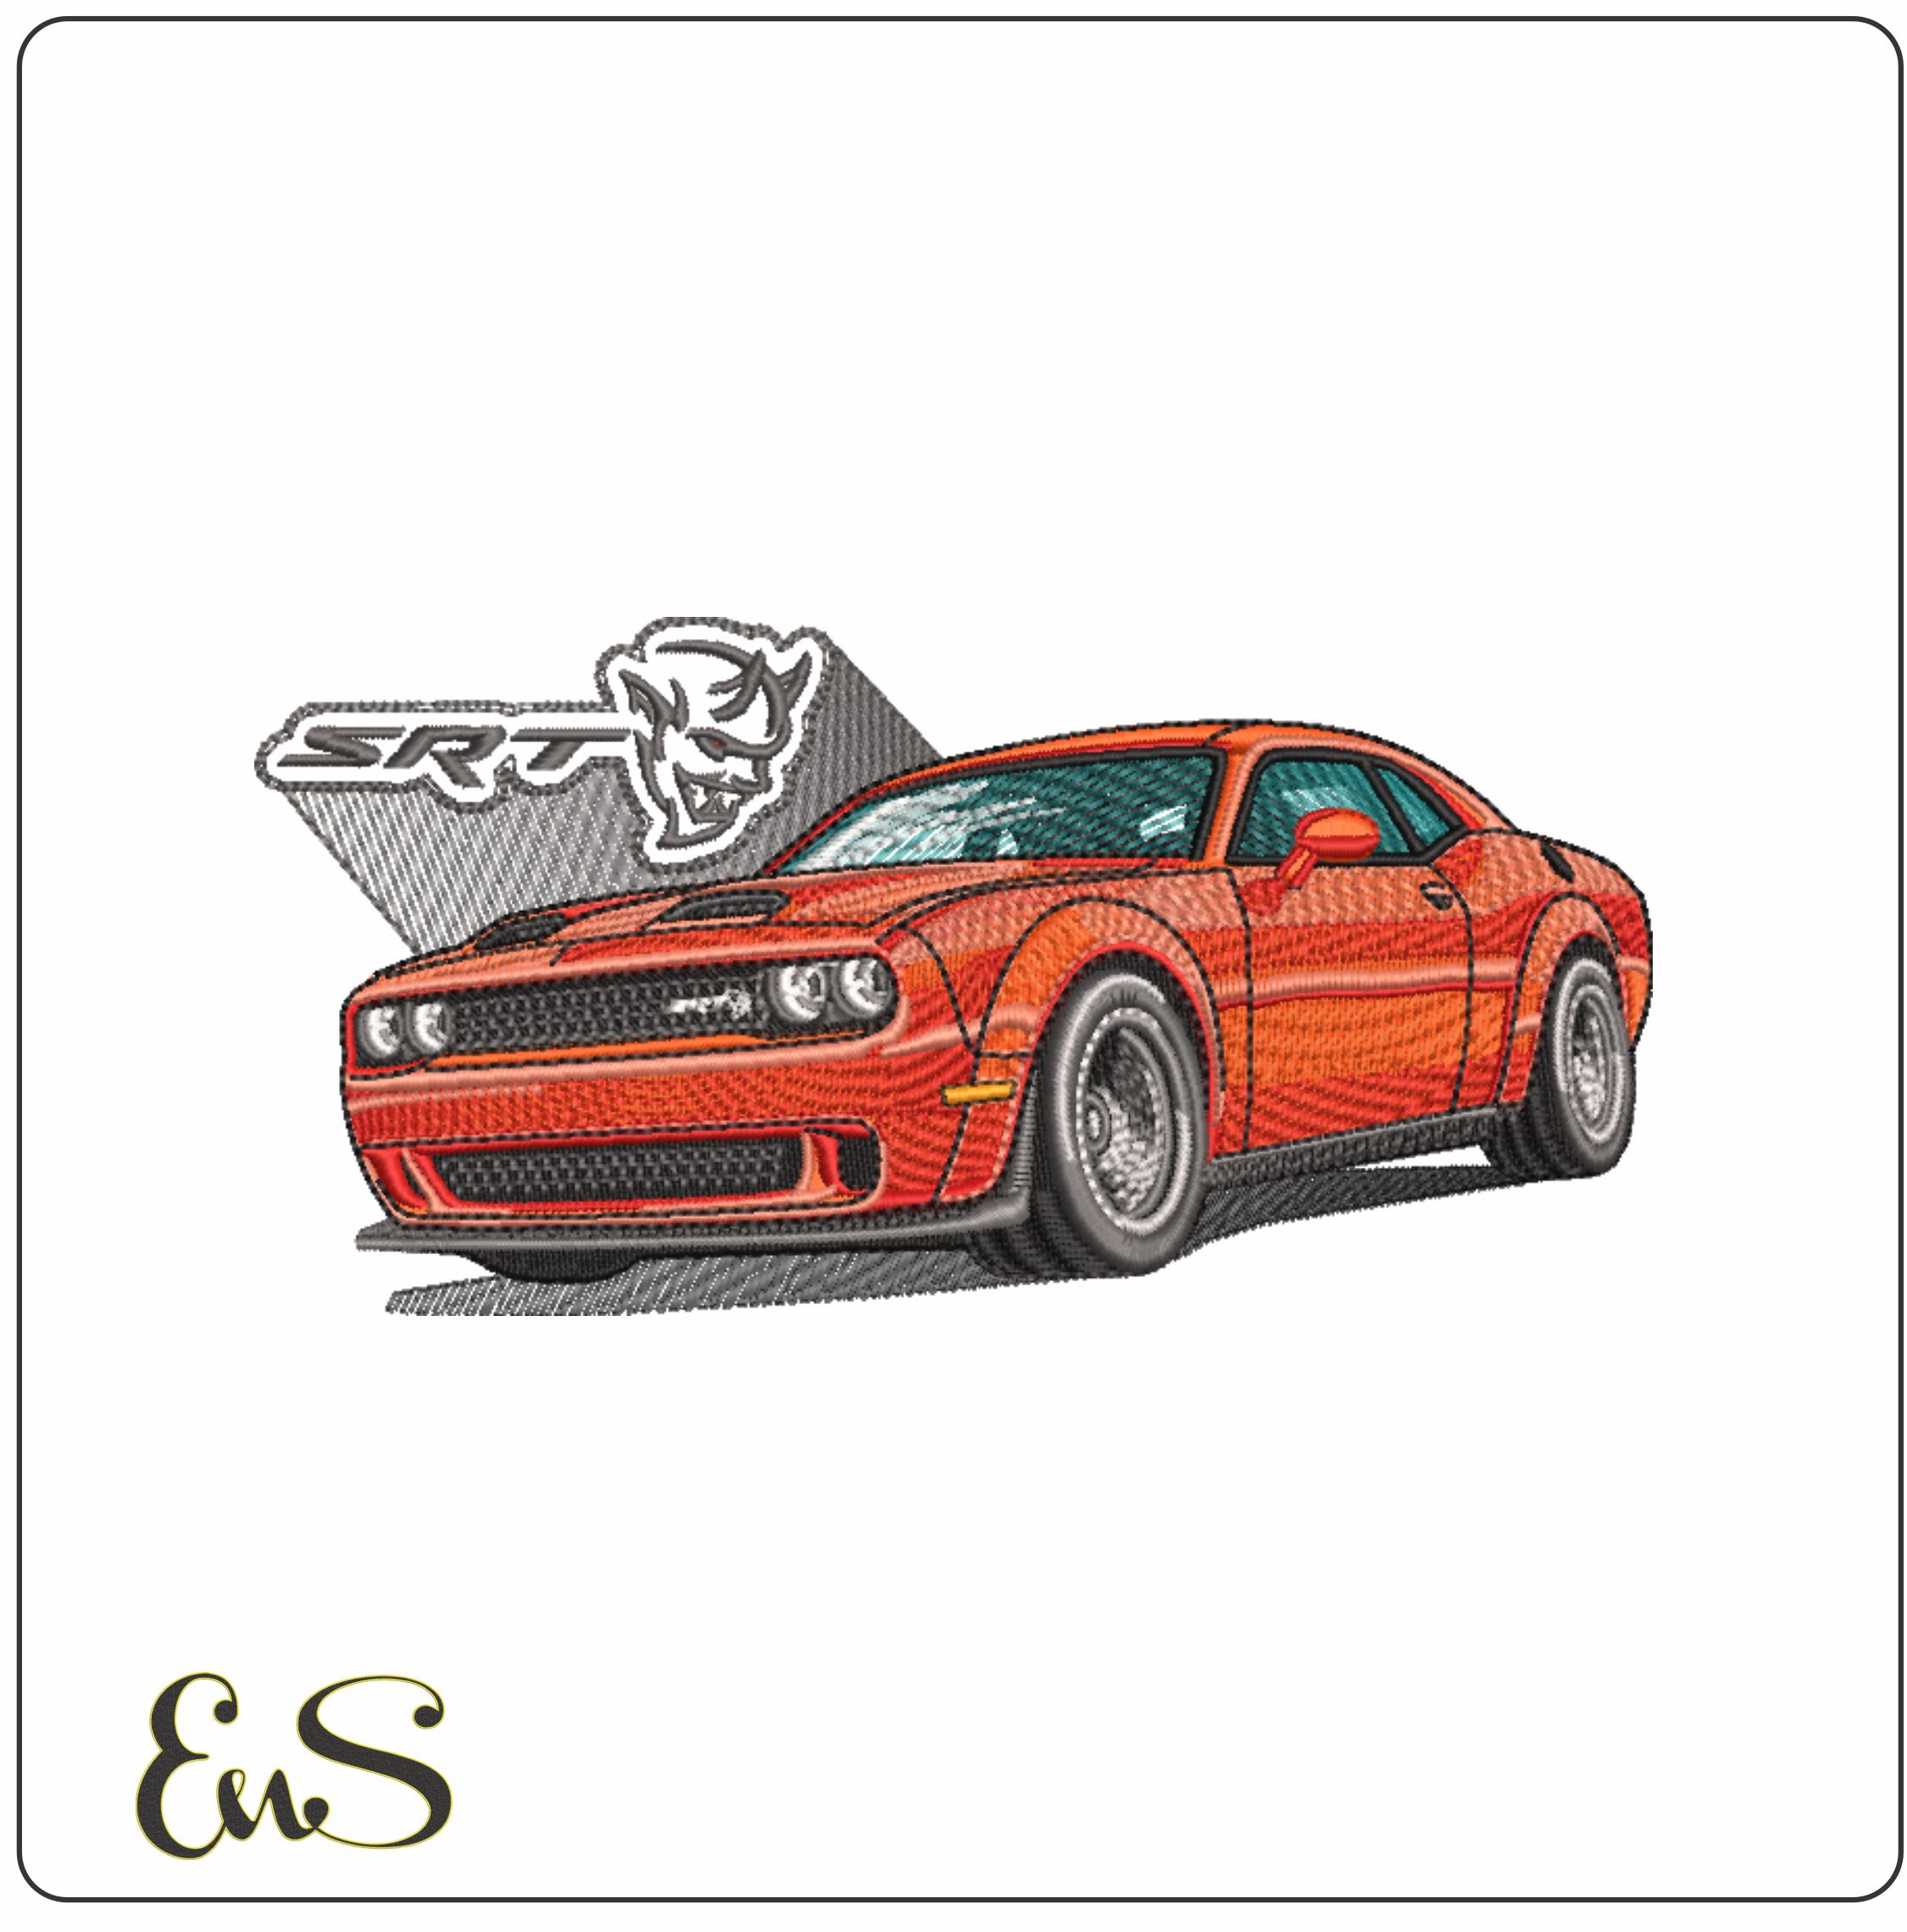
For example, 1950s classics are all about the chrome. To capture that specific shine, you need high-detail fills with complex color blending. On the other hand, modern sports cars have those long, aerodynamic lines. These often use satin stitches to create a smooth, glossy finish that mimics a fresh paint job. If you're working on projects for kids, cartoon racing styles with thick outlines are your best bet because they're durable and stand out against bright fabrics.
[Vintage vs. Modern Vehicle Aesthetics]
Classic car aesthetics rely on capturing light reflections on rounded fenders and heavy bumpers. This requires a sophisticated computerized embroidery process where multiple thread colors blend together. It's a technical barrier for some entry-level machines, but the results are worth the effort. Modern supercar designs take a different path. They focus on minimalist silhouettes and sharp angles, often using negative space to define the car's bodywork rather than heavy fills.
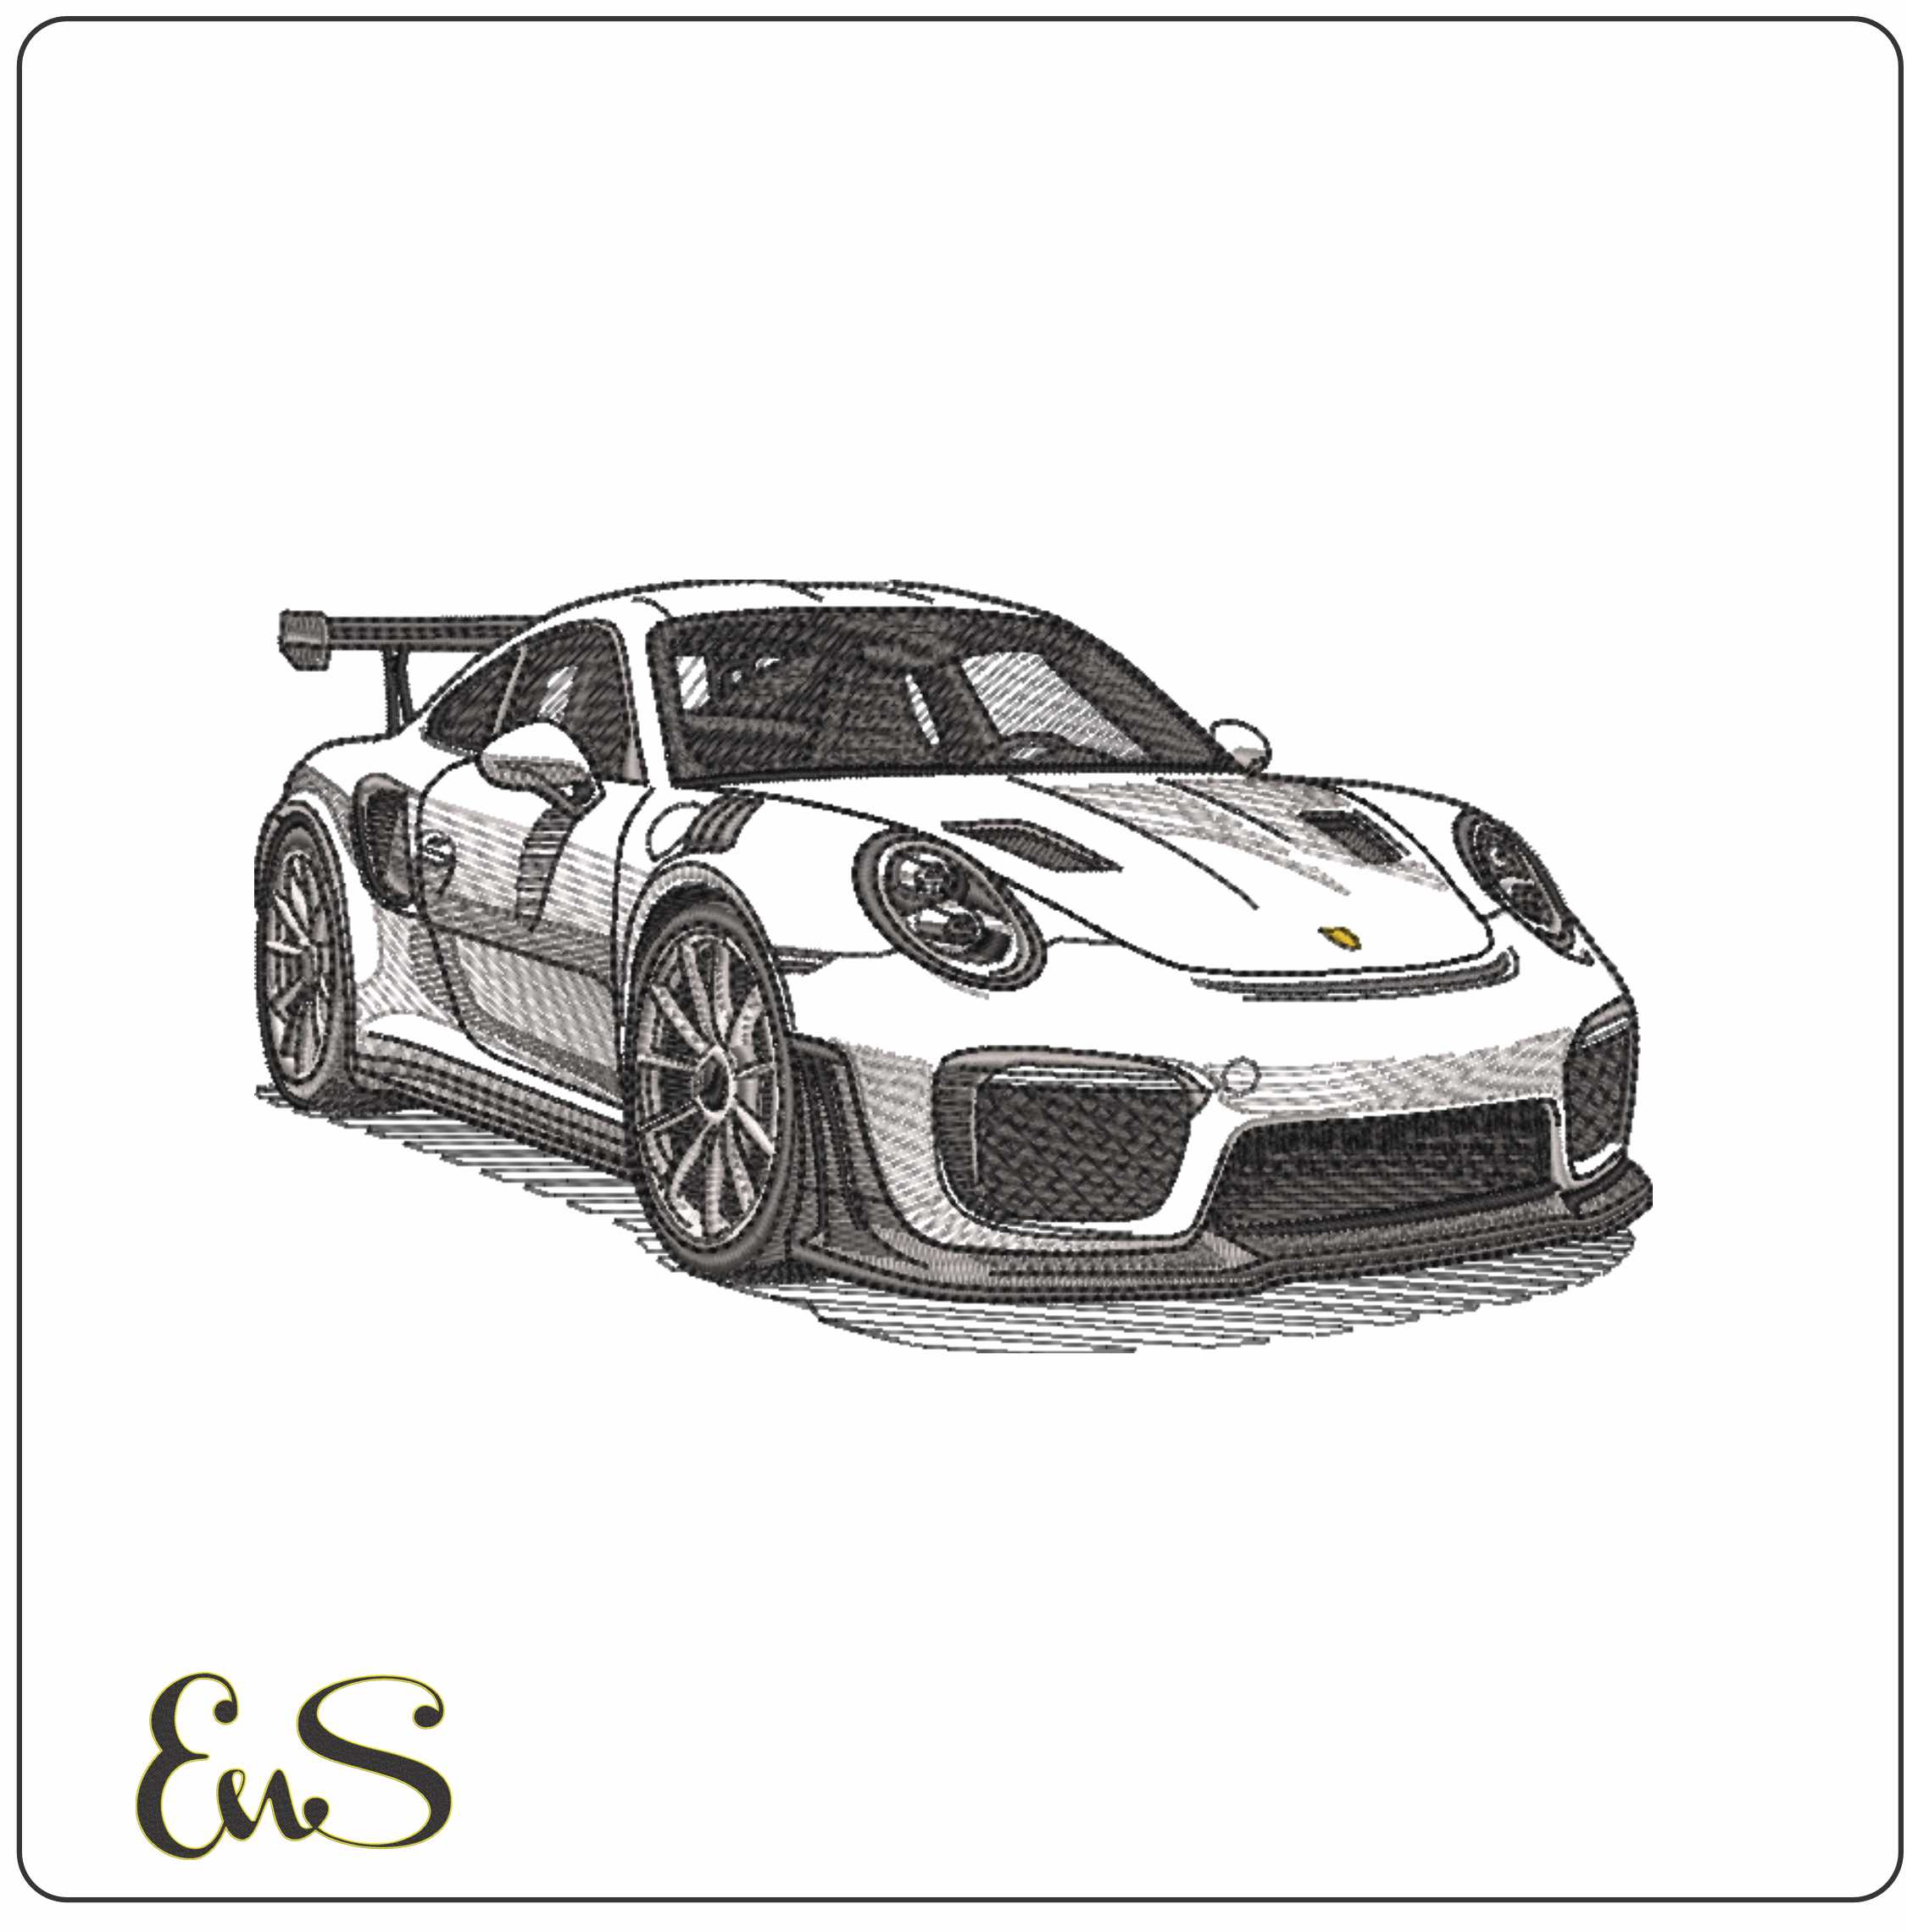
I've seen a massive spike in "portrait" style outlines recently. These Car Embroidery designs focus strictly on the vehicle's profile or "skeleton." They're incredibly popular right now because they're efficient. Since they have a much lower stitch count than a full fill, they're far less prone to fabric puckering. It's an excellent way to get a professional look on thin t-shirts without the risk of a dense patch of thread ruining the garment's drape.
- Standard formats like PES, DST, and JEF ensure your machine reads vehicle details accurately.
- Choosing between satin and fill stitches creates different textures for tires, windows, and bodywork.
- High stitch density can lead to fabric puckering on thin materials like T-shirts.
- Scaling designs without specialized software often causes machine jams or lost detail. [
[Choosing the Right Digital Format and Stitch Type]](https://embroiderynsewing.com/articles/choosing-an-embroidery-machine-that-fits)
I apologize if this feels like a technical barrier, but your machine can only be as good as the file you give it. I've found that many enthusiasts struggle because they try to use a format their machine doesn't natively support. For Car Embroidery designs, precision is everything. If the file isn't digitized correctly, those sleek lines will turn into a tangled mess. Stick to the industry gold standards. These formats preserve the specific coordinates your needle needs to follow.
Density is another major factor I need to mention. A design that looks great on a heavy denim jacket might be too "heavy" for a thin cotton T-shirt. If the stitch count is too high for the fabric weight, you'll see the material pull and pucker around the car's outline. It's a common technical hurdle. You can avoid this by checking the design's density before you start the machine.
I'm sorry to say that using the wrong file type is the quickest way to a failed project. PES (for Brother and Babylock) and DST (for Tajima) are the most versatile options for vehicle patterns. It's vital to download high-quality [embroidery designs] from sources that understand these technical constraints. These files ensure the machine moves logically from the tires to the roofline without unnecessary jumps.
[Understanding Stitch Texture in Vehicle Patterns]
Texture brings a car to life. I recommend using different embroidery stitches for different parts of the car. Use a satin stitch for chrome trim or windows to get a glossy, reflective look. For the large surface areas of the hood or doors, a fill stitch provides a solid, paint-like appearance. If you want a "hand-drawn" look, light sketch-style fills are a fantastic alternative. They use fewer stitches and are perfect for lightweight garments. If you're looking for new inspiration, checking out these Car Embroidery designs can help you decide which texture fits your next project best.
- Cut-away stabilizer is mandatory for dense vehicle fills to prevent fabric distortion.
- Using 75/11 or 80/12 sharp needles helps maintain crisp lines in small car details.
- High-sheen polyester thread provides the perfect "waxed" finish for automotive patterns.
- Proper hooping and tension adjustments are the only ways to avoid "hoop burn" and thread breaks.
![Custom Car Embroidery Designs for US Auto Enthusiasts]
Best Practices for Stitching Detailed Vehicle Patterns
I'm sorry to report that even the best digital file won't save a project if your hardware isn't up to the task. I've found that Car Embroidery designs often present a technical barrier because of their high stitch density. If you're used to light floral patterns, the transition to dense car hoods can be a shock to your machine. I apologize for the extra prep time, but you really can't skip the stabilizer. A heavy cut-away is essentially mandatory here. It's the only way to support those thousands of stitches without the fabric collapsing under the pressure.
Your needle choice is just as critical. I recommend a 75/11 or 80/12 sharp needle rather than a ballpoint. You need that sharp point to pierce through the dense layers of thread and fabric to keep your outlines crisp. For the thread itself, I always suggest high-sheen polyester. It doesn't just look better; it's stronger than rayon. This strength is vital when you're running your machine at high speeds to finish a complex vehicle silhouette. The sheen also gives the finished car that desirable "just waxed" look that every enthusiast wants.
Preventing Puckering and Alignment Issues
The "push and pull" effect is a real problem with detailed car patterns. As the machine fills in a large area like a car's hood, it naturally pulls the fabric toward the center. This can cause your final outline to be misaligned by a few millimeters. To fix this, I suggest a layering technique. Place one sheet of cut-away stabilizer in the hoop, then "float" a second smaller piece directly under the densest part of the car. This extra support keeps everything in place so your wheels and bumpers line up perfectly.
Thread Tension for Intricate Details
I've noticed that small text or thin trim lines often disappear if your bobbin tension is too tight. I'm sorry to say there's no "set it and forget it" button for this. You'll need to run a few test scraps to ensure the bobbin thread isn't pulling the top thread all the way through. If you're seeing frequent thread breaks, try slowing your machine down by 10 or 20 percent. This small adjustment often solves the technical barrier of high-speed friction. If you're ready to start your next project, you can browse our latest Car Embroidery designs to find a pattern that matches your skill level.
- Personalized hoodies work best with large car outlines on the back or small logos on the chest.
- Stitching on curved hat surfaces requires specific technical adjustments to avoid design distortion.
- Custom vehicle portraits and shop towels make excellent, high-quality Father's Day gifts.
- Heavy fabrics like denim and canvas provide the necessary structural support for dense car patterns.
- Properly centering a vehicle design on a polo shirt involves aligning the center of the car with the bottom of the button placket.
Creative Project Ideas Using Car Embroidery Designs
I'm sorry to say that choosing a design is only half the battle. The real technical barrier lies in matching that design to the right project. I've found that many enthusiasts want to put large, detailed Car Embroidery designs on every garment. However, this often leads to issues with weight and drape. It's a common mistake. For hoodies, I recommend placing large silhouettes on the back where the fabric is most stable. If you're working on the chest, keep the design small and light. This prevents the garment from sagging.
Custom headwear is another area where I must apologize for the technical difficulty involved. Stitching on a curved surface is a significant operational constraint. It can easily distort a car's straight lines. You'll need to slow the machine down. Ensure the hat is hooped as tightly as possible. If you want to add a name or a date, I suggest pairing your vehicle with specific embroidery fonts that complement the car's era. Use a script for vintage models or a block font for modern racers.
Embroidering on Heavy Fabrics
I've observed that denim jackets and canvas gear bags are the best canvases for high-stitch-count patterns. These materials don't pucker as easily as cotton. This allows you to use more complex Car Embroidery designs without fear of failure. Precision is vital here. If you're looking for more ways to use your machine, I've put together a guide on embroidery patterns that offers additional project inspiration for heavy-duty gear.
Gift Customization with Vehicle Logos
Creating dealership-style apparel is a fantastic way to make professional gifts. Whether it's a framed car portrait for Father's Day or a custom shop towel, the key is accuracy. To center a vehicle design on a standard polo shirt, simply align the center point of the embroidery with the bottom of the button placket and move it about 3 to 4 inches to the left. This simple alignment rule ensures your project looks like it came straight from a professional auto shop.
- Technical preparation is the only reliable way to avoid machine jams and puckering.
- Choosing high-quality, compatible files ensures your vehicle details remain crisp and clean.
- Instant downloads provide immediate access to professional designs for any machine type.
Rev Up Your Next Custom Project
I've found that the technical barriers of vehicle stitching often discourage hobbyists. I'm sorry to say there's no shortcut to quality. I apologize for the extra effort required to set up heavy stabilizers and sharp needles, but these steps are essential for a clean finish. Once you have the right Car Embroidery designs and follow the best practices we've covered, your results will speak for themselves. You'll finally get those crisp outlines you've been looking for.
If you're ready to put these tips into practice, you can browse our collection of high-quality Car Embroidery Designs today! We offer digital patterns that are compatible with all major embroidery machines. Since they're available for instant download, you don't have to wait to start your next custom gift or shop towel. I'm excited to see what you create. Your machine is ready, so go ahead and start.
- PES and DST are the most reliable file formats for ensuring machine compatibility.
- Dense car designs on T-shirts often lead to puckering; minimalist outlines are a better choice for light fabrics.
- Heavy cut-away stabilizer is necessary to support the high stitch counts found in vehicle patterns.
- Resizing designs requires professional software to adjust stitch density and avoid technical errors.
- Using sharp 75/11 or 80/12 needles is the best way to maintain crisp lines in small car details.
Frequently Asked Questions
What is the best embroidery file format for car designs?
PES and DST are the gold standards for these projects. I apologize for the technical barrier, but most machines won't read generic image files. PES is designed for Brother and Babylock machines, while DST works for Tajima and most commercial equipment. These formats ensure the machine follows the correct path for complex wheels and bumpers. It's a straightforward operational constraint to use these specific files to get professional results.
Can I embroider a highly detailed car on a T-shirt?
I'm sorry to report that stitching a dense vehicle on a thin T-shirt usually ends in failure. The high stitch density in many Car Embroidery designs causes the fabric to pucker and pull. I suggest using a minimalist outline instead. It's a technical barrier we often face with lightweight cotton. If you want a full fill, I recommend sticking to heavier fabrics like denim or canvas.
Which stabilizer should I use for a dense car fill design?
You should always use a heavy cut-away stabilizer for dense car fill patterns. I apologize if this feels like a restriction, but tear-away stabilizers simply don't offer enough support for the thousands of stitches required. This is a clear operational constraint of machine embroidery. Without cut-away support, the design will shift during the process. This leads to misaligned outlines and ruined garments.
How do I resize a car embroidery design without losing detail?
You must use specialized digitizing software to resize a design without losing detail or causing thread jams. I'm sorry, but simply scaling the file on your machine screen doesn't change the stitch count. This is a major technical barrier. If you shrink a design without reducing the stitches, the density becomes too high. Professional software adjusts the stitch count to maintain the original look and quality.
Do I need a special needle for stitching car outlines?
I recommend using a 75/11 or 80/12 sharp needle rather than a standard ballpoint. I apologize for the inconvenience of switching needles, but the sharp point is necessary to pierce through the dense layers of thread found in Car Embroidery designs. It ensures your lines stay crisp and your machine doesn't skip stitches. It's a straightforward way to avoid technical issues and get a clean, professional finish.