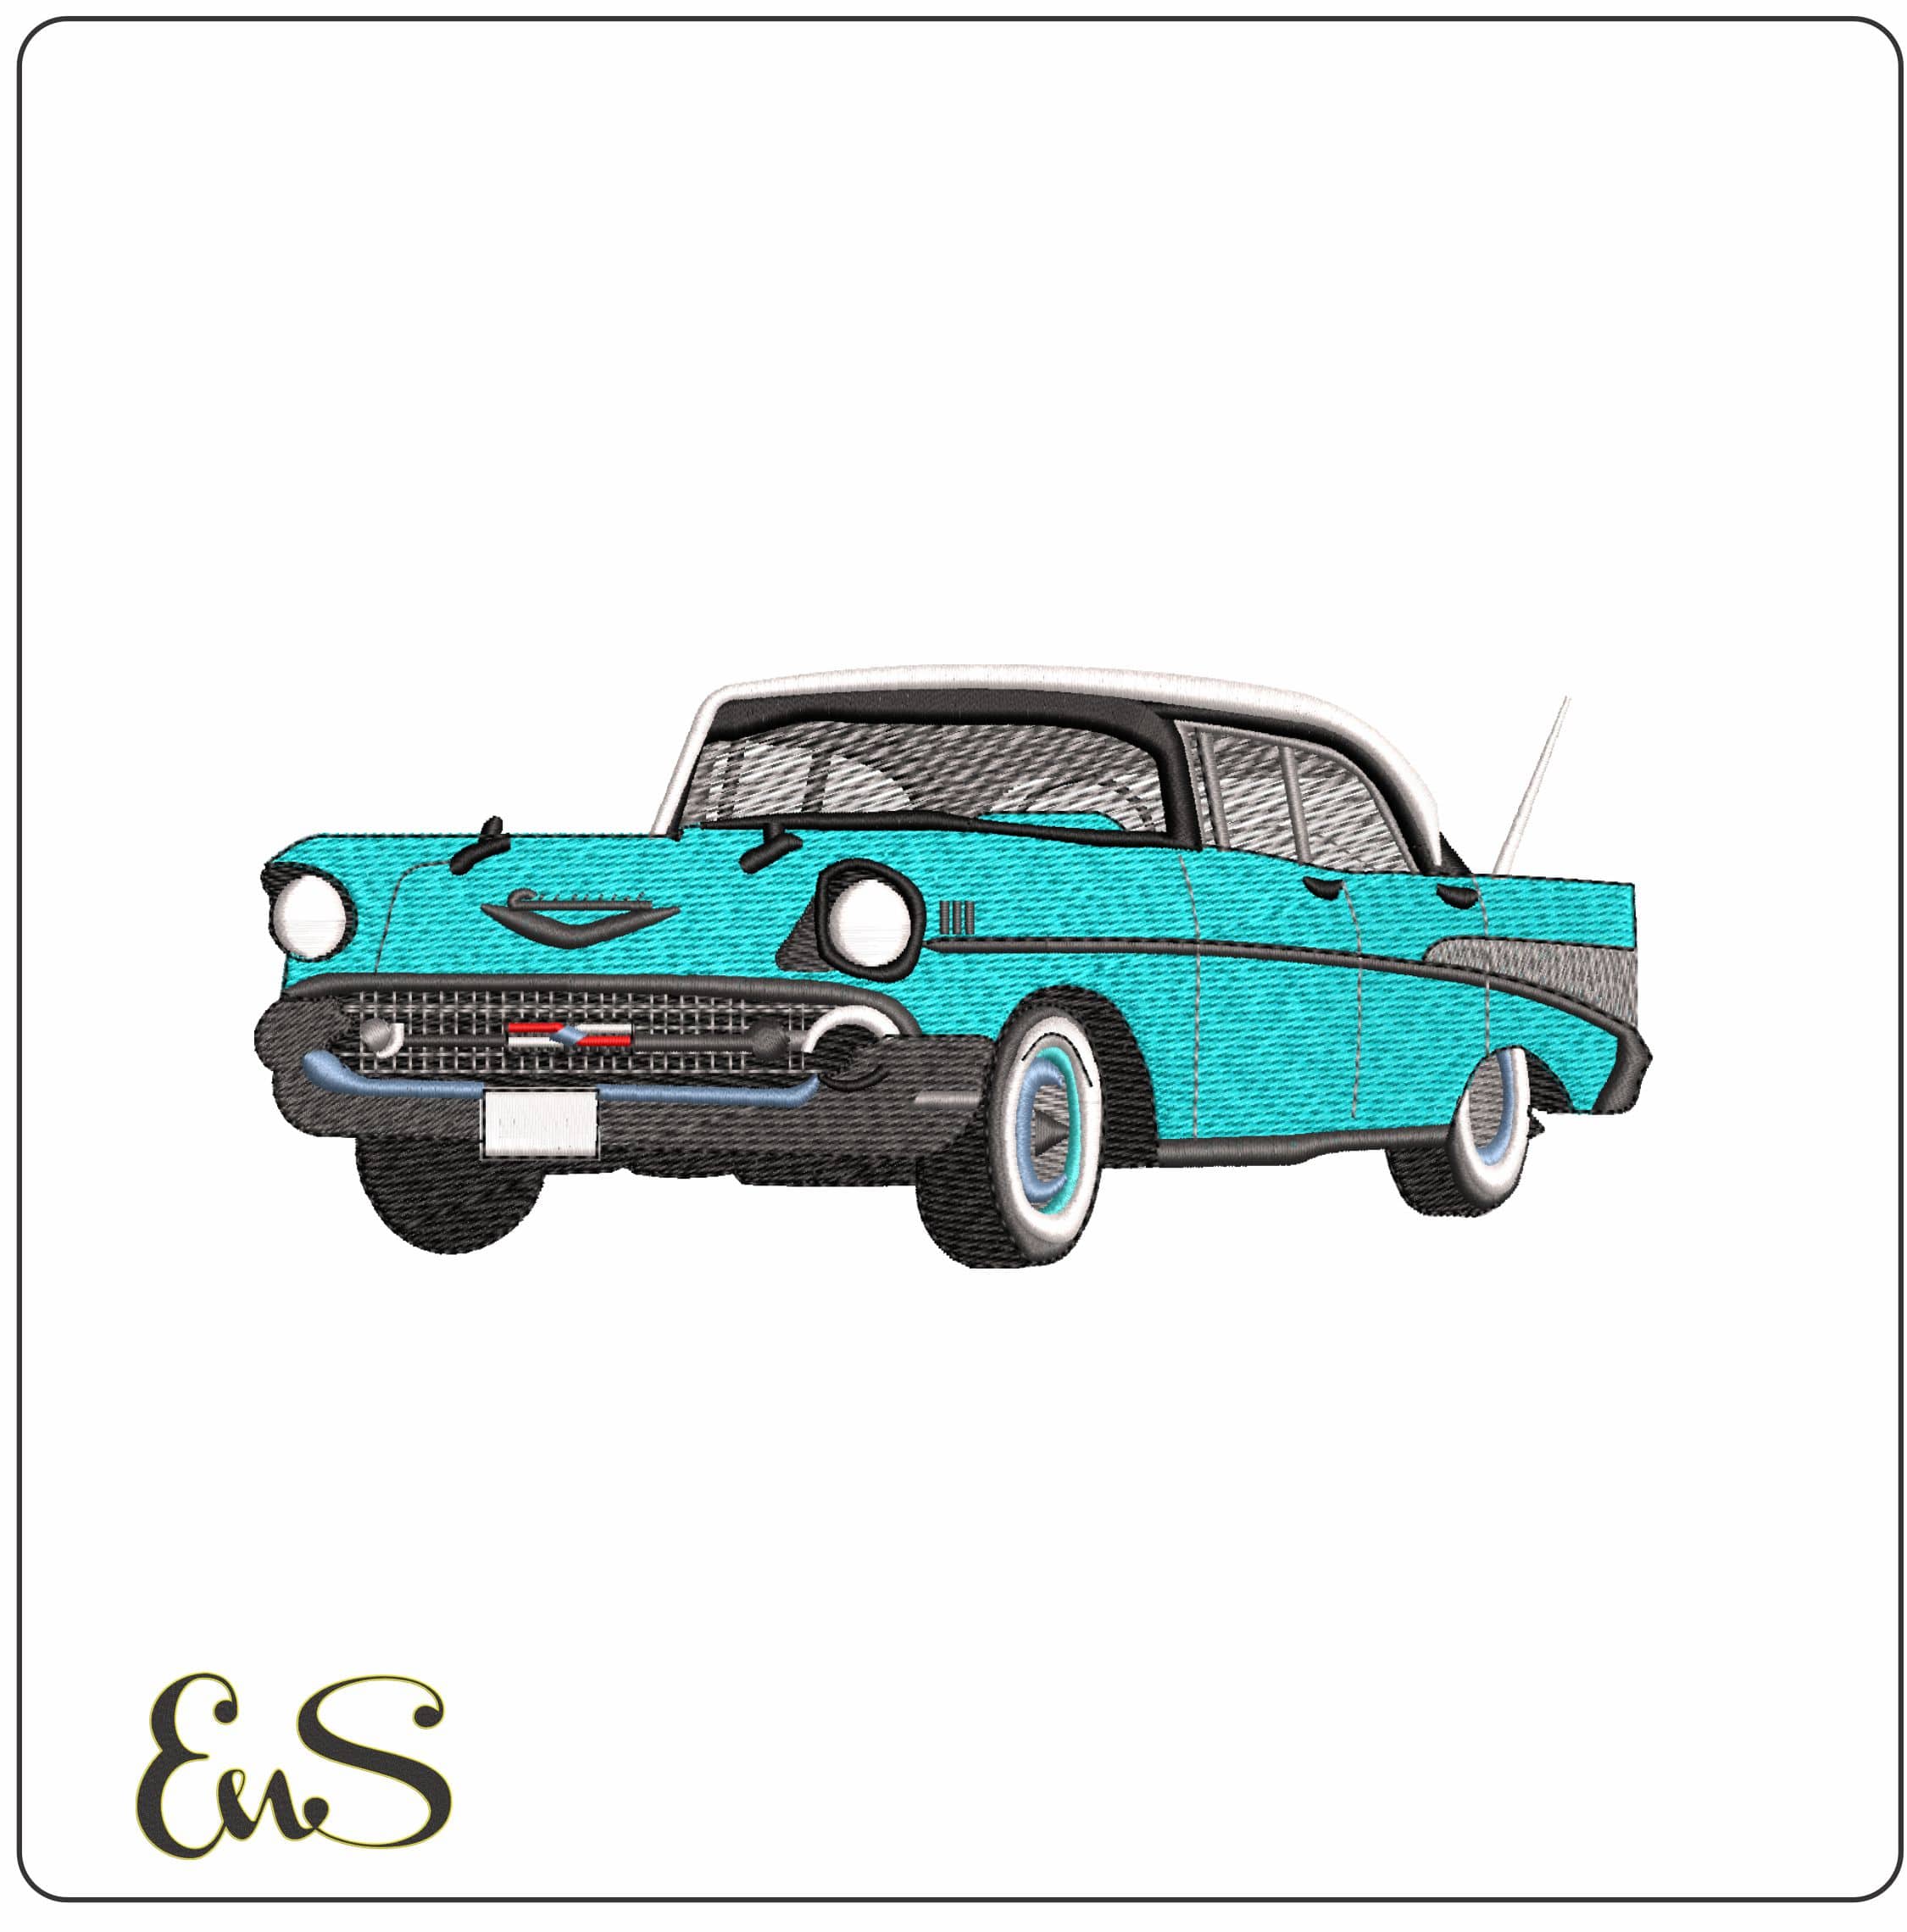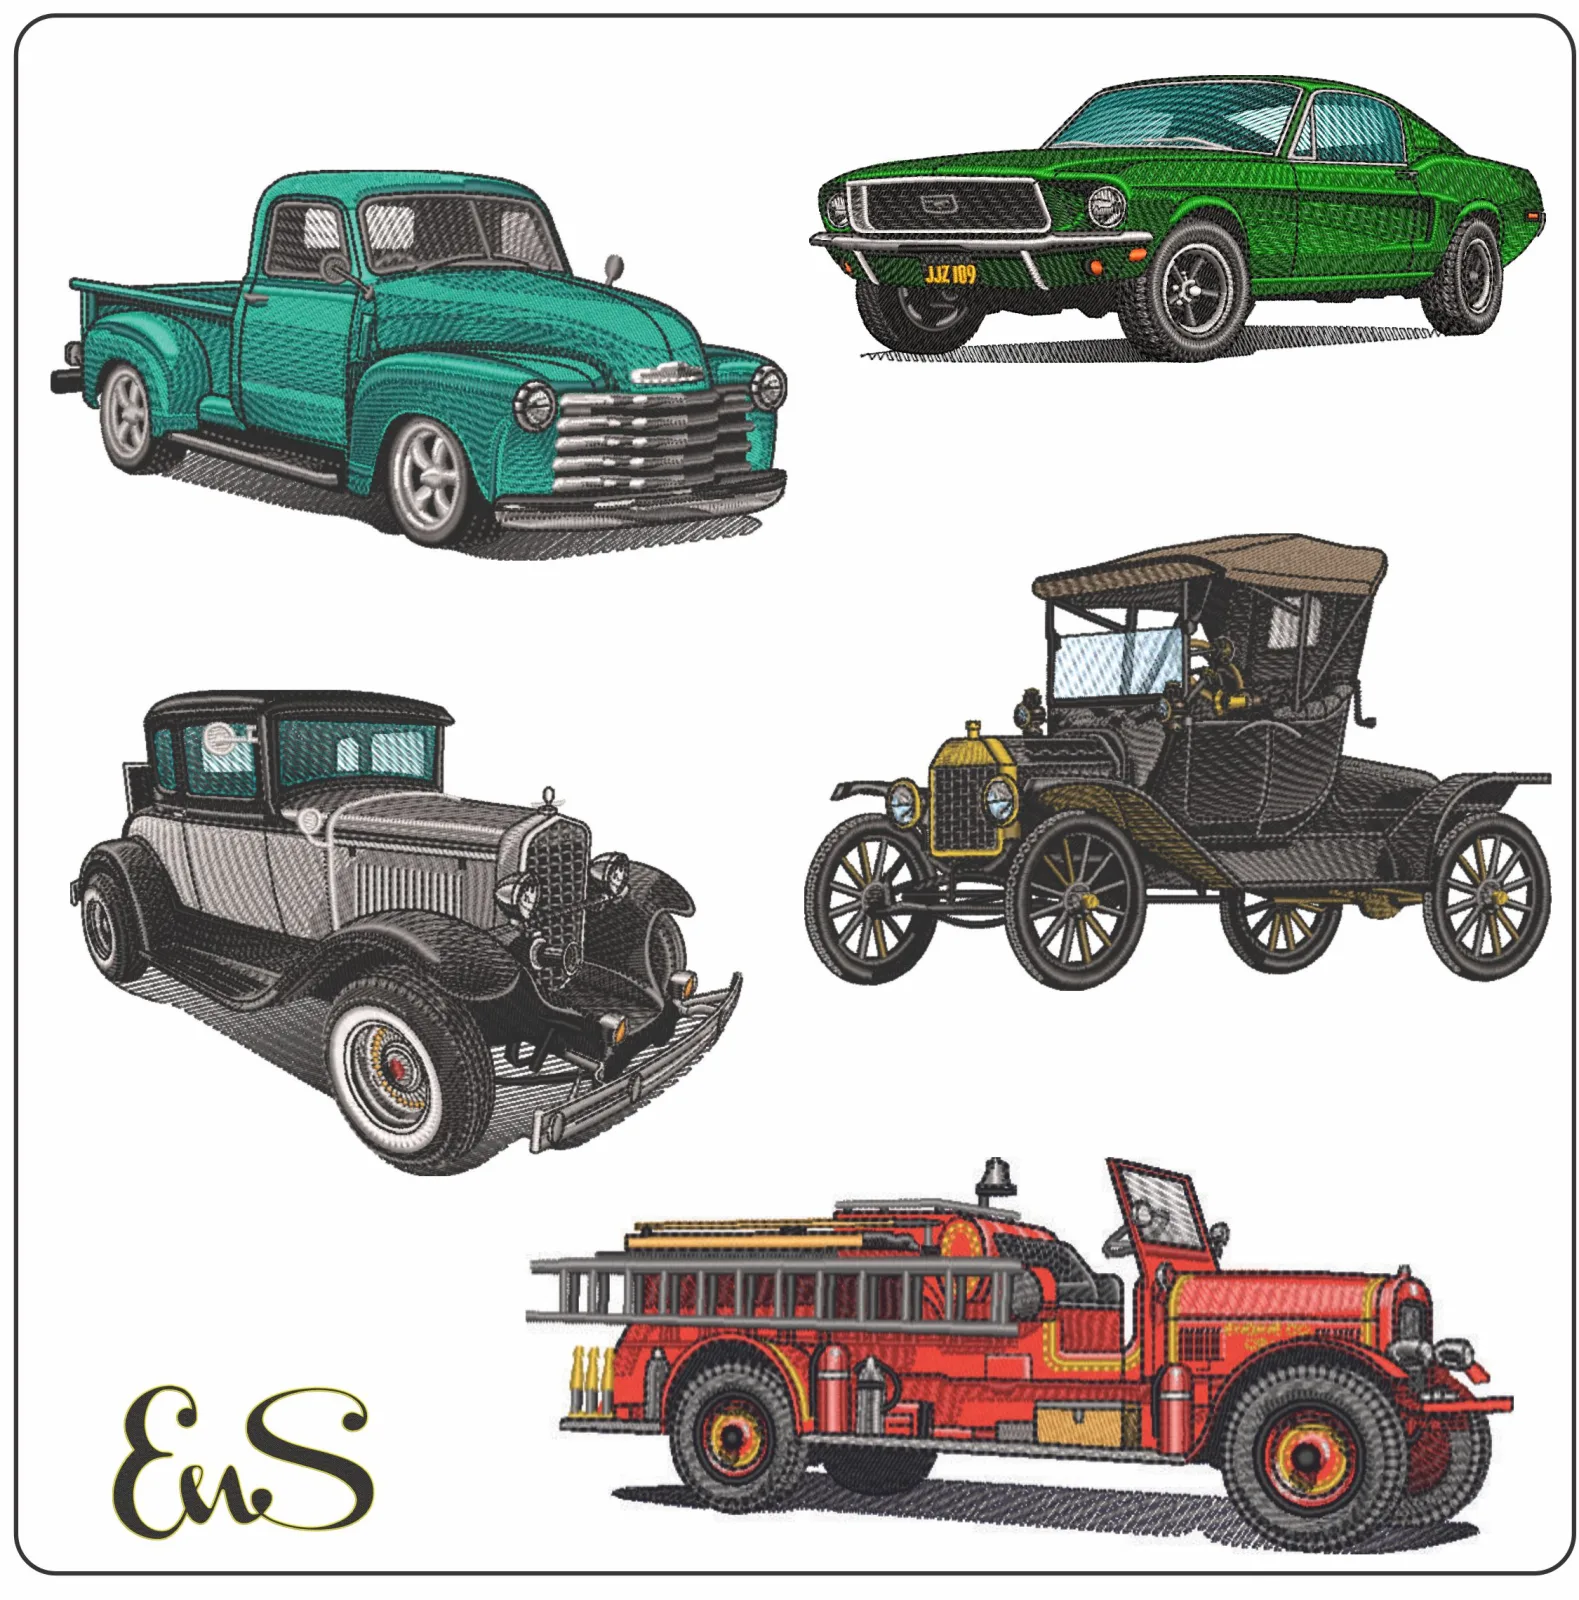
- [Choosing realistic car designs for 50s, 60s, 70s, 80s, and 90s vintage models.]
- Preventing puckering in dense automotive patterns with proper technique.
- Selecting the best stabilizers for high-quality vintage projects. - Finding inspiration for custom car-themed gifts and accessories.
Last week, a fellow enthusiast spent hours trying to stitch a 1964 Chevy Impala, only to find the fabric puckered and the chrome details looking like a tangled mess. It is incredibly frustrating when your passion for [Classic Car Embroidery] doesn't translate perfectly to the hoop. We all want those crisp, realistic lines that do justice to the "poster cars" of our youth, but capturing the sleek lines of a vintage ride in thread is harder than it looks. I am sorry to say that many digital files aren't optimized for the high stitch density required for automotive realism. I must apologize for the technical barriers involved in this craft; the relationship between a complex source image and a functional embroidery file is often difficult to balance. However, you can achieve professional results with the right preparation. You'll learn how to select, prepare, and stitch high-quality designs to transform your apparel into vintage masterpieces. I'll show you which stabilizers work best for these heavy designs and how to find the specific 80s or 90s models that are currently trending. By following the diagrams and photos included in this guide, you'll gain the knowledge needed to create clean, crisp designs that any car lover would be proud to wear.
- Identify high-quality [Classic Car Embroidery] by evaluating stitch density, which helps you avoid the common pitfalls of poor digitizing.
- Master essential stabilization techniques, such as using cut-away backings, to manage the heavy thread counts required for realistic car details.
- Explore creative ways to apply your digital designs to apparel like racing jackets or accessories like custom headrest covers.
Table of Contents
[- Understanding Classic Car Embroidery: From Digital Files to Fabric](/designs/1970s-american-classic-ford-f100-truck-swoosh-nike-car-embroidery-design-instant-download)
- How to Choose High-Quality Classic Car Embroidery Designs
- Essential Techniques for Detailed Automotive Embroidery [- Creative Ways to Use Your Classic Car Digital Designs](https://embroiderynsewing.com/articles/premium-bmw-embroidery-designs-for-us-car-enthusiasts)
- Automotive enthusiasts use these designs to customize shop gear, hats, and personal apparel.
- Designs range from simple outlines to high-density fill stitches that capture intricate chrome details.
- Specific file formats like PES and DST are required to preserve the fine lines of classic models.
[Understanding Classic Car Embroidery: From Digital Files to Fabric]
I'm sorry to say that converting a photo of a sleek muscle car into thread isn't as simple as clicking a button. I've found that the transition from a digital image to a physical stitch often hits a technical barrier where detail meets durability. Classic Car Embroidery is a digital-to-physical art form that requires precise digitizing to translate complex automotive curves into a stitchable reality. It isn't just about the car; it's about how the needle moves to recreate that vintage steel on your fabric. When you start a project, you'll choose between simple outlines and high-density fill stitches. Outlines are great for a minimalist look on light t-shirts. Fill stitches, however, use thousands of tiny threads to create a realistic, 3D effect. This process, known as Machine embroidery, allows you to turn a plain shop rag or racing jacket into a custom piece of history. I must apologize for the complexity of high-density designs, as they require much more stability than a basic logo, but the professional result is worth the extra effort.
[The Emotional Appeal of Vintage Automotive Art]
There's a deep sense of nostalgia in seeing the iconic silhouette of a 1957 Chevy or a Mustang GT rendered in thread. For many collectors and restoration enthusiasts, these designs aren't just patterns; they're memories. I've noticed that car-themed embroidery serves as a perfect, personalized gift. It connects the owner to their vehicle in a way that mass-produced accessories simply can't match.
[Common Digital File Formats for Car Designs]
I'm sorry to report that not every file works with every machine. You'll typically encounter PES, DST, JEF, or EXP formats. Choosing the right [embroidery file types] is vital for detail retention. If the format doesn't match your machine's requirements, the intricate lines of the car's grill or wheels might become distorted during the stitching process.
- High-density files require careful stitch count evaluation to avoid fabric puckering.
- Clean digitizing is essential for managing complex details like chrome grills and wheels.
- Resizing automotive designs should be restricted to a 10-20% range to protect stitch integrity.
- Heavy fabrics like denim provide the necessary support for detailed car patterns.
[How to Choose High-Quality Classic Car Embroidery Designs]
I'm sorry to say that many enthusiasts overlook the technical specs of a file before they start their machine. Regarding Classic Car Embroidery, you must evaluate the stitch count against your intended fabric. A design with 25,000 stitches might look incredible on a computer screen, but I've found it can easily overwhelm a thin t-shirt. I apologize for this limitation; it's simply a matter of physics where the thread density exceeds the fabric's structural strength. Check for clean digitizing before you commit. A high-quality file minimizes jump stitches in complex areas like the grill or wire wheels. If you see thread paths crossing everywhere in the digital preview, you'll likely face a technical barrier during the trimming process. Also, don't resize these designs more than 10-20%. I'm sorry to report that machine software often fails to adjust the density correctly when you scale too far, leading to gaps or thread breaks. If you need a different size, it's better to browse our Car Logo Embroidery Designs to find a file specifically digitized for your needs.
[Stitch Density and Detail in Automotive Patterns]
I've observed that satin stitches are the gold standard for chrome accents. They provide that reflective sheen that makes a bumper pop. However, they require solid underlay stitches to maintain the car's shape. You can learn more about these Essential embroidery techniques to understand how different stitch types interact with your machine. Without a proper foundation, the dense top stitches will cause the car body to distort.
Matching Car Designs to Fabric Types
I'm sorry to suggest that your favorite soft polo might not be the best choice for a heavy muscle car design. Heavy denim or canvas is much better for these dense embroidery designs. The weight of the fabric supports the Classic Car Embroidery and prevents the "bulletproof" feel that occurs when too much thread is packed into a light material. If you must use a lighter fabric, you'll need to compensate with multiple layers of stabilizer.
- Choose cut-away stabilizers to support the high stitch counts of vintage car patterns.
- Master hooping techniques to eliminate fabric shifting during high-speed stitching.
- Utilize trilobal polyester threads to achieve a realistic metallic chrome finish.
- Apply water-soluble toppers when embroidering car designs on textured fabrics like fleece.
![Classic Car Embroidery Designs for United States Enthusiasts]
Essential Techniques for Detailed Automotive Embroidery
I'm sorry to report that even the best digital file will fail if your physical setup is lacking. I've found that the technical barrier most enthusiasts hit is fabric movement. Proper hooping is the #1 defense against puckering in dense car patterns. I must apologize for the extra time it takes to secure your hoop, but it's the only way to ensure those sharp lines stay where they belong. If you want to see the difference for yourself, browse our collection of high-quality Car embroidery designs to find patterns that are already optimized for these techniques. Regarding thread, I've noticed that standard cotton or rayon often lacks the "pop" needed for a 1969 Camaro's chrome bumper. I recommend using trilobal polyester. It has a high-sheen finish that mimics metallic surfaces perfectly. It's also much stronger than rayon, which is a relief when you're running a design with 30,000 stitches at high speed. I'm sorry if this requires a trip to the store, but the visual payoff for your Classic Car Embroidery is undeniable.
Stabilizer Selection for Dense Car Logos
I'm sorry to say that tear-away stabilizer is almost never enough for automotive art. You need a heavy cut-away backing to support the weight of the thread. For large, full-fill designs, I often use two layers of cut-away rotated at 45-degree angles to each other. If you're working on fleece or knits, don't forget a water-soluble topper. It keeps the stitches from sinking into the fabric pile, preserving the fine details of the car's headlights and grill.
Achieving a Metallic Chrome Finish
Creating a realistic chrome look is all about color blending. I suggest using a gradient of white, light grey, and deep charcoal. I must apologize for the complexity of adjusting machine tension for these satin highlights, but it's vital. You want your bobbin tension slightly tighter than usual to ensure the top thread wraps cleanly around the edge, creating a smooth, reflective surface that looks like actual steel.
- Apply vintage vehicle patterns to mechanic shirts and racing jackets for a professional look.
- Create custom automotive accessories like headrest covers and car-show tote bags.
- Combine vehicle silhouettes with stylized fonts to mimic classic speed shop logos.
- Master durability techniques for frequently washed items to preserve stitch integrity.
Creative Ways to Use Your Classic Car Digital Designs
I'm sorry to say that many enthusiasts finish their first stitch-out and then wonder what to do with the finished piece. I've found that the real technical barrier isn't just the stitching, but the thoughtful placement and application of the art. Classic Car Embroidery looks its best when it's integrated into a larger, cohesive project. For instance, placing a detailed muscle car design on the back of a heavy cotton mechanic's shirt creates an instant vintage vibe that's perfect for the garage or a local meet. I must apologize for the limited space on smaller items like hats; for those projects, I suggest sticking to simple silhouettes rather than full-fill designs. However, for a jacket back, you have plenty of room to play. Imagine a layout diagram where your primary car design is centered, with a 12-inch arch of "Club Name" text above it and a straight line of "Est. 1985" below. This balanced layout mimics traditional shop uniforms perfectly. To ensure these heavy designs survive the laundry, you should review our guide on how to embroider for longevity, specifically focusing on secure knotting and proper trimming techniques.
Using Embroidery Fonts with Car Designs
I've observed that the font choice can make or break the overall aesthetic. I'm sorry to report that modern, thin fonts often get lost next to a dense car pattern. I recommend using bold, blocky, or script-style vintage fonts to maintain balance. Placing the owner's name on the front chest and the full Classic Car Embroidery on the back is a standard, professional approach for high-quality car club gear.
Gifting and Small Business Ideas
I apologize if you aren't ready to sell your work yet, but there's a significant demand for custom gear at local automotive shows. These designs make for incredible framed art; simply stitch the car onto a high-quality felt and place it into a shadow box. It's a unique gift for restoration enthusiasts who want to celebrate their "poster car" in a more permanent, decorative way.
- Selecting optimized digital files to ensure detail retention on complex car models.
- Balancing high-density stitches with heavy-duty stabilizers for professional results.
- Transforming standard apparel into custom automotive art through strategic placement.
Revving Up Your Next Embroidery Project
I'm sorry to say that the road to perfect automotive stitching often involves technical hurdles like puckering and thread breaks. I must apologize for these specific constraints; they are an inherent part of the relationship between complex digital files and physical fabric. By now, you know that successful Classic Car Embroidery depends on balancing high-density stitches with heavy cut-away stabilizers and the right trilobal polyester threads. I've found that once you master the stabilization and hooping techniques discussed earlier, your customization options are endless. Whether you're personalizing a racing jacket or creating a gift for a collector, the quality of your source material is the most important factor. Our high-resolution digital files are compatible with all major machine brands and are available for instant download. I encourage you to Browse our collection of high-quality Car Embroidery Designs! I hope these insights help you turn your vintage automotive passion into a professional reality. Happy stitching!
- Choosing the correct file format like PES or DST is essential for machine compatibility.
- Home machines can handle detailed designs as long as hoop size and density are managed.
- Preventing puckering requires using heavy cut-away stabilizers instead of tear-away options.
- These products are digital download files intended for use with embroidery machines.
- Trilobal polyester thread provides the necessary sheen for realistic chrome and metal effects.
Frequently Asked Questions
What is the best file format for classic car embroidery?
The best format depends entirely on your specific machine brand, though PES and DST are the most common standards. I'm sorry to report that using an incompatible format will prevent your machine from recognizing the design. I've found that PES works best for Brother and Baby Lock machines, while DST is the universal language for most industrial and home equipment. Always check your machine's manual to confirm if you need JEF, EXP, or HUS files instead.
Can I embroider a high-detail car design on a regular home machine?
Yes, you can certainly use a home machine, but you must respect its specific technical limits. I apologize for this constraint, but large automotive designs with high stitch counts often exceed the maximum hoop size or processing memory of entry-level machines. I suggest starting with a smaller version of the design and running a test stitch on scrap fabric. This ensures your home machine can handle the density without bird-nesting or breaking needles.
How do I prevent my fabric from puckering when stitching a dense car logo?
Using a heavy cut-away stabilizer combined with a "drum-tight" hooping technique is the most effective way to stop puckering. I've observed that many enthusiasts try to use tear-away for Classic Car Embroidery, but I'm sorry to say it lacks the structural integrity to hold the fabric flat. I must apologize for the extra work involved, but you might even need two layers of cut-away to support the thousands of stitches required for a realistic car body.
Are these digital car designs or physical patches?
These are digital machine embroidery files that you download and transfer to your machine via USB or cable. I must apologize if there was any confusion regarding the product type; we do not sell physical iron-on or sew-on patches. By using digital files, you gain the freedom to choose your own thread colors and fabric types. This allows you to create a custom look that a mass-produced physical patch simply cannot offer.
What thread is best for making car embroidery look realistic?
Trilobal polyester thread is the superior choice for achieving a high-sheen, realistic automotive finish. I apologize for the technical barrier of thread selection, but standard cotton or matte threads won't capture the reflective quality of a chrome bumper. Polyester is also much stronger and more colorfast than rayon. It provides the durability and metallic pop necessary for your Classic Car Embroidery to look like actual steel and polished paint on your finished garment.