

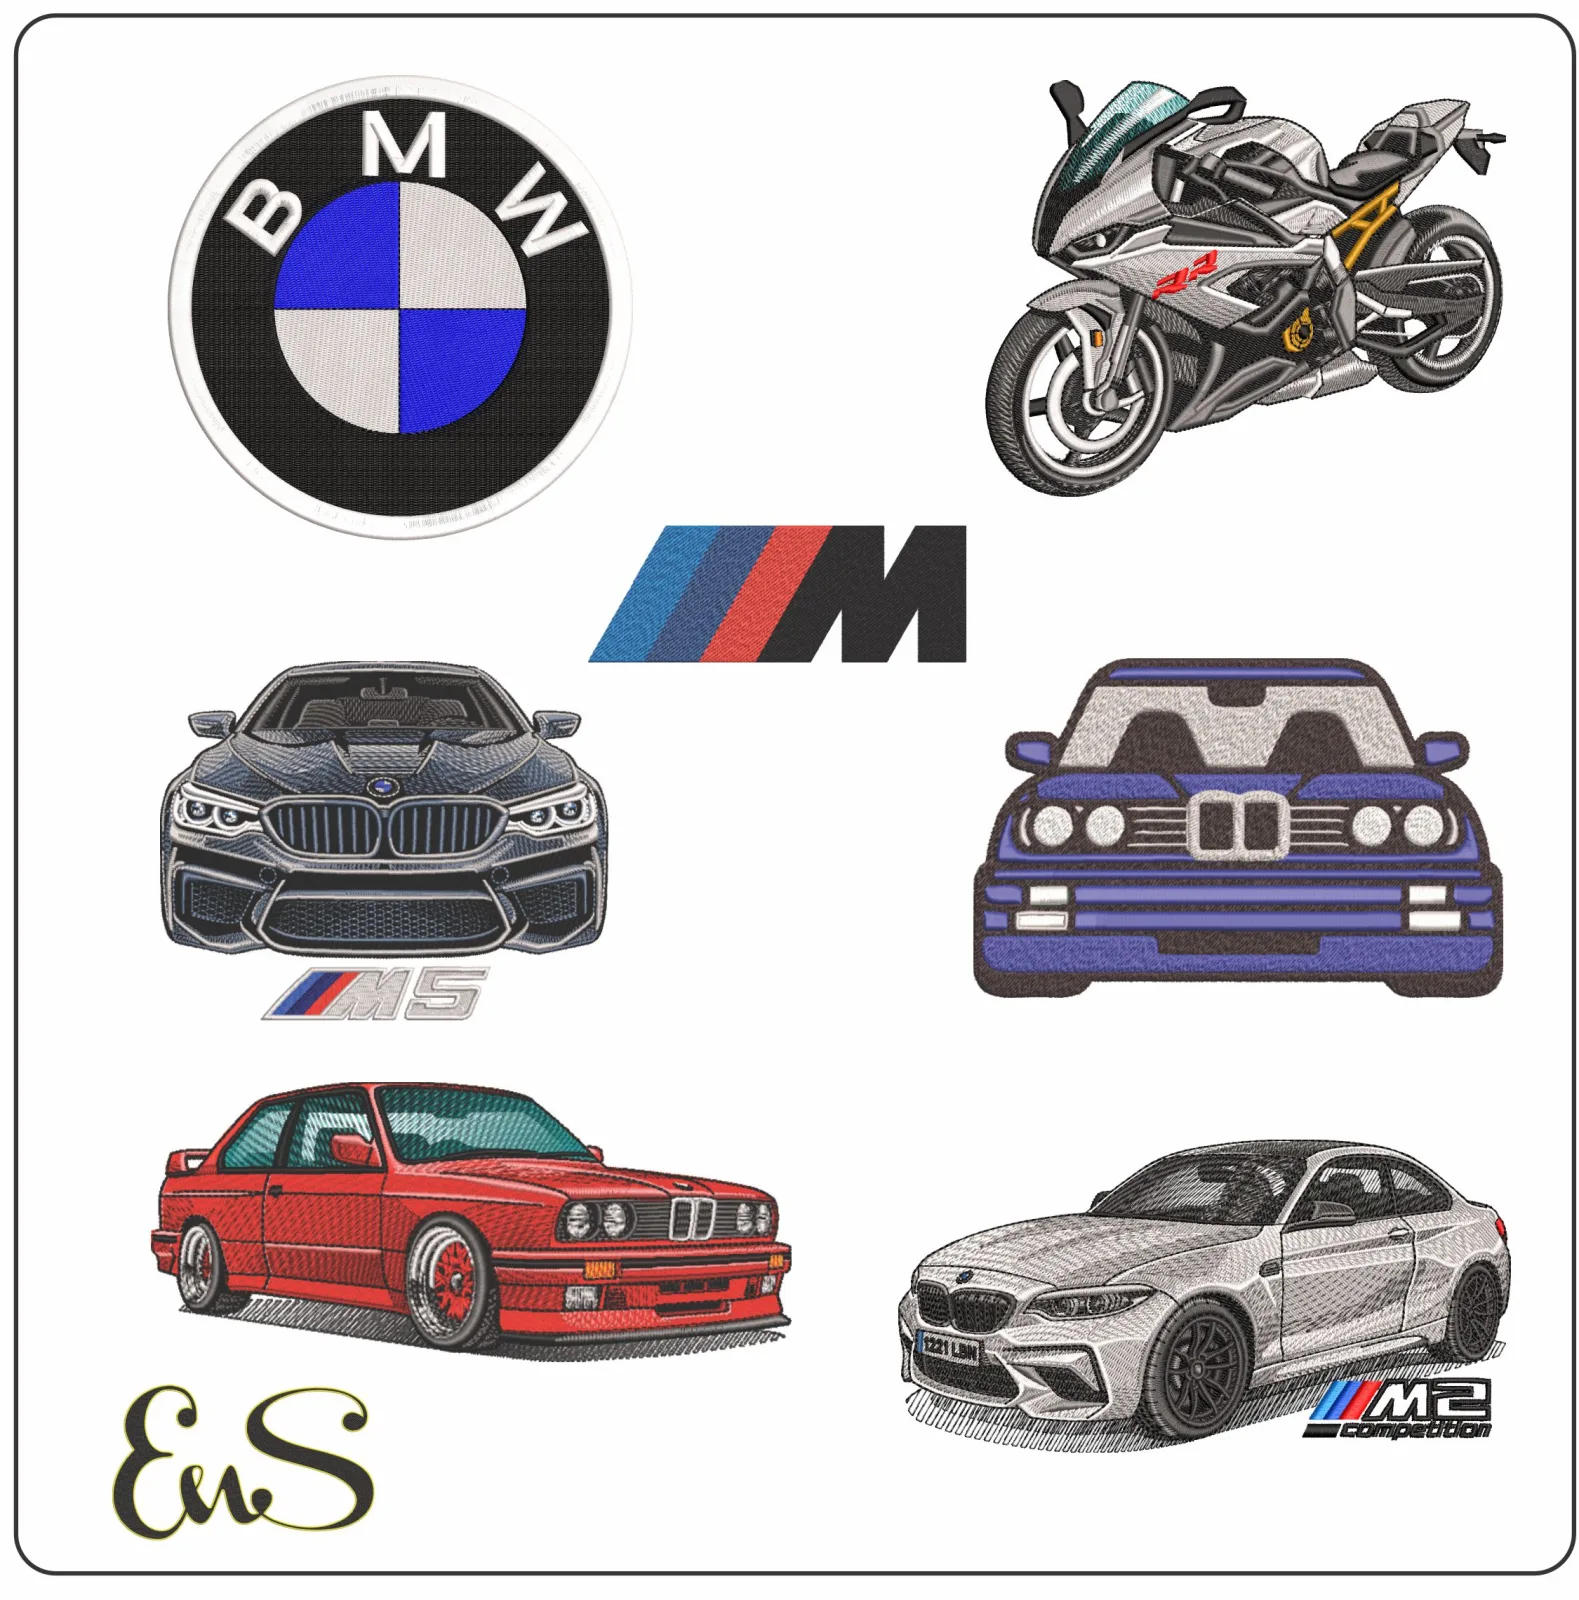
- Professional results depend on high-quality digitization to avoid common issues like puckering or messy thread nests. - Choosing the right file format and heavy-duty stabilizers is necessary for the dense stitch counts found in automotive logos.
- Navigating trademark laws is vital; the [BMW Roundel] is protected and official permission is usually required for use.
- The 2026 market favors 3D puff embroidery and expressive color palettes to reflect modern vehicle personalization trends.
I'm sorry to report that many enthusiasts face technical barriers when trying to recreate iconic automotive logos at home. What if your custom jacket looks more like a messy sketch than a precision-engineered machine? It's a common frustration because poorly digitized files often lead to puckered fabric and broken needles. You likely want your [BMW designs] to look as sharp as the car in your driveway, but achieving that professional finish requires specific techniques. I'll help you understand how to handle dense stitching and which stabilizers work best for high-stitch-count patterns. We'll also look at how to find reliable digital files and navigate the legal side of trademarked logos. By the end of this guide, you'll know how to use the latest 2026 trends like 3D puff embroidery to create something truly premium.
- [Professional BMW] embroidery requires high-quality digital files and proper machine-specific formats like PES or DST for accurate scaling.
- Using heavy-weight cut-away stabilizers and 40wt polyester thread prevents puckering on dense automotive logos.
- Specialized hooping techniques are necessary for customizing tricky items like car headrests and racing apparel.
- Staying informed on trademark laws and 2026 trends like 3D puff embroidery ensures a professional and legal result.
[Key Takeaways]
- Learn how to spot the key visual details like the roundel and M-series colors so you'll get an authentic look.
- Pick the right digital file format for your specific machine brand so your BMW designs don't lose detail when scaled.
- Use heavy-weight cut-away stabilizers and 40wt polyester thread to handle the high stitch counts found in car logos.
- Master the art of hooping difficult items like headrests and racing jackets for a clean, factory-quality finish.
- Stay on top of 2026 trends like 3D puff embroidery and understand the legal basics of using trademarked automotive logos.
Table of Contents
-
Executive Summary: Mastering BMW Designs for Machine Embroidery
-
Spotting the Roundel, Kidney Grille, and M-series colors ensures your project looks authentic.
-
Picking the right file formats like PES, DST, or JEF prevents scaling errors on your machine.
-
Using heavy-weight cut-away stabilizers stops fabric from bunching up under dense automotive logos.
-
Planning stitch paths helps recreate the sleek, metallic look of a real car body.
## [Executive Summary: Mastering BMW Designs for Machine Embroidery]
I've found that capturing the spirit of a luxury car in thread is harder than it looks. It's not just about the logo; it's about the geometry. If you want your BMW designs to stand out, you need to master the tiny details that define the brand. I regret that I cannot provide the physical thread for your project, but I can certainly explain why your digital file choice and stitching technique matter so much.
### [The Core Elements of the BMW Aesthetic] The blue and white quadrants represent the Bavarian flag colors, though many people think they're spinning propellers. You can learn more about the History of the BMW Roundel to see how these shapes evolved over the decades. When you're stitching, the "Hofmeister kink," which is that iconic sharp curve in the window line, needs a precise satin stitch to look right. Using the M-series palette of light blue, dark blue, and red adds that racing edge. These colors are specific. Using "close enough" shades will make the final product look like a cheap imitation rather than a premium tribute.
I often see enthusiasts struggle because standard auto-digitizing software fails to capture the sharp corners of the "Kidney Grille." These automated tools usually create messy thread paths that lead to bird's nesting under the needle. High-quality BMW designs require manual pathing. This process ensures the needle moves logically around the emblem. Manual pathing prevents the fabric from puckering under the high stitch density required for a solid, metallic finish. You should always match your file format to your machine, such as PES for Brother or DST for Tajima, to ensure the scaling remains perfect. Without the right format, the dense fills in the roundel can easily distort your garment.
- Match your file format to your machine's brand to avoid technical errors during the upload process.
- Use 4x4 or 5x7 hoops to keep the BMW roundel crisp and prevent the fabric from shifting.
- Select fill stitches for large colored areas and satin stitches for sharp, professional outlines.
- Understand the legal guidelines for using corporate logos to ensure your projects remain compliant.
## [Choosing the Right BMW Embroidery Designs for Your Machine]
I've noticed that many enthusiasts get excited about new projects only to find their machine cannot read the file they just downloaded. I regret that digital compatibility remains a significant technical barrier in the hobby. Essentially, these files are digital instructions that tell your needle exactly where to go. To get the best results with your BMW designs, you must ensure the "digitizer" has accounted for the specific way thread pulls on fabric.
### [Understanding File Compatibility]
I must explain that every machine brand speaks a different digital language. If you use a Brother machine, you'll almost always need a PES file. Janome users require JEF, while Husqvarna machines look for HUS. If you find a pattern you love in the wrong format, you can use conversion software, but I've found this often leads to minor stitch errors. It's also vital to follow Trademarking Best Practices when you're working with famous emblems. This ensures you're using the logo for personal enjoyment without infringing on corporate rights.
Sizing Your Design for Different Projects
I apologize for the technical constraint regarding scaling; you can't simply stretch a small logo to fit a jacket back. If you increase a design's size by more than 20 percent without recalculating the stitches, the gaps will show through. For a polo shirt, a small 3 inch logo works best in a 4x4 hoop. For racing jackets, you'll need a file specifically digitized for a large 5x7 or 8x12 hoop to maintain the right density. If you're just starting, you might find this [Machine Embroidery & Sewing: A Beginner's Complete Guide] helpful for understanding these basics. You can also browse our collection of car embroidery designs to find patterns that are already optimized for these standard sizes.
- Use a heavy-weight cut-away stabilizer to support the high stitch counts found in automotive logos.
- Choose 40wt polyester thread to mimic the high-gloss finish of car paint while ensuring durability.
- Opt for a 75/11 sharp needle to maintain precision in the small lettering of BMW designs.
- Lower your machine's top tension to prevent the bobbin thread from pulling through during dense fill sections.
 Embroidery designBMW Logo 1963-1997 embroidery designView this design →
[Technical Best Practices for Stitching Automotive Logos]
I regret that many hobbyists experience frustration when their machine settings aren't dialed in for dense patterns. I've found that the thousands of stitches often required for premium [BMW embroidery designs] can easily overwhelm standard fabric if you aren't careful. To get that factory-fresh look, you need to treat your embroidery like a precision engineering project. I'm sorry to say that I cannot provide a universal tension setting for every machine, as each brand responds differently to high-density files; however, starting with a few specific adjustments will save you from wasted thread. First, let's talk about the needle. I recommend a 75/11 sharp needle. It's thin enough to handle the tight lettering without leaving large holes in the garment. Pair this with 40wt polyester thread. I choose polyester because it has a high-sheen finish that mimics automotive paint much better than matte cotton. You should also lower your top tension slightly. This ensures the bobbin thread stays hidden even when the needle is working overtime on a thick fill area.
[Preventing Puckering and Misalignment]
I've seen many people try to "float" their fabric to save time. I'm sorry to report that this almost always results in a distorted logo. For car logos, you must use the "sandwich" technique. Hoop your fabric and a heavy-weight cut-away stabilizer together tightly. This rigidity is the only way to ensure the roundel stays a perfect circle instead of becoming an oval. If you are working on a stretchy knit, this step is non-negotiable.
Stitch Direction and Texture
To get a 3D effect, I suggest using a radial fill for the blue and white quadrants. This mimics the way light hits a real emblem on a car's hood. You can see how different paths change the look in this [Embroidery Stitches: A Visual Guide for Machine Embroidery]. Also, check that your digital file uses traveling stitches to hide jump threads. If you're ready to start your project, you can find High Quality Embroidery Designs that are already optimized for these technical requirements.
- Personalize car interiors by hooping headrests and seat covers for a factory-finished appearance.
- Create professional-grade team gear using racing jackets and pit crew shirts.
- Upgrade your garage by embroidering heavy-duty shop towels and tool bags.
- Use specific needles and stabilizers when working with thick automotive leather or faux-leather.
Creative Project Ideas Using BMW-Inspired Patterns
I regret that I cannot physically handle the stitching for your vehicle, but I can certainly guide you through the best ways to use BMW designs for your personal projects. Many enthusiasts start with apparel, but the real magic happens when you move into the car's interior. I'm sorry to say that hooping a finished seat cover is a significant technical barrier, yet the results are worth the extra effort. You can create a factory-custom look by embroidering the headrests or the center panels of your seats. It's a great way to make a standard interior feel like a limited edition. If you aren't ready to take apart your car's upholstery, you can focus on gear for the track. Pit crew shirts and heavy-duty racing jackets are perfect canvases for these patterns. I've found that adding a small logo to a polo shirt pocket or a hat is the best way to show your brand loyalty at car club meets. You might even consider making custom keychains. These small gifts are always a hit with fellow owners because they're functional and personal.
Embroidering on Heavy Materials
I apologize for the difficulty you'll face when working with leather or thick faux-leather. These materials are much less forgiving than cotton. You'll need to swap your standard needle for a size 90/14 specialty needle to punch through the hide without breaking your thread. I also suggest using a non-slip stabilizer so the material doesn't shift mid-stitch. If you're looking for more inspiration, check out Embroidery Patterns: Creative Ideas for Your Machine for a deeper look at different project types.
Combining Logos with Custom Text
I've noticed that most people want to add their specific model name next to the roundel. You can easily use built-in embroidery fonts to add "M3," "335i," or even your car's nickname. Just make sure the font weight matches the logo's density so one doesn't overpower the other. It's a simple way to take standard BMW designs and turn them into something unique to your specific ride. For more tips on how to improve your hobby, you can read the Best Embroidery Blogs available today.
- Success in automotive embroidery requires overcoming technical barriers like file compatibility and stitch density.
- Professional results are achieved through high-quality digitization and machine-optimized patterns.
- Choosing the right materials ensures your custom projects look like factory-original gear.
Start Your Next High-Performance Embroidery Project
I regret that many hobbyists experience frustration when their machine settings aren't perfectly dialed in for complex automotive logos. I've found that the difference between a messy stitch-out and a professional finish often comes down to the quality of the initial file. I'm sorry to report that auto-digitized patterns rarely handle the sharp geometry of car emblems correctly. However, by using the heavy-weight stabilizers and 40wt polyester threads I've described, you can overcome these common technical hurdles. You now have the technical foundation to handle your BMW designs with confidence. Whether you're customizing a racing jacket or adding a personal touch to your car's interior, the right digital foundation is essential for success. For high-density patterns that deliver professional results, I suggest you Browse High-Quality Digital Embroidery Designs. Our files are optimized for all major machine brands and are available for instant download after purchase. I'm excited to see your precision work in action. Happy stitching!
- Digital BMW patterns are available through specialized embroidery design websites for immediate download in various formats.
- File formats must match your machine's brand, such as PES for Brother or DST for Tajima, to ensure compatibility.
- Heavy-weight cut-away stabilizers are the primary solution for preventing puckering in high-density automotive logos.
- Standard sewing machines lack the hoop and computer systems needed to process digital embroidery files.
- Headrest embroidery is technically challenging and often requires adhesive stabilizers or cover disassembly.
Frequently Asked Questions
Where can I find digital BMW designs for my embroidery machine?
You can find high-quality BMW designs on specialized digital embroidery marketplaces and automotive-themed pattern sites. I'm sorry to report that finding officially licensed files for personal use is difficult due to brand restrictions. Most enthusiasts rely on professional digitizers who sell patterns optimized for home machines. Always check the review section to ensure the file has been test-stitched before you purchase it for your project.
What is the best file format for car logo embroidery?
The best file format is the one that natively matches your specific machine brand. I apologize for the technical barrier created by brand-specific file types. If you're using a Brother or Baby Lock machine, you'll need a PES file. Tajima users require DST, while Janome owners look for JEF. I've found that using the native format prevents the stitch errors that often occur during file conversion.
How do I prevent the fabric from puckering when stitching a dense BMW logo?
I've found that the most effective way to prevent puckering is by using a heavy-weight cut-away stabilizer. I'm sorry to say that tear-away stabilizers are usually insufficient for the high stitch count found in a car logo. You must hoop the fabric and stabilizer together tightly. This rigidity supports the dense fill stitches and keeps the fabric from pulling inward as the needle works across the design.
Can I embroider a BMW design on a standard home sewing machine?
I'm sorry to inform you that a standard sewing machine cannot process these digital patterns. You need a dedicated embroidery machine or a hybrid model equipped with a hoop attachment and a computerized brain. Standard machines lack the X-Y movement system required to move the fabric in the precise patterns dictated by the digital file. Without this hardware, the machine can only sew in straight or zigzag lines.
Is it difficult to embroider on car seat headrests?
Yes, embroidering on headrests is quite difficult because they are often too thick or oddly shaped for a standard hoop. I regret that I cannot offer a simple solution for every car model. Many crafters use a "floating" method with a sticky adhesive stabilizer or disassemble the headrest cover entirely. Because the material is often leather or thick vinyl, you'll also need a larger 90/14 needle to prevent breakage.


