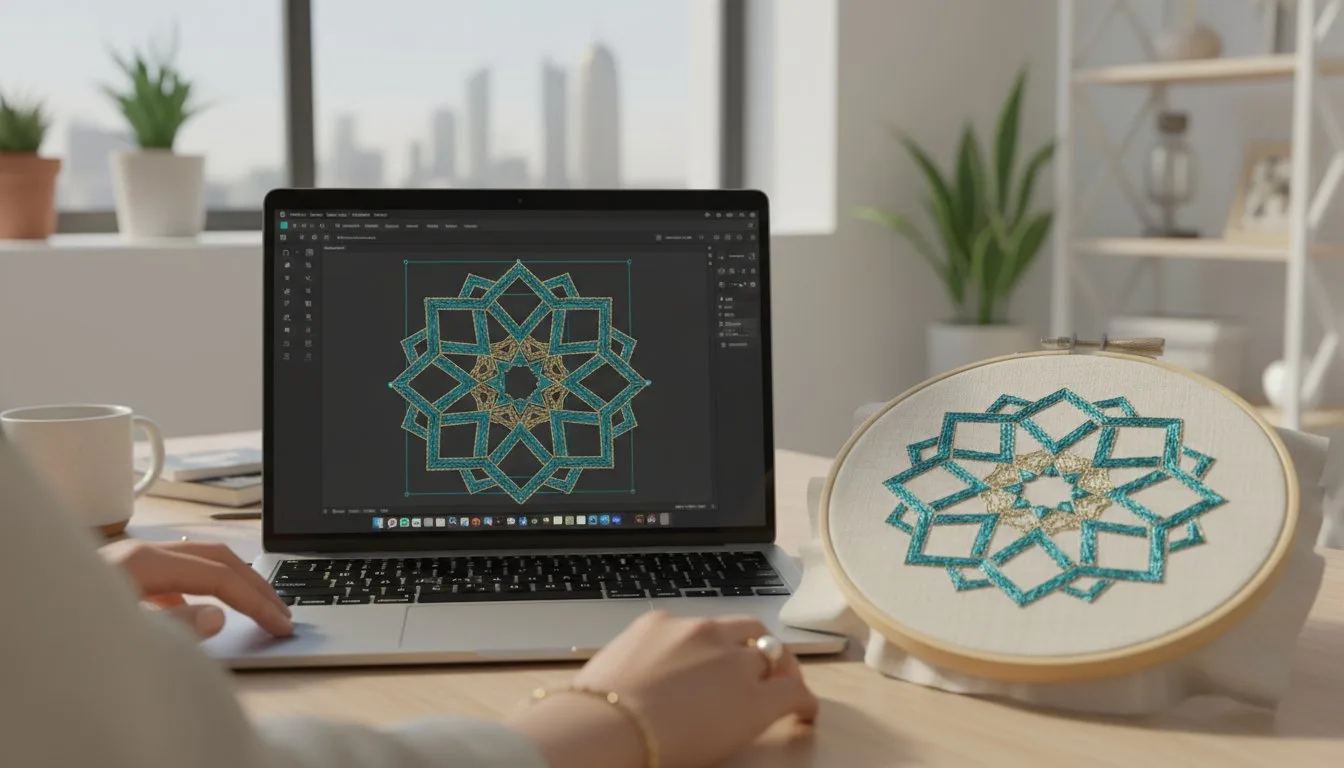
A design that looks perfect at 3.9 inches can turn messy fast at 5 inches. Satin borders get thin, fill stitches open up, and small lettering that stitched cleanly on a cap front suddenly looks rough on a sweatshirt sleeve. If you want to resize embroidery designs safely, the real question is not whether your software lets you do it. It is whether the file can still sew well after the change. For most embroidery hobbyists and small apparel decorators, resizing is part of everyday project planning. You may love a sports-themed design but need it smaller for a left chest. You may have a kids' motif that needs to go larger for a tote bag. The goal is simple: keep the design usable without creating thread breaks, poor coverage, or distorted details.
## [What it means to resize embroidery designs safely]
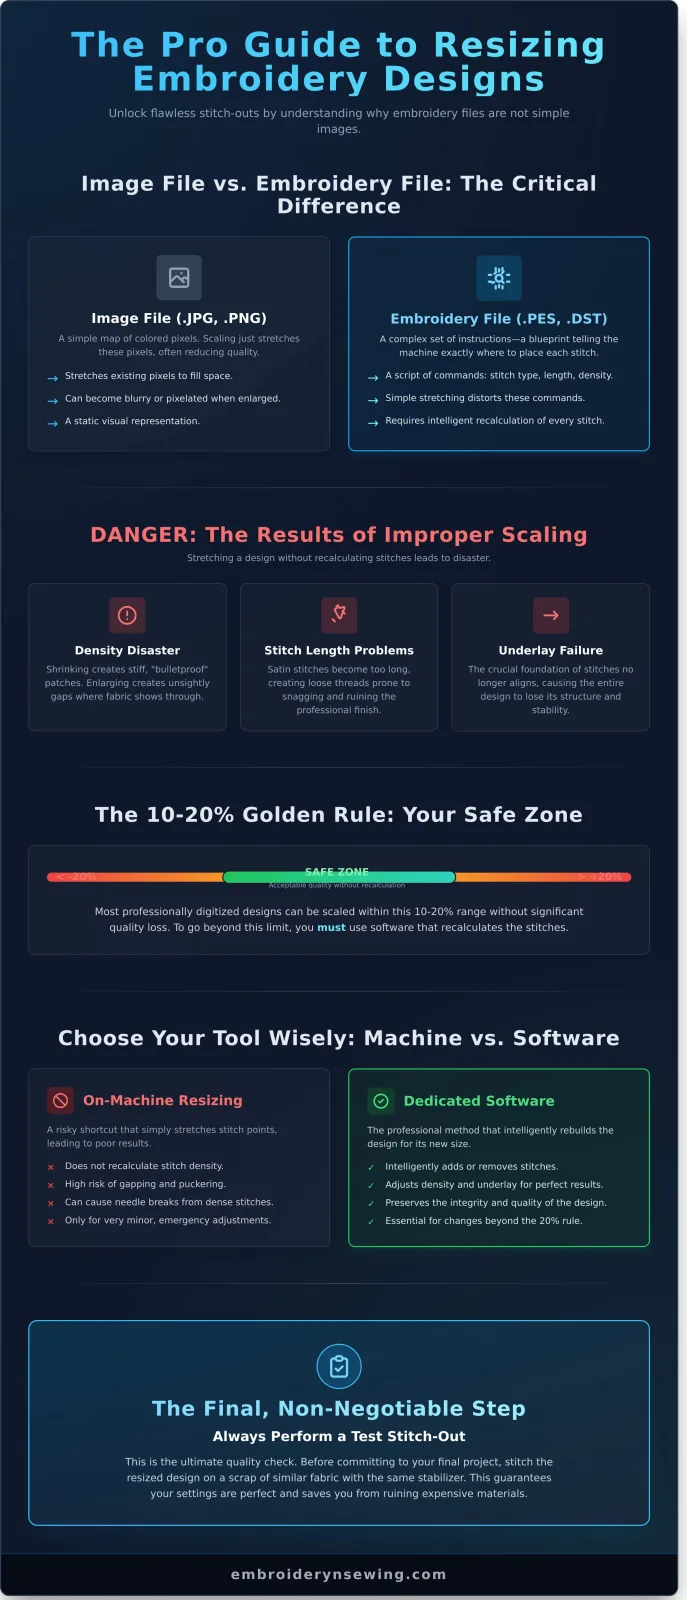
Safe resizing means changing the dimensions of a design without damaging the stitch quality beyond what the design can handle. That is different from simply scaling artwork on a screen. Embroidery files are built from stitch types, densities, underlay, pull compensation, and sequencing. When you resize them too much, those settings no longer match the new size. This is why embroidery designs are not like regular image files. A PNG can be stretched and still display. An embroidery file has to physically run on fabric, under tension, with needle penetrations spaced closely enough to cover material but not so closely that the machine struggles. Safe resizing is about keeping that balance. In practical terms, most pre-digitized embroidery designs can handle only modest changes. A common rule is about 10% to 20% up or down if your software recalculates stitches properly. Even then, it depends on the design style. A simple fill-based ball shape may tolerate more adjustment than a mascot face with tiny satin details and text.
## [When resizing usually works]
Simple designs are the safest candidates. Clean shapes, open fills, larger satin columns, and minimal detail tend to resize better than compact, highly detailed files. A bold monogram, basic floral, or straightforward team-inspired emblem often gives you more room to adjust. Larger original designs also tend to be more forgiving. If a design starts with plenty of breathing room between stitch elements, a slight reduction may still preserve legibility. If the design already pushes detail into a small area, shrinking it further usually creates trouble. Fabric choice matters too. Stable materials such as twill, canvas, or structured blanks can support a resized design better than stretchy knits or lightweight tees. If you are sizing a file for a [jacket back], you have a different margin for error than if you are trying to fit the same look onto a baby bodysuit.
Small lettering is the first warning sign. If the design includes text under a quarter inch tall, shrinking it more is often a bad bet. Letters fill in, serifs disappear, and satin strokes become too narrow to hold shape. If you need a smaller version, re-digitizing the text is usually the better move. Dense logo-style files are another common problem. [Sports, school, and fandom-inspired designs] often use layered fills, sharp outlines, and close detail changes. These are popular because they look strong on team apparel and gifts, but they are not always flexible. Enlarging them can expose gaps between sections. Shrinking them can make the stitch count too tight for clean sewing. Applique placement files, freestanding lace, and in-the-hoop projects also need extra caution. Their construction depends on exact relationships between placement lines, tackdown stitches, seam allowances, and assembly steps. Resize those casually and the project may stop fitting together.
## [The difference between scaling and recalculating]
This is where many stitch problems start. Some programs simply scale the existing stitches. That means every stitch gets longer or shorter in proportion, but the software does not rethink density, compensation, or stitch behavior. The design changes size, but not intelligence. Better embroidery software can recalculate stitches when the design is resized. That is much safer because it adjusts stitch spacing and structure based on the new dimensions. Still, recalculation is not magic. If the original design was built with tiny detail, the software cannot invent cleaner geometry just because you changed the size. If your software only scales stitches, stay conservative. If it recalculates well, you have more flexibility, but you still need to test before committing to blanks or customer orders.
## [How to resize embroidery designs safely in real projects]
Start by asking what changed: placement, fabric, or overall look. If you only need a design slightly smaller to fit a pocket area, a modest reduction may be fine. If you are trying to turn a chest logo into a full-back design, that is usually beyond safe resizing and into re-digitizing territory. Next, inspect the design elements. Look closely at lettering, satin borders, tiny gaps, and layered details. If any part already looks tight at the original size, resizing will exaggerate the weakness. This quick screen check saves time before you even hoop a test piece. Then use the right file in the right software. Whenever possible, work from the most editable version available rather than a machine-only output file. If your software supports stitch recalculation, use it. If not, keep your adjustments small and realistic. After resizing, review the stitch count and density visually. A reduced design that now looks overly packed is likely to pucker or create thread breaks. An enlarged design that shows open fill coverage may leave fabric peeking through. Neither issue is always obvious from the dimensions alone.
Test stitching is not optional
If the item matters, test the resized file on fabric that behaves like the final blank. Similar weight, similar stretch, similar stabilizer. This is the fastest way to catch problems with coverage, registration, and distortion before they cost you a garment. Watch for the common signs of unsafe resizing: outlines not meeting fills, satin columns looking too skinny, fills looking sparse, lettering closing up, and puckering around dense areas. Also pay attention to how the design feels in the hoop and under the needle. If the machine sounds strained or the fabric tunnels, the resized file may be too dense for that setup. For sellers making repeat items, a single test stitch can save a lot of frustration. It is especially useful when working on boutique sweatshirts, team gear, children’s gifts, and other products where placement and polish matter.
[Better alternatives when resizing is too much]
Sometimes the smartest move is not resizing at all. If a design needs a major size shift, look for a version created for that application. A left-chest design should be digitized differently from a jacket-back design. The same theme can exist in multiple stitch-ready sizes, and that is usually the cleanest path. You can also simplify. Instead of shrinking a detailed mascot with text and outline effects, use a cleaner symbol, initials, or a bold single-element version. If you are decorating for sports fans, schools, holidays, or kids' themes, there is often a simpler file that fits the project better than forcing one design to do every job. This is where a [large design library] helps. A marketplace with broad categories and multiple style options makes it easier to choose a file that already fits your hoop, garment area, and audience, instead of pushing one design past its safe limit.
A few practical size-change guidelines
If you are reducing a design, try to stay close to 10% unless the file is very simple. If you are enlarging, be just as careful, because poor coverage can look as bad as excessive density. Small, detailed files usually have less flexibility than bold, open ones. For text-heavy designs, treat lettering as the deciding factor. For logo-style files, watch borders and fills. For knits and stretchy apparel, be stricter with your size changes than you would be on structured fabric. And for anything customer-facing, test first. If you regularly shop by theme and need fast project-ready files, this is also a buying decision. Choosing a design that is already close to your target dimensions is often better than planning to adjust it later. That is especially true for popular categories like sports, anime, cartoon-inspired gifts, kids' motifs, and personalized apparel where clean stitching matters as much as the artwork itself. Resizing is useful, but it is not a shortcut around digitizing logic. The safest projects come from matching the right design to the right size from the start, then making only small, informed changes when needed. If a file stitches cleanly, fits the space, and suits the fabric, you are already most of the way to a better finished piece.