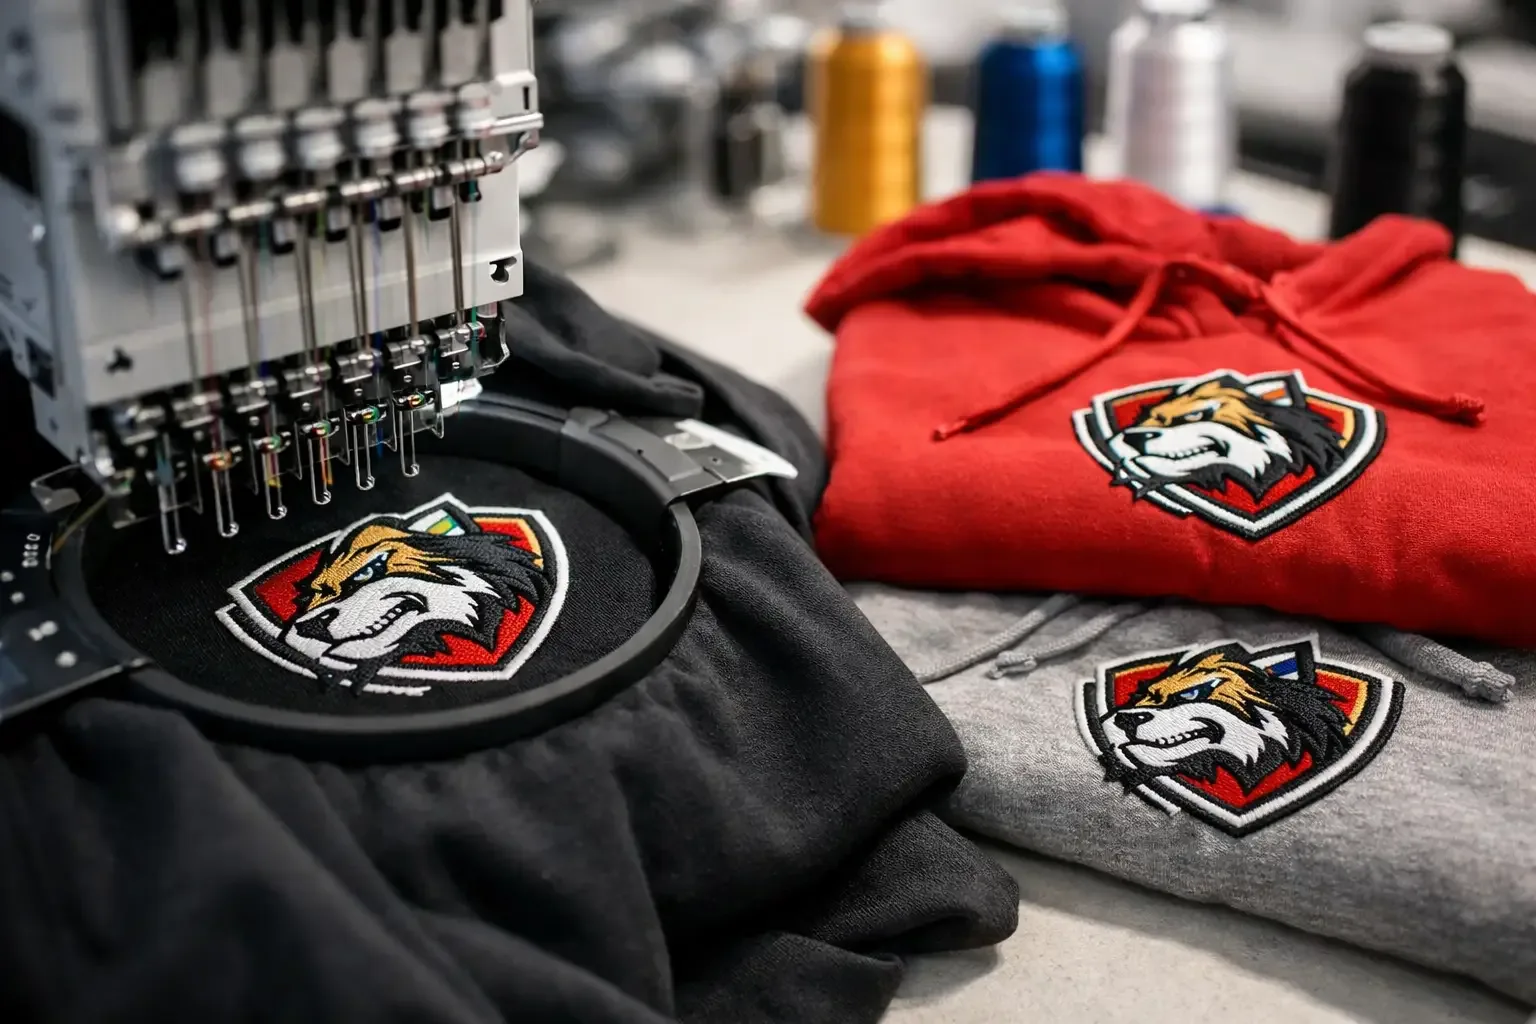
A team hoodie has to do more than look good on a hanger. It needs to survive warmups, bus rides, repeated washing, and the occasional grab from an excited teammate. Learning how to embroider team hoodies starts with choosing the right garment, design size, stabilization, and placement so every stitch looks sharp from the first game through the final tournament.
For home machine owners, boutique makers, and apparel sellers, hoodies are a reliable project category. They are wearable, giftable, and easy to personalize for school teams, youth leagues, club sports, coaches, and proud family members. The key is treating the hoodie as a thick, stretchy garment rather than embroidering it like a flat cotton T-shirt.
## Start With a Hoodie Built for Embroidery
Not every hoodie behaves the same way in the hoop. A smooth fleece or cotton-poly blend with a stable outer surface is usually the easiest choice. Midweight and heavyweight hoodies give the embroidery more support, while very thin fleece can pucker or stretch around dense stitching.
Check the inside of the garment before you start. Brushed fleece, loose loops, thick seams, and kangaroo pockets all affect where the hoop can sit. A full-zip hoodie is often easiest to embroider on the left chest because the garment can open flat. Pullover hoodies work well too, but you will need to position the body carefully so you do not catch the back layer in the hoop or stitching.
If you are making a batch, use the same hoodie style and color whenever possible. A design that stitches perfectly on one brand may need a different stabilizer or needle on another. Consistency makes team orders faster and helps every finished hoodie match.
Choose a Team Design That Fits the Garment
A great sports design is not always a great hoodie design. Large, highly detailed files may look impressive on a jacket back, but can be too dense or wide for a left-chest location. For most adult hoodies, a left-chest design around 3.5 to 4 inches wide is a practical range. Youth hoodies often need a smaller version.
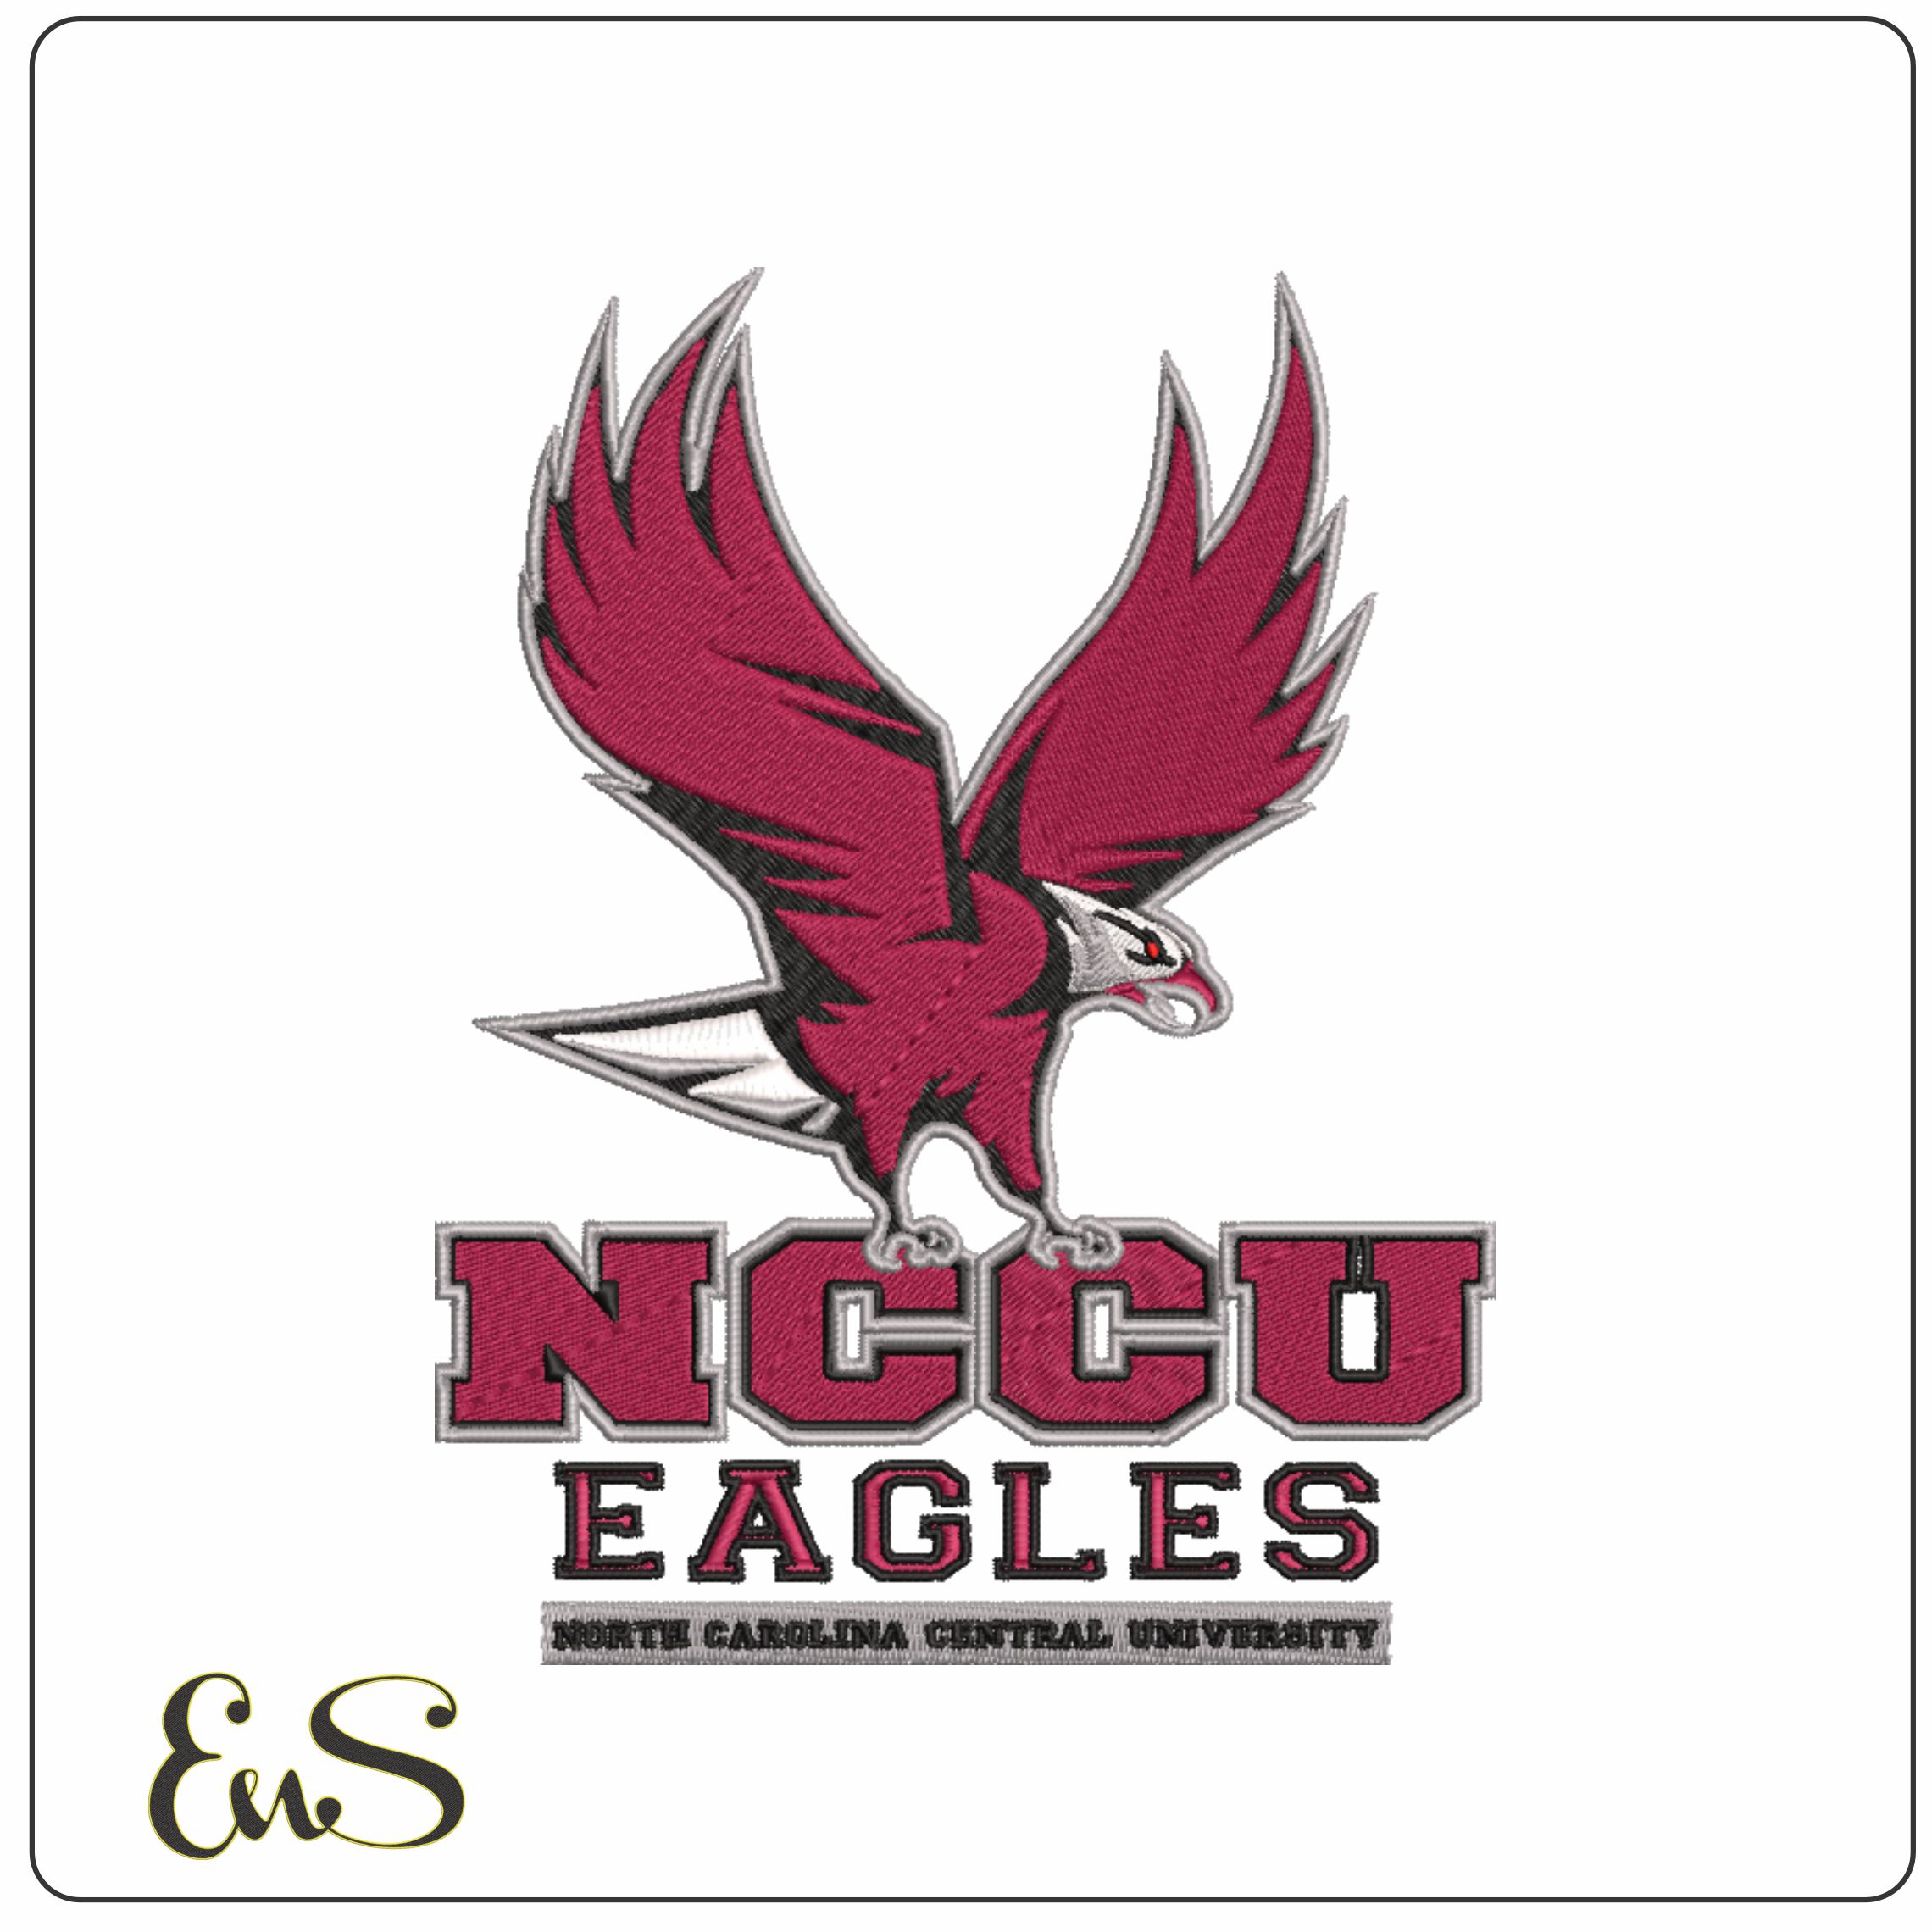
Consider where the design will be worn. A team name, mascot, ball icon, or monogram works well on the chest. Larger logo-style artwork, stadium-inspired designs, player numbers, or a bold team phrase can work on the back. Sleeve embroidery is ideal for a name, year, or short text, provided your hoop can fit the area.
When shopping for an instant-download embroidery file, confirm the dimensions, stitch count, and included machine formats before stitching. A design made for a 4x4 hoop will not automatically fill a larger chest area, and simply enlarging it in machine software can distort the stitch density. Select a size that is already digitized for your intended placement whenever possible.
For team apparel, keep readability in mind. Fine lettering can disappear into textured fleece, especially on dark colors. A clean font with enough space between letters will usually produce a more polished result than tiny text packed around a detailed mascot.
## Gather the Right Supplies Before Hooping
Hoodies need support from both the stabilizer and the embroidery setup. For a standard chest logo, use a quality cut-away stabilizer. Cut-away stays behind the design after stitching, helping the knit fabric hold its shape through wear and washing. Tear-away can work for light, low-stitch designs, but it is less dependable for dense logos and lettering on stretch fleece.
A water-soluble topping is useful when the hoodie has a fluffy, textured surface. It keeps stitches from sinking into the fleece, so small details and lettering remain visible. If you use topping, place it over the garment and remove or dissolve it after embroidery.
Have a 75/11 embroidery needle ready for most hoodie projects. If the fleece is especially thick or the design has heavy fill stitches, an 80/12 needle may perform better. Use embroidery thread for the design and a quality bobbin thread underneath. Test your thread colors against the hoodie before committing to the full run - contrast is what makes a team logo stand out in photos and from the bleachers.
You will also need temporary fabric adhesive or basting stitches if hooping the garment directly is difficult. Adhesive stabilizer can be especially helpful near bulky seams, pockets, and hood sections, where forcing the garment into the hoop may leave hoop marks or stretch the fabric.
How to Embroider Team Hoodies With Clean Placement
Placement is where a team hoodie can look custom-made or slightly off. Measure every garment, even if the hoodies are the same size. Seams, pockets, and garment cuts can shift the visual center.
For a left-chest design, find the center front of the hoodie and use it as your starting reference. A common placement is approximately 7 to 9 inches below the left shoulder seam and 3 to 4 inches from the center front, but the best position depends on the garment size and design shape. On youth hoodies, bring the design slightly inward and upward to keep it proportional.
Mark the vertical and horizontal center lines with a removable fabric marker or positioning tool. Then place the hoodie flat and step back. The eye catches crooked placement quickly, particularly with names, block lettering, and circular logos. This brief check saves more time than unpicking a finished design.
Hoop the stabilizer tightly, but do not stretch the hoodie fabric. If you hoop the fabric directly, make sure it is smooth and naturally relaxed inside the hoop. If the garment is too bulky, hoop adhesive-backed stabilizer instead, score the paper, expose the adhesive, and float the hoodie on top. Add a basting box around the design area to secure it before the machine begins stitching.
Before pressing Start, turn the hoop by hand or use the machine trace function. Confirm that the needle path will clear the pocket, zipper, seams, drawstrings, and hood layers. This is especially important with pullover hoodies, where it is easy to accidentally stitch through the front and back of the garment together.
Stitch One Sample Before a Full Team Order
A sample is not wasted inventory. It is your chance to check thread colors, stabilization, density, and alignment on the exact hoodie style you plan to use. Stitch the design on a spare hoodie, a matching blank, or a layered test piece with the same fleece thickness.
Look for puckering around filled areas, lettering that sinks into the fabric, thread breaks, and uneven outlines. If the design puckers, the stabilizer may be too light, the hoop may be stretching the fleece, or the design may be too dense for the fabric. If the lettering looks buried, add water-soluble topping or select a slightly larger version of the design.
Pay attention to the back as well. A clean back with stable stitches is a sign that the bobbin tension and stabilizer are doing their jobs. You do not need perfection on every hidden thread path, but loops, loose bobbin thread, or heavily distorted fabric should be corrected before you produce the rest of the order.
Make Batch Production Easier
Once your sample is approved, set up the order like a small production run. Wind enough matching bobbins, organize hoodie sizes by stack, and keep the design file and thread chart nearby. Stitching all hoodies with the same design before moving to another layout reduces mistakes and keeps your workflow moving.
If each hoodie includes a player name or number, stitch the common team logo first and add personalized details afterward. This keeps the repeated work efficient while giving you one clear quality-control point before the custom information goes on.
For designs with several colors, trim jump stitches as you go rather than waiting until the end. Remove topping carefully, then clip stabilizer close to the back of the embroidery without cutting the stitches. Cut-away stabilizer should remain slightly larger than the design to support the fabric after washing.
Finish Hoodies That Are Ready to Wear
After embroidery, press the hoodie from the inside using a pressing cloth and moderate heat. Avoid placing a hot iron directly on thread, especially shiny polyester embroidery thread. Let the garment cool flat before folding so the stitched area keeps its shape.
Include simple care instructions with customer orders or team deliveries: wash inside out in cold water, use mild detergent, avoid bleach, and tumble dry on low or hang dry. These steps help preserve thread color and reduce stress on the embroidered area.
The best team hoodies feel personal without looking homemade. Choose a design sized for the garment, stabilize the fleece properly, and test before production. With a ready-to-stitch sports, school, mascot, or lettering design, you can turn a plain hoodie into apparel players and supporters will want to wear long after the season ends.