
Master Machine Embroidery Appliqué: Step-by-Step Guide
A built-in embroidery frame can serve as an appliqué shape, even if your machine only modifies designs. This machine embroidery appliqué how-to begins with a placement outline, then guides you through laying down the fabric, securing it with a tack-down stitch, trimming the excess, and finishing the edge with a satin stitch. The frame gives you a shape to build on.
Positioning and securing the fabric can be the trickiest part, especially when you want clean edges and even stitching. This guide explains each stage of the stitch sequence and shows how a built-in frame fits into the process.
Learn how to place, tack down, trim, and satin-stitch appliqué; cut fabric with scissors and a printed template; and use a built-in frame to create a shape. You’ll also find practical troubleshooting tips for shifting fabric, puckering, and uneven satin stitches.
Key Takeaways
- For a scissor-cut appliqué, use a printed template to prepare the fabric shape before stitching.
Table of Contents
-
Appliqué placement, tack-down, trimming, and satin-stitch steps
-
Cutting appliqué fabric with scissors and a printed template
Appliqué placement, tack-down, trimming, and satin-stitch steps
This machine embroidery appliqué how-to covers five stages: prepare, place, secure, trim, and finish. A steady setup helps keep the fabric aligned throughout.
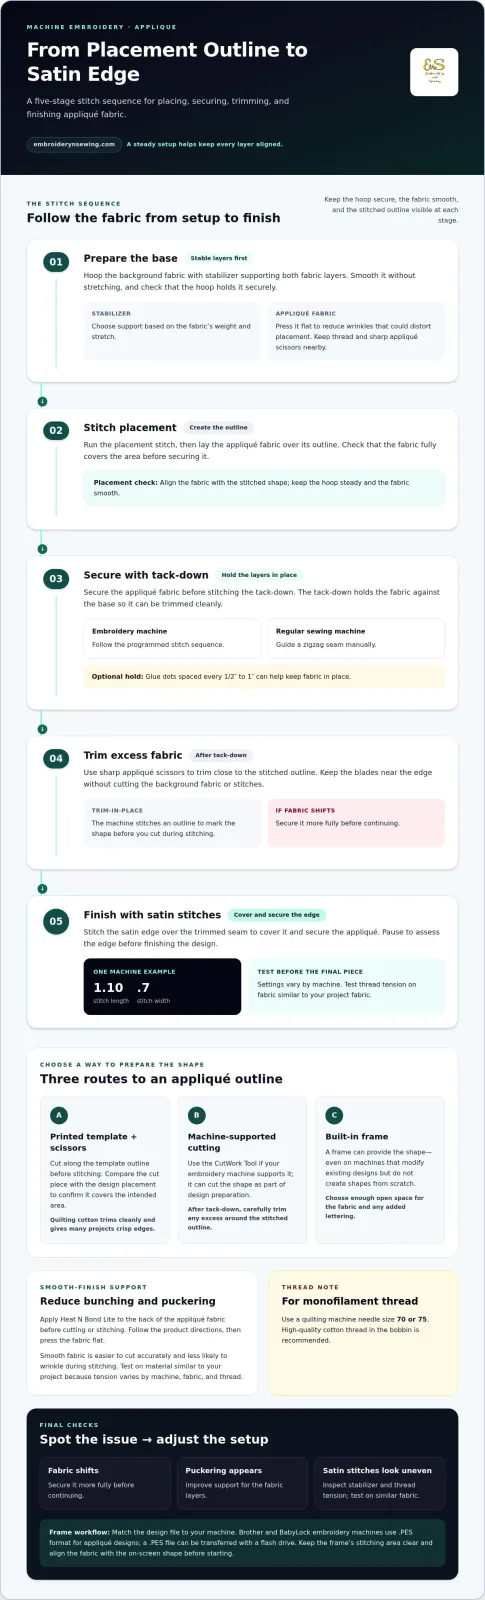
- Hoop the background fabric with stabilizer supporting both fabric layers. Smooth the fabric without stretching it, then make sure the hoop holds it securely. Press the appliqué fabric to reduce wrinkles that could distort placement. Keep thread and sharp appliqué scissors nearby. Choose stabilizer based on the fabric’s weight and stretch.
### Stitch Placement and Tack-Down
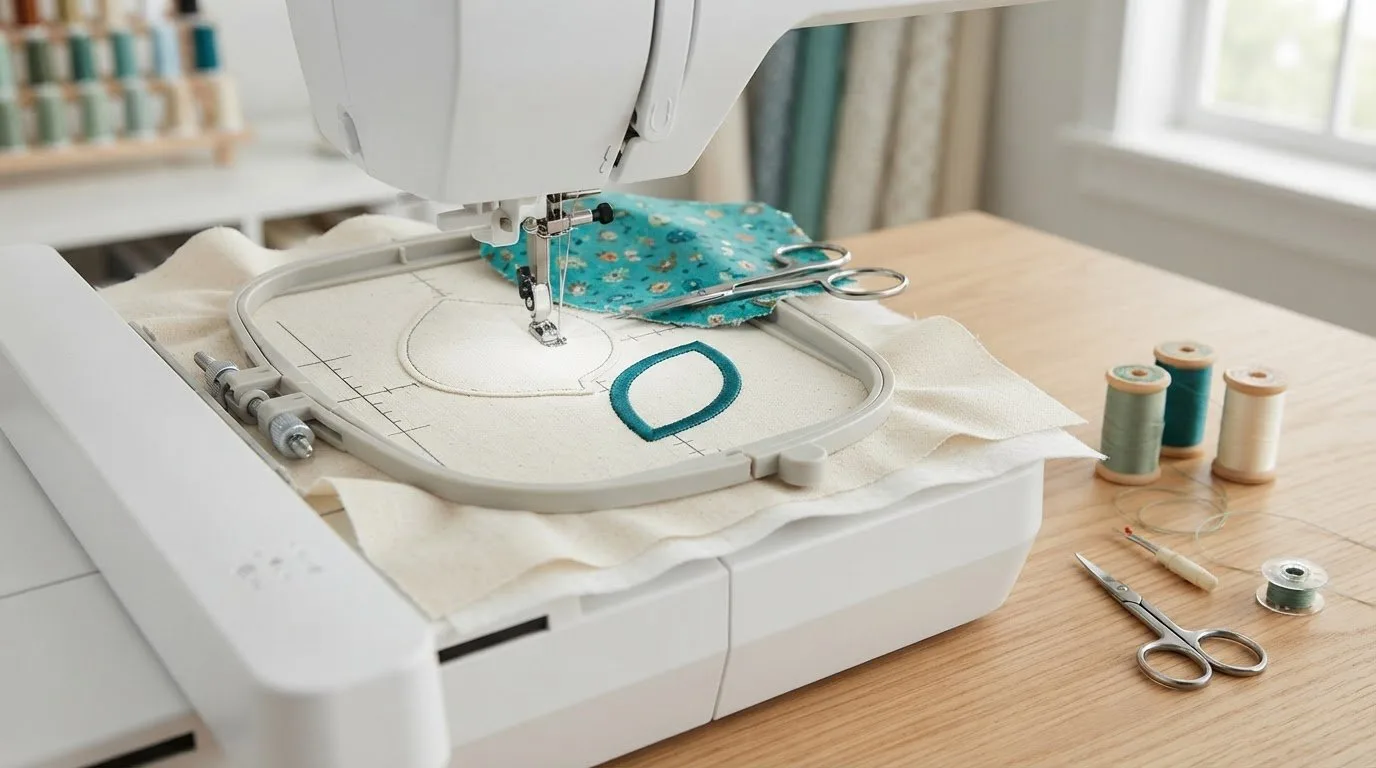
- Run the placement stitch, then lay appliqué fabric over its outline. Secure it before the tack-down stitch; glue dots spaced every 1/2″ to 1″ can help hold it in place. An embroidery machine follows programmed stitches. With a regular sewing machine, guide a zigzag seam manually. Check that the fabric fully covers the outline.
Trim Appliqué Fabric
- After the tack-down stitch, trim excess fabric close to the stitched outline with sharp appliqué scissors. Keep the blades near the edge without cutting the background fabric or stitches. With a trim-in-place method, the machine stitches an outline to mark the shape before you cut during stitching. If the fabric shifts, secure it more fully before continuing.
Finish with Satin Stitches
- Stitch the satin edge to cover the trimmed seam and secure the appliqué. One machine example uses a 1.10 stitch length and .7 stitch width for zigzag settings. Test on similar fabric because settings vary by machine. If puckering appears, improve layer support. For uneven satin stitches, inspect stabilizer and tension. When following a machine embroidery appliqué how-to, pause to assess the edge before finishing the design.
Cutting appliqué fabric with scissors and a printed template
-
Use a printed template when you want to prepare the appliqué shape before stitching. For the Pattern Method, cut the fabric with scissors along the template outline. Quilting cotton trims cleanly and gives many projects crisp edges. Compare the cut piece with the design placement before stitching to make sure it covers the intended area.
-
Apply Heat N Bond Lite to the back of the appliqué fabric before cutting or stitching. It helps reduce bunching and puckering for a smoother finish. Follow the product directions, then press the fabric flat. Smooth fabric is easier to cut accurately and less likely to wrinkle during stitching.
-
Use the CutWork Tool if your embroidery machine supports this cutting method. It can cut the appliqué shape as part of design preparation, while scissors and a printed template let you cut the fabric separately. After tack-down, carefully trim excess fabric around the stitched outline. Keep the scissor tips close to the edge without nicking the background fabric.
-
Test thread tension on fabric similar to your project material before sewing the finished design. Tension settings vary by machine, fabric, and thread, so use the test to spot puckering or loose stitches. For monofilament thread, use a quilting machine needle size 70 or 75; high-quality cotton thread in the bobbin is recommended. For design inspiration, browse digital embroidery designs for a shape that suits your project.
Creating appliqué with built-in embroidery-machine frames
-
Choose a built-in frame to create the appliqué shape. This method works with embroidery machines that have frame styles, including models that modify existing designs but don’t create shapes from scratch. Select a frame with enough open space for the fabric and any added lettering. The frame provides the outline for the placement stitch, tack-down, and finished edge.
-
Prepare an appliqué design file that matches your machine. Start with an existing design or shape, such as a built-in frame, and follow the machine’s stitch sequence for placement, securing, trimming, and finishing. Brother and BabyLock embroidery machines use .PES format for appliqué designs. You can transfer a .PES file to an embroidery machine with a flash drive.
-
Use stabilizer to support both the background fabric and the appliqué layer. To float the project, secure it on top of hooped stabilizer instead of hooping the project itself. Keep the frame’s stitching area clear and align the fabric with the on-screen shape before starting. A stable setup helps maintain the frame’s placement while stitching.
-
Test the design on similar fabric before stitching the final project. Check how the frame outline sits against the fabric and whether the layers stay flat. Once the appliqué is finished, add words or another design if the composition needs more detail. A frame can also guide a quilting layout or simple fabric motif.
-
Choose a shape that suits your project, then browse digital embroidery designs for ideas to build on.
Embroidery n Sewing: Sports Embroidery
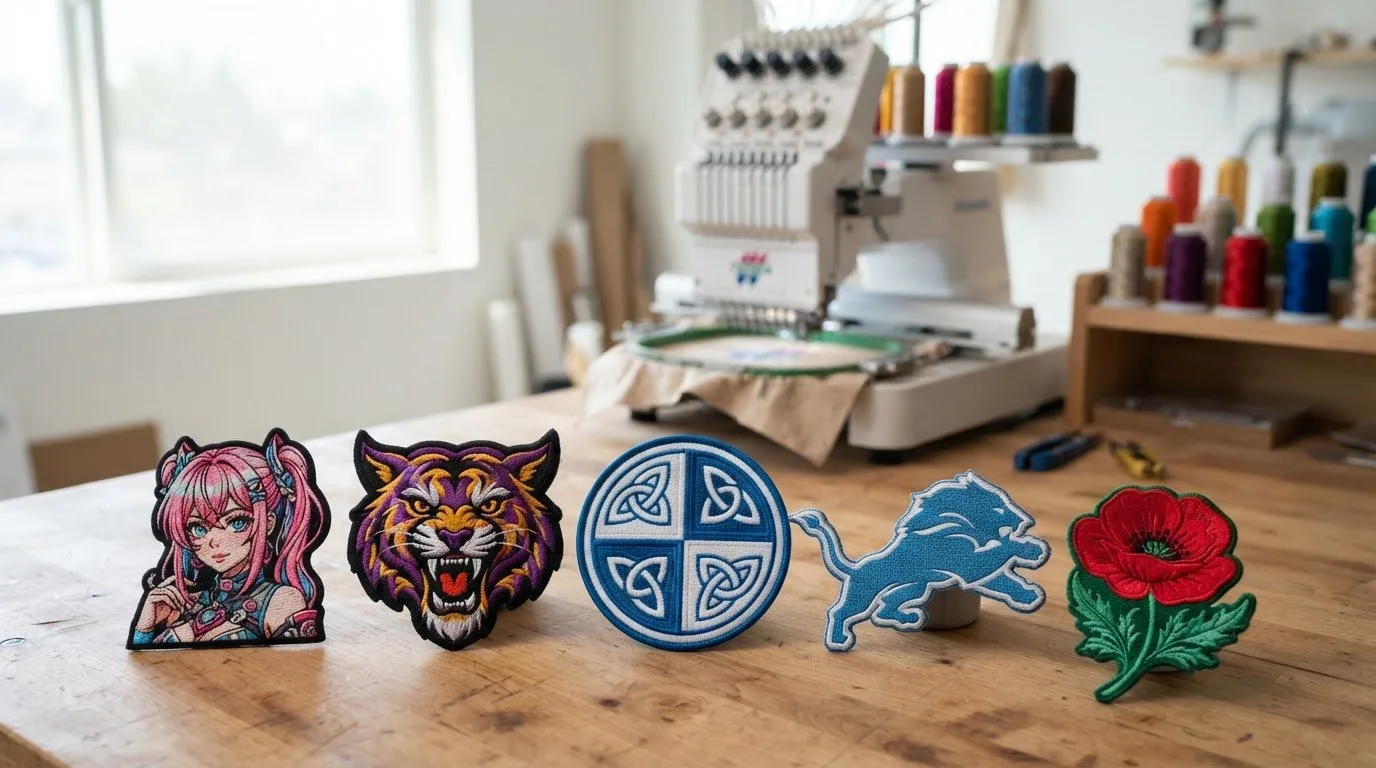
Embroidery n Sewing offers Sports Embroidery for crafters planning a sports-themed project. Once you’ve learned the appliqué stitch sequence, a digital design can help you choose a theme for your next piece. Explore team-focused options such as Buffalo Bills Embroidery and Detroit Lions designs, or browse broader sports motifs to find a direction that suits your project. These designs provide a starting point for choosing colors, fabric, and placement, while the appliqué method lets you combine a fabric shape with embroidery details. If you’re ready to explore sports-themed embroidery designs, visit Embroidery n Sewing online.
Choose a Design for Your Next Project
Let your next appliqué project begin with a theme you’re excited to stitch. The machine embroidery appliqué how-to process gives you a practical starting point; your choice of design can shape the fabric, colors, and finished look. Embroidery n Sewing offers Digital Embroidery Designs, Machine embroidery designs, and College embroidery designs to help you explore different creative directions. Select a motif that suits your project, then adapt the fabric and frame technique to bring it to life. For help finding a design that fits your idea, contact Embroidery n Sewing. Your next stitch can turn a favorite theme into a personal creation.
Frequently Asked Questions
How do you make machine embroidery appliqué step by step?
Follow the design’s stitch order and keep the fabric layers aligned as you work. Test on a similar scrap first, then hoop the project and start the programmed sequence. Pause between color or stitch changes to check alignment. This quick check can catch a folded edge before later stitching traps it.
What fabrics, stabilizers, and needles work best for machine appliqué?
Choose materials that suit the project’s texture and shape. Felt and denim add dimension, while combining printed and solid fabrics can help the appliqué stand out. Select stabilizer to suit the weight and stretch of both fabric layers. Test the exact fabric combination first, because thickness affects how the design sits.
When do you trim appliqué fabric during the embroidery process?
For trim-in-place appliqué, cut the fabric after the machine stitches an outline to mark the shape. For the Pattern Method, cut the fabric beforehand with a printed template. These approaches suit different workflows: pre-cut pieces are ready before stitching, while trim-in-place uses the stitched outline to guide the cut. Follow the design’s programmed sequence.
How do you prevent puckering, fraying, gaps, and thread breaks in machine appliqué?
Test the full fabric, stabilizer, and thread combination before stitching the final piece. To limit fraying, trim cleanly and make sure the finishing stitches cover the raw edge. If gaps appear, check whether the fabric edge sits beneath the border. If the thread breaks, rethread the machine and check that it unwinds freely without catching around the spool.
How do you remove stabilizer and finish or wash machine-embroidered appliqué?
Remove tear-away stabilizer after stitching, but leave polymesh stabilizer in the garment. For a water-soluble topper, peel away as much as you can, then use water to clear the remaining pieces. Protect the design with parchment paper when pressing. Before washing, follow the garment’s care instructions and avoid pulling at the appliqué edges while the piece is wet.