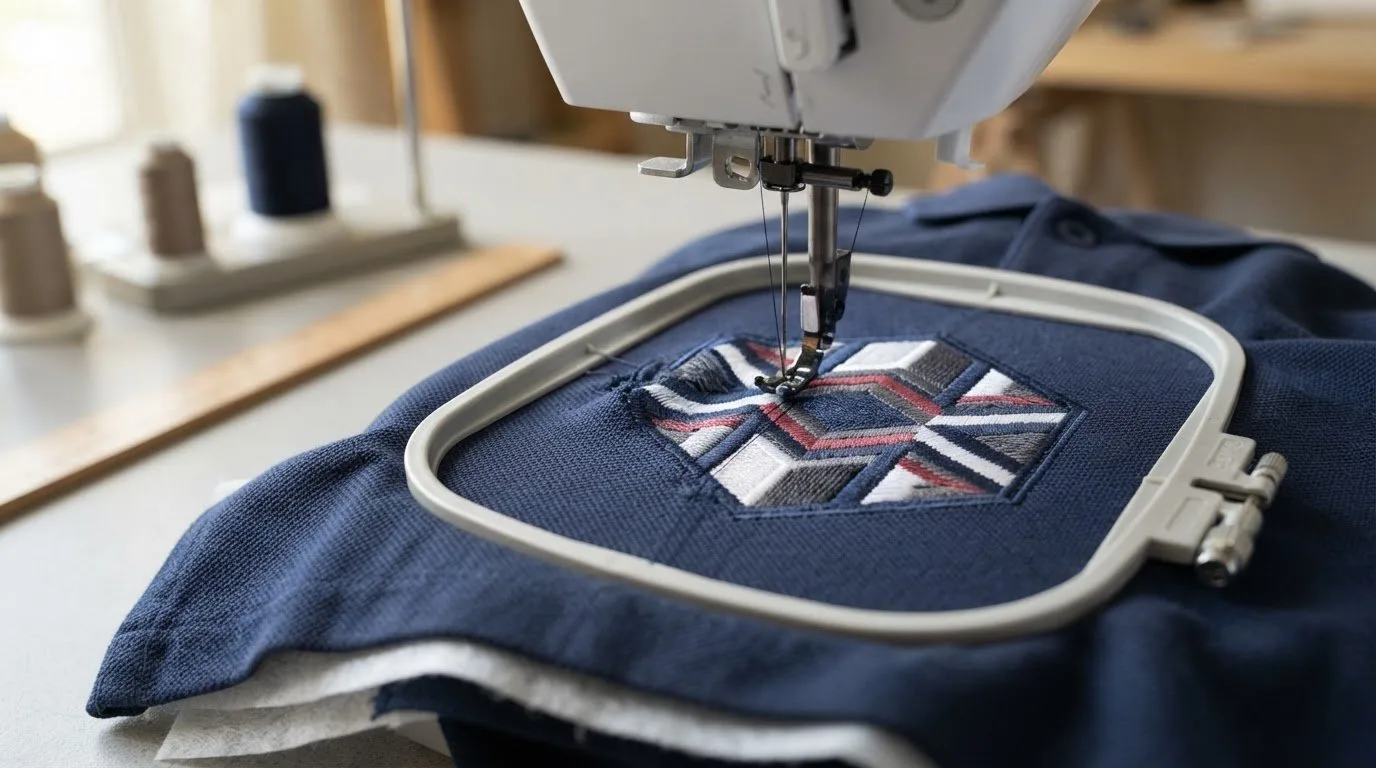

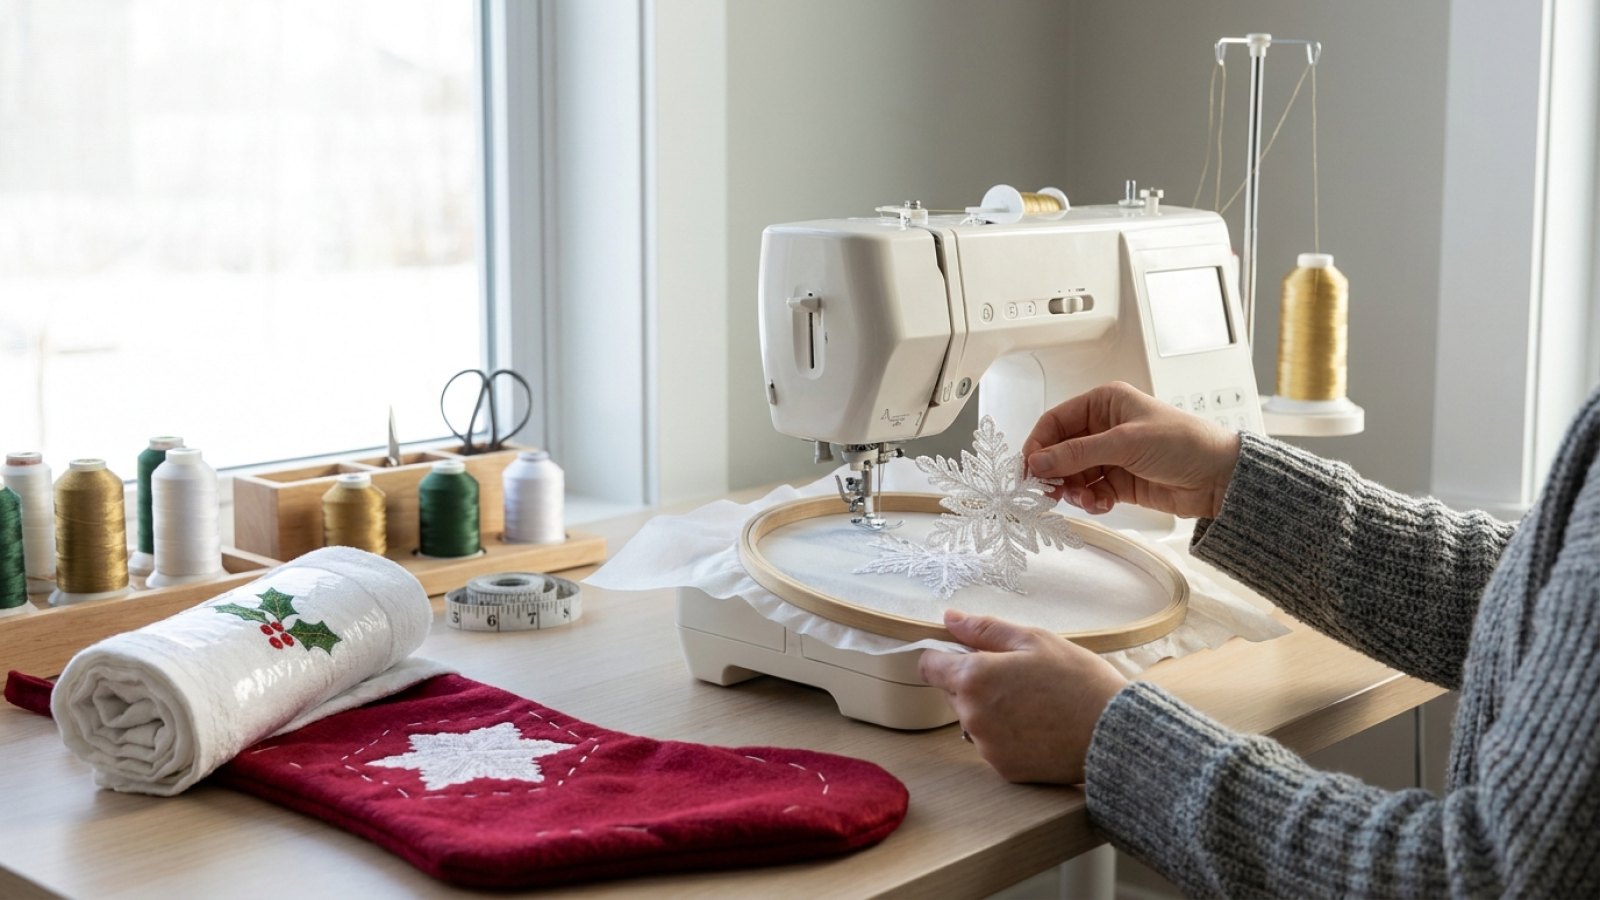
The complete guide to Christmas machine embroidery
Christmas embroidery is one of the busiest, most rewarding parts of the sewing year. People want personalised stockings, quick giftable towels, neat ornaments, and festive sweatshirts that still stitch well under pressure. This guide brings the practical side together: choosing the right design, matching fabric to stabiliser, handling metallic thread, and finishing projects so they look as good on the back as the front.
If you are browsing seasonal files, a good place to start is the full Christmas embroidery designs collection, which helps you narrow down projects by style rather than scrolling endlessly.
How to choose the right Christmas design for your project
The best Christmas design is not simply the cutest one; it is the one that suits your fabric, hoop, deadline, and finishing skills.
Use this quick rule of thumb:
| Project type | Best design style | What to watch for |
|---|---|---|
| Sweatshirts and tees | Light to medium stitch count, stable knit-friendly layouts | Stretch fabric needs proper topping/stabiliser support |
| Hand towels | Bold outlines, satin details, not too much underlay | Pile can swallow detail |
| Stockings and Santa sacks | Larger motifs or names | Thick seams and hooping access |
| Ornaments | Free-standing lace or felt-based ITH | Back finish matters |
| Last-minute gifts | Simple fill designs, appliqué, or ITH | Keep thread changes low |
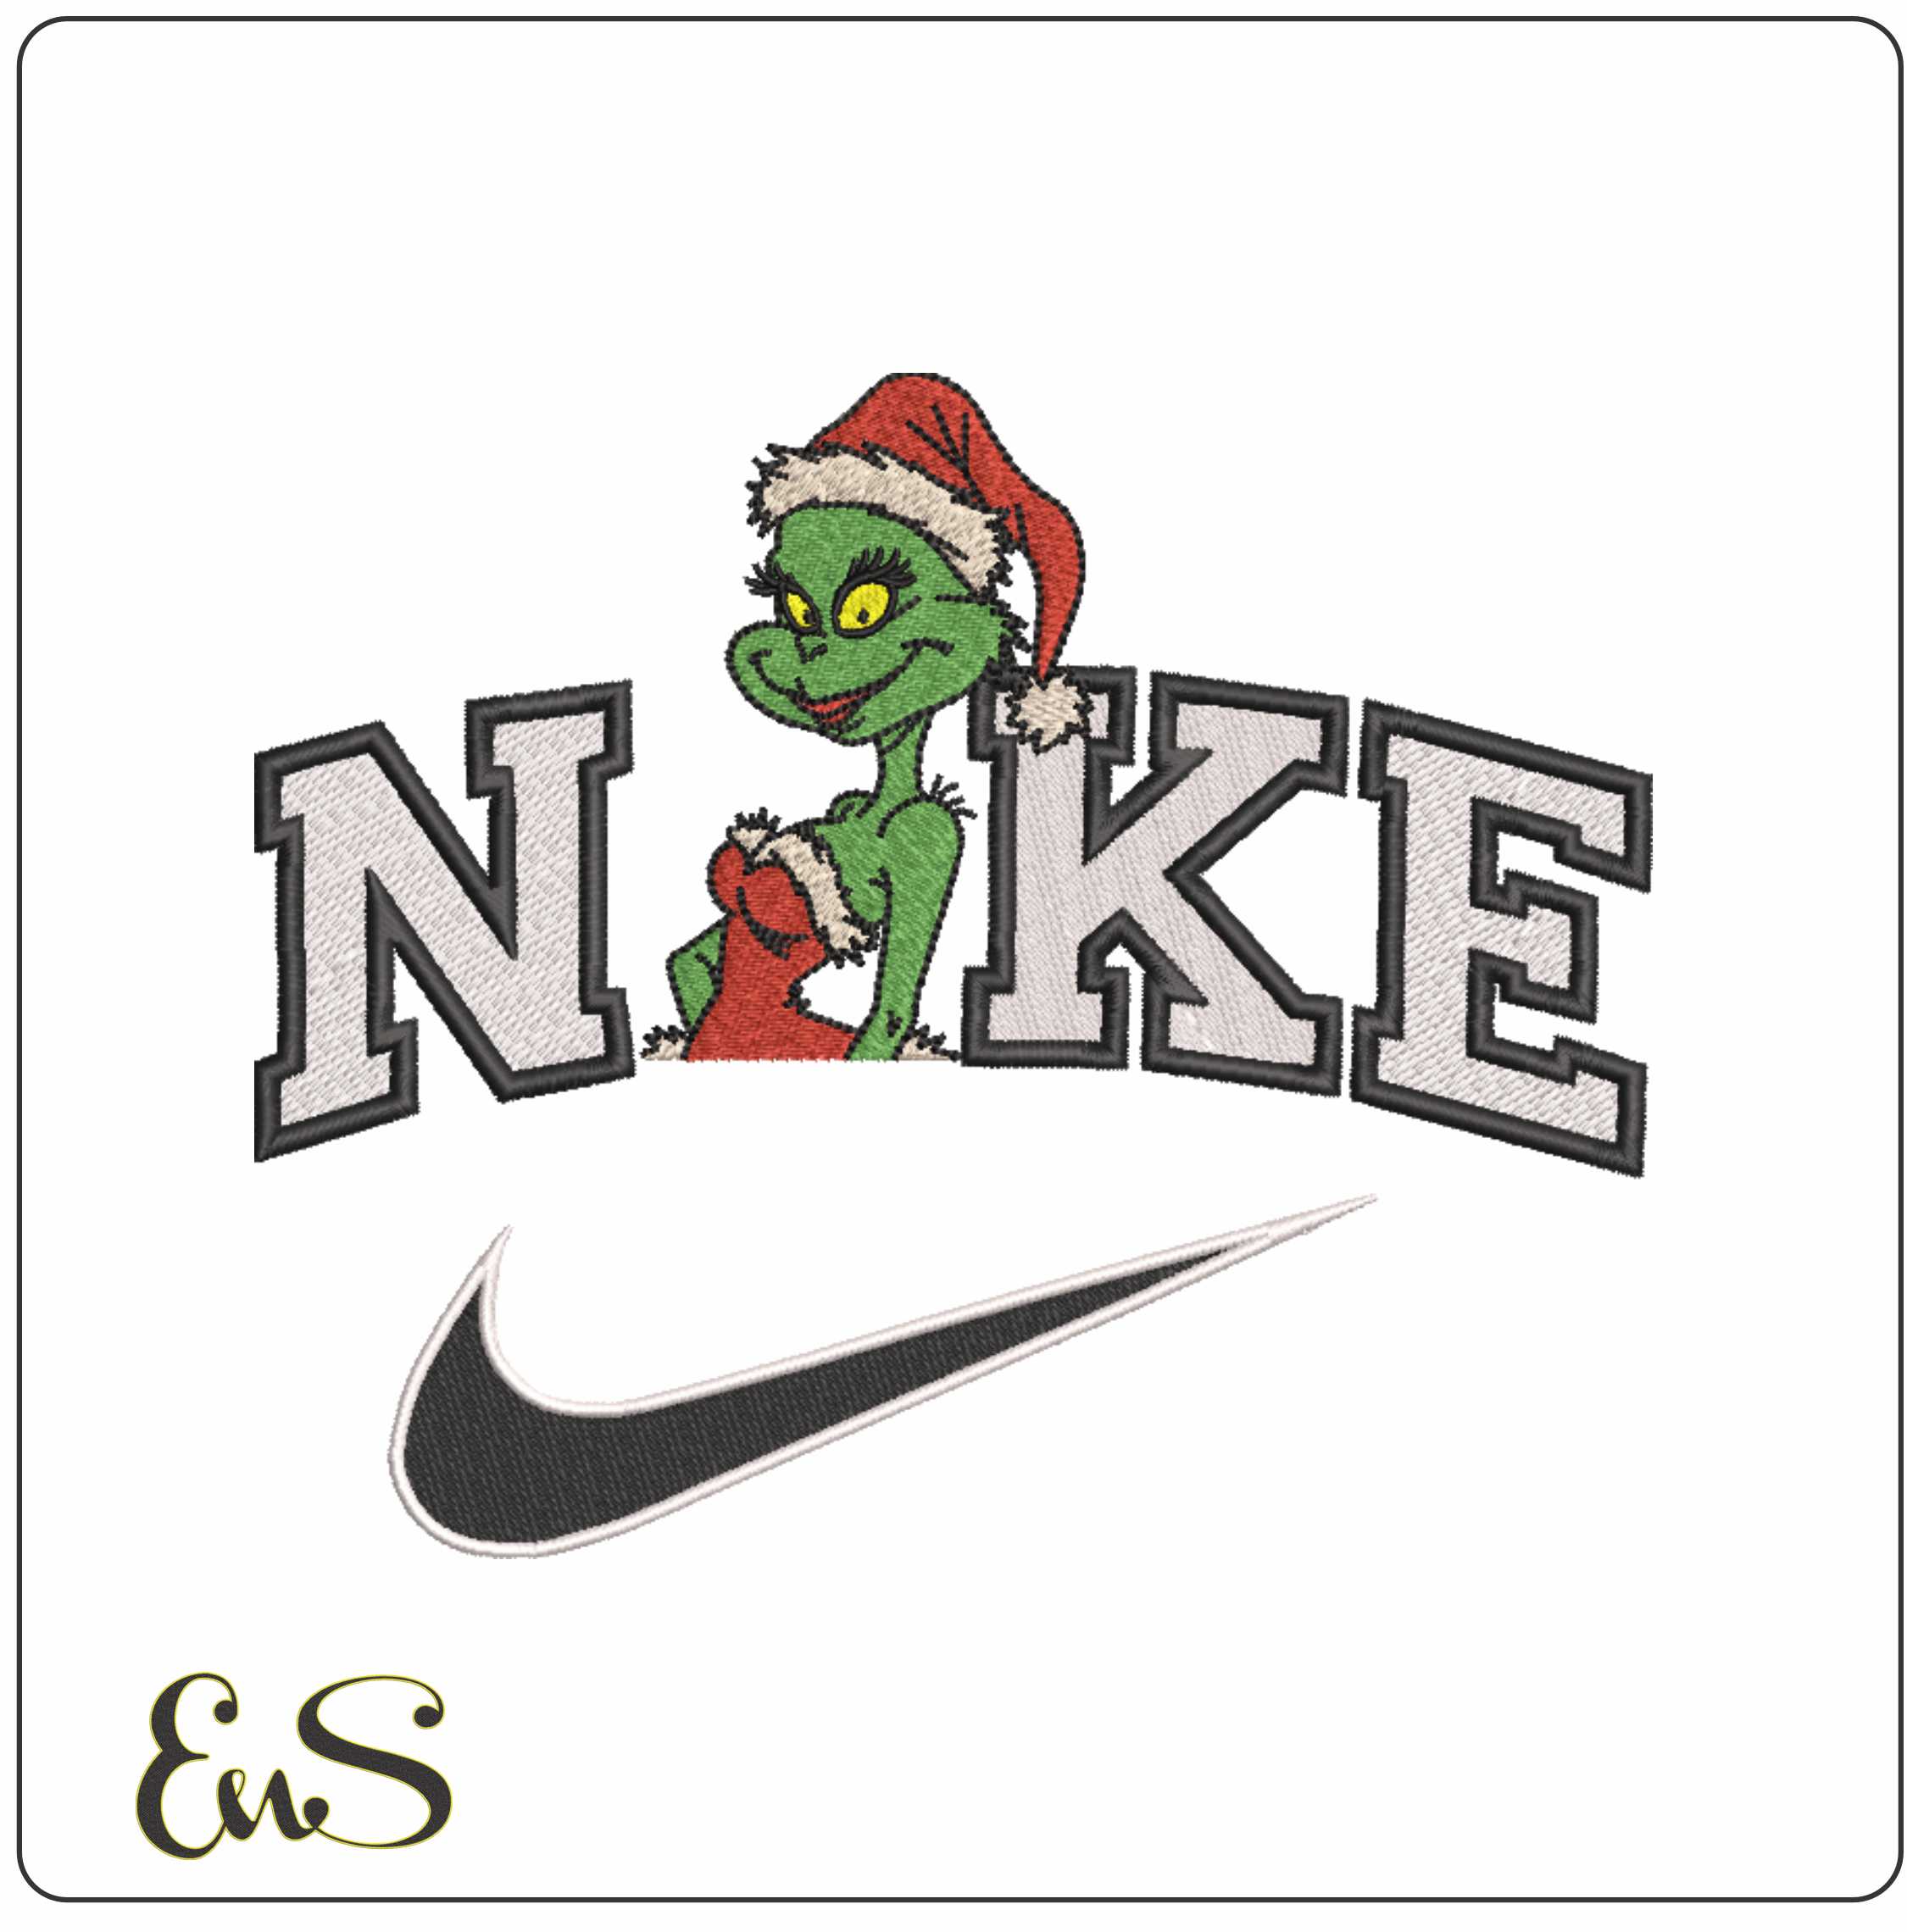
For character-led festive apparel, designs such as Merry Christmas Mrs Grinch embroidery design or the sporty Nike Merry Christmas Mrs Grinch embroidery design work well on sweatshirts, gift bags, and seasonal totes because the artwork reads clearly from a distance.
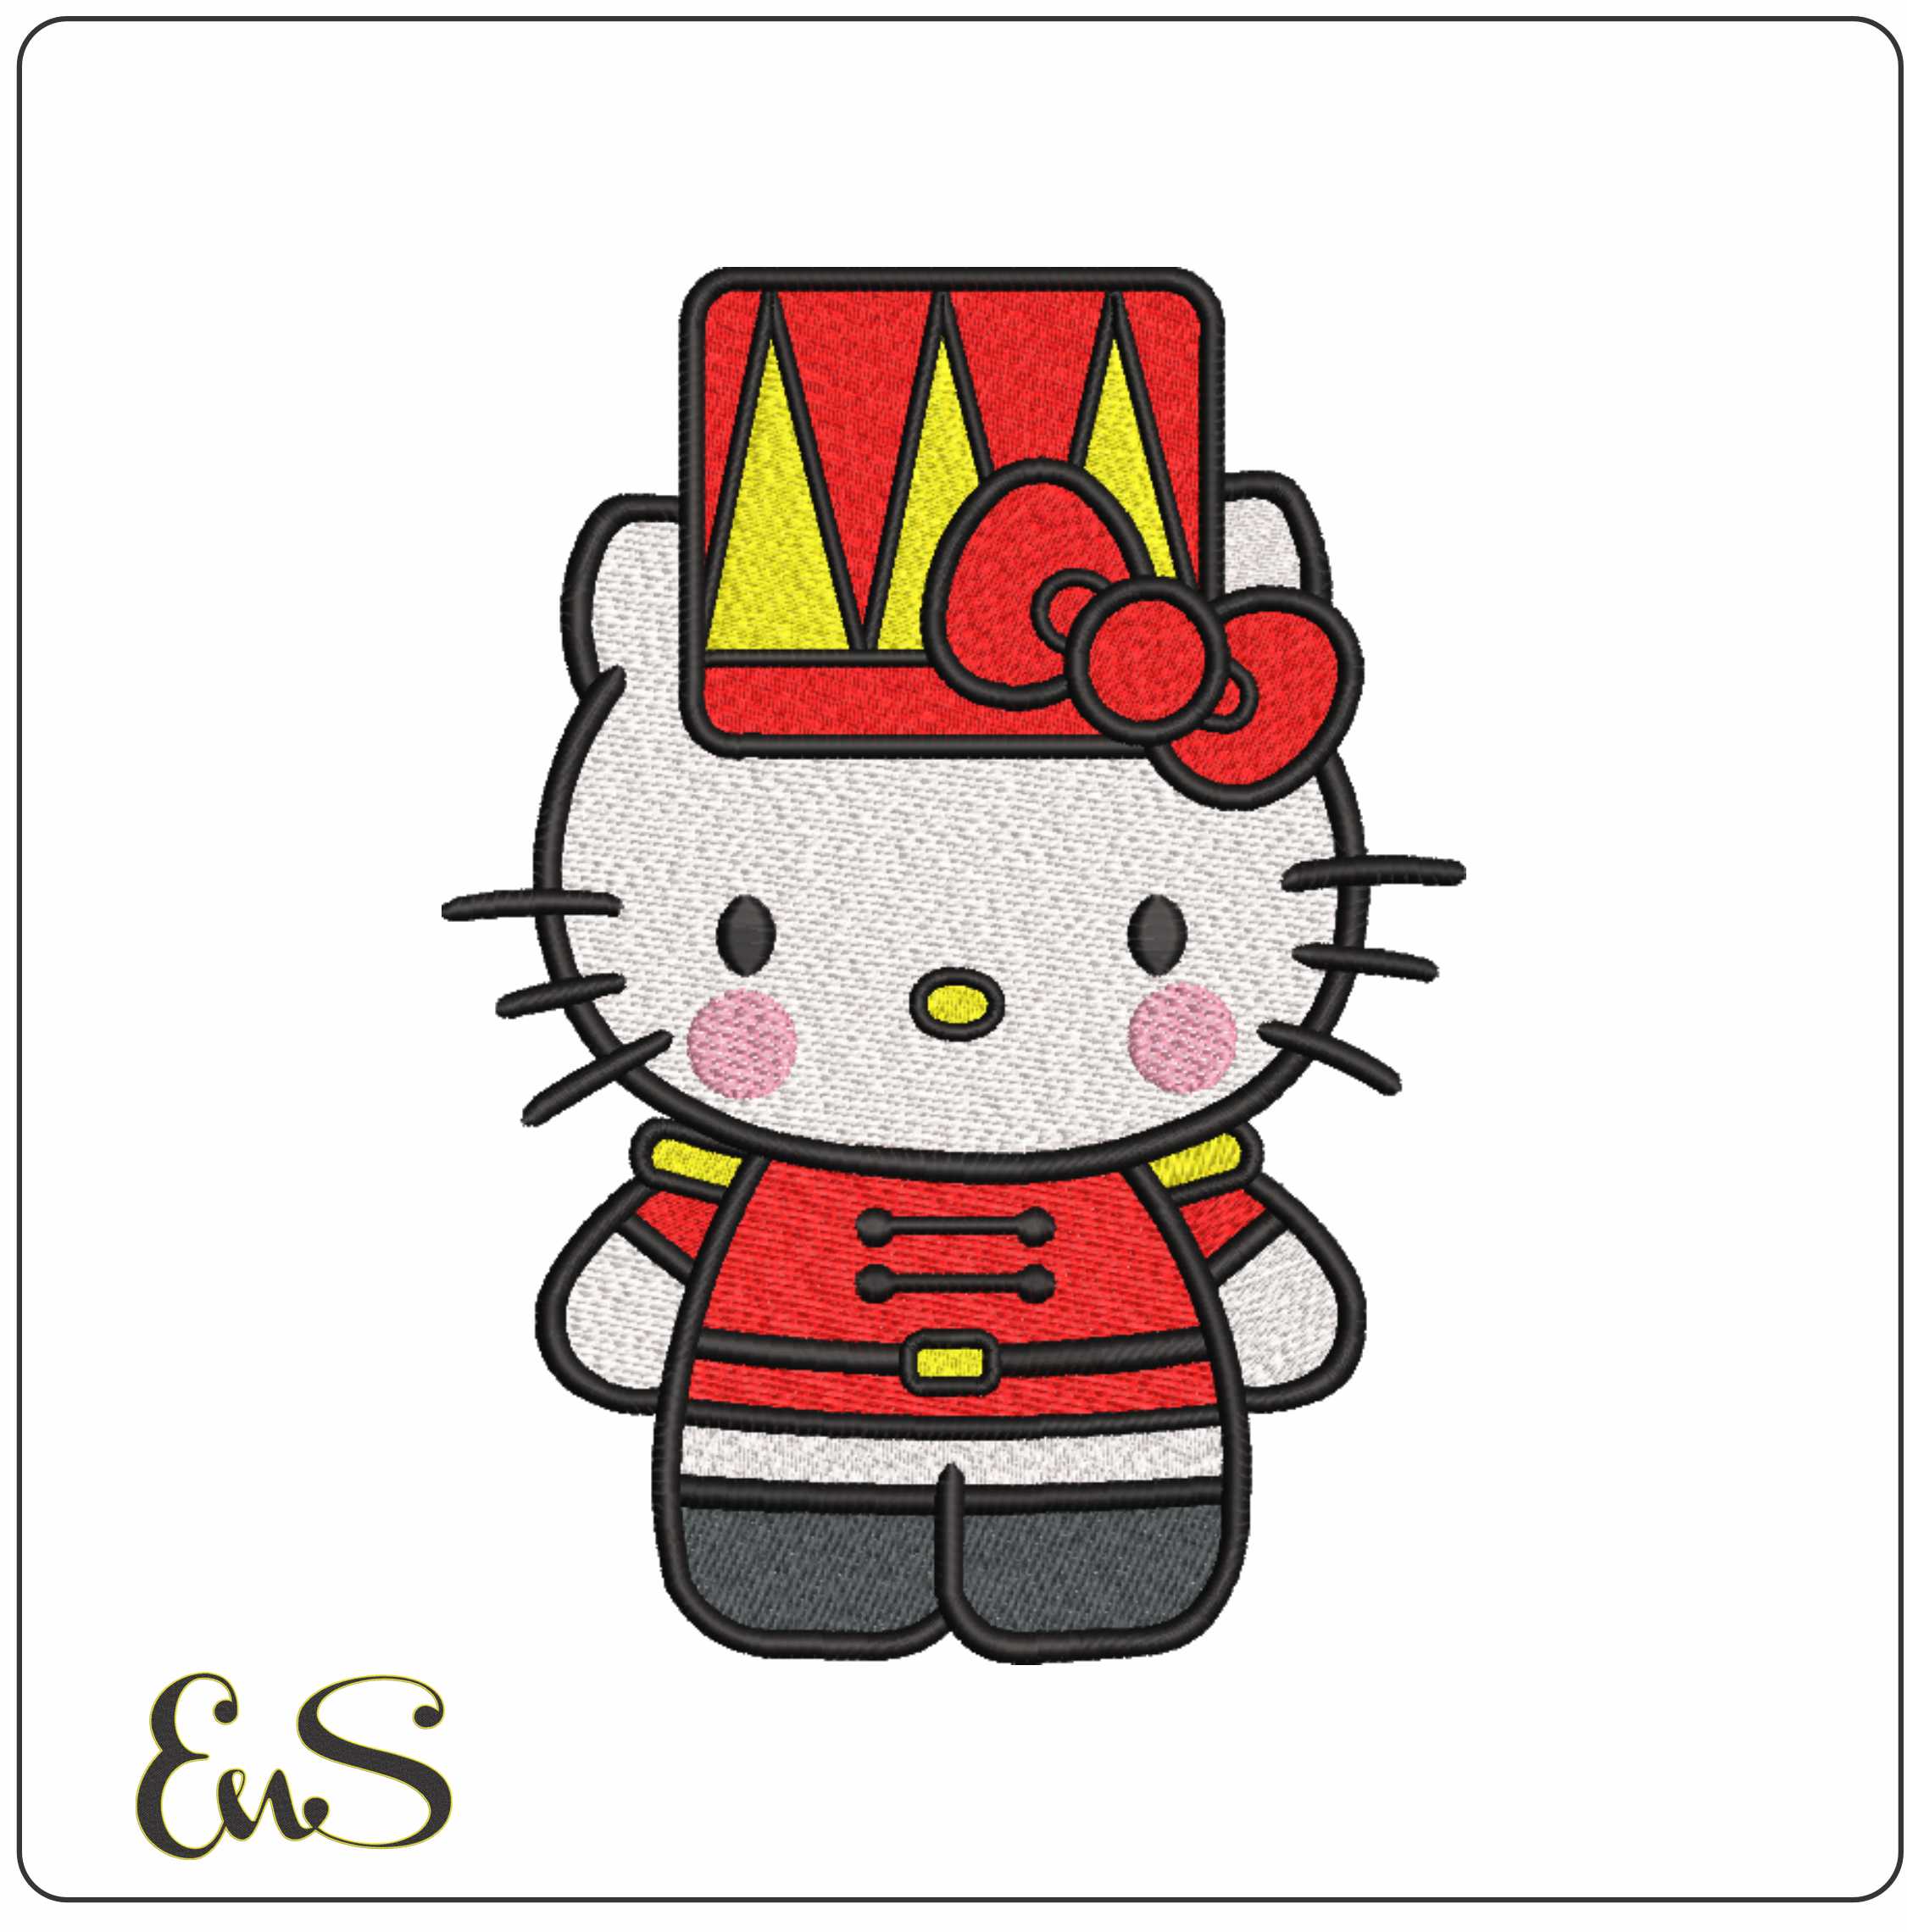
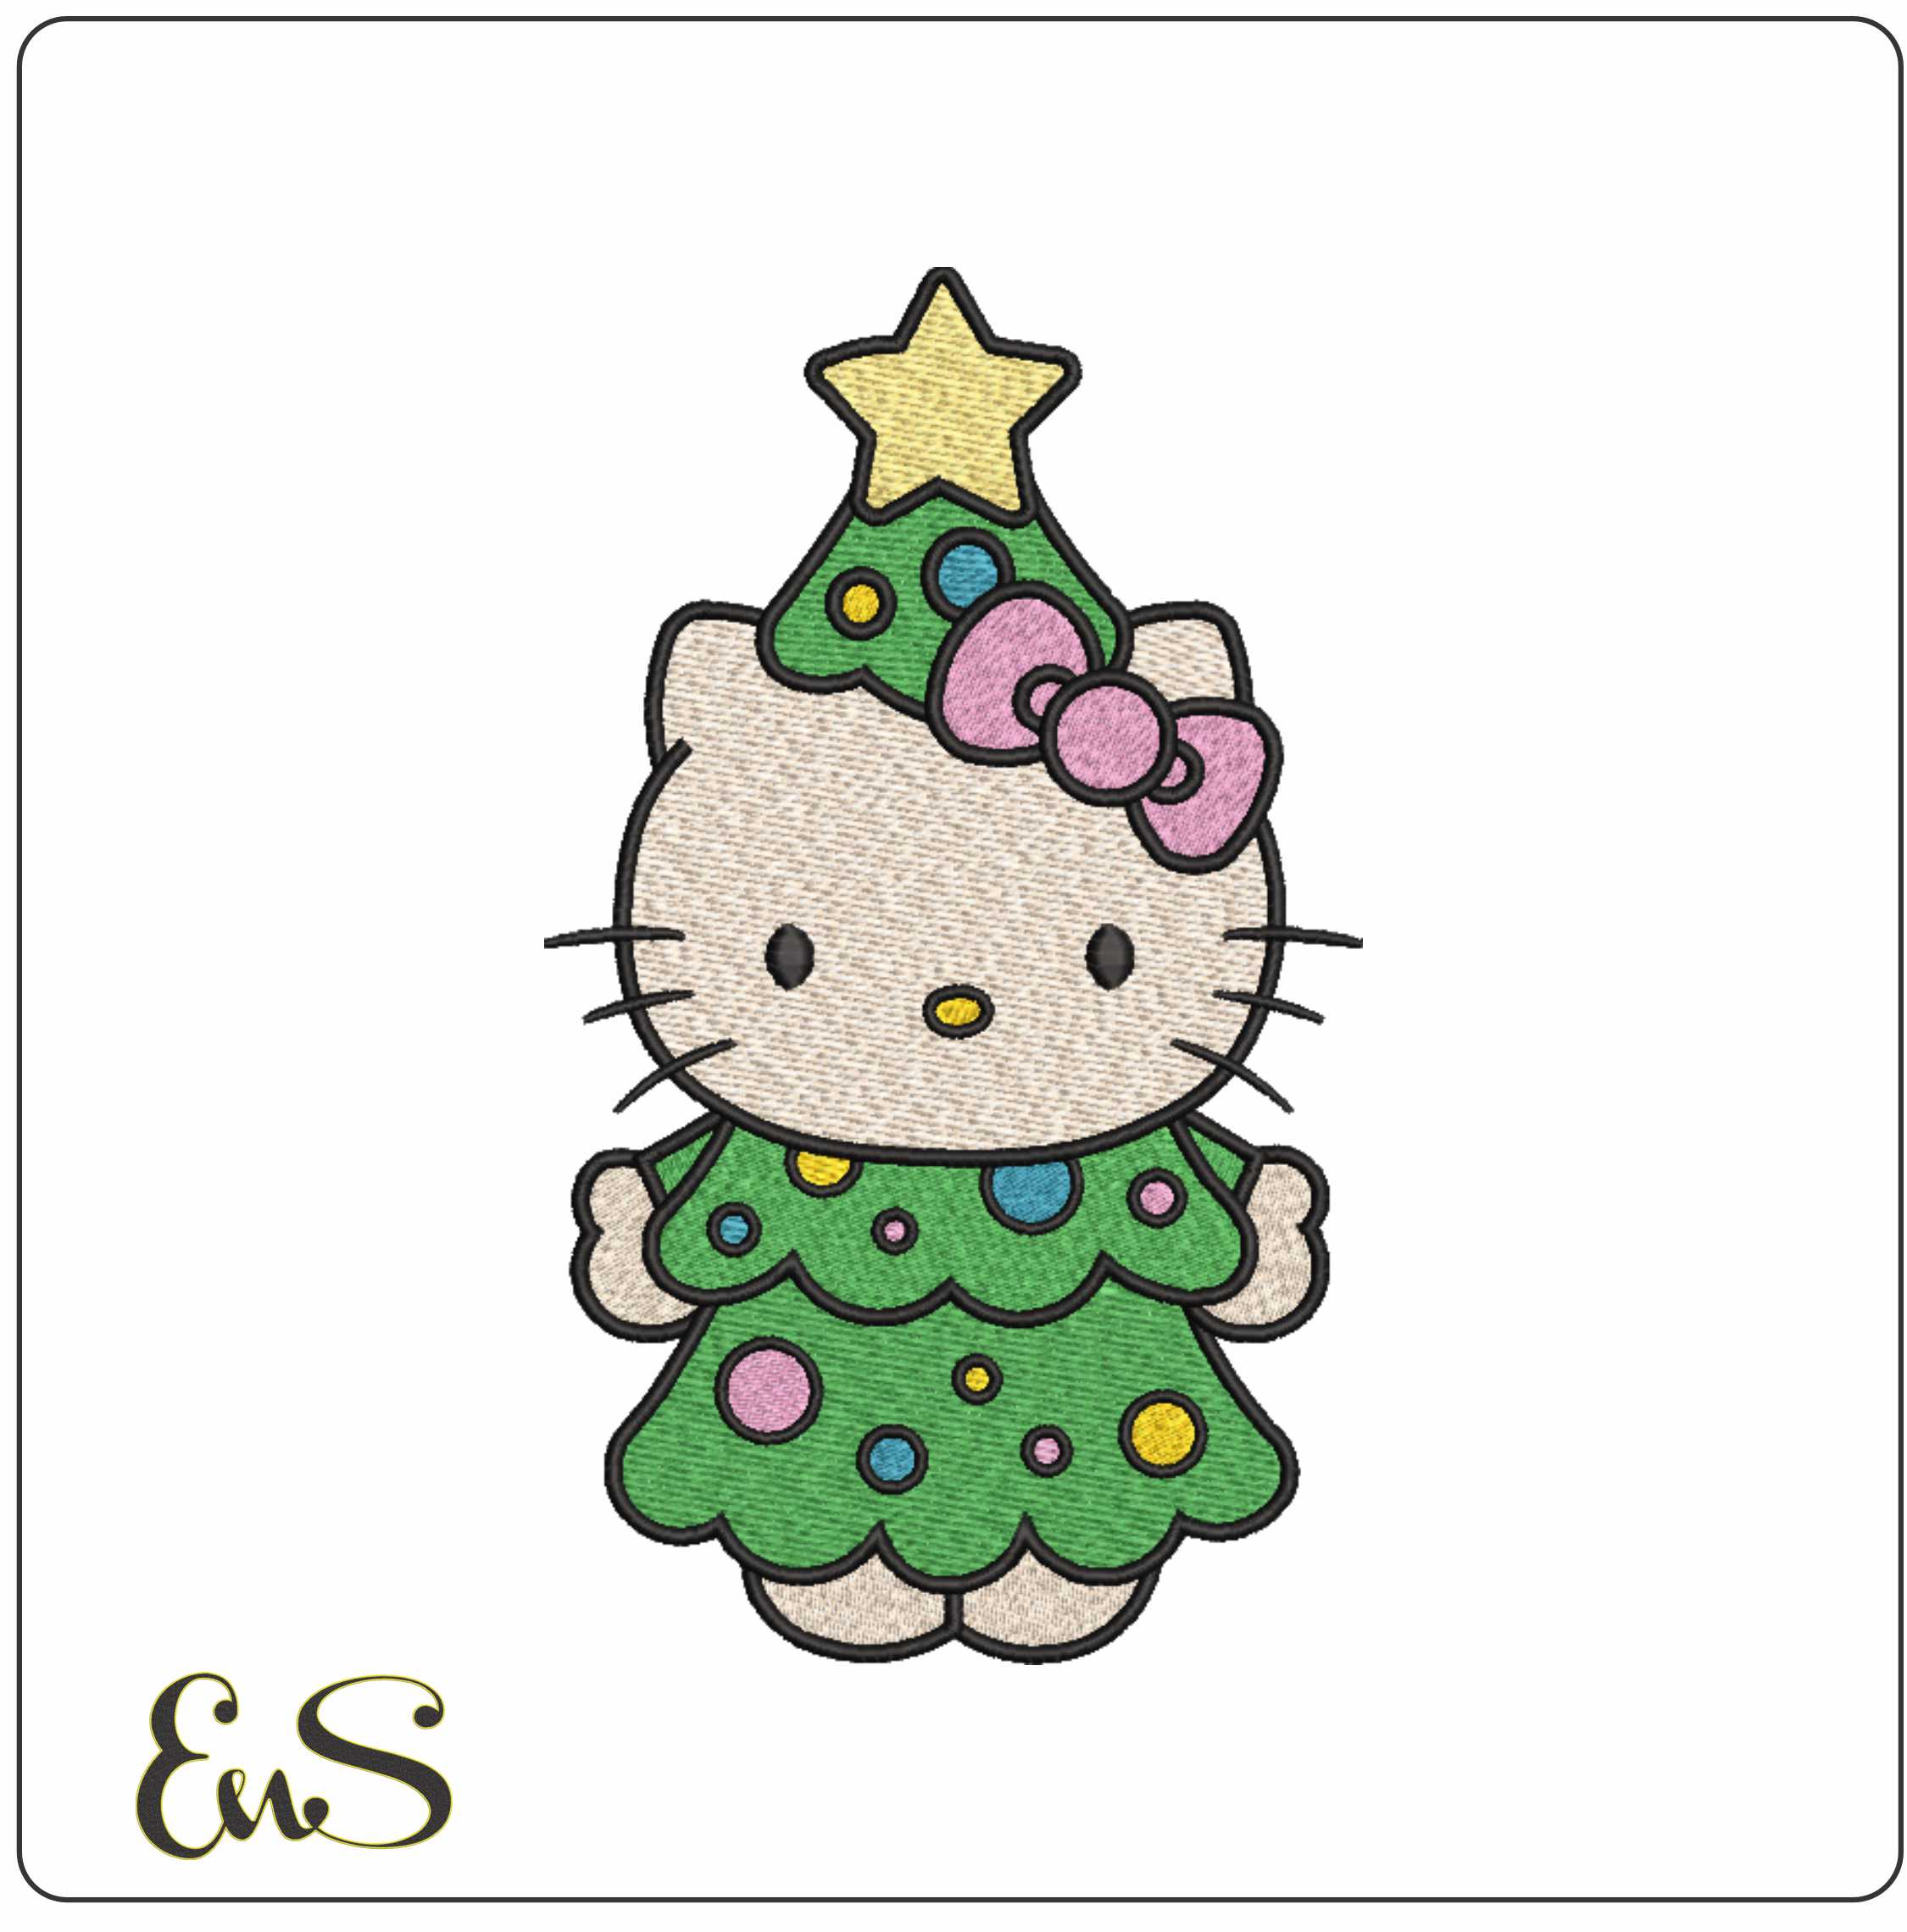
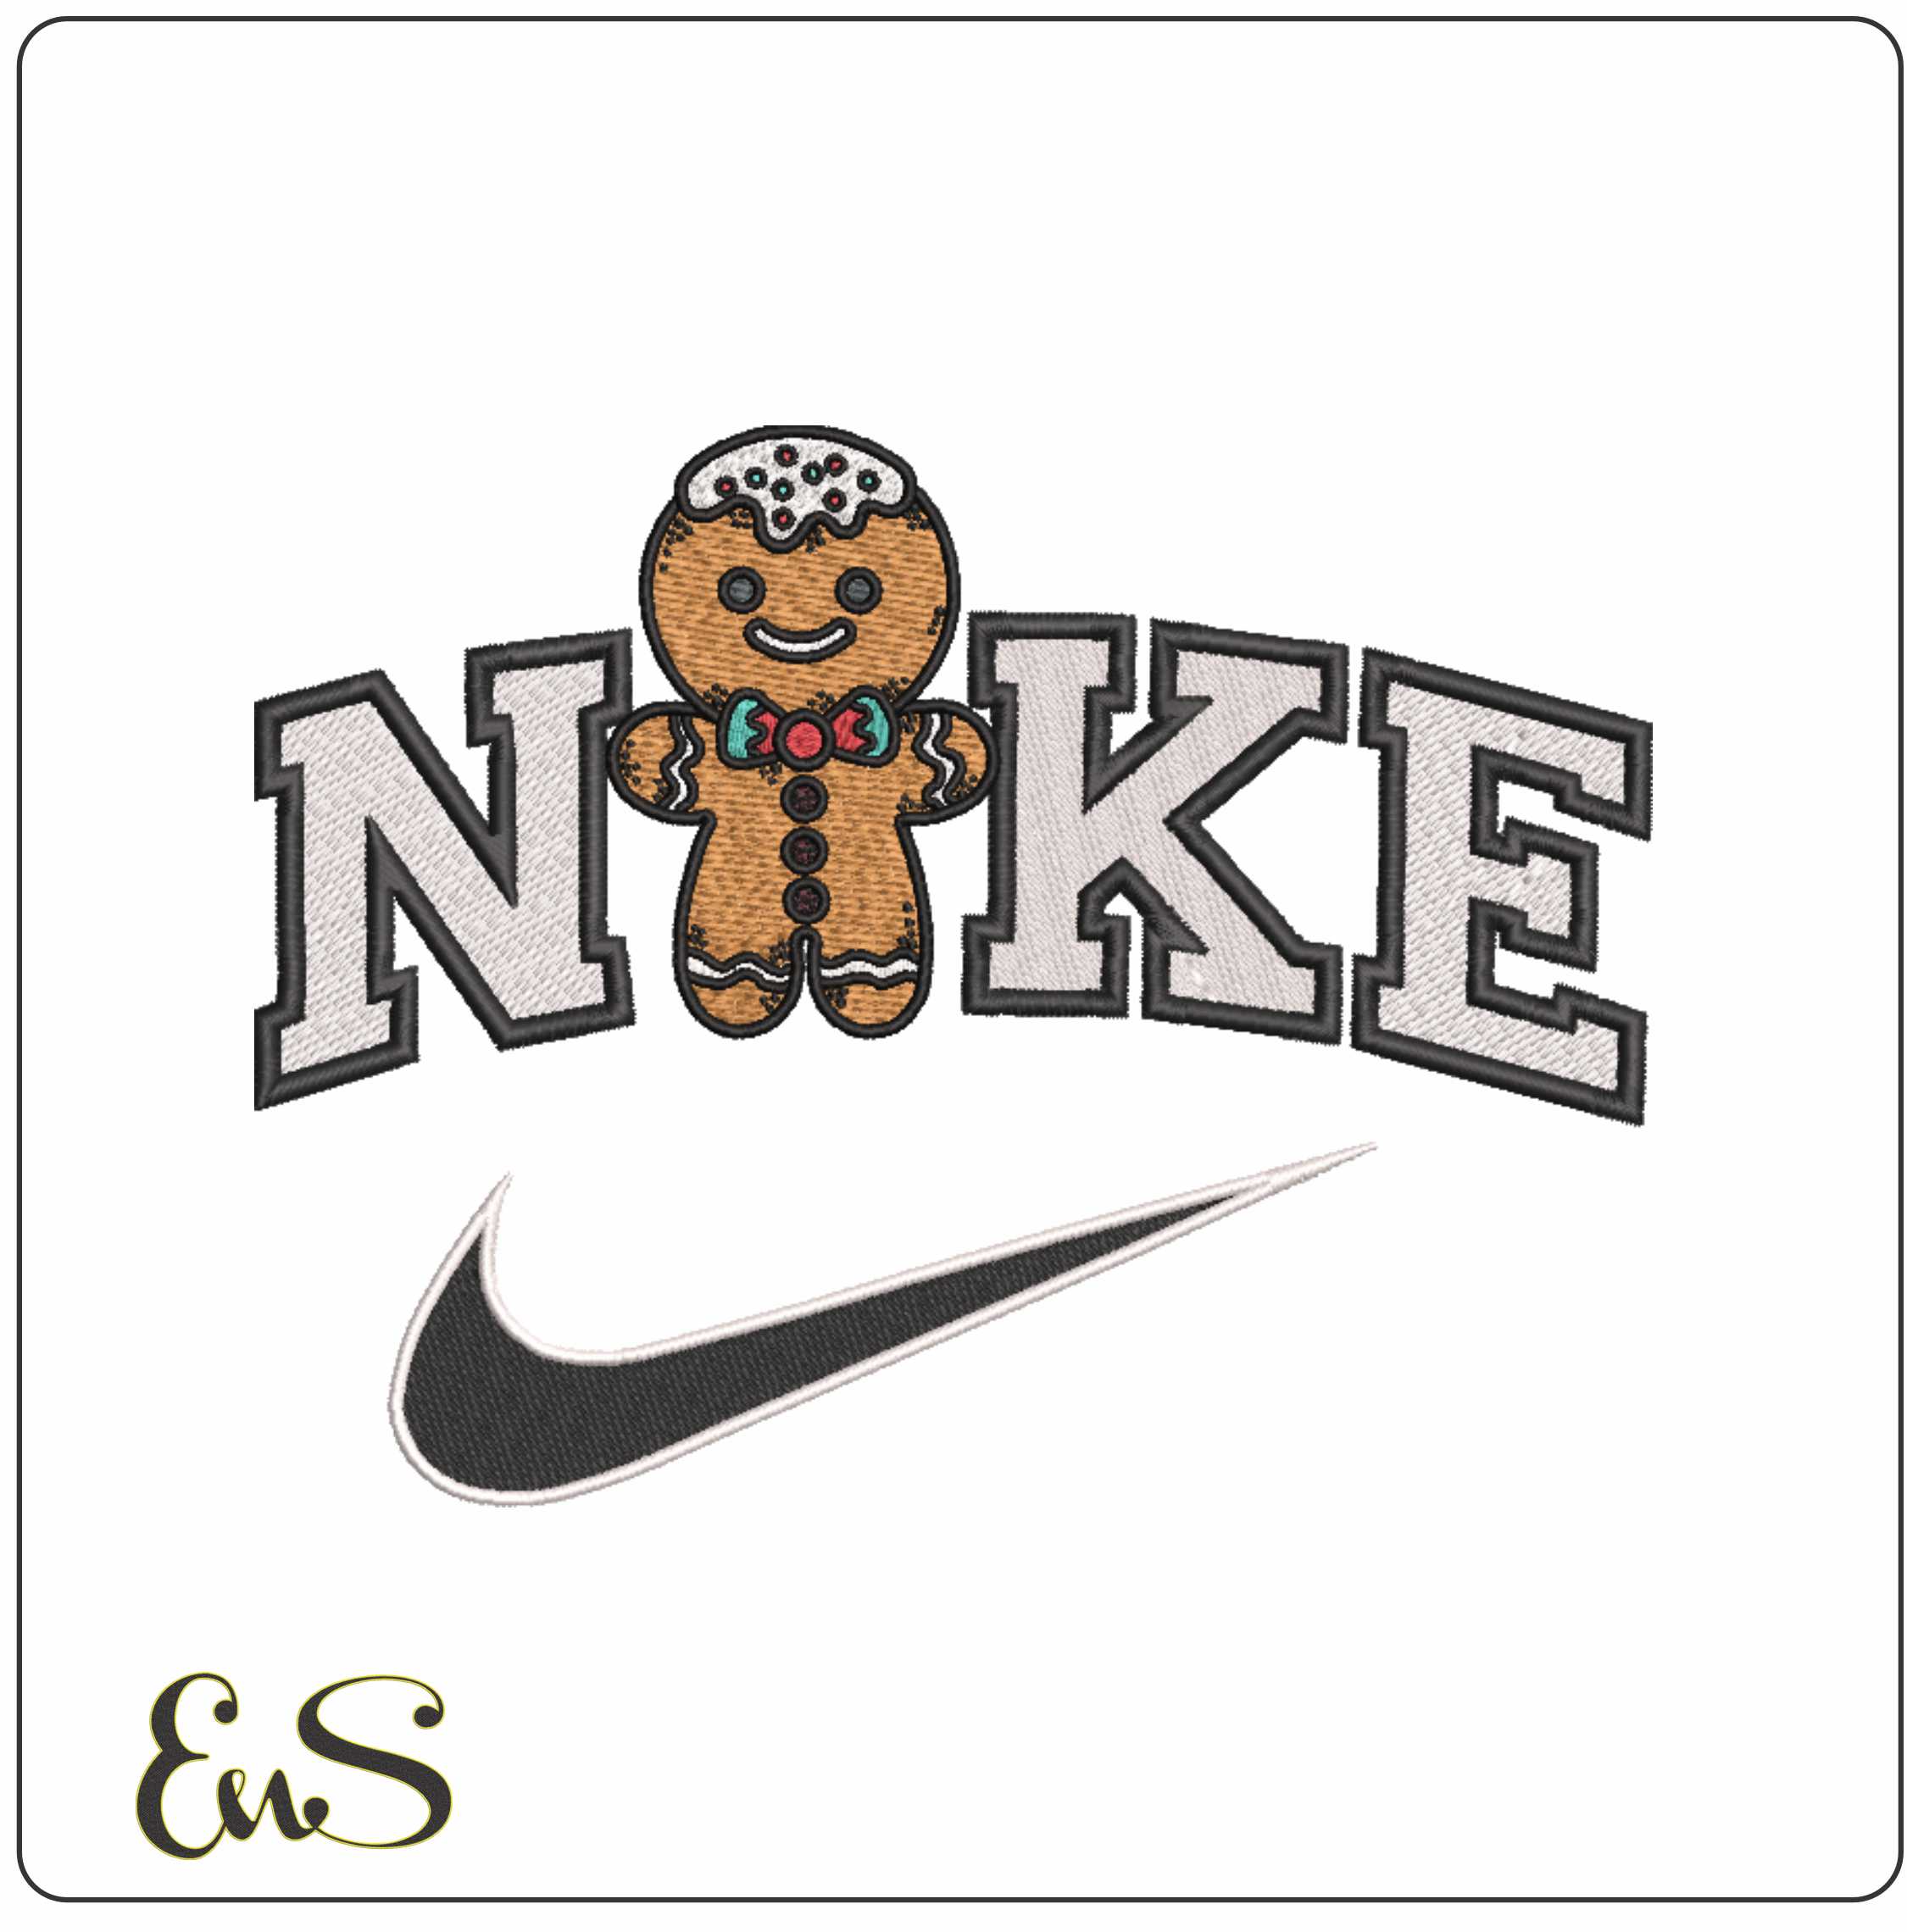
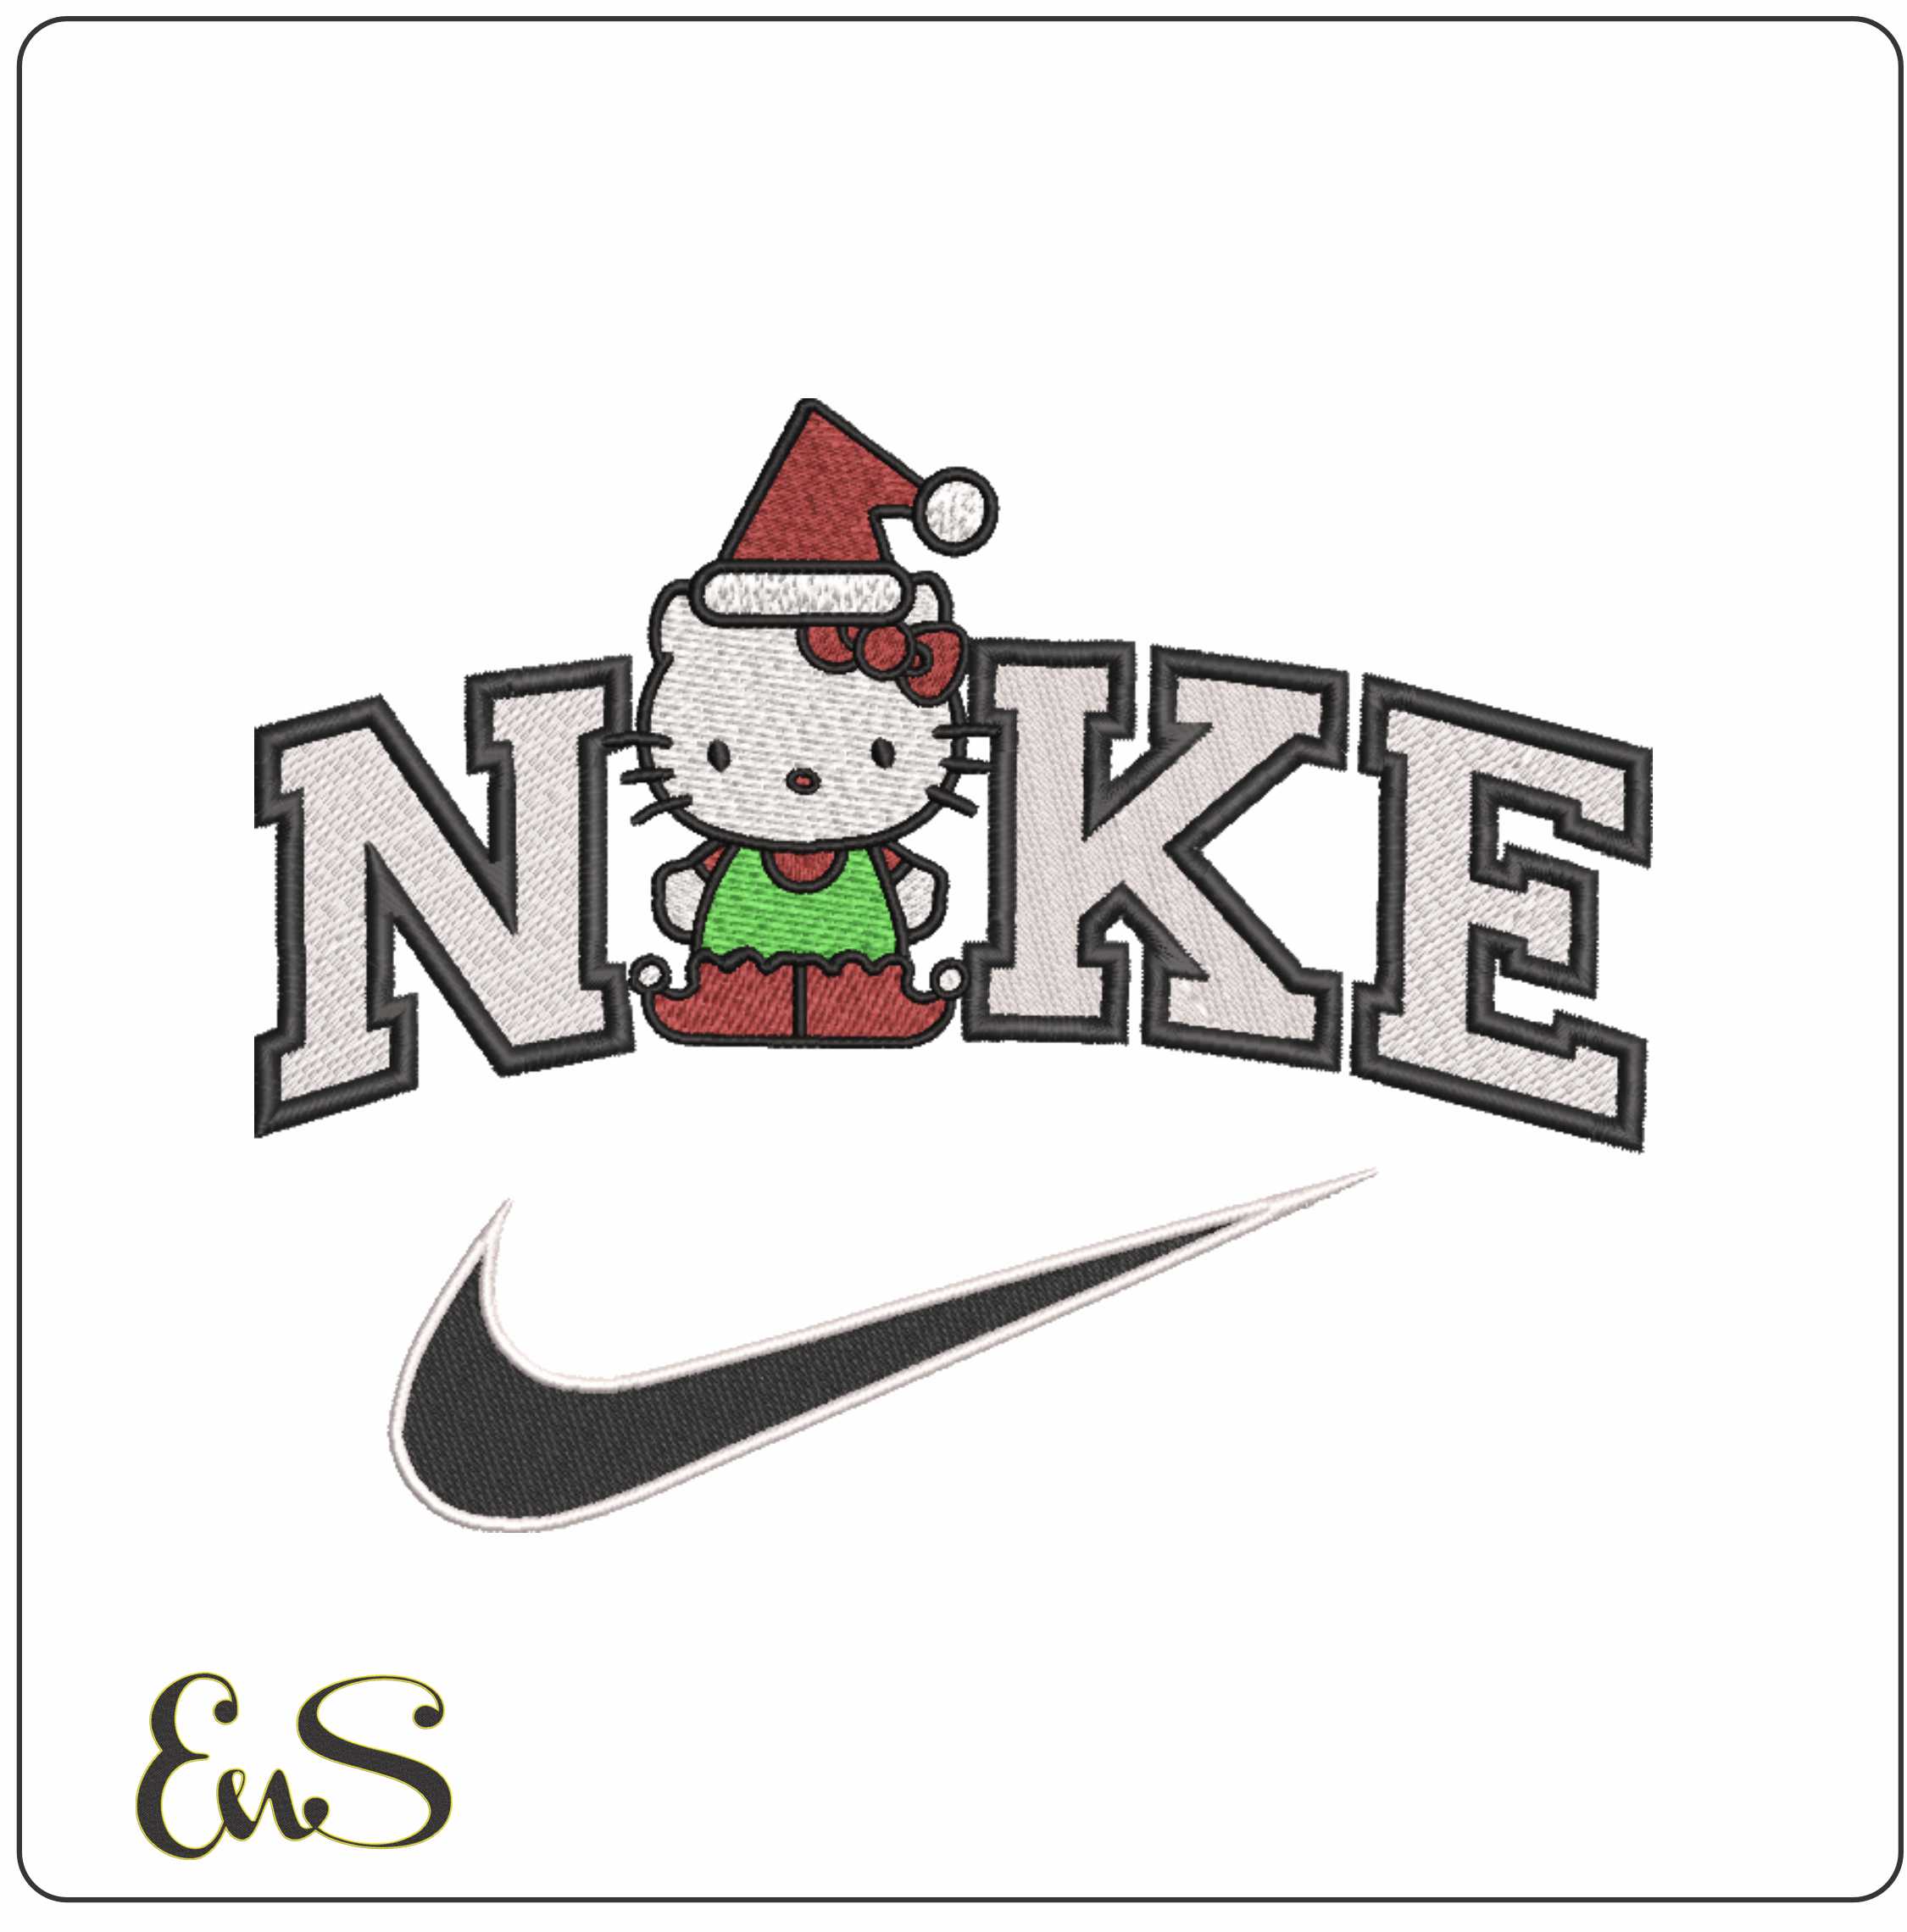
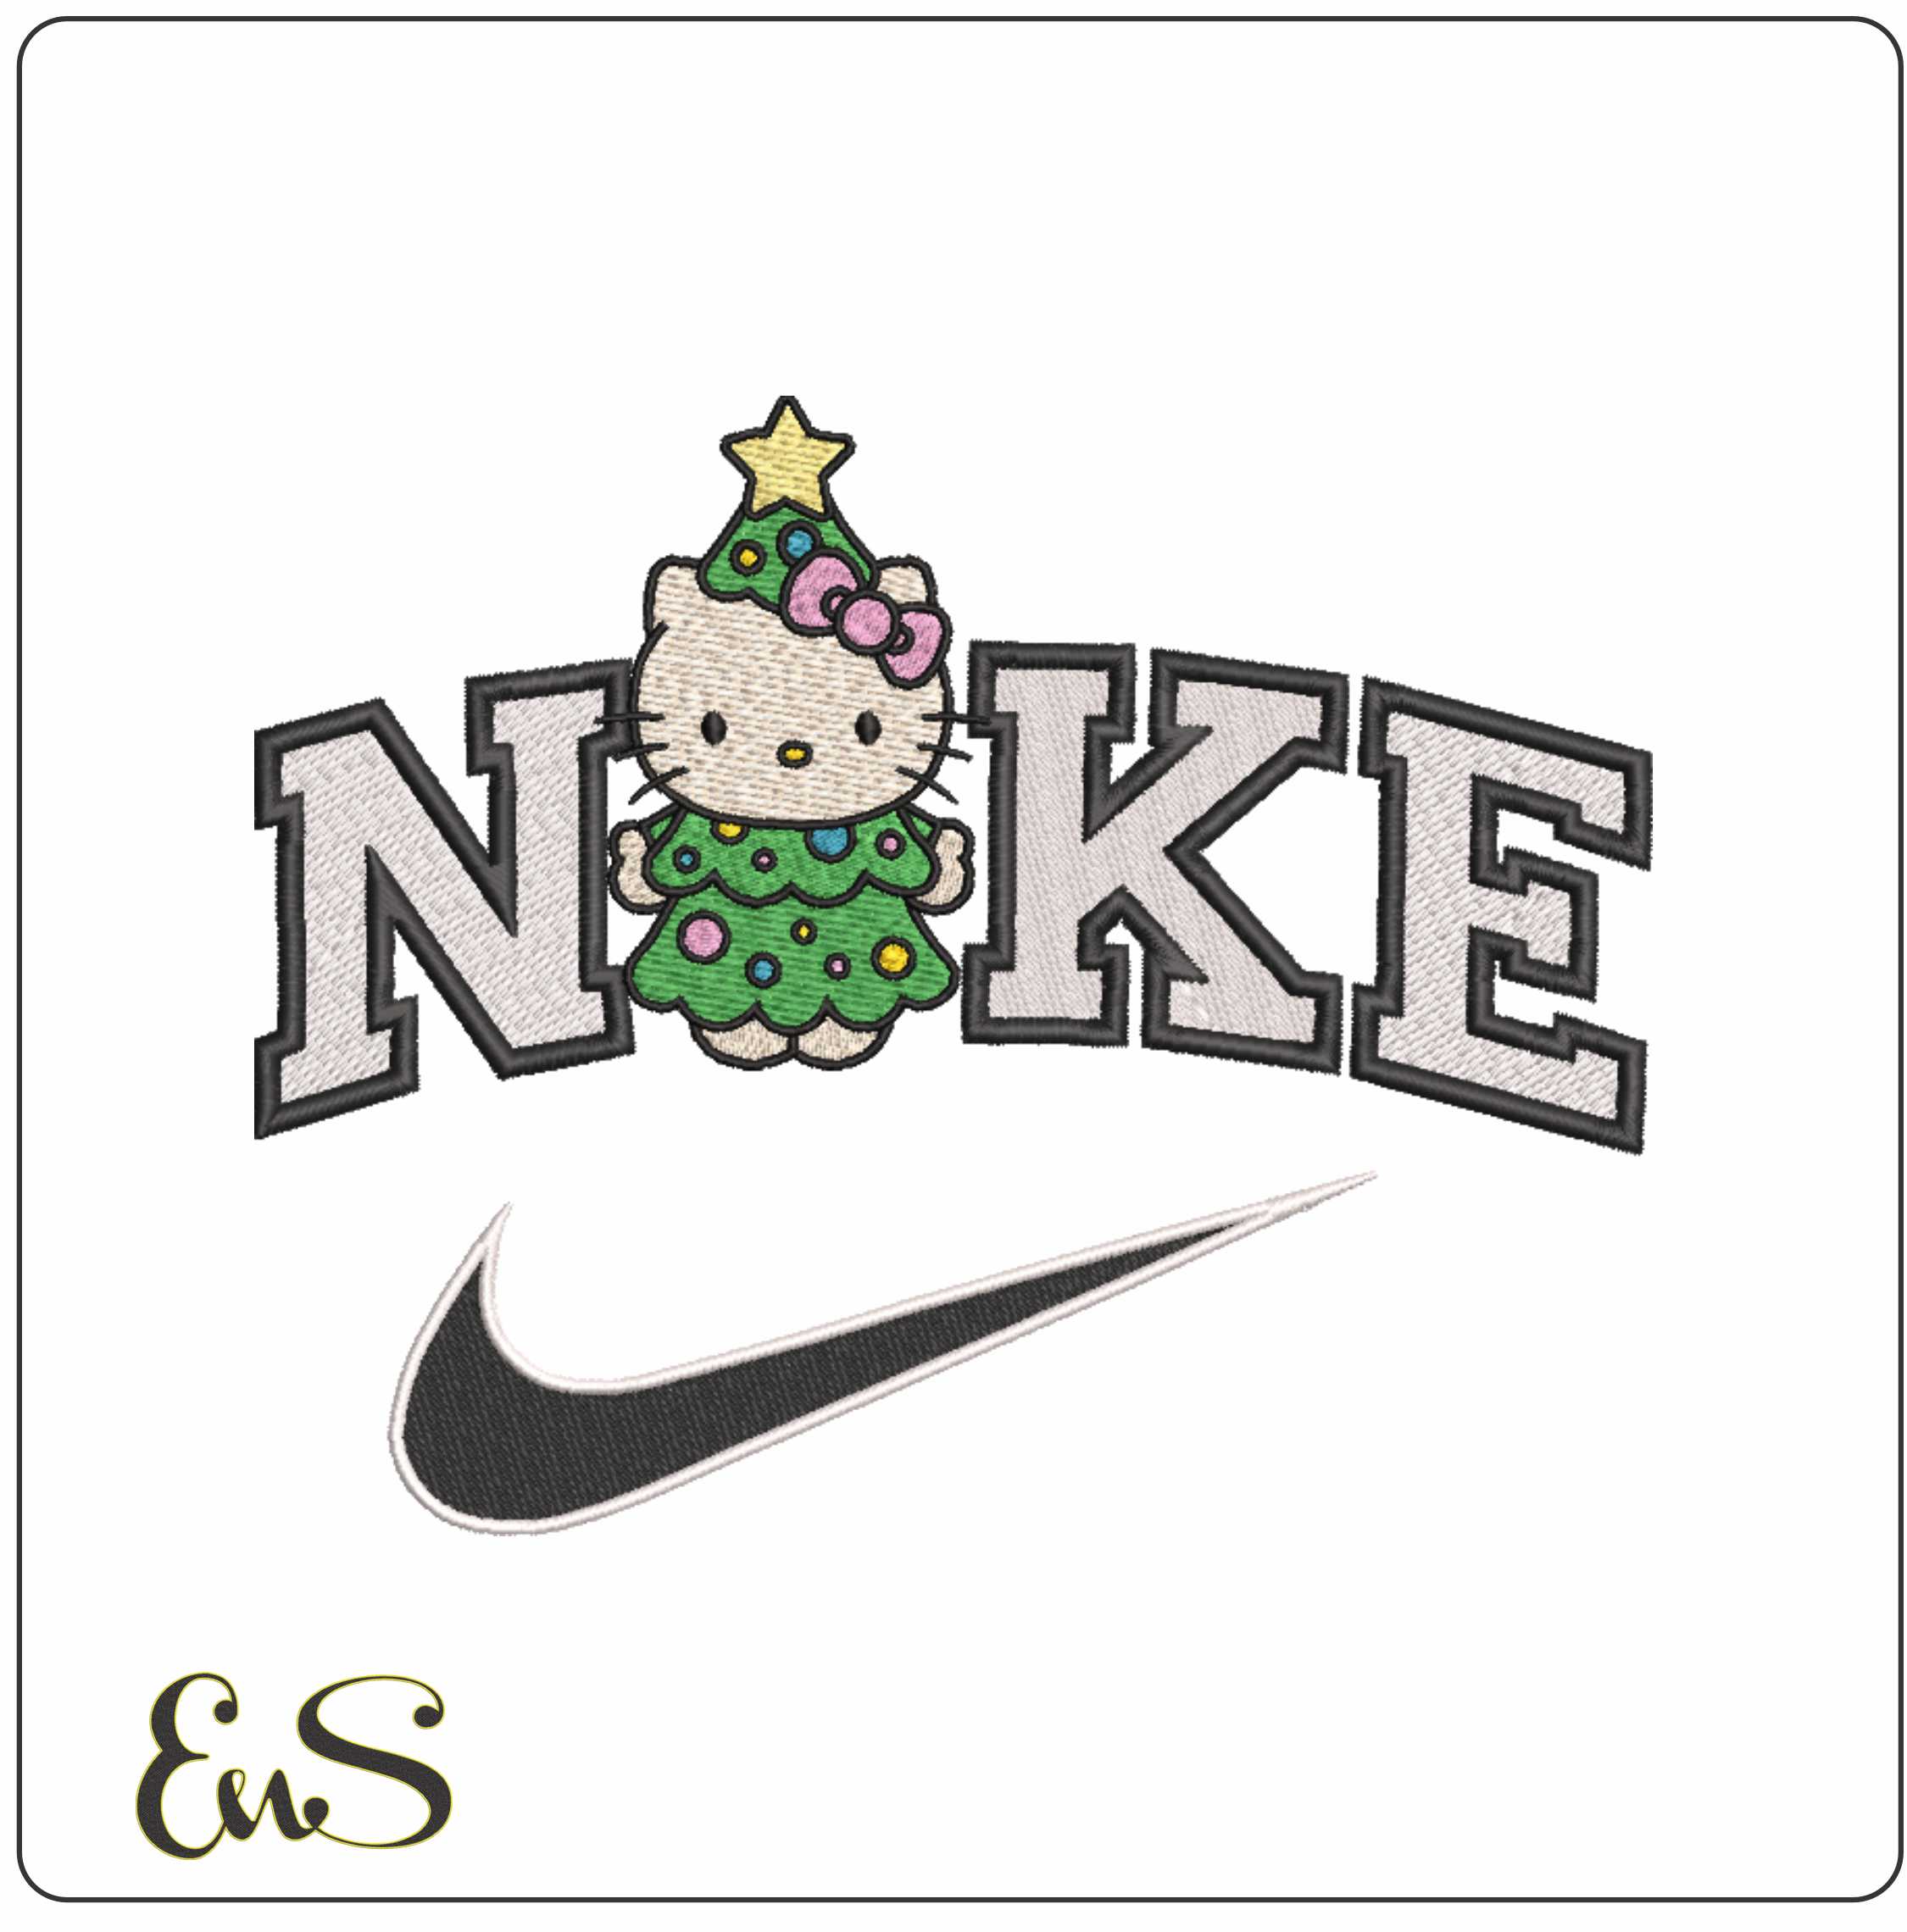
For children’s items, pyjamas, and playful décor, you could build a coordinated set using Hello Kitty Christmas Tree embroidery design, Hello Kitty Christmas Soldier embroidery design, or Nike Hello Kitty Christmas Elf embroidery design. Gingerbread motifs are also reliable for kitchen linens and gift sets; Nike Christmas Gingerbread Man embroidery design is a good example of a theme that works across multiple blanks.
Stabiliser guide for common Christmas projects
Stabiliser choice is where many Christmas projects are won or lost.
What stabiliser do I use for free-standing lace Christmas ornaments?
For free-standing lace Christmas ornament embroidery patterns, use a water-soluble stabiliser strong enough to support dense stitching. Most stitchers get the best results with either:
- one heavy wash-away layer, or
- two layers of standard water-soluble stabiliser hooped tightly.
The design should stitch entirely on the stabiliser with no fabric behind it. After stitching, trim away excess, rinse only until the excess film is removed, then let the ornament dry flat. If you rinse too aggressively, lace can become limp. A light residue actually helps many ornaments hold their shape.
For freestanding ornaments, the stabiliser is the foundation, not an afterthought.
Can I embroider on high-pile Christmas hand towels without the stitches getting buried?
Yes. On high-pile towels, use:
- a cut-away or medium tear-away on the back, depending on design density,
- plus a water-soluble topping on the front.
The topping keeps stitches from sinking into the pile. Choose designs with cleaner shapes and stronger outlines rather than tiny facial details. This is especially important if you are making practical christmas sewing projects for beginners or last minute DIY Christmas gifts to sew.
Metallic thread: how to stop shredding and breaking
Holiday projects often involve gold, silver, or sparkle accents, and metallic thread is notorious for misbehaving. If you are searching for how to embroider metallic thread tips, these are the ones that matter most:
- Slow the machine down. High speed creates heat and friction.
- Use a metallic or topstitch needle. The larger eye reduces abrasion.
- Lengthen the thread path where possible. A thread stand can help the spool unwind more smoothly.
- Avoid old or bargain metallic thread. Quality varies dramatically.
- Reduce tension slightly if your machine allows. Test first.
- Keep designs realistic. Metallic works best as an accent, not always as the main fill.
If metallic keeps breaking, switch only the sparkle details to metallic and run the main body in standard embroidery polyester or rayon. That gives the festive look without turning a simple project into a frustrating one.
Hooping festive blanks without damage
How do I hoop thick holiday stockings or canvas Santa sacks without hoop burn?
Hoop burn is common on plush velvet stockings, heavy canvas sacks, and brushed seasonal fabrics. The safest method is often floating the item rather than forcing it directly into the hoop.
Try this approach:
- Hoop the stabiliser only.
- Mark the design centre on the stocking or sack.
- Spray the stabiliser lightly with temporary adhesive or use basting stitches.
- Smooth the item into place and stitch a basting box if your machine offers one.
For very thick seams, avoid placing the design where the foot must climb over ridges. If a stocking is fully constructed, check the machine arm clearance before committing to placement.
Can I use regular sewing thread in my embroidery machine for holiday appliqués?
Usually, it is better to use machine embroidery thread in the needle for appliqué finishing stitches, because it is designed to run at embroidery speed. Regular sewing thread can sometimes be used in the bobbin or for specific effects, but in the needle it may produce more lint, inconsistent tension, or duller coverage. If you do test sewing thread, run a sample first and reduce speed.
Understanding ITH Christmas projects
What is an In-The-Hoop (ITH) embroidery design and how do I stitch one?
An In-The-Hoop design is a project mostly completed inside the embroidery hoop rather than assembled at the sewing machine in the usual way. Popular festive examples include in the hoop Christmas ornaments patterns, gift tags, mug rugs, and an ITH Christmas stocking embroidery file.
A typical ITH project works like this:
- Hoop stabiliser.
- Stitch placement lines.
- Add fabric pieces following the design steps.
- Stitch tack-down lines.
- Add batting or backing if required.
- Stitch finishing seams.
- Remove from hoop and trim or turn.
ITH is excellent for scrap friendly Christmas sewing ideas because it uses smaller pieces of felt, cotton, cork, or glitter fabric. It is also a practical route for beginners who want neat results without drafting from scratch.
Making ornaments look neat front and back
How can I make the back of my machine-embroidered Christmas ornaments look neat?
That depends on the ornament style.
For freestanding lace, the back is naturally presentable if the thread tension is balanced.
For fabric-based ornaments, use one of these finishes:
- Felt backing fused or stitched over the reverse
- A second ornament back piece stitched right sides together and turned
- Ribbon or cord edging to cover raw seams
- Clean bobbin colour matching if the reverse may show
If you are making giftable ornaments, tidy jump trims before backing and remove excess stabiliser carefully. Small finishing details make a homemade ornament feel deliberate rather than rushed.
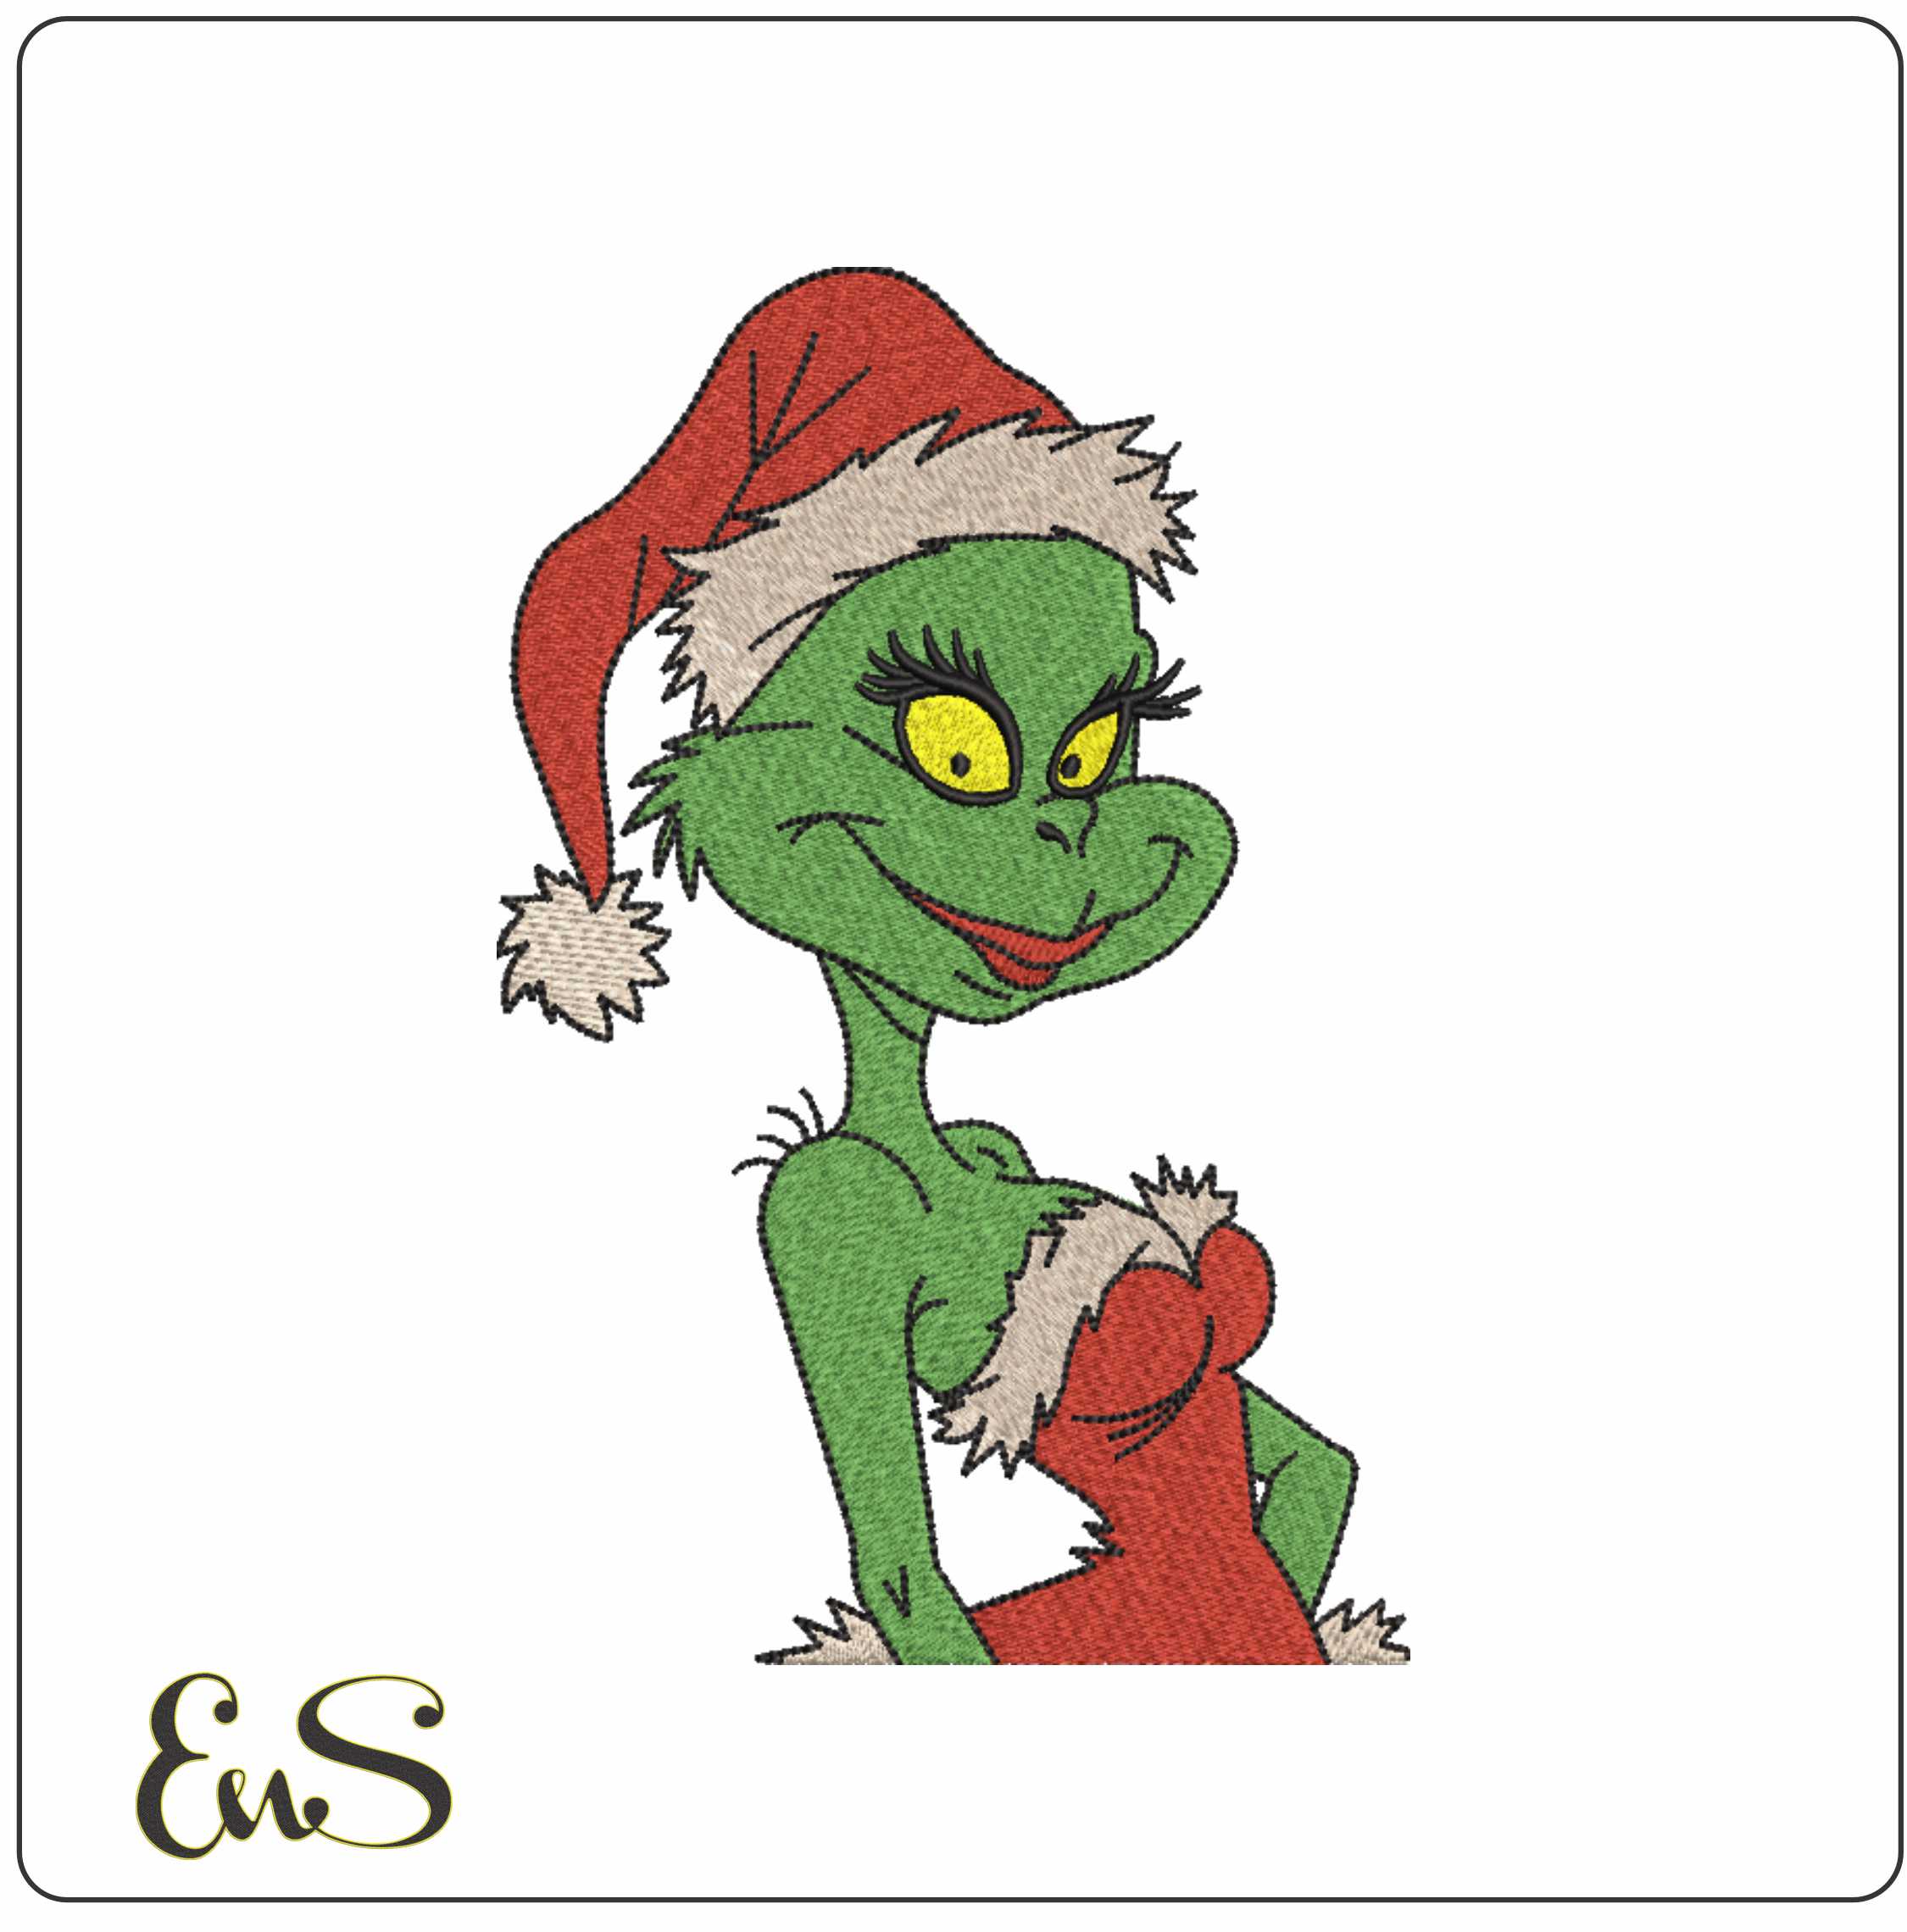 Embroidery designMerry Christmas Mrs GrinchView this design →
Resizing Christmas embroidery files safely
What is the best way to resize a Christmas embroidery file to fit a 4x4 hoop?
Resize cautiously. Most embroidery files should only be adjusted by about 10 to 15 percent unless they are specifically digitised for flexible scaling. Beyond that, satin columns become too narrow or too wide, stitch density changes, and push-pull compensation stops behaving as intended.
If a design is slightly too large for a 4x4 hoop:
- choose a simplified version if available,
- reduce size only modestly in embroidery software rather than at the machine where possible,
- test stitch before using a final blank.
This matters particularly when shoppers search for machine embroidery designs PES Christmas formats and want to adapt files across multiple hoops. A design that looks fine on screen can stitch poorly when compressed into a small field.
If a festive file needs major resizing, it is usually better to choose a design created for that hoop size.
Smart Christmas project ideas that actually get used
People often search for free Christmas machine embroidery designs, but the best value usually comes from designs you will reuse year after year on practical items. Consider:
- personalised towels and guest napkins
- sweatshirt fronts
- children’s festive pyjama tops
- stocking cuffs
- canvas gift sacks
- tree skirt panels if you are combining embroidery with a christmas tree skirt sewing pattern
- felt ornaments and gift tags
For coordinated sets, mix and match playful motifs such as Nike Hello Kitty Christmas Tree embroidery design, Nike Hello Kitty Christmas Soldier embroidery design, and Hello Kitty Christmas Soldier embroidery design. Using one theme across stockings, totes, and towels creates a polished handmade collection without needing highly advanced techniques.
Final tips before you stitch
Before starting any holiday file:
- test your thread and stabiliser stack on a scrap first
- check hoop size against the actual design dimensions, not the product photo
- avoid overloading gifts with very dense designs on flimsy blanks
- pre-wash towels and cottons if shrinkage matters
- keep metallic details selective and intentional
- use topping on textured surfaces
Christmas embroidery should feel festive, not stressful. Choose designs that suit the material in front of you, not just the idea in your head. When the design, hooping method, and stabiliser all match the project, your results become more reliable, cleaner, and much easier to gift confidently.