
Mastering Embroidery Design Density & Pull Compensation
More stitches aren’t the answer to every embroidery gap. Embroidery design density and compensation solve different problems: density sets the distance between stitch rows, while pull compensation widens stitch areas to offset fabric movement. For most commercial embroidery on standard fabrics, fill rows are spaced about 0.4-0.5 mm apart, while the right pull adjustment depends on the fabric and stitch type.
If a design pulls narrow, puckers, or loses clean edges, density may be the first setting to examine, but changing it alone can worsen distortion. This guide explains push-pull compensation, how fabric, stabilizer, and design geometry affect settings, and why pique polo shirts need particular care. It also shows how to balance coverage and flexibility so each adjustment has a clear purpose.
Key Takeaways
Table of Contents
What Is Push-Pull Compensation?
Embroidery design density and compensation affect different parts of a stitch-out: density governs stitch-row spacing, while pull compensation adjusts stitch width to offset fabric movement. Together, they influence the design’s coverage and shape.
Diagnosing Puckering, Narrow Designs, and Sparse Stitching
Puckering, narrow shapes, and sparse coverage can have different causes, so adding stitches is not a universal fix. Puckering may indicate unsuitable underlay; a design that finishes too narrow may need more pull compensation. Visible fabric between fill stitches can mean density is too low, while excessive density can worsen distortion. Choosing embroidery design density and compensation together matters because changing one setting may not fix a problem caused by the other.
Density Values and Stitch Spacing
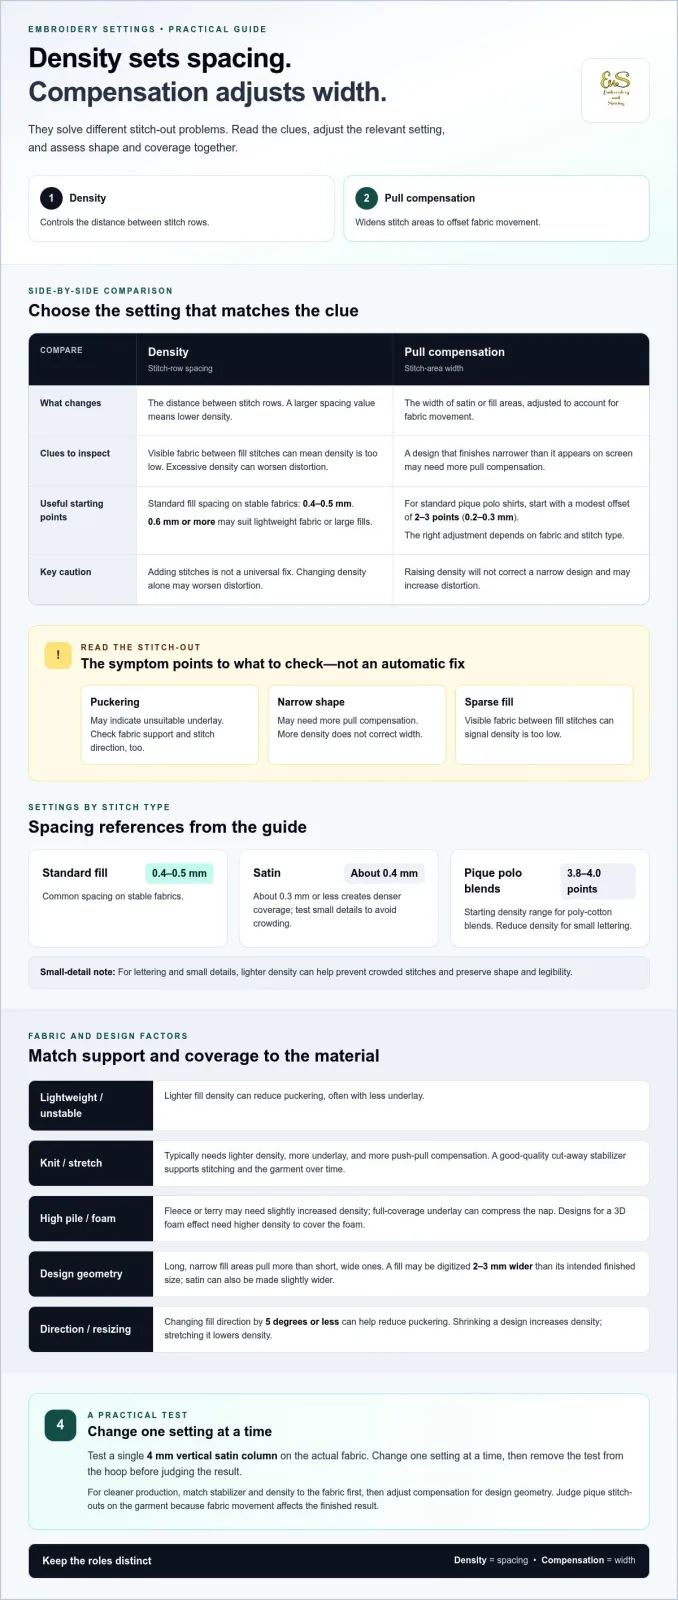
Density describes the distance between stitch rows, usually measured in millimeters; a larger setting means lower density. In Melco Design Shop, read the density value as spacing, not stitch width. Standard fill spacing is about 0.4-0.5 mm, while 0.6 mm or more may suit lightweight fabric or large fills. For satin, about 0.4 mm is standard; 0.3 mm or less creates denser coverage.
Stitch Density and Satin-Column Coverage
Satin-column density affects fabric coverage and how raised the finished surface appears. A setting of 0.3 mm or less can create a thicker look for bold lettering, but small details need testing to avoid crowding. Fabric and stitch type guide pull compensation; satin can be digitized slightly wider to account for movement.
Software Settings for Density and Pull Compensation
Embroidery software sets density through stitch spacing and compensation through width adjustments to satin or fill areas. For lettering and small details, lighter density can help prevent crowding. Test a single 4 mm vertical satin column on the actual fabric, change one setting at a time, then remove it from the hoop before judging. This gives you a practical basis for refining embroidery design density and compensation.
Density and pull settings for pique polo shirts
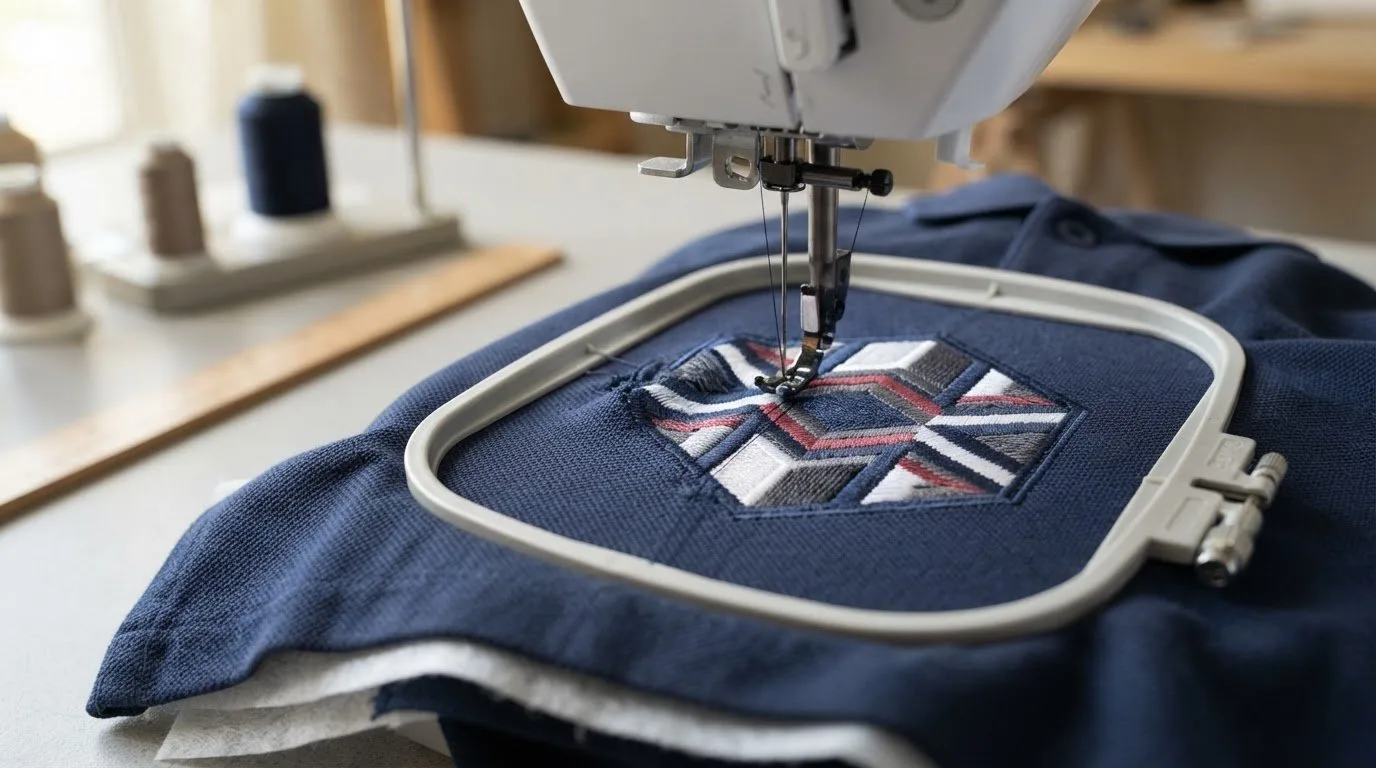
Pique fabric can shift under needle and thread tension, affecting lettering and design edges. Consider density and pull compensation together instead of treating either setting as a standalone fix.
Fabric Movement and Push-Pull Distortion
Push-pull distortion occurs when stitches move pique fabric and change the design’s shape during embroidery. The knit structure can shift as the needle penetrates, while stitch direction affects where the fabric pulls or pushes. A logo may finish narrower than it appears on screen, and dense stitching can distort the knit or contribute to tearing.
For poly-cotton blends, use 3.8-4.0 points as a starting density range. Reduce density for small lettering, where crowded stitches can compromise shape and legibility. Judge the stitch-out on the garment, since the fabric’s movement affects the finished result.
Interactions Between Pull Compensation and Fabric
Pull compensation offsets fabric movement by widening stitch areas, while pull offset describes the amount added to the design. For standard pique polo shirts, start with a pull offset of 2-3 points, equivalent to 0.2-0.3 mm. This modest adjustment can help preserve shape without forcing extra thread into a flexible knit.
Density and offset affect different aspects of the result: density changes stitch spacing, while offset changes width. Raising density won’t correct a narrow design and may increase distortion. Use pull compensation cautiously on delicate fabrics, since the appropriate adjustment depends on the fabric and stitch type. Assess coverage and shape together after stitching.
## How fabric, stabilizer, and design geometry affect compensation
Density and pull compensation work best when digitizing accounts for fabric stability, backing support, stitch direction, and design shape. These factors affect how a design behaves during stitching, so a setting that works on one material may distort another.
On lightweight or unstable fabrics, lighter fill density can reduce puckering, often with less underlay. Knit and stretch fabrics typically need lighter density, more underlay, and more push-pull compensation. A good-quality cut-away stabilizer supports the embroidery during stitching and throughout the garment’s life. High-pile fabrics such as fleece or terry cloth may need slightly increased density; full-coverage underlay can compress the nap before the visible stitches are added.
Geometry matters, too. Long, narrow fill areas pull more than short, wide ones, and a fill may be digitized 2-3 mm wider than its intended finished size. Satin stitches can also be made slightly wider to account for fabric movement. On caps and other curved items, excess density can cause registration problems. Designs intended for a 3D foam effect need higher density to cover the foam. Changing fill direction by 5 degrees or less can help reduce puckering.
What stitch density should be used for different fabrics and designs? Standard fills on stable fabrics commonly use 0.4-0.5 mm spacing; lightweight fabrics generally need lighter density, while high-pile or foam designs may need more coverage. Keep density above 3.0 points unless you have expert stabilizer knowledge, because lower settings may damage fabric. Shrinking a design increases density; stretching it lowers density, so resizing can change coverage and distortion.
For cleaner production, match stabilizer and density to the fabric first, then adjust compensation for geometry. Browse embroidery design categories for ideas suited to your next project.
Embroidery n Sewing: Digital Embroidery Designs
Embroidery n Sewing offers digital embroidery designs for crafters ready to turn a project idea into stitched artwork. After considering fabric, density, and compensation, choosing a design that suits your project theme is a practical next step.
Explore machine embroidery designs for different projects, or narrow your search to college and Nike embroidery designs. A suitable design gives you a starting point for assessing how its shapes and stitch coverage will work with your chosen fabric. This can help when you want a recognizable theme, such as a college motif, for clothing or accessories.
Browse the digital selection and choose a design that inspires your next project. Visit Embroidery n Sewing to explore the designs.
Put Your Next Stitching Idea Into Motion
Your next project is an opportunity to apply what you’ve learned. Before stitching, consider how the design’s shape will work with your chosen fabric, and make adjustments based on the finished stitch-out rather than its appearance on screen alone. Use each project as a reference: noticing where the result differs from your plan can help you make more informed embroidery design density and compensation decisions over time.
When you’re ready to find artwork for a new project, explore Embroidery n Sewing’s digital catalog and choose a theme that fits your creative direction. Contact Embroidery n Sewing to take the next step. Your next design can be the starting point for a project that feels distinctly yours.
Frequently Asked Questions
What is stitch density and why does it matter?
Stitch density describes how closely embroidery stitches are placed, affecting the balance between fabric coverage and flexibility. Compact lettering, for example, can become stiff if its stitches are crowded together, while widely spaced rows may reveal the fabric underneath. Consider the design’s size and purpose before changing density, then assess the finished result on the intended fabric.
What does underlay do in a stitch file?
Underlay adds foundational stitches beneath the visible embroidery to help the top layer sit more evenly. It does not replace suitable top-stitch density or pull compensation. For example, adding underlay will not necessarily fix gaps between fill areas and outlines. Evaluate the complete stitch-out, because a foundation that supports one fabric or design shape may be excessive for another.
Why does my embroidery pucker or look thin?
Puckering can result from unsuitable support, while a thin appearance may come from gaps between stitches or fabric showing through. First, remove the test piece from the hoop before judging its shape. Then check the needle for burrs, which can tear fabric and create apparent gaps. Inspect the reverse as well: balanced thread tension shows top thread at the outer edges and bobbin thread in the center.
What is stitch density in machine embroidery design?
In a machine embroidery design, stitch density is a programmed spacing value that affects how the stitch pattern covers fabric. It helps define the look of fills and satin columns, but resizing changes the result: shrinking a design increases its density, while stretching lowers it. Review density after resizing rather than assuming the original coverage will remain unchanged.
How is embroidery stitch density measured, and what units are used?
Embroidery stitch density is commonly expressed as the distance between stitch rows in millimeters; a larger spacing value means lower density. Some software displays density in points instead. A starting test value of 4.0 points is equivalent to 0.40 mm. Check which measurement a program displays before comparing settings, since the same number can mean different things across units.