
How to Create Custom Patches with Machine Embroidery
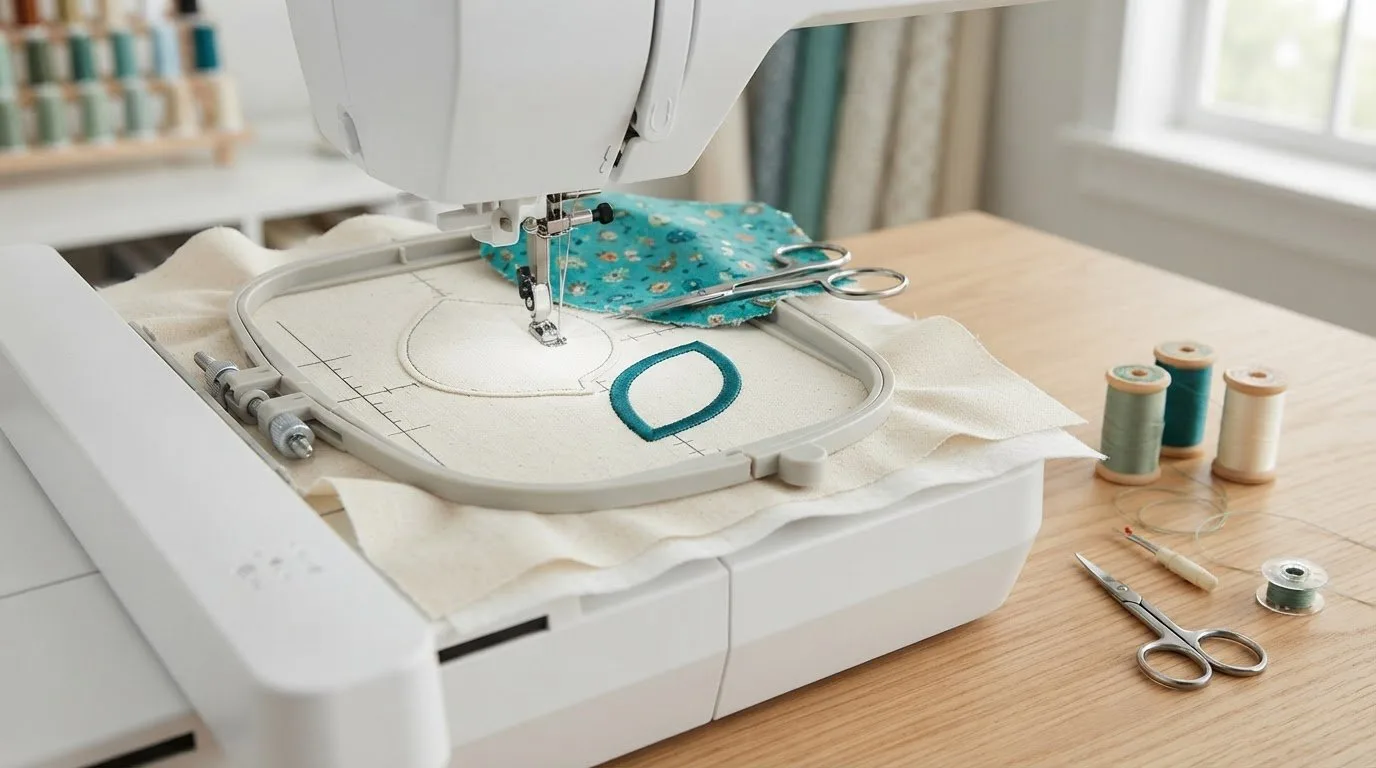
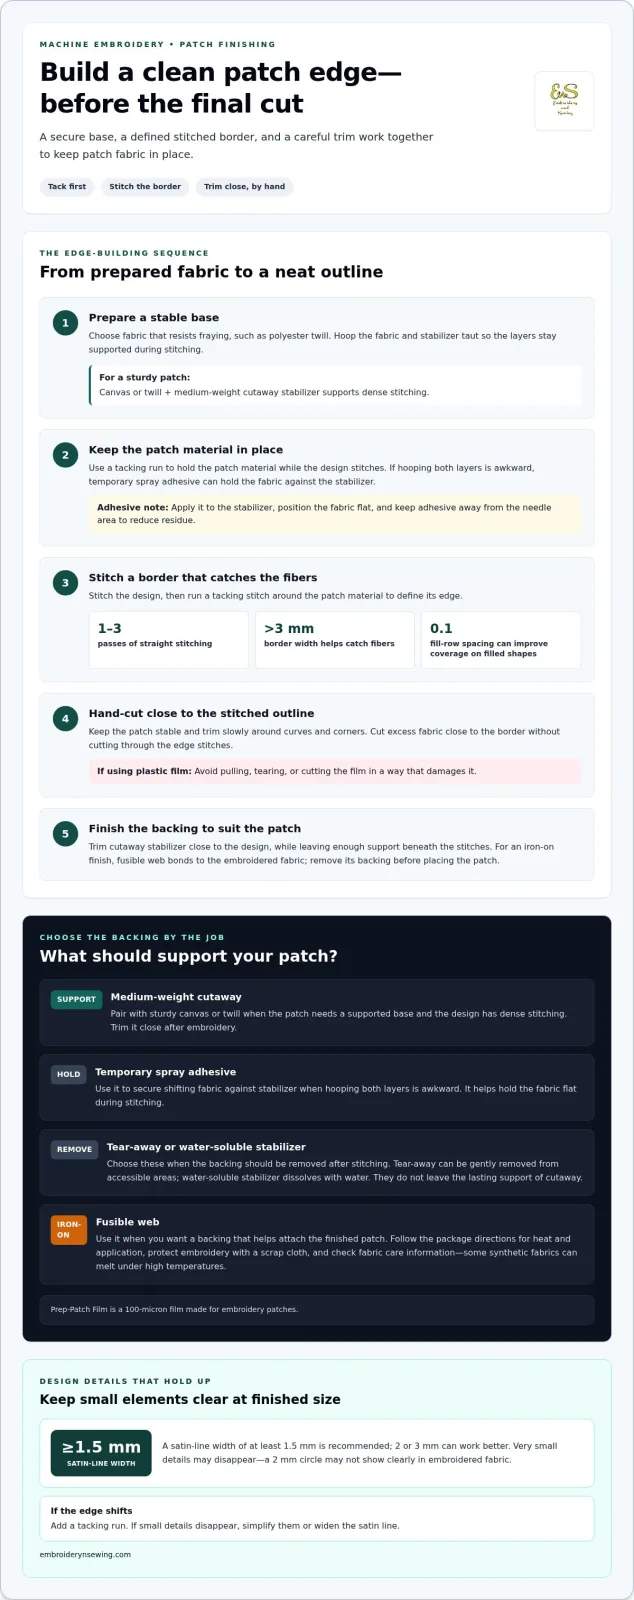
A clean patch edge is built before the final cut. To make a patch with machine embroidery, hoop the fabric and stabilizer taut, hold the patch material with a tacking run, stitch the design and border, then hand-cut close to the secure outline. A border more than 3 mm wide helps catch the patch fabric’s fibers.
It’s easy to focus on the design and leave the backing decision until later, but the base affects how you stabilize the fabric and finish the patch. This guide explains machine embroidery how to make a patch, secure the fabric, trim neat edges without damaging the base, and choose among cutaway stabilizer, temporary spray adhesive, and fusible backing. You’ll also see how these methods suit different patch constructions, so you can follow practical steps from a digital embroidery design to a finished patch.
Key Takeaways

- Follow the fusible web package instructions, protect the embroidery with a scrap cloth while ironing, and remove the backing before placing the patch.
Table of Contents
Tacking stitches and hand-cutting patch material
-
Prepare your design in Inkscape, then use Ink/Stitch to assign stitch types and arrange the border. For anyone learning how to make a patch with machine embroidery, keep details clear at the finished size. Use a satin-line width of at least 1.5 mm; 2 or 3 mm can work better. A 2 mm circle may disappear in embroidered fabric.
-
Choose fabric that resists fraying, such as polyester twill, and hoop it taut with stabilizer. Gather an embroidery machine, hoop, thread, patch fabric, stabilizer, and sharp scissors. A tacking run will hold the patch material in place while the design stitches.
-
Home-making costs depend on access to a machine and the materials you use. Ordering costs depend on the patch and order details, so those project-specific factors shape the comparison.
-
Stitch the design, then run a tacking stitch around the patch material. Use 1-3 passes of straight stitching to define the edge. A border more than 3 mm wide helps capture fibers. For filled circles or squares, a fill-row spacing of 0.1 can improve coverage.
-
Cut excess fabric by hand, close to the stitched outline, while the patch remains stable. Trim slowly around curves and corners. On plastic film, avoid pulling, tearing, or cutting the film. Fabric tack along the edge can help secure the patch.
-
A reliable way to make a patch with machine embroidery is to secure the base before trimming. If the edge shifts, add a tacking run; if small details disappear, simplify them or widen the satin line. Attach a finished patch to a garment with zigzag or straight stitching around its edge.
## Using cutaway stabilizer and temporary spray adhesive
-
For a sturdy embroidered patch, choose canvas or twill with medium-weight cutaway stabilizer. This combination supports dense stitching and gives the patch a stable base while the design is sewn.
-
Hoop the fabric and stabilizer taut before stitching. If the layers shift or wrinkle, pause and rehoop them smoothly; uneven tension can distort the design and patch outline.
-
Use temporary spray adhesive to hold the patch fabric against the stabilizer when hooping both layers is awkward. Apply it to the stabilizer, then position the fabric flat. Keep adhesive away from the needle area to reduce residue during stitching.
-
Stitch the design and border while the fabric remains supported. After embroidery, trim the cutaway stabilizer close to the design so it won’t show beyond the patch edges. Leave enough support beneath the stitches to keep the embroidered shape intact.
-
For a removable stabilizer, match the type to the project. Tear-away stabilizer can be gently removed from accessible areas, while water-soluble stabilizer dissolves with water. These options suit designs that need less backing after stitching, but they don’t provide the lasting support cutaway stabilizer leaves behind.
-
Which stabilizer and backing should you use for a machine-embroidered patch? Choose medium-weight cutaway with sturdy canvas or twill when the patch needs a supported base. Use temporary spray adhesive to secure shifting layers, and choose tear-away or water-soluble stabilizer when the backing should be removed.
Fusible patch backings
-
Choose fusible web when you want an iron-on backing that helps attach a finished patch to a project. The web bonds to the embroidered fabric, while the patch’s stitched edge defines its shape.
-
Roughly cut the embroidered fabric first, leaving material around the design. Place it on the fusible web, then prepare both layers according to the web manufacturer’s package instructions.
-
For a web that requires ironing, place a scrap cloth between the iron and embroidery. This barrier helps protect the stitched surface and keeps thread from contacting the iron directly. Follow the package directions for heat and application.
-
After bonding the layers, carefully cut around the design’s border. Keep the cut close to the stitched outline without slicing through the edge stitches, which hold the fabric together.
-
Remove the backing from the cut patch before placing it on your project. Position the patch, then follow the fusible web instructions to attach it. Before permanent attachment, you can move an iron-on patch to adjust its placement.
-
Check the fabric type before applying heat. Some synthetic fabrics can melt under high temperatures, so use the fabric’s care information and the web package instructions to guide your approach. Prep-Patch Film is a 100-micron film made for embroidery patches, another backing option to consider.
With the backing plan in place, browse digital embroidery designs to find a motif that suits your patch project.
Embroidery n Sewing: Digital Embroidery Designs
Embroidery n Sewing offers digital embroidery designs to inspire your next machine-stitched patch. Once you’ve chosen its shape and backing, the motif gives the patch its theme. Browse college embroidery designs, Nike embroidery designs, or other machine embroidery designs to find a direction that fits your project.
Explore by theme, then consider how the design will sit within your patch’s shape and stitched border. A compact motif can personalize clothing or accessories, while your fabric and stitch settings guide how you adapt it. Choose a design that suits the project and prepare it for your embroidery machine.
Visit Embroidery n Sewing to explore digital embroidery designs.
Make Your Next Patch Personal
Choose a theme that feels like yours, then let it guide your next creative project. If you’re considering how to make a patch with machine embroidery, start with a motif you’ll enjoy seeing on a jacket, bag, or other personal item. A focused design choice gives your project its own character.
Embroidery n Sewing offers digital embroidery designs, machine embroidery designs, and college embroidery designs, giving you themed options to explore as you plan. Browse for a motif that matches your idea and suits the patch shape you have in mind.
Contact Embroidery n Sewing for help choosing a digital design for your next project. Pick a theme, prepare your design, and enjoy bringing your patch idea to life.
Frequently Asked Questions
How do you digitize or choose a design for an embroidered patch?
Choose artwork that remains clear at the patch’s finished size, then prepare its stitch paths in Inkscape with Ink/Stitch. Simplify tiny lettering, narrow gaps, and isolated details that may be difficult to embroider. Preview the stitch sequence before sewing, and check that the design fits inside the planned border without crowding it.
What stitch settings and density work best for machine-embroidered patches?
There isn’t one setting that suits every design, because fabric, thread coverage, and motif size affect the result. Test-stitch on the same fabric and stabilizer, then inspect both sides. If the fill feels stiff or puckers, reduce density; if fabric shows through, adjust coverage or simplify the area.
How do you create a clean satin-stitch border around an embroidered patch?
Digitize the border as a continuous satin column that follows the patch outline, and place it after the interior design stitches. Smooth curves in the artwork before digitizing, since sharp corners can create bulky or uneven columns. Check the stitch preview for gaps where the border meets, then test-sew the outline and trim carefully beside its edge.
How do you attach iron-on, sew-on, or hook-and-loop backing to a patch?
Use fusible web for iron-on application and follow its package directions for heat and bonding. For sew-on backing, position it on the patch’s reverse and stitch around the perimeter. For hook-and-loop attachment, sew one side to the patch and its matching side to the project. Align both pieces before stitching to confirm placement.