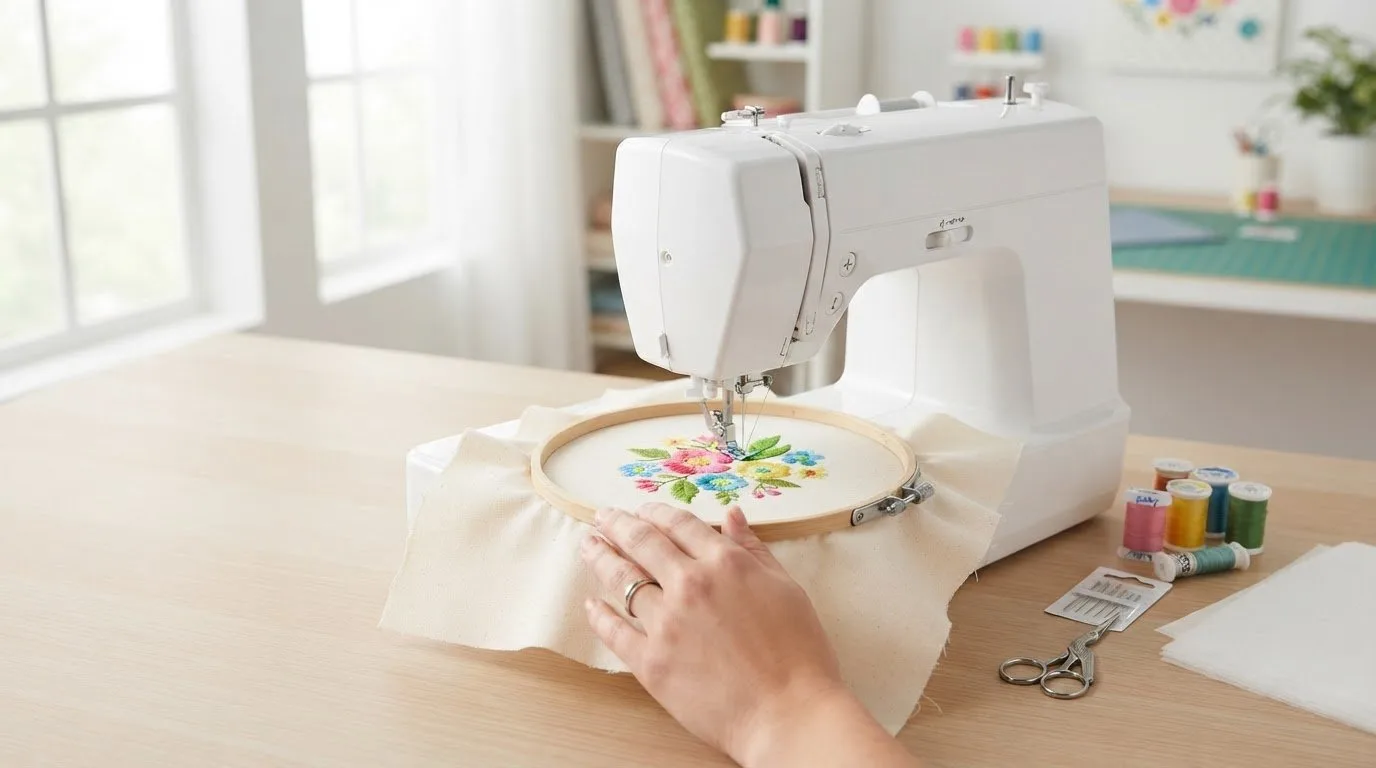
How to Use an Embroidery Machine: A Beginner's Guide
An embroidery machine stitches a selected design automatically, but you guide the work from setup to finish. Prepare the fabric, hoop, thread, and compatible design file, then let the machine stitch. Learning how to use an embroidery machine for beginners starts with understanding these parts and how they work together.
It’s normal to wonder which supplies you need and how to avoid puckering, uneven stitches, or thread breaks. This guide explains what an embroidery machine does, how beginner-friendly designs and stabilizers support a smoother start, and which basic tools help you practice. You’ll also learn what commonly causes stitching problems and how to recognize adjustments that can help.
Key Takeaways
- Compare embroidery-only and combination machines by how you plan to use them, and choose designs that suit your hoop and machine’s file format.
- Explore Embroidery n Sewing’s Sports Embroidery for themed digital designs to inspire your next project.
Table of Contents
What Does an Embroidery Machine Actually Do?
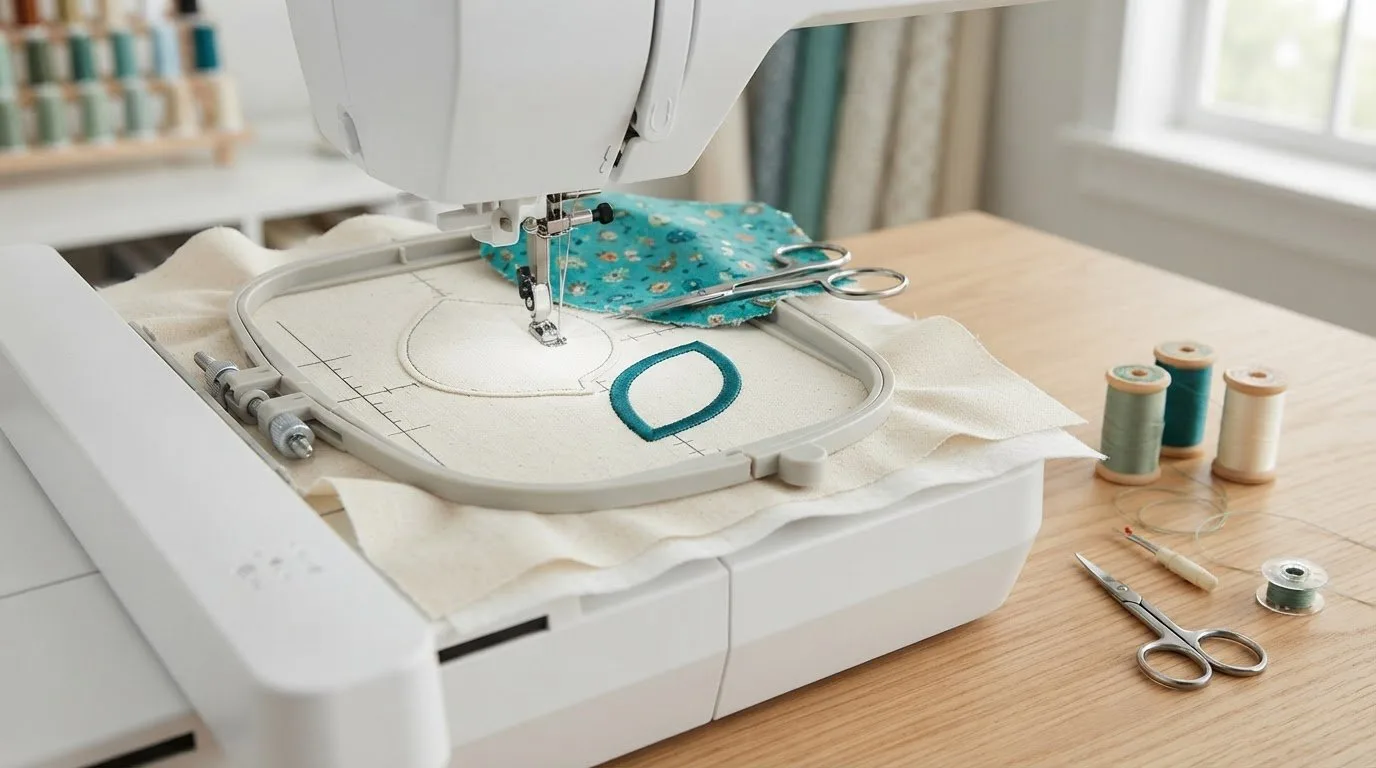
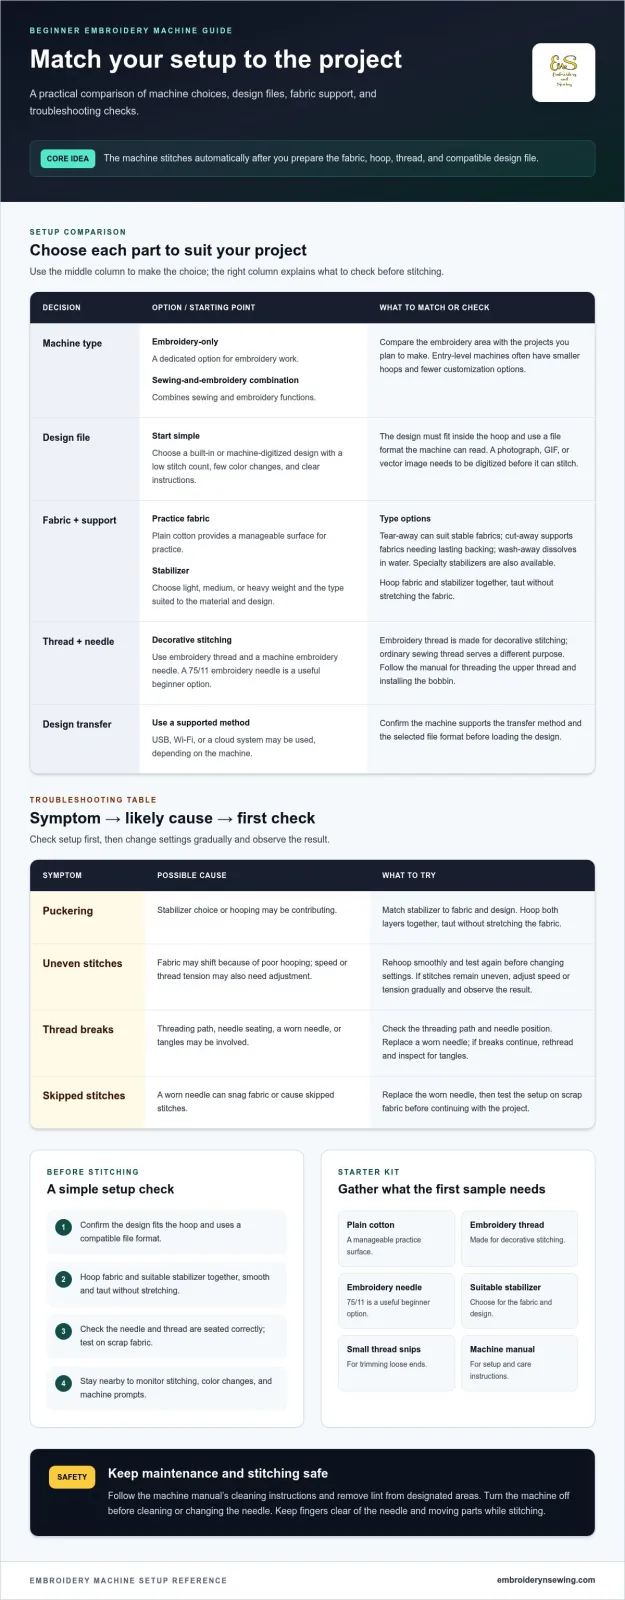
An embroidery machine stitches a selected design automatically once you prepare the fabric, hoop, thread, and file. For beginners learning how to use an embroidery machine, the main choice is between an embroidery-only model and a sewing-and-embroidery combination. Entry-level machines often have smaller hoops and fewer customization options, so compare the embroidery area with the projects you plan to make.
Start with a simple, machine-digitized design that fits the hoop and uses a compatible file format. A photograph, GIF, or vector image won’t stitch directly; it needs to be digitized for machine embroidery. Choose a pattern with a low stitch count, few color changes, and clear instructions. Built-in designs are another practical starting point. Plain cotton fabric provides a manageable surface for practice.
Match the stabilizer to the fabric and design. Stabilizers come in light, medium, and heavy weights, and four categories: cut-away, tear-away, wash-away, and specialty. Tear-away can suit stable fabrics, while cut-away supports fabrics that need lasting backing. Water-soluble stabilizer works when you want the backing to dissolve. Hoop the fabric and stabilizer together, keeping the fabric taut without stretching it.
Beginner machine and supply costs depend on the machine type, its features, and the supplies each project needs. To transfer a design, use a method your machine supports, such as USB, Wi-Fi, or a cloud system, and select a compatible file.
For maintenance, follow the machine manual’s cleaning instructions and remove lint from designated areas. Turn the machine off before cleaning or changing the needle. Keep your fingers clear of the needle and moving parts while stitching, and stay nearby to monitor color changes and machine prompts.
Troubleshooting puckering, uneven stitching, and thread breaks
Troubleshoot by matching each symptom to its likely cause. Puckering often points to the stabilizer or hooping. Hoop fabric and stabilizer together, holding both taut without stretching the fabric. Poor hooping can also cause uneven stitches by letting the fabric shift. Rehoop smoothly, then test the design again before changing other settings. If the stitches remain uneven, adjust the machine speed or thread tension gradually and observe the result.
Thread breaks may stem from the thread, needle, or setup. Check that the thread follows the machine’s threading path and that the needle is seated correctly. Replace a worn needle, which can snag fabric or cause skipped stitches. If breaks continue, rethread the machine and inspect the thread path for tangles. Use embroidery thread rather than regular sewing thread, since embroidery thread is made for decorative stitching.
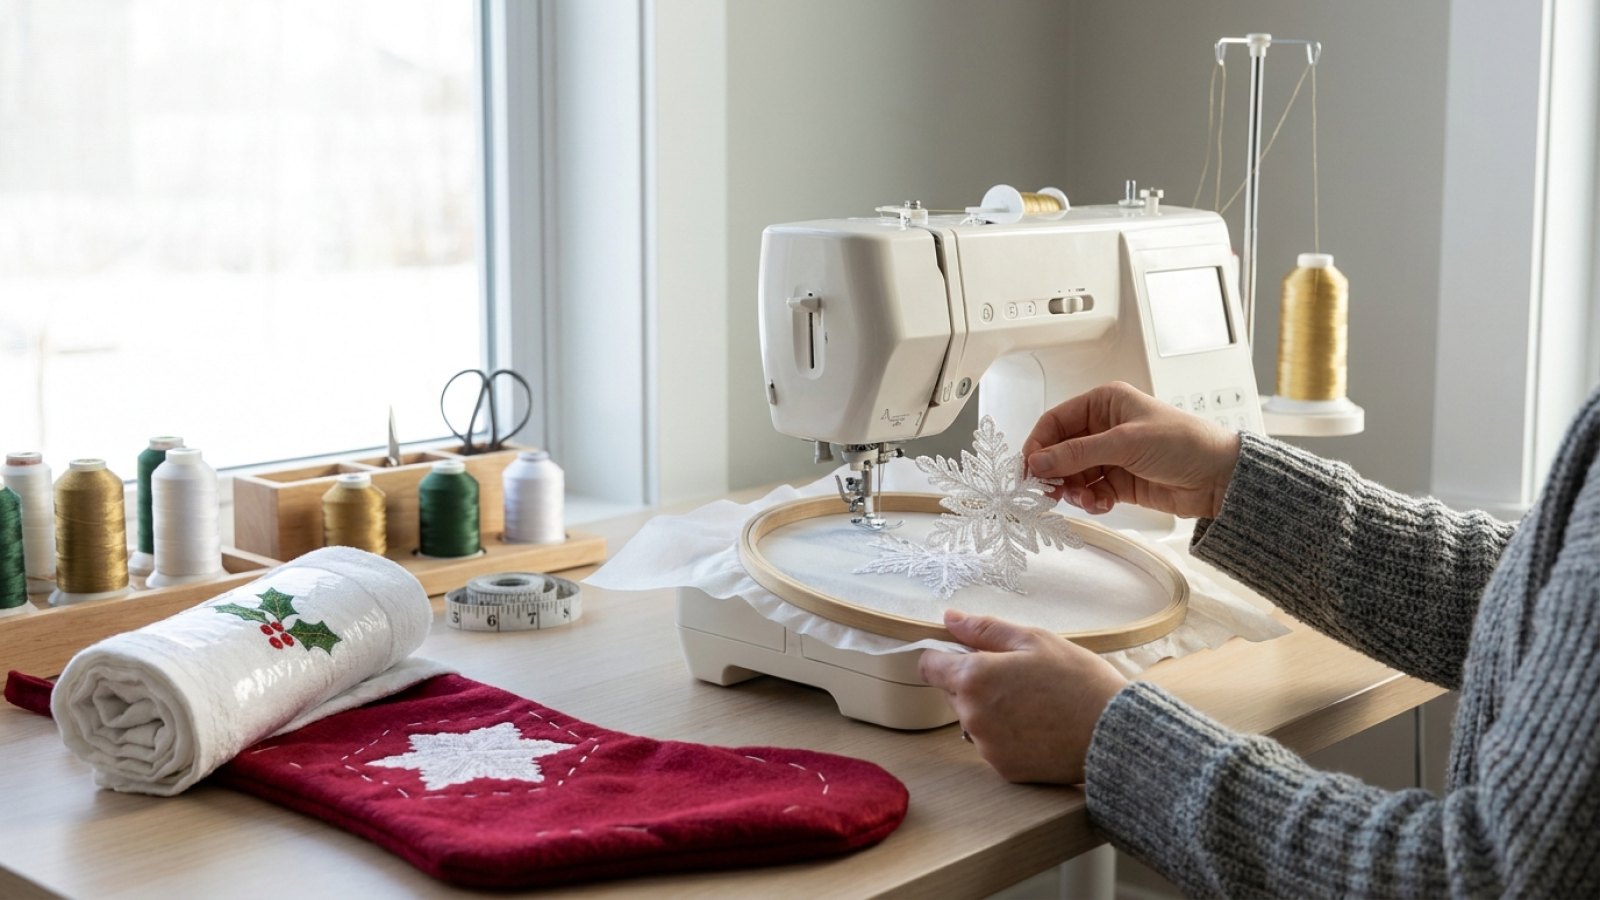
To set up and thread a home embroidery machine, follow the machine’s path for the upper thread and install the bobbin as directed in the manual. Attach the hoop, confirm the needle and thread are seated correctly, then test on scrap fabric before starting your project.
Choose thread to suit the project. Polyester thread works for many decorative designs, but avoid it on potholders and hot pads because extreme heat can shrink or melt it. Cotton thread is recommended for projects exposed to extreme heat. Stay nearby while stitching because the machine may prompt you when a color change is due. Pause, change to the indicated color, and resume as directed. For a practice pattern, browse machine embroidery designs that fit your project and machine.
Beginner embroidery tools and supplies
A focused starter kit makes practice easier to organize. Gather supplies for one project rather than buying every possible material. For a first sample, use plain cotton, embroidery thread, a machine embroidery needle, and stabilizer suited to the fabric. A 75/11 embroidery needle is a useful beginner option. Add small thread snips for trimming loose ends and keep the machine’s manual nearby for setup details.
Choose tools based on what each one does. Embroidery thread is made for decorative stitching, while ordinary sewing thread serves a different purpose. Stabilizer supports the fabric as stitches form, so choose its type and weight to suit the material and design. The hoop holds the project in place, and its size limits the design area. The design must fit inside the hoop and use a file format your machine can read.
Keep your first project simple. A small built-in pattern or low-stitch-count design lets you learn how your machine handles fabric, thread, and color changes. Before stitching, place a scrap of the project fabric beside the machine so you can test your setup without using the final item. Sort thread colors in stitching order, and keep each spool with its matching bobbin if your machine uses a separate bobbin thread.
After each practice run, note the fabric, stabilizer, needle, and thread used. Those details help identify what to adjust on your next sample, while browsing themed embroidery design categories can help you find an idea that fits a future project. Replace supplies based on the next project’s needs, not an oversized beginner checklist.
Embroidery n Sewing: Sports Embroidery
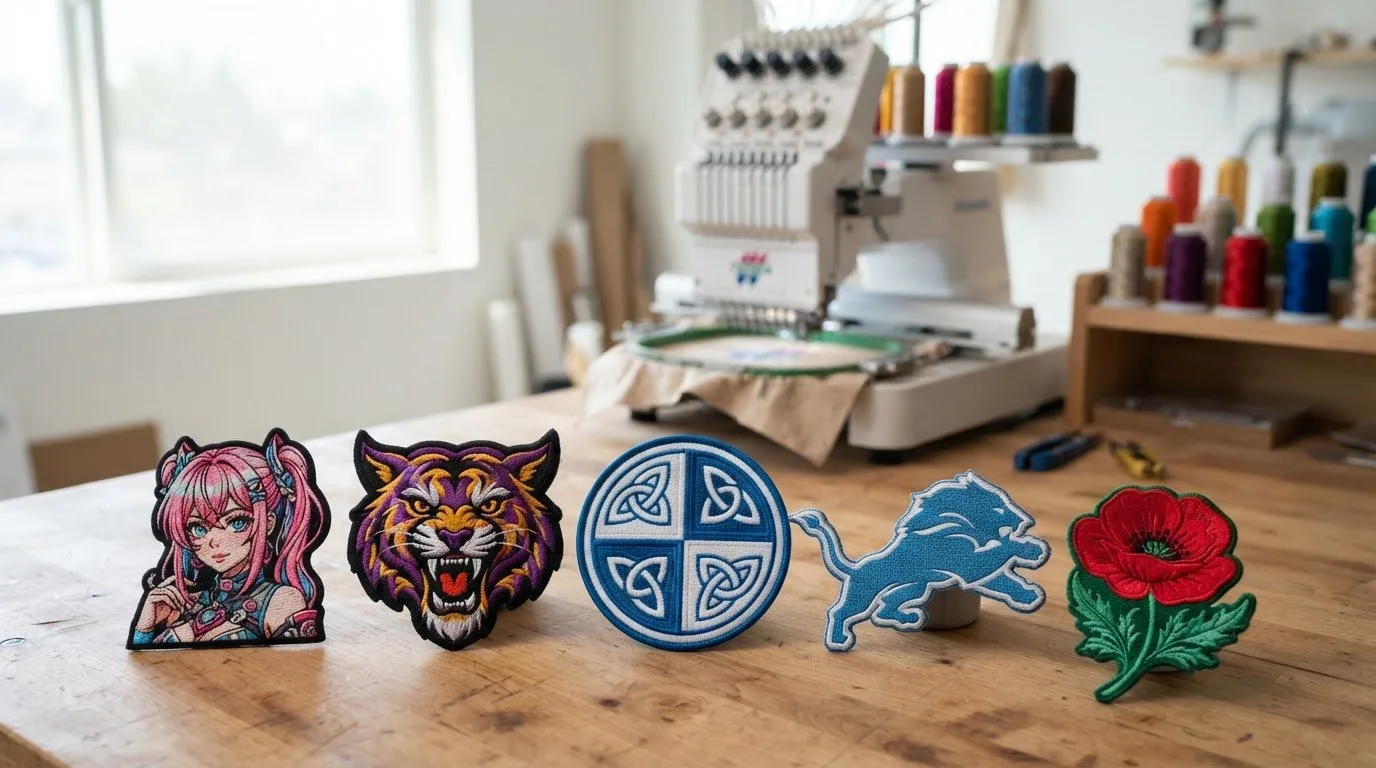
Embroidery n Sewing offers sports embroidery designs for crafters ready to choose a sports-themed pattern. Once you’ve learned the machine setup, move from practice stitches to a theme that fits your project. Options include Buffalo Bills Embroidery and Detroit Lions designs, giving fans team-inspired choices to explore. Choose a theme that suits the item you plan to embellish, then match the design to your machine and hoop before stitching.
Embroidery n Sewing also offers Best Embroidery Blogs for craft-focused reading and project inspiration. These resources and themed designs serve different needs: browse designs when you have a project idea, or explore the blogs for embroidery inspiration. To explore sports-themed options, visit embroiderynsewing.com.
Choose a Theme for Your Next Project
Your next embroidery project can be more than practice. Choose a subject you enjoy, then let its colors and shapes guide your fabric and thread choices. Learning how to use an embroidery machine as a beginner becomes more rewarding when the finished piece reflects your interests or makes a thoughtful gift.
For inspiration, explore Embroidery n Sewing’s digital embroidery designs, machine embroidery designs, and college embroidery designs. A specific theme can make a project feel personal, whether you’re creating something for a fan, a student, or yourself.
If you’d like help finding a design direction, contact Embroidery n Sewing. Pick a theme that excites you, and enjoy bringing it to life stitch by stitch.
Frequently Asked Questions
What supplies do beginners need to use an embroidery machine?
Start with a machine-compatible design file, fabric, hoop, needle, thread, and stabilizer suited to your project. Add a removable fabric marker for placement guides and scrap swatches for testing. A small storage box keeps needles, bobbins, and thread organized between projects. Before choosing a design, compare its stitch area with the hoop’s usable embroidery field.
How do you hoop fabric correctly for machine embroidery?
Choose a hoop that accommodates the entire design without putting its edge near a seam or bulky fold. Mark the project’s center and align it with the hoop’s center marks before securing the frame. Check the design’s on-screen position against those marks, then confirm the hoop is locked into the machine. This helps prevent misplaced stitching on pockets or cuffs.
How do you select stabilizer, needle, and thread for different fabrics?
Consider fabric stretch, thickness, and design density together. A stretchy knit needs support to limit movement, while a stable woven fabric may need less reinforcement. Match the needle to the fabric and thread, using the machine manual to check compatible choices. Test the full combination on a fabric offcut, then inspect both sides for loops or pulled fibers.
How do you prevent and troubleshoot thread breaks, puckering, and skipped stitches?
For skipped stitches, check that the needle suits the fabric and is seated correctly, then test with a fresh needle. If the thread breaks, inspect the bobbin area for a snag or a poorly seated bobbin before restarting. If lightweight fabric puckers, consider whether a dense design is pulling the material. A less dense pattern or sturdier fabric may improve the sample.