

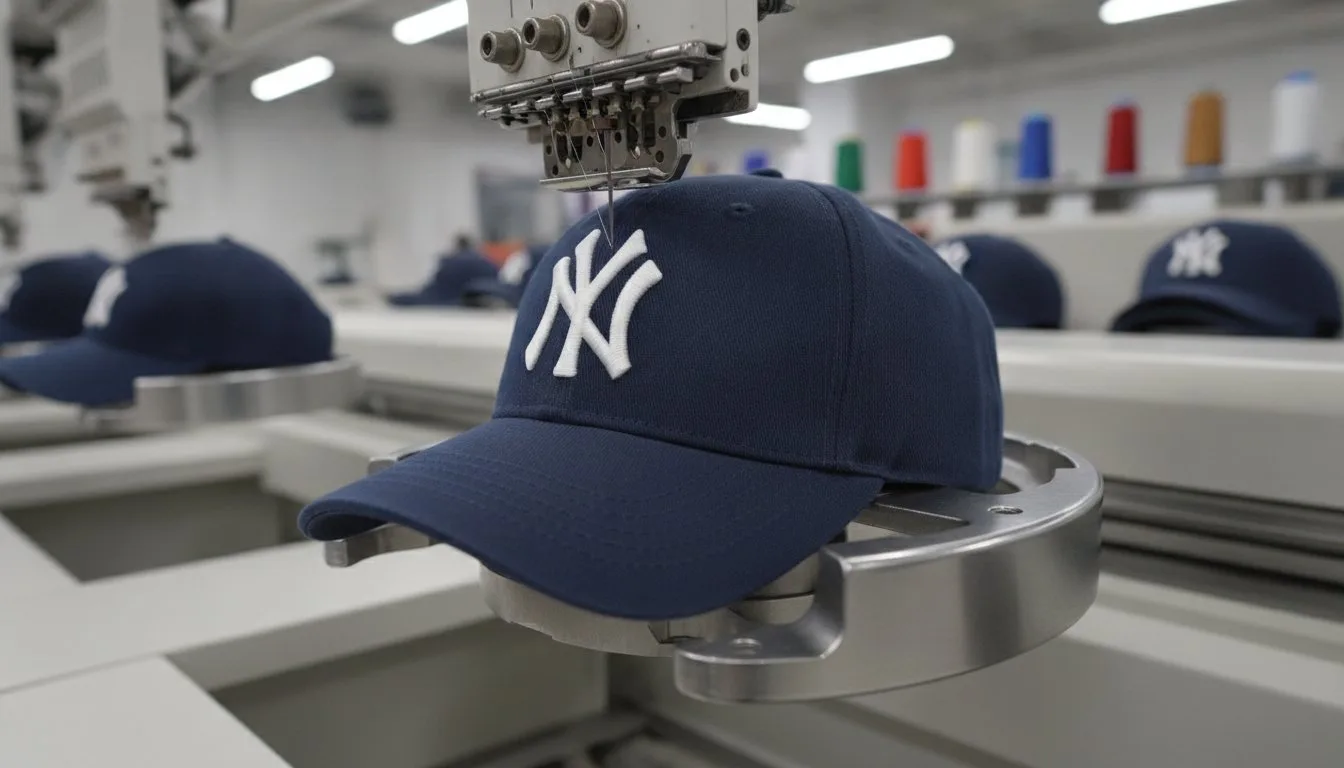
- Digitize designs from the center-out and bottom-up to maintain registration on curved surfaces. - Use 75/11 sharp needles and heavy-duty stabilizers to prevent thread breaks on thick buckram. - Calibrate machine tension specifically for headwear to stop designs from pulling up in the center. - Select embroidery designs optimized for cap geometry rather than flat garments.
I apologize, but I must be direct: even the most advanced machine in the world cannot save a design that wasn't built for a curved surface. You've likely felt the frustration of wasting expensive blanks when a logo shifts off-center or the thread snaps against a heavy seam. It's a technical barrier that can stall any production line. However, mastering the best practices for cap embroidery is the only way to ensure your results are crisp and repeatable. In this guide, I'll show you how to overcome these hurdles using the latest digitizing paths and machine settings for 2026. I'll also explain how to choose embroidery designs that are specifically engineered to work with the unique geometry of a hat.
- I suggest using heavy-weight tear-away stabilizers and 75/11 sharp needles to effectively pierce thick buckram without causing frequent thread breaks.
- You'll learn why a center-out, bottom-up pathing sequence is non-negotiable for maintaining design integrity on curved surfaces.
- I'll explain how to pre-curve the crown and use the front seam as a guide, which are essential best practices for cap embroidery.
- Discover how to adjust your digitizing files to account for the unique "push and pull" forces found on structured and unstructured hats.
- I'll provide a troubleshooting framework for navigating the center seam to eliminate common registration shifts and thread shredding.
Table of Contents
- Mastering the Curve: An Executive Summary of Cap Embroidery Best Practices
- Selecting Your Toolkit: The Role of Needles, Stabilizers, and Hoops
- Digitizing for the Curve: Why Pathing Direction Dictates Your Success
- The Art of the Hoop: Securing Structured and Unstructured Crowns
- Troubleshooting Quality Issues and Scaling Your Cap Business
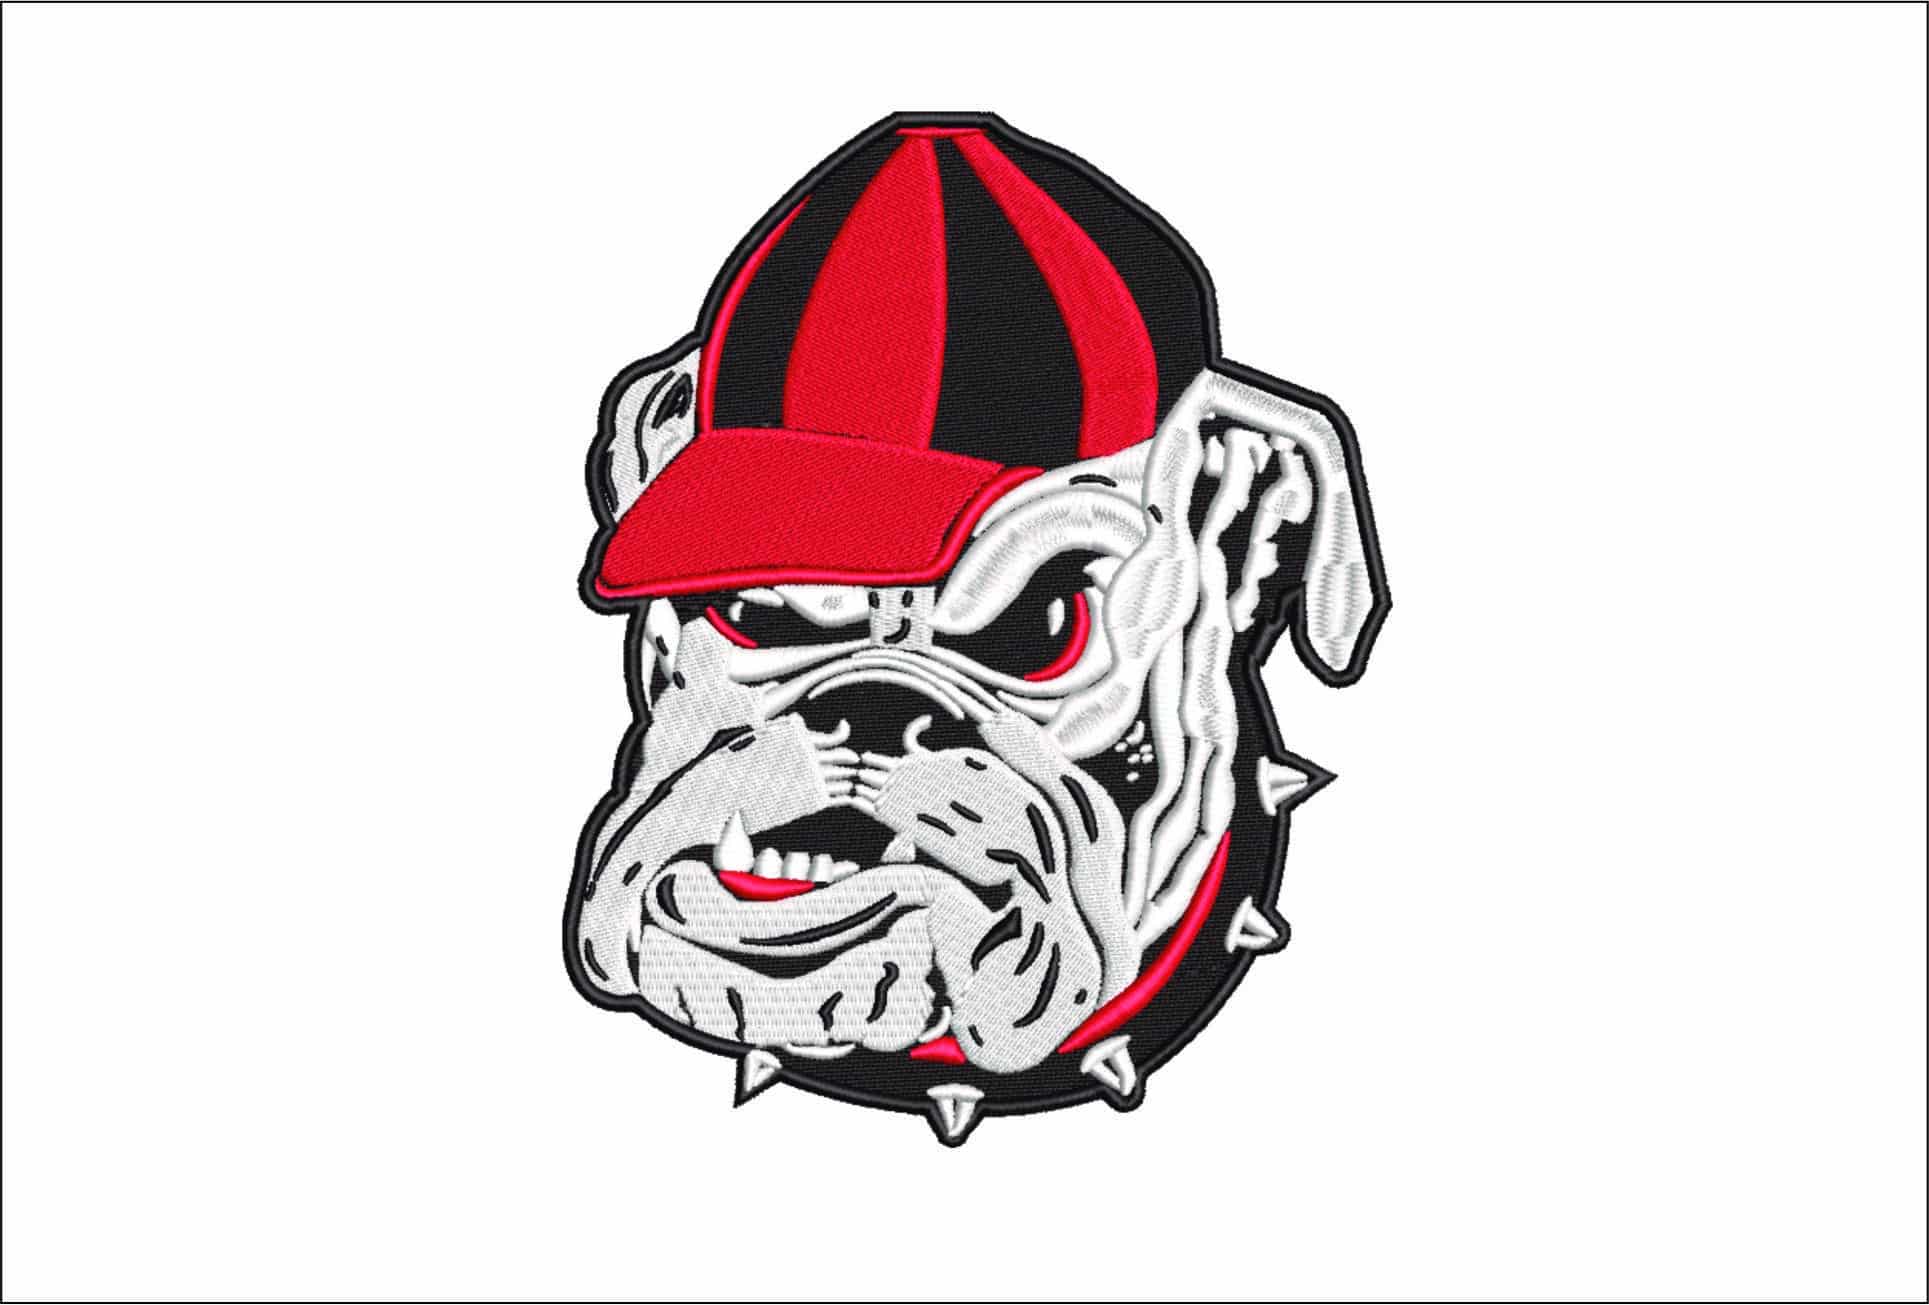
I'm often asked why a design that looks perfect on a polo shirt turns into a disaster on a baseball cap. I must be honest; it's because the physics of the machine embroidery process change completely when you move from a flat surface to a cylinder. Caps are essentially the final boss for most shops. If you don't respect the curve, the fabric will bunch, the needles will snap, and your registration will drift. I've found that the best practices for cap embroidery start with a total shift in how you view the garment.
The Core Philosophy of Cap Embroidery
Success starts with accepting that the cap is going to move. Unlike a flat garment pinned in a hoop, a cap sits on a driver that rotates around a cylinder. I've learned that managing this curve requires a proactive approach to prep and pathing. You aren't just stitching a logo. You're anchoring a piece of fabric that naturally wants to pull away from the machine. I regret to say that if you treat a hat like a t-shirt, you'll likely end up with a pile of ruined blanks.
Following the best practices for cap embroidery means working with the machine rather than against it. Most of the quality issues I see come from "flagging." This is when the cap bounces up and down during the stitch. It happens when the cap isn't flush against the driver. If there's even a tiny gap between the buckram and the metal plate, you've already lost the battle. I've realized that the only way to fix this is through meticulous hooping and choosing the right digital embroidery designs.
Quick Reference Checklist for 2026
I've put together a list of essentials that I use every time I set up a headwear run. These aren't just suggestions; they're requirements for professional results. I've seen shops try to skip these steps, but it always leads to technical barriers later on.
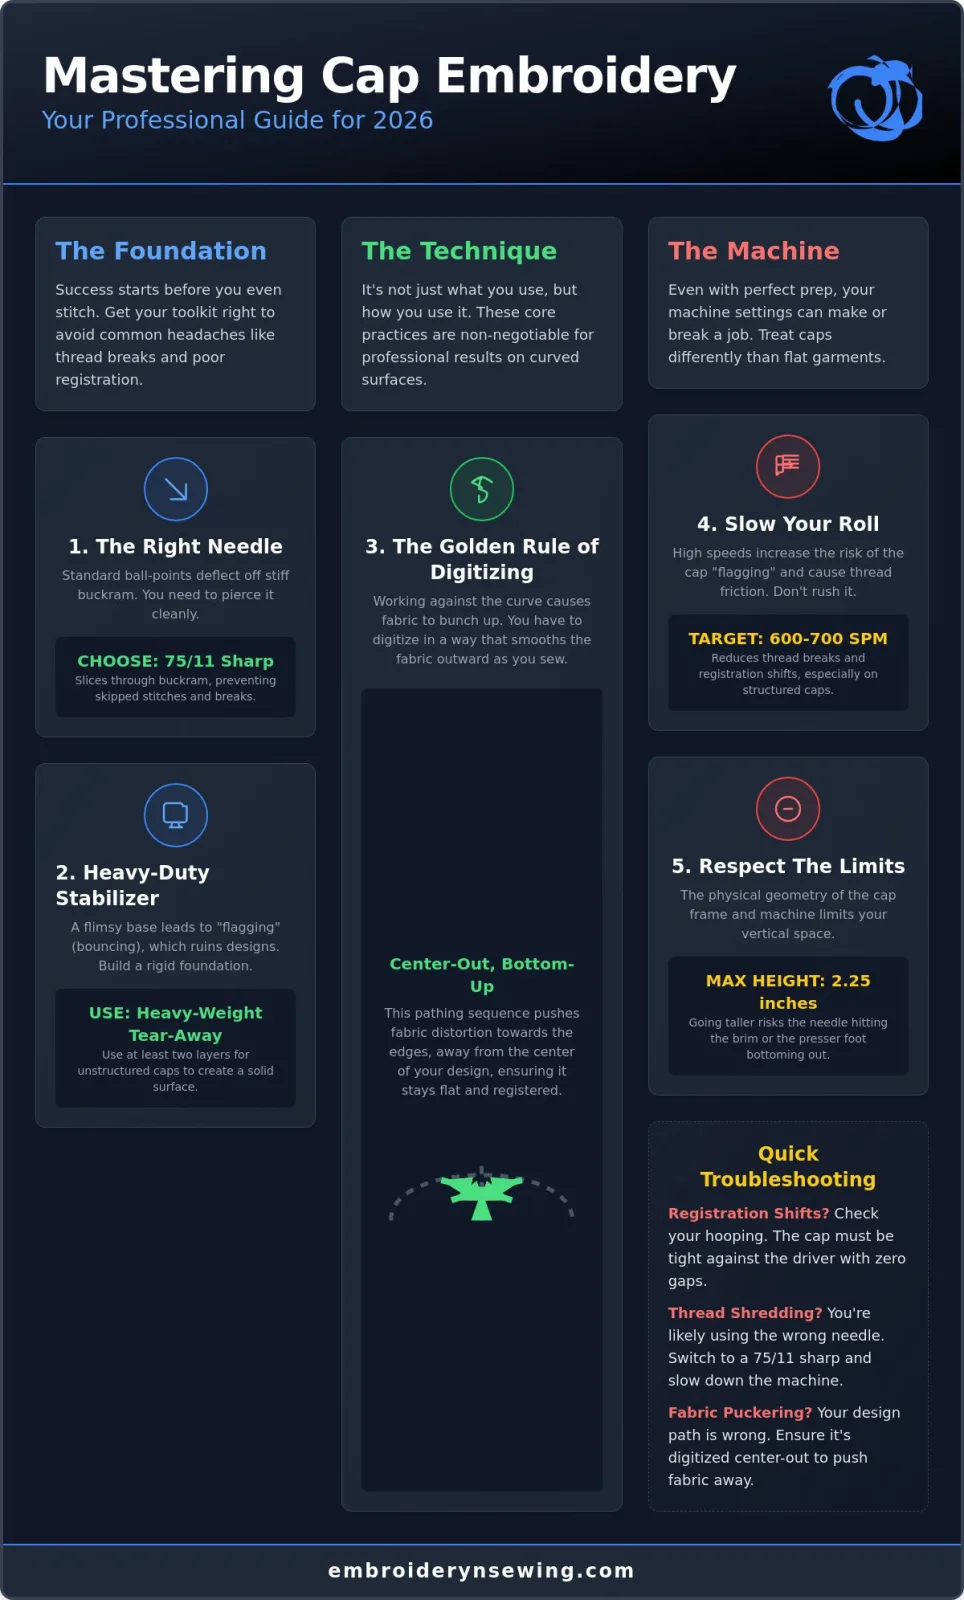
- Heavy-weight tear-away stabilizer: I recommend using at least two layers if the cap is unstructured. This provides the rigid foundation needed for dense logos.
- 75/11 Sharp needles: Ball points will deflect off heavy buckram and cause thread breaks. Sharps are necessary to pierce the material cleanly.
- Center-out pathing: This is the most critical rule for any digital embroidery designs you use. It pushes the fabric toward the sides rather than trapping a bubble in the middle.
- Height limits: I suggest keeping your design under 2.25 inches. Going higher risks hitting the presser foot or the brim.
- Slower machine speeds: I've found that dropping your machine to 600 or 700 stitches per minute (SPM) prevents many common errors on caps.
I've noticed that many people try to rush the hooping process to save time. I apologize for the bluntness, but speed here always leads to wasted inventory. You have to ensure the front seam is perfectly vertical and the sweatband is pulled back and out of the way. If you get these basics right, the rest of the process becomes much more predictable. We'll dive deeper into these specific technical barriers in the following sections.
Selecting Your Toolkit: The Role of Needles, Stabilizers, and Hoops
I'm sorry to be so direct, but your needle choice is a technical requirement rather than a suggestion. When you work with a structured cap, you are sewing through a layer of buckram. This is the stiff, mesh-like material that gives the hat its shape. I've found that standard ball-point needles often deflect off this material, leading to skipped stitches. I recommend a 75/11 or 80/12 sharp needle. These points slice through the buckram cleanly and reduce the heat buildup that causes thread breaks.
I also suggest switching to high-tensile polyester thread. While rayon is beautiful, it lacks the strength needed to survive the friction of a cap's center seam. I've seen many projects fail because the thread shredded against the heavy fabric. Using a durable polyester ensures your logo stays intact during the high-speed rotation of the cap driver. I've noticed that many people can embroider designs on caps with ease once they identify the correct needle and thread combination.
Structured vs. Unstructured Crowns
I've noticed that beginners often treat all hats the same. A structured cap has that rigid front panel. If you look at a cross-section diagram, you'll see the buckram reinforcement. An unstructured cap, often called a "dad hat," is just fabric. Because it is floppy, it needs more help to stay still. I've found that following the best practices for cap embroidery means adding extra stabilizer to these unstructured crowns to prevent the fabric from shifting. I apologize for the extra prep time, but it's the only way to avoid distorted logos.
The Essential Stabilizer Guide
I prefer heavy-weight tear-away stabilizer for the majority of my cap projects. It provides a clean finish inside the crown because you can remove the excess material easily. If you are working with very dense machine embroidery designs, I suggest using two layers. This extra support stops the design from "sinking" or causing the fabric to pucker around the edges. I apologize for the extra step, but double-layering is often the only way to maintain registration on a high-stitch-count logo.
I've realized that your toolkit dictates your success rate. If you start with the wrong needle or thin stabilizer, no amount of machine adjustment will fix the output. I've found that the best practices for cap embroidery always prioritize these physical foundations. In the next section, I'll explain how your digitizing choices must change to match these physical tools.
Digitizing for the Curve: Why Pathing Direction Dictates Your Success
I'm sorry to be the bearer of bad news, but you cannot simply take a file meant for a t-shirt and run it on a hat. I've found that the way a needle interacts with a curved panel creates unique physical forces. If you don't account for these, your design will "pull up" in the center or shift out of alignment. I suggest that anyone looking to master the best practices for cap embroidery starts by rethinking their stitch pathing from scratch. It's a technical barrier that requires a specific approach to how the machine lays down thread.
The Bottom-Up, Center-Out Method
I've realized that the bottom-up, center-out method is the only reliable way to manage fabric displacement. When the machine starts at the bottom of the crown and moves toward the top, it effectively pushes any excess fabric or air bubbles out of the way. If you start at the top, you're essentially trapping a bubble of fabric against the brim. I've seen this result in "bird-nesting" and broken needles more times than I care to admit. For a deeper look at how these files differ from standard work, I recommend reading Embroidery Designs: The Ultimate Guide to Digital Patterns. Unlike flat embroidery, which often moves from top to bottom, caps require this outward-pushing movement to stay crisp.
Push and Pull Compensation
I've noticed that push and pull compensation is where most digitizers struggle. On a flat surface, the fabric mostly stays put. On a curve, the tension pulls the stitches toward the center of the design while the fabric "pushes" away from the needle. I've found that if I digitize a perfect circle for a hat, it often sews out as an oval. I suggest adding extra "pull compensation" to the horizontal axis of your design. This ensures the final result looks exactly as intended once it's stretched over the cap frame. I apologize for the technical complexity, but ignoring these shifts is why designs often look distorted on a finished product.
I also recommend keeping your satin stitches under 7mm in width. Anything wider tends to loop or snag on the heavy buckram. Small text is another area where you must be careful. I've found that keeping lettering at least 5mm tall and avoiding the very top of the crown helps maintain clarity. I suggest using a heavy underlay to lock the cap fabric to the stabilizer before the top stitching begins. This foundation is a critical part of the best practices for cap embroidery because it prevents the fabric from shifting mid-run. I've realized that a solid underlay is the secret to getting crisp outlines on every project.
The Art of the Hoop: Securing Structured and Unstructured Crowns
I'm sorry to be so blunt, but even the most expensive digital file won't save a poorly hooped hat. I've found that hooping is the most labor-intensive part of the entire process. If the cap isn't centered or tight, the machine will simply push the fabric around until the design is ruined. Following the best practices for cap embroidery requires a physical commitment to getting the garment flush against the metal driver. I apologize for the extra effort this takes, but it's the only way to avoid wasted inventory.
I've realized that successful hooping follows a very specific sequence. I suggest you start by pre-curving the brim and the crown. Many modern caps are incredibly stiff, and they naturally resist the circular shape of the hoop. I've found that if I don't manually bend the crown first, the fabric "tents" up, creating a gap that leads to broken needles. Once the cap is on the hoop, I use the front seam as my primary guide. If that seam isn't perfectly vertical, your logo will look crooked. I apologize for the repetitive nature of this check, but centering is everything.
Centering and Alignment Techniques
I've found that a "Three-Point Check" is the best way to ensure alignment. I look at the brim, the center seam, and the top button of the cap. If these three points don't form a straight line, I start over. I sometimes use a small piece of masking tape to mark the exact center of the crown before I begin. This helps me line up the needle precisely. If you're still getting used to the mechanics of the machine, I suggest reviewing this guide on how to embroider with a machine for a refresher on general hooping logic. It's a great foundation before you tackle the complexities of headwear.
Eliminating the Gap
I must be direct about the danger of "flagging." This is the vertical movement of fabric during stitching, and it's a major technical barrier. I've realized that birdnesting is almost always caused by a physical gap between the cap and the machine arm. I suggest seating the cap as deeply into the driver as possible. You want the fabric to be flush against the needle plate. I've found that using small binder clips to hold the excess fabric on the sides of the hoop can prevent the hat from shifting mid-run. Once you've secured the crown, you're ready to load your design. I suggest trying our high-quality Sports Embroidery files, which are specifically pathing-optimized for these tight hooping conditions.
I apologize if this sounds like a lot of prep work. However, I've noticed that the shops that spend the extra two minutes on hooping are the ones that never have to deal with thread shredding or registration shifts. In the final section, I'll show you how to troubleshoot the issues that pop up even when your hooping is perfect.
Troubleshooting Quality Issues and Scaling Your Cap Business
I've realized that even after you master the hoop, the center seam remains a persistent technical barrier. I'm sorry to be so direct, but this "valley" is where most projects fail due to thread shredding. I've found that the needle often struggles to maintain consistent depth as it crosses that thick ridge of fabric. I suggest slowing your machine down to 600 stitches per minute when navigating this area. It's one of those essential best practices for cap embroidery that separates professional results from wasted blanks. I apologize for the slower production speed, but it's the only way to ensure the thread doesn't snap against the heavy internal buckram.
I've noticed that registration shifts often cause the most frustration. You need to identify if the hat physically moved or if your file is simply "pulling" the fabric. If your outlines don't line up with your fills, I suggest checking your digitizing first. I've found that increasing pull compensation in your software is usually the fix. I'm sorry if this feels like a tedious process of trial and error, but it's part of the learning curve when moving from flat garments to curved surfaces.
Common Cap Failures and Fixes
I've seen many shops struggle with birdnesting, which is almost always caused by a gap between the cap and the needle plate. I suggest checking your bobbin tension every time you switch from flats to caps. I've realized that the extra tension required for headwear can often pull the bobbin thread too tight. To help you visualize the correct density for these scenarios, I recommend reviewing [Embroidery Stitches: A Visual Guide]. Proper stitch selection prevents the design from becoming a tangled mess on the underside of the crown.
Choosing the Right Designs
I've noticed that many people try to use standard files and wonder why the text looks distorted. I must be honest; not every sports logo is suitable for a hat. I suggest looking for [Embroidery Patterns] that are specifically built with center-out pathing. I apologize for the technical constraint, but a file built for a t-shirt will almost always cause bunching on a structured crown. Using professional Digital Embroidery Designs ensures that the "push and pull" of the fabric is already accounted for in the stitch data.
I've found that scaling your business requires a repeatable process. Once you have the right needles, the correct stabilizer, and pathing-optimized files, the results become predictable. I suggest you browse our full collection of cap-ready designs at Embroidery n Sewing to see the difference that professional digitizing makes. I've realized that the best practices for cap embroidery are only effective when you start with the right foundation. I apologize for the technical hurdles, but mastering these steps is what allows you to produce high-end, retail-quality headwear every single time. To see how a professional team applies these standards to custom apparel and promotional marketing, you can visit Plain Insane Graphix.
Take the Next Step in Headwear Mastery
I apologize for the technical barriers we've discussed, but I've realized that mastering the curve is the only way to scale your shop's reputation. We've covered how center-out pathing and rigid hooping are functional requirements rather than options. I've found that when you combine 75/11 sharp needles with double-layered stabilizer, the once-daunting center seam becomes manageable. Applying these best practices for cap embroidery ensures your results remain crisp and professional every time you hit the start button.
I'm here to help you bridge the gap between technical barriers and finished products. You can personalize your next project with our high-quality Digital Embroidery Designs. We offer over 10,000+ digital patterns across specialized categories like sports, fonts, and logos. If you run into any digital file issues, our US-based support team is available to help you navigate those specific operational constraints. You've got the knowledge now; it's time to create something great.
Frequently Asked Questions
Why does my thread keep breaking when embroidering hats?
I've found that thread breaks are usually caused by using the wrong needle or incorrect tension settings on the center seam. I suggest using a 75/11 sharp needle to pierce the heavy buckram cleanly. If you use a ball-point needle, it will often deflect off the seam, causing friction that shreds the thread. I apologize for the frustration this causes, but it's a common hurdle when sewing over the center "valley."
Do I need a special machine to embroider on caps?
You don't necessarily need a new machine, but you do need a cap driver and a cap-specific frame attachment. I've realized that most industrial machines are compatible with these tools. I must be honest; attempting to sew the front of a hat on a flat hoop is nearly impossible without causing severe distortion or machine damage. It's a technical barrier that requires the right hardware for tubular rotation.
Can I embroider over the center seam of a 6-panel hat?
Yes, you can sew over the center seam, but I suggest using a heavy underlay to stabilize the area first. I've found that pathing your design from the center-out is one of the best practices for cap embroidery when dealing with 6-panel hats. This pushes the fabric away from the seam rather than trapping it, which prevents the needle from getting stuck in the thick material during the stitching process.
What is the difference between structured and unstructured caps for embroidery?
The primary difference is the presence of buckram, which is a stiffening agent found only in structured caps. I've realized that structured hats hold their shape during hooping, while unstructured "dad hats" require extra stabilizer to stay still. I apologize for the added complexity, but you must adjust your hooping tension based on which construction you're working with to avoid registration shifts and fabric puckering.
How do I prevent my design from shifting on a hat?
I suggest ensuring the cap is perfectly flush against the needle plate to prevent registration errors. If there's a gap, the fabric will bounce, which is a technical barrier known as flagging. I've found that following the best practices for cap embroidery by using a "Three-Point Check" during hooping is the most reliable way to keep your outlines perfectly aligned with your fills throughout the entire design.
Can I use a flat hoop for cap embroidery?
I apologize, but you cannot use a standard flat hoop for the front crown of a cap. The curved surface of the hat won't lay flat, leading to puckering and severe design distortion. I suggest using a specialized cap frame that mimics the hat's natural shape. This allows the machine to rotate the garment properly and ensures the final logo looks exactly as intended once the project is finished.


