

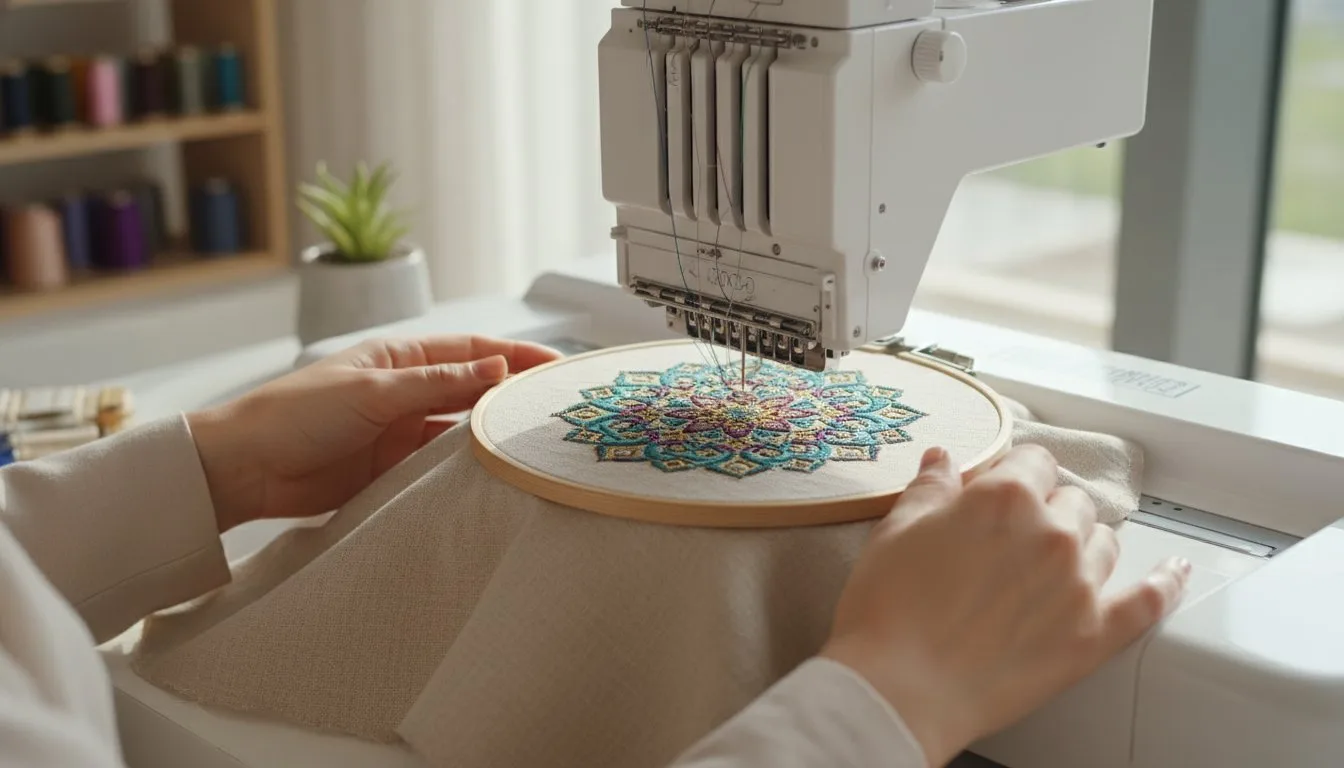
Have you ever wanted to add a personal touch to clothing, create a one-of-a-kind gift, or bring your creative ideas to life with thread? Custom embroidery allows you to do just that, and it's more accessible than ever. This guide will teach you how to create personalized embroidered items with your own machine, from choosing the right digital designs to making that final, perfect stitch. [
What is Custom Embroidery? (And How to Do It Yourself)](https://embroiderynsewing.com/articles)
For the home hobbyist, custom embroidery is the art of using an embroidery machine to stitch a specific design, logo, or text onto fabric. But there's a key distinction to understand. Many companies offer custom embroidery as a service where you send them a design and they ship you a finished product. We're talking about something different and far more rewarding: doing it yourself at home.
DIY custom embroidery puts you in control. It's a cost-effective way to personalize everything from baby onesies and monogrammed towels to hats with your favorite team's logo. The sense of accomplishment from creating a beautiful, tangible item yourself is something you can't buy.
### What You Need to Get Started with Custom Embroidery
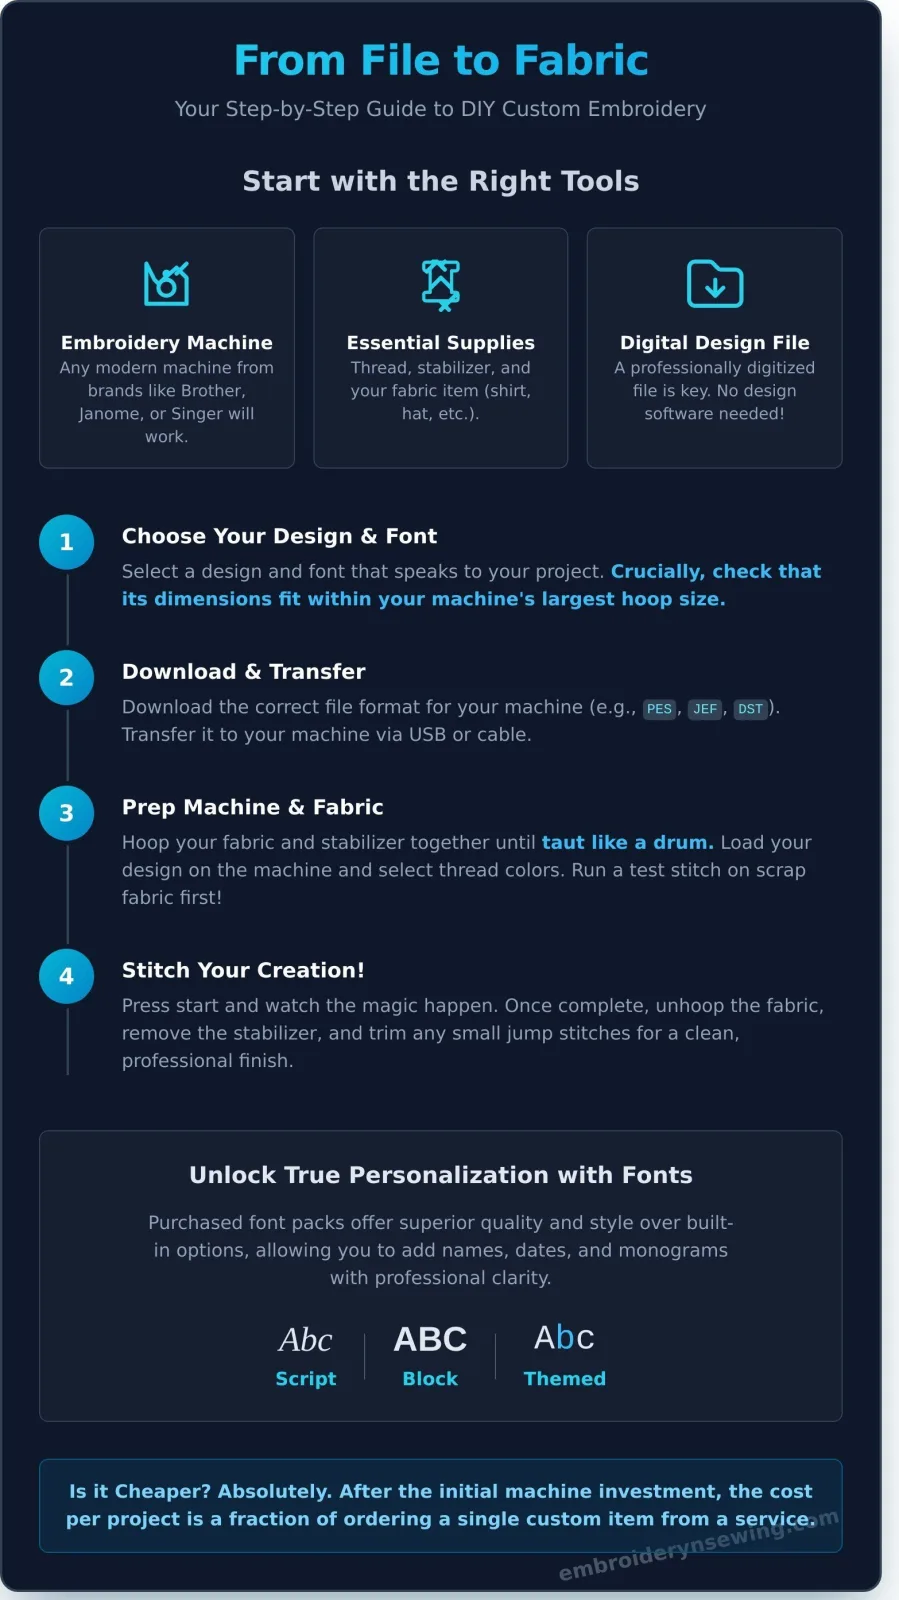
Getting started is simpler than you might think. You don't need a factory's worth of equipment, just a few key items:
- An embroidery machine: Whether you have a Brother, Janome, Singer, or another brand, any modern embroidery machine will work.
- Essential supplies: You'll need embroidery thread in various colors, stabilizer (a material that supports the fabric during stitching), and of course, the item you want to embroider (fabric, a shirt, a hat, etc.).
- The key ingredient: a digital embroidery design file. This is the most important part! You don't need to be a graphic designer or artist. You simply need a professionally made digital file that tells your machine exactly what to stitch.
The Magic of Digital Embroidery Designs
Digital embroidery designs are ready-to-use files, expertly crafted by professionals in a process called digitizing. This ensures every stitch, line, and color is perfectly mapped out for a flawless result. Instead of starting from scratch, you can explore thousands of incredible options, from intricate floral patterns and sports logos to popular cartoon characters. This is where the real fun begins. Browse our library of thousands of digital designs to see what's possible.
A Step-by-Step Guide to Your First Custom Project
Ready to try it out? Follow these simple steps for a fantastic result on your very first project. This basic process works for almost any item you want to personalize.
Step 1: Choose Your Perfect Design and Font
First, think about your project. Is it a gift for a friend? A new shirt for your child? This will guide your design choice. Select a main design that speaks to you, whether it's a cool logo or a beautiful flower. If you want to add a name, date, or monogram, you'll also need to select an embroidery font. Finally, make sure the design's dimensions will fit within your machine's largest embroidery hoop.
Step 2: Download and Transfer the File
Once you've purchased your design, it's time to get it to your machine. Our designs are available in all major machine formats, like PES for Brother, JEF for Janome, and DST for Tajima. Simply download the correct file type for your specific machine brand. Then, transfer the file from your computer to your embroidery machine, usually with a USB stick or a direct cable connection.
Step 3: Prep Your Machine and Fabric
Proper preparation is the key to a professional-looking result. Securely place your fabric and a piece of stabilizer into your embroidery hoop, making sure it's taut like a drum. Load the design file onto your embroidery machine's screen and select the thread colors you want to use. It's always a good idea to do a quick test stitch on a scrap piece of the same fabric to ensure your settings are correct.
Step 4: Stitch Your Custom Creation!
This is the exciting part! Press the start button and watch as your machine brings the digital design to life in thread. Keep an eye on the machine as it works to make sure there are no thread breaks or snags. Once the stitching is complete, carefully remove the hoop from the machine, take out your fabric, and trim any small "jump stitches" between letters or design elements. Congratulations, you've just made a custom embroidered item! Ready to start? Find your first project design here.
Unlocking True Personalization with Embroidery Fonts
While a great design is wonderful, fonts are the key to making a project truly personal. Embroidery fonts allow you to add names, special dates, meaningful quotes, and classic monograms to any item. Unlike the fonts on your computer, these are special stitch files where each letter has been digitized for perfect clarity. Combining a beautiful design with custom text is the ultimate way to create a unique piece.
Popular Font Styles for Custom Projects
- Script fonts: Perfect for creating elegant monograms on towels or adding a name to a wedding gift.
- Block fonts: Great for making bold statements on the back of jackets or personalizing sports gear.
- Themed fonts: Fun, playful fonts that are perfect for children's clothing, holiday stockings, and more.
Why Buy Font Packs vs. Using Built-in Fonts?
Most machines come with a few basic built-in fonts, but purchasing font packs opens up a world of creativity. You gain access to a much wider variety of styles and sizes that are professionally digitized for clean, crisp lettering that built-in fonts often can't match. A purchased font pack gives you the entire alphabet, numbers, and punctuation in one convenient package, ready for any project you can dream up. Elevate your text with our premium embroidery fonts and see the difference it makes.
Frequently Asked Questions
Do I need special software for custom embroidery?
No! You don't need any design or digitizing software to get started. All you need is an embroidery machine and a high-quality digital embroidery file in the correct format for your machine.
Can I turn any picture into an embroidery design?
Not automatically. Turning a standard image (like a JPG or PNG) into a stitchable file requires a complex process called digitizing, which is done by professionals using specialized software. This is what ensures the final stitched design looks great. We handle that part for you!
What file format does my embroidery machine use?
It depends on the brand. The most common formats are PES (Brother/Babylock), JEF (Janome), EXP (Melco/Bernina), and DST (Tajima/many commercial machines). We provide our designs in all major formats so you're always covered.
How do I know what size design my machine can handle?
Your machine's capabilities are determined by its maximum hoop size (e.g., 4x4 inches, 5x7 inches). Always check your machine's manual to confirm your hoop sizes, and make sure any design you buy will fit within that area.
Is it cheaper to make my own embroidered shirts?
Absolutely. While there is an initial investment in the embroidery machine, the cost per project is significantly lower. A digital design file can be used over and over again and costs a fraction of ordering a single custom-embroidered shirt from a service.
Creating custom embroidered items at home is a fun, rewarding hobby that allows you to add a unique and personal touch to almost anything. With the right digital designs and a little practice, you'll be amazing yourself and others with your beautiful creations. Start your custom project today! Explore thousands of designs.


