

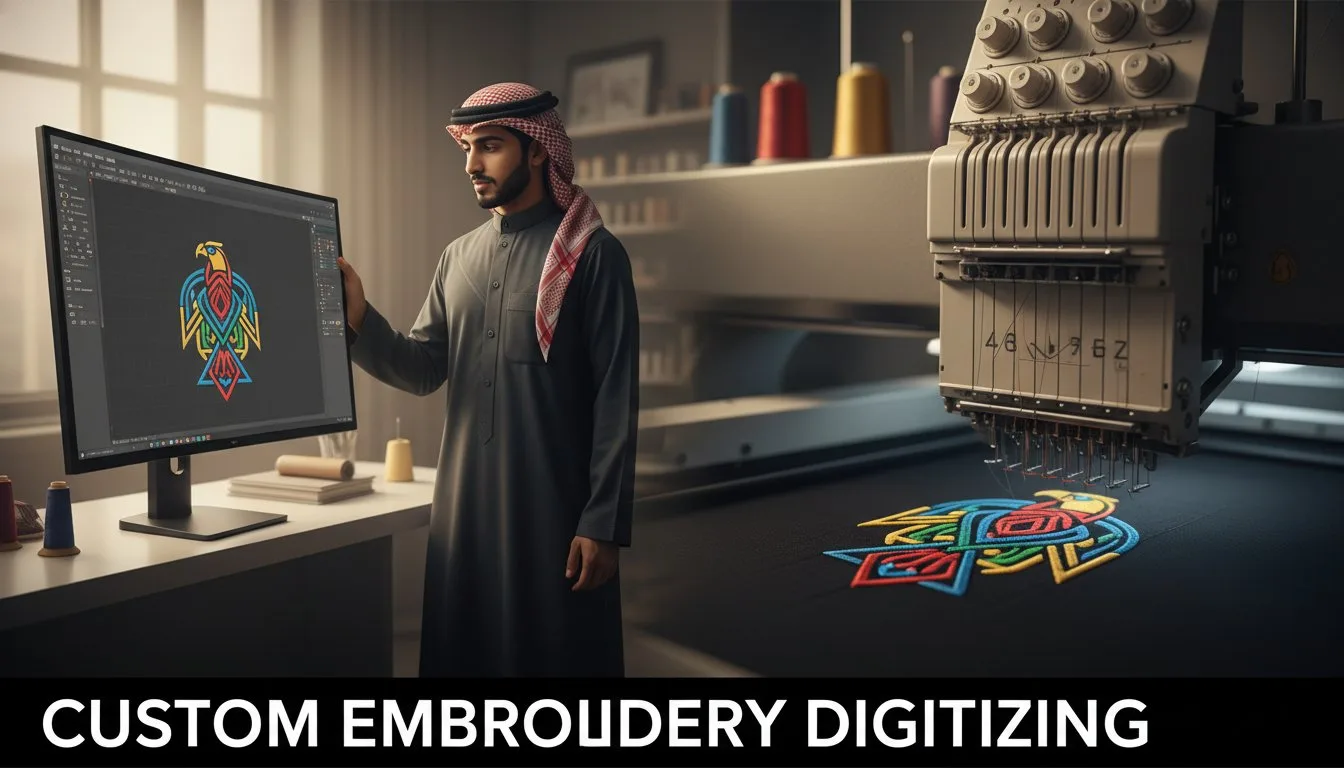
You have the perfect logo, a brilliant piece of artwork, or a unique design ready to go. But it's a JPG, a PNG, or some other flat image file. How do you transform that digital design into a textured, high-quality embroidered masterpiece? If you've ever been disappointed by the messy results of "free" auto-digitizing software, you've already discovered the need for a professional custom embroidery digitizing service. This crucial, human-powered process is the only way to ensure your vision is translated perfectly into a precise, stitch-by-stitch language that embroidery machines can understand.
But what exactly is digitizing, and how do you navigate this world without overpaying or ending up with a poor-quality file? In this ultimate guide, we pull back the curtain. We’ll walk you through everything from understanding file types and stitch density to choosing a reliable partner. By the end, you’ll be an informed customer, ready to confidently turn any image into a flawless, stitch-ready file that brings your creative vision to life.
This challenge applies to any business that values its visual identity, from a local coffee shop to a specialized e-commerce brand like Aggwings, which might want its logo on team gear or promotional items.
## What is Custom Embroidery Digitizing? (And Why You Need It)
At its core, embroidery digitizing is the process of converting a standard graphic file-like a JPG, PNG, or vector art-into a special stitch file that an embroidery machine can read and execute. Think of it less as a simple file conversion and more as a detailed translation. Your embroidery machine doesn't see colors and shapes; it only understands commands for needle points, stitch types, and thread trims. This process is the foundational step for all modern computerized machine embroidery, turning digital art into tangible, textured designs. That’s where a professional custom embroidery digitizing service becomes essential.
From Pixels to Stitches: The Core Concept Explained
Imagine you're creating a detailed map for a needle to follow. That’s exactly what a digitizer does. Using specialized software, a skilled technician manually plots the path for every single stitch in your design. They decide the stitch direction, density, and which type of stitch to use for different elements. Key stitch types include:
- Satin Stitch: Used for borders, lettering, and crisp outlines. - Fill Stitch: Used to color in large areas of a design.
- Running Stitch: Used for fine details and outlining before other stitches are laid down.
The Problem with Auto-Digitizing Tools
While free or cheap auto-digitizing software may seem tempting, it almost always produces poor results. These programs lack the human intelligence to account for crucial variables like fabric type, thread tension, and push-pull compensation. The outcome is often a messy, unprofessional design with tangled threads, awkward gaps, and puckered fabric. An automatically generated file simply cannot replicate the thoughtful artistry of a human digitizer.
Key Benefits of a Professional Digitizing Service
Investing in a professional custom embroidery digitizing service is the single most important step toward a flawless final product. By bypassing automated tools and relying on an expert, you gain several critical advantages:
- Achieve Professional Quality: A skilled digitizer ensures your logo or design is clean, sharp, and accurately represents your brand.
- Save Time and Materials: A properly digitized file stitches out correctly the first time, preventing wasted thread, ruined garments, and frustrating machine time.
- Gain Expert Advice: Professionals can recommend adjustments to your design to ensure it embroiders perfectly on specific items, from a delicate polo shirt to a structured hat.
How the Digitizing Process Works: A Look Behind the Scenes
Transforming a digital image into a beautiful, stitched design is a process that blends artistic skill with technical precision. It’s more than just converting a file; it’s about reinterpreting artwork for the unique medium of thread and fabric. When you partner with a custom embroidery digitizing service, the workflow typically moves from your initial quote request and artwork submission to the final delivery of a machine-ready stitch file.
Preparing Your Artwork for Digitizing
The quality of the final embroidery starts with the quality of your source file. To ensure an accurate and clean result, it’s crucial to provide the best possible artwork. Here’s what digitizers need from you:
- High-Resolution Files: Vector files (like AI, EPS, or SVG) are the gold standard because they can be scaled without losing quality. If you only have a raster image (like a JPG or PNG), make sure it is high-resolution (300 DPI is recommended).
- Design Simplification: Extremely fine details or tiny text may not translate well to thread, especially on small items like a left-chest logo. Consider simplifying complex elements for better clarity.
- Key Specifications: Always specify the final size you want the design to be and the type of fabric it will be stitched on (e.g., a stretchy polo shirt, a structured hat, or a fleece jacket). This information dictates crucial digitizing settings.
The Digitizer's Craft: Key Steps and Techniques
While modern software is the tool, the digitizer's skill is rooted in a long tradition of embroidery, translating a flat image into a textured, three-dimensional object. They don't just trace your design; they rebuild it stitch by stitch, considering several critical factors:
- Pathing: This is the "road map" for the embroidery machine's needle. A skilled digitizer plans the most efficient path to minimize trims and jump stitches, resulting in a cleaner, faster-stitching design.
- Underlay: Before the main stitches are laid down, an underlay of foundation stitches is created. This stabilizes the fabric, prevents puckering, and gives the top stitches a smooth surface to lie on.
- Stitch Density: The digitizer adjusts the number of stitches in a given area based on the fabric. A delicate knit requires a lower density to prevent holes, while a sturdy twill cap can handle higher density for bold coverage.
- Pull Compensation: Thread tension naturally pulls the fabric inward as it stitches. Digitizers compensate for this "pull effect" by making shapes slightly wider than they appear in the original art, ensuring the final result is dimensionally accurate.
Understanding the Final Files and Formats
The final output you receive is not an image file but a set of instructions for a specific embroidery machine. You will receive a machine-readable file in the format your machine requires (e.g., .PES for Brother, .DST for Tajima, .JEF for Janome). Along with this stitch file, a professional service provides a PDF proof showing a digital preview of the stitched design and a color sheet that details the thread sequence and colors used. It's vital to remember that an embroidery file cannot be resized like a JPG; changing its size by more than 10-15% can distort stitch density and ruin the design.
How to Choose the Best Custom Digitizing Service
Selecting the right partner for your embroidery projects can be the difference between a professional, polished product and a costly mistake. Not all digitizers are created equal. Use this checklist to evaluate any custom embroidery digitizing service and ensure you receive a file that stitches out perfectly every time.
Evaluating a Digitizer's Portfolio and Reviews
A digitizer's portfolio is their resume. Look past the digital mockups and focus on photos of actual stitch-outs, as this is the only true measure of their skill. A solid understanding of the fundamentals, as detailed in this helpful Beginner's Guide to Embroidery Digitizing, will help you spot quality work. Pay close attention to:
- Stitch Quality: Are the satin stitches smooth and consistent? Are the lines clean and the text crisp and legible, even at small sizes?
- Fabric Variety: Do they showcase work on different materials? A design digitized for a stable polo shirt will stitch differently on a stretchy beanie or a structured cap. Look for examples that match your intended product.
- Customer Reviews: Go beyond star ratings. Read testimonials that mention stitch quality, communication, and how the final design performed on the machine.
Decoding Pricing: Stitch Count vs. Flat Rate
Pricing models can vary, but they generally fall into two categories. Stitch-count pricing is common for large or highly complex designs, where the cost is directly tied to the number of stitches required. In contrast, flat-rate pricing is popular for standard-sized logos, like those for a left chest or a cap, offering predictable costs for common jobs. Be wary of prices that seem too low. Quality digitizing is a skilled craft; rock-bottom prices often lead to poor-quality files that cause thread breaks and subpar results, costing you more in time and wasted materials.
Turnaround Time, Communication, and Revisions
A professional custom embroidery digitizing service balances speed with quality. While a 24-hour turnaround is often possible, the best digitizers prioritize communication. They should ask clarifying questions about your fabric type, thread colors, and desired final look to prevent issues. Before placing an order, always ask about their policy on edits and revisions. A reputable service will typically offer minor adjustments at no extra charge to ensure you are completely satisfied with the final embroidery file.

Common Digitizing Mistakes to Avoid for Perfect Results
Even the most skilled digitizer is limited by the information and artwork they receive. To get the most from your investment, it helps to be an informed client. By understanding common pitfalls from the start, you become a partner in creating a flawless final product and ensure you receive the best from any custom embroidery digitizing service.
Artwork Pitfalls: 'Garbage In, Garbage Out'
The quality of your source file directly impacts the final stitch file. A digitizer must translate your art into a stitch path, and vague artwork leads to guesswork. Avoid these common issues:
- Low-Resolution Images: Submitting a blurry, pixelated JPEG forces the digitizer to guess where the true lines of your design are. Always provide vector files (.AI, .EPS, .SVG) or high-resolution images (.PNG, .PSD) for crisp, clean results.
- Unrealistic Details: Intricate gradients and tiny text (under ¼ inch or 6mm high) do not translate well to thread. Thread has a physical thickness that can't replicate these fine details, often resulting in a muddy, illegible design.
- Overly Complex Designs for Size: A design packed with detail might look great on screen, but when shrunk to fit a 3-inch space on a hat, it becomes a dense, unrecognizable blob. Simplify artwork for smaller applications.
Red Flags in a Poorly Digitized File
Once you receive your digitized file or a sample sew-out, how do you judge its quality? Look for these warning signs that indicate a subpar job:
- Excessive Jump Stitches: Too many long threads jumping between sections that require manual trimming. A good digitizer plans the stitch path to minimize these.
- Gaps and Misalignment: Noticeable gaps between different color blocks or where an outline doesn't perfectly meet a fill. This points to incorrect pull compensation.
- Fabric Puckering: The fabric around the embroidery is wrinkled or bunched up. This is usually caused by a stitch density that is too high for the fabric or a lack of proper underlay stitches.
- "Bulletproof" Embroidery: The design feels overly stiff, thick, and inflexible. This is another sign of excessive stitch density, which is uncomfortable to wear and can damage the garment.
Tips for Communicating Your Needs Clearly
The best way to ensure a perfect outcome is to provide your digitizer with complete information upfront. Don't make them guess! Before you submit your order, have these details ready:
- Exact Dimensions: Specify the final width and height. "About 3 inches" is not as helpful as "Exactly 3.5 inches wide."
- Fabric Type: State the material the design will be sewn on. A stretchy polo shirt requires a different approach than a structured twill cap or a delicate fleece blanket.
- Color Codes: If brand color accuracy is critical, provide Pantone (PMS) color codes. This eliminates the guesswork of matching colors from a computer screen.
Taking a few extra minutes to provide these details ensures your vision is executed perfectly. For a custom embroidery digitizing service built on precision and partnership, visit us at embroiderynsewing.com.
Ready to Stitch? Getting Started and Other Options
You've learned the what, why, and how of embroidery digitizing. The key takeaway is simple: quality digitizing is a direct investment in a professional, durable, and beautiful final product. Skipping this step or opting for a low-quality service often leads to puckered fabric, poor detail, and wasted materials. When you're ready to transform your vision into thread, a little preparation goes a long way.
Engaging a custom embroidery digitizing service for the first time can feel daunting, but it's a straightforward process when you have your information organized. Following a simple checklist ensures you get accurate quotes and a final file that stitches out perfectly.
If managing the technical steps feels overwhelming, an alternative is to partner with a full-service merchandise company that handles the digitizing for you. For those looking for an end-to-end solution for custom apparel, you can visit RAW Merch to see how they manage the entire process from design to finished product.
Your First Custom Digitizing Project Checklist
Before you send your first email, gather these essential details to guarantee a smooth and efficient experience:
- Finalize Your Artwork: Start with the highest resolution version of your design. Vector files (.AI, .EPS) are ideal, but high-quality raster images (.PNG, .JPEG) also work well. A clear source image is crucial for a detailed result.
- Determine Size and Placement: Know the exact dimensions your final embroidery needs to be (e.g., 4 inches wide) and the type of item it will be stitched on (e.g., a cotton t-shirt, a structured hat, or a fleece jacket).
- Identify Your Machine's File Format: Every embroidery machine requires a specific file type. Check your manual or machine settings for formats like .DST, .PES, .JEF, .EXP, or others, and provide this to the digitizer.
- Shortlist and Request Quotes: Find two or three reputable digitizing services. Send them your artwork and all the specifications above to compare their pricing, turnaround time, and communication.
Need a Great Design Right Now?
Sometimes, a project doesn't require a unique logo or custom artwork. You might just need a beautiful, reliable design for a holiday gift, a seasonal decoration, or a creative personal project. In these cases, professionally pre-digitized designs are a fantastic alternative.
These files are created by expert digitizers and tested to ensure a flawless stitch-out, saving you time and eliminating the custom design process. They offer instant access to high-quality artistry, perfect for when inspiration strikes and you want to start stitching immediately.
Browse thousands of ready-to-stitch embroidery designs and find the perfect pattern for your next creation today.
From Pixel to Pattern: Your Embroidery Journey Starts Here
Embroidery digitizing is no longer a mystery. You now understand that it’s the essential bridge between your digital design and a stunning stitched reality. By grasping the intricacies of the process and knowing how to avoid common pitfalls, you're equipped to select the perfect custom embroidery digitizing service for your unique projects. This knowledge is your power to ensure every thread falls exactly where it should, creating flawless, professional-grade results every time.
While custom work is powerful, sometimes you need inspiration right now. If you're ready to bring your ideas to life without the wait, we have the perfect solution. Dive into a world of creativity with thousands of professionally digitized patterns ready for instant download. Our designs are compatible with all major embroidery machine brands and feature curated collections for sports, holidays, cartoons, and more.
Explore thousands of professionally digitized, ready-to-stitch designs now!
Your next creative masterpiece is just a click away. Happy stitching!
Frequently Asked Questions
How much does custom embroidery digitizing usually cost?
Pricing for custom embroidery digitizing varies based on design complexity, specifically the stitch count. A simple company logo might cost between $15 and $35, while a highly detailed jacket back design could be $60 or more. Some services offer flat-rate pricing for left-chest logos. Always request a quote upfront by providing your artwork to understand the exact cost for your specific project, as intricate details and color changes will influence the final price.
What file format do I need for my Brother, Janome, or Singer machine?
Each embroidery machine brand uses specific file formats. For Brother machines, you will typically need a .PES file. Janome machines commonly use .JEF, and Singer machines often use .XXX or .DST files. When placing your order, it's best to specify your machine's brand and model. This ensures the digitizer provides the correct file type, saving you from conversion issues and guaranteeing compatibility so you can start stitching immediately upon receiving your design file.
Can a photograph of a person or pet be digitized for embroidery?
Yes, a photograph can be digitized, but it requires a specialized technique called photo-stitch digitizing. This process is more complex and often more expensive than standard logo digitizing. The final result translates the photo's shading and colors into thousands of tiny stitches. For the best outcome, provide a high-resolution, well-lit photograph, as the quality of the source image directly impacts the clarity and detail of the final embroidered piece.
How long does it take to get my custom embroidery file back?
The standard turnaround time for most digitizing projects is between 12 to 24 hours. However, this can vary depending on the complexity of your artwork and the digitizer's current workload. Many companies offer expedited or rush services for an additional fee, delivering your file in as little as 2 to 4 hours. It's always a good idea to confirm the expected delivery time when you submit your order, especially if you have a tight deadline.
What is the difference between digitizing for a flat shirt versus a curved hat?
Digitizing for a flat surface like a t-shirt is different from digitizing for a curved hat. Hat designs are digitized to sew from the bottom up and the center out, which prevents the fabric from distorting on the curved frame. They also require specific underlay stitching for stability. When you order a custom embroidery digitizing service, it is crucial to specify the intended application so the digitizer can create a file optimized for a clean, professional stitch-out.
Can I resize an embroidery design file myself after I receive it?
It is not recommended to resize a digitized embroidery file yourself by more than 10-20%. Embroidery files are created for a specific size, and changing them significantly alters the stitch density, pull compensation, and underlay. This can lead to gaps in the fill stitches, puckering of the fabric, or thread breaks during sewing. For the best results, you should request the design be digitized to the exact final dimensions you require for your project.
What is 'vector art' and do I need it for embroidery digitizing?
Vector art (files like .AI, .EPS, or .SVG) is a graphic created using mathematical paths instead of pixels, meaning it can be scaled to any size without losing quality. While not mandatory, providing vector art is highly preferred for digitizing. It gives the digitizer a clean, sharp blueprint to work from, ensuring the most accurate stitch pathing and a higher quality final embroidery file compared to starting with a pixelated image like a .JPG.


