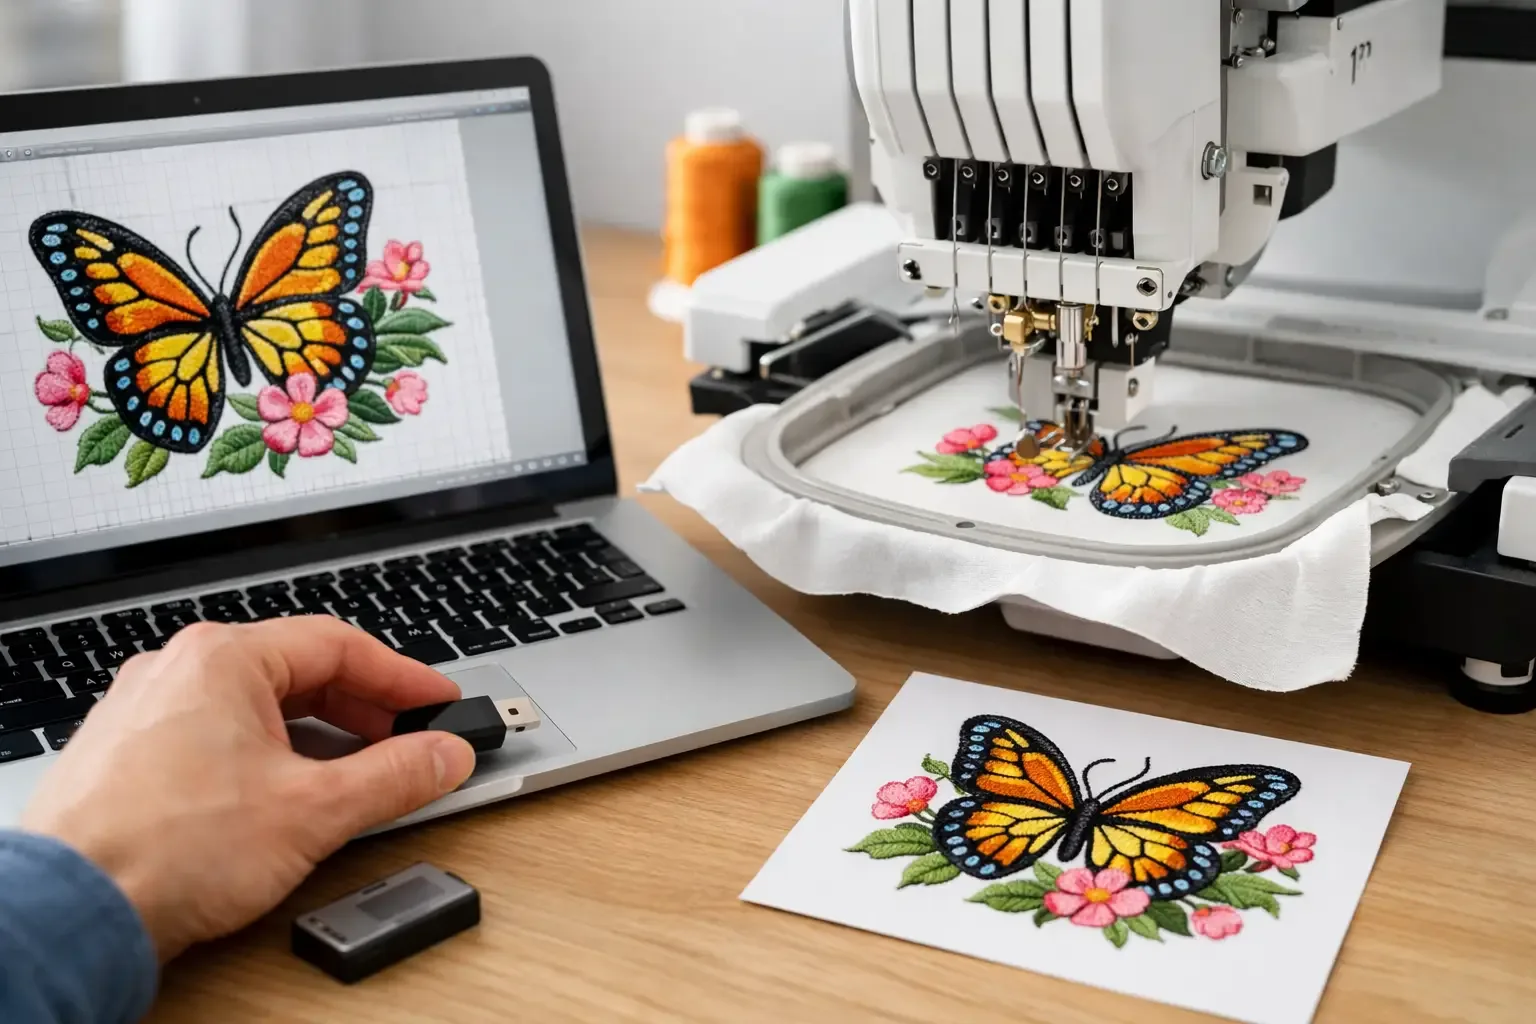
A JPEG of your favorite team graphic, cartoon-style art, or shop logo can look ready to stitch at first glance. Then you try importing the jpeg for digital embroidery machine designs and realize the machine does not read pictures the way it reads embroidery files. That gap is where most beginner mistakes happen, especially when you want a fast project and need a design that will actually sew cleanly. The short version is simple. A JPEG is image artwork. An embroidery machine file is a stitch map. Importing a JPEG into embroidery software can be the first step, but it is not the same thing as having a finished design. If you understand that early, you save fabric, stabilizer, thread, and a lot of frustration.
## What importing the JPEG for digital embroidery machine designs really means
When people talk about importing a JPEG, they usually mean one of two things. They either want to use a picture as a tracing reference inside embroidery software, or they expect the software to automatically convert that image into stitches. Those are very different results. Using a JPEG as a background guide is straightforward. You import the picture, resize it, and digitize over it by assigning stitch types, directions, densities, underlay, and sequence. This gives you control, and control is what makes the final design stitch well. Auto-conversion is faster, but it depends heavily on the image quality and the artwork style. Clean shapes, limited colors, and bold outlines usually convert better than shaded photos, gradients, and busy artwork. If the original image is cluttered, the embroidery result usually is too. That is why ready-to-stitch machine files remain the better option for most projects. If your goal is to decorate hats, shirts, baby gifts, tote bags, sports gear, or boutique items without spending hours editing, a properly digitized instant download is far more reliable than trying to force a JPEG into an embroidery format.
[Why a JPEG is not an embroidery file]
A JPEG stores pixels. Your machine needs commands. It needs to know where each stitch starts, where it ends, what type of stitch to use, what order to sew colors, and how dense each filled area should be. Even a sharp image cannot answer those questions on its own. Software can guess, but guesswork has limits. A satin border that is too wide may snag. A fill that is too dense may pucker. Tiny text may disappear. Fine details from a mascot face or school-themed graphic may look great on screen and stitch poorly on fabric. This matters most when the artwork has lots of visual detail, like fandom graphics, logo-style designs, and layered sports themes. What looks exciting in print often needs simplification for embroidery. Good digitizing is less about copying every pixel and more about choosing what should stay so the sewn result still looks clean and recognizable.
The best JPEGs to import
If you are starting with image artwork, the best files are usually bold and simple. High contrast artwork works better than low contrast images. A clean clip-art style graphic works better than a photo. A design with three to six solid color areas is easier to convert than one with shadows, highlights, and textured backgrounds. Artwork with crisp edges gives the software something clearer to detect. Size matters too. A tiny web image pulled from social media is a weak starting point. If you enlarge it, the edges blur and details break apart. A larger JPEG with clean lines gives you more usable information, whether you are tracing manually or testing an automatic conversion. If you already know the design will be sewn on a left chest, cap front, sleeve, or baby bib, think about that before you import. Some artwork simply has too much detail for a small stitch area. A great image can still be the wrong embroidery design.
What to do before you import the image
A little cleanup before you open embroidery software can make a big difference. Crop out extra background so the design area is clear. Increase contrast if the edges are faint. Simplify colors if the image has too many close shades. Remove unnecessary textures, shadows, and tiny details that will not translate to thread. This is also the moment to decide whether the design should be filled, outlined, or appliqued. If you are working with a bold sports-style motif or a large kids design, applique may reduce stitch count and help the finished project stay flexible. If it is a compact monogram-style image, satin and fill stitches may make more sense. The more intentional you are before the import, the less fixing you will need later.
How importing works in embroidery software
Most embroidery programs let you bring in a JPEG as artwork. From there, the workflow usually goes one of two ways. The first is manual digitizing. You place the image on screen and draw over each section. This takes longer, but it gives the cleanest results because you choose stitch type, angle, layering, pull compensation, and sequencing based on the actual fabric and size. The second is auto-digitizing. The software reads color blocks and creates stitch objects based on them. This can work for simple art, but it usually needs cleanup. You may need to merge small shapes, delete stray stitches, adjust stitch direction, reduce density, and reorder the sequence so the design sews efficiently. For beginners, the temptation is to trust the software completely. That is usually where thread breaks, bulky stitching, and distorted outlines start. Importing is the beginning of the process, not the end.
Common problems after importing the JPEG for digital embroidery machine designs
The most common issue is too much detail. Small gaps, thin outlines, and layered effects may look fine in the original image but collapse during stitching. The second issue is poor stitch direction. Auto-created fills often ignore the shape of the object. A football, flower petal, animal ear, or script letter can end up with awkward stitching that catches light poorly and loses definition. The third issue is density. Dense stitching sounds like it would improve coverage, but too much density can make the design stiff, cause puckering, and increase thread breaks. On lighter fabrics, it can make the project look worse rather than better. There is also the format problem. Even after digitizing, you still need to save the final file in the format your machine uses, such as PES, DST, EXP, JEF, VP3, or another supported type. Importing a JPEG does not solve machine compatibility by itself.
[When to digitize from a JPEG and when to buy a ready file]
If you are creating a one-off logo, converting your own artwork, or testing a custom idea, working from a JPEG makes sense. It gives you a starting point for a unique project. If you want to stitch today, especially on a paid order or gift deadline, a ready embroidery design is usually the better business decision. A digitized file has already been prepared for stitching logic instead of visual appearance alone. That means less editing, fewer test runs, and a more predictable finish. This is where a broad instant-download catalog helps. Instead of spending an hour trying to clean up image art for a cartoon character, school-themed design, [floral accent], or sports-inspired file, you can start with a stitch-ready format built for embroidery from the start. For many makers, that is the difference between browsing ideas and actually finishing products.
A smarter way to think about artwork and stitch files
The biggest mindset shift is this: good embroidery is not about importing every detail from a JPEG. It is about editing artwork into something thread can do well. That may mean thickening borders, enlarging small elements, dropping background effects, or reducing the color count. It may mean deciding that a full mascot scene should become a simplified emblem. It may mean choosing a best-selling machine embroidery file instead of converting an image that was never meant for stitching. At Embroidery n Sewing, that practical approach matters because most customers are not looking for a long software project. They want variety, recognizable themes, instant download access, and files they can put straight into production for gifts, shop orders, team apparel, or personal projects.
Final advice before you stitch
If you are importing image artwork, treat the JPEG as reference, not proof that the design is embroidery-ready. Test at the real size, match the file format to your machine, and be willing to simplify more than you expected. The design that sews cleanly almost always beats the design that looked perfect only on screen.