

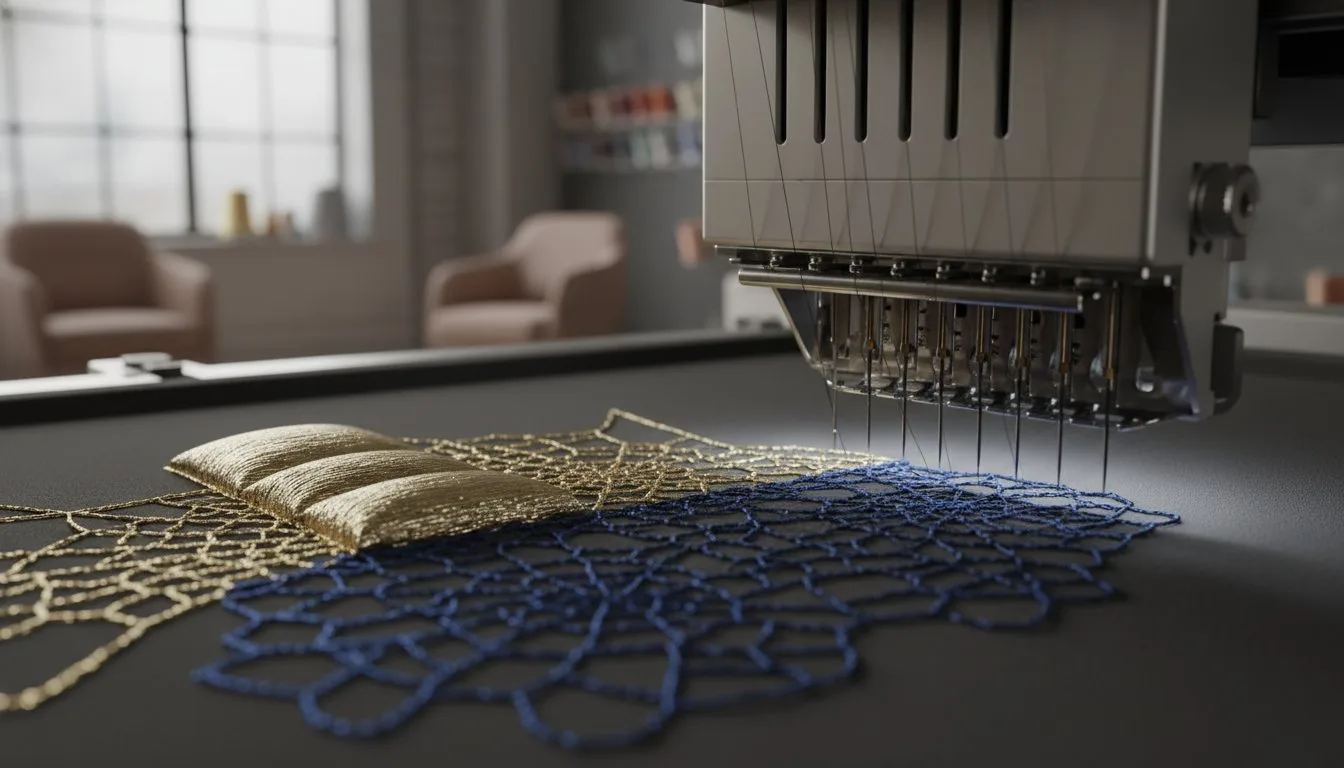
- Mastering 3D puff embroidery and textured layering for high-end results.
- Eliminating common frustrations like metallic thread breakage and stabilizer confusion.
- Creating complex freestanding lace and thread painting without specialized software.
- Adapting to 2026 textile regulations including the EU Ecodesign for Sustainable Products Regulation.
A high-end machine won't save a design that lacks structural depth, but the right digital foundation will. You've likely felt the frustration of watching a beautiful concept turn into a flat, amateur-looking mess once it hits the fabric. It's even worse when metallic threads snap constantly or your stabilizer fails under the weight of complex textures. While I'm sorry to say I don't provide physical machines or supplies to fix these mechanical issues, I can help you implement advanced machine embroidery techniques through superior digital design work.
I'm here to show you that mastering professional results is entirely within your reach. You'll discover how to create stunning 3D effects and intricate freestanding lace that rivals the quality seen in high-end collections from Lingerie Seduction. We'll also look at how to navigate 2026 industry shifts, like the EU Ecodesign for Sustainable Products Regulation taking effect on July 19, 2026, by using high-quality digital designs. This guide provides a clear roadmap to help you move from basic stitching to creating sophisticated textile art that truly stands out.
- Learn how to achieve high-impact dimension by applying high-density satin stitches over specialty foam for professional 3D puff results. - Understand how to engineer freestanding lace by using water-soluble stabilizers to create intricate designs that exist independently of base fabrics.
- Master advanced machine embroidery techniques to handle specialty filaments like metallic and holographic threads without the frustration of constant breakage. - Transform your work into textile art by utilizing thread painting and layering methods that create photorealistic depth and texture.
- Discover how to execute perfect reverse appliqué and mixed media effects using high-quality digital embroidery designs for a high-end, layered finish.
Table of Contents
- Executive Summary: Advanced Embroidery Roadmap
- Elevating Designs with 3D Puff and Chenille Textures
- Engineering Structural Beauty with Freestanding Lace and Cutwork
- Mastering Visual Depth with Thread Painting and Specialty Filaments
- Advancing Mixed Media Projects with Reverse Appliqué and Layering
- Elevating designs with 3D puff and chenille textures for high-impact dimension.
- Engineering structural beauty with freestanding lace and intricate cutwork.
- Mastering visual depth through thread painting and specialty filaments.
- Advancing mixed media projects with reverse appliqué and creative layering. [
Executive Summary: Advanced Embroidery Roadmap](/articles/embroidery-designs-machine-price-guide)
I've observed that many creators struggle to bridge the gap between hobbyist projects and professional-grade textile art. To help you reach that next level, I've developed this roadmap focusing on advanced machine embroidery techniques. While I must apologize for not offering physical embroidery machines or the specific supplies like puff foam and water-soluble stabilizers, I specialize in the digital designs that serve as the foundation for these complex textures. Success in this field isn't just about having the right tools. It's about knowing how to manipulate them.
Professional results rely on a synergy between your technical execution and the digital file structure. Modern computer-controlled machine embroidery allows for incredible precision, but you need to understand how different structures interact. Whether you're aiming for the tactile feel of chenille or the delicate structure of freestanding lace, the digital file is the blueprint. By the time the EU Ecodesign for Sustainable Products Regulation (ESPR) takes full effect on July 19, 2026, the industry will prioritize high-quality, durable designs over disposable textile goods. Learning these advanced machine embroidery techniques now prepares you for that shift toward premium craftsmanship.
Why Technique and Design Quality Matter
A common misconception is that a more expensive machine will automatically fix flat or messy designs. I regret to inform you that even the most advanced hardware cannot save a poorly digitized file. This is especially true for 3D work. High-density designs are mandatory here. If the stitch count is too low, the underlying foam won't be properly covered or "cut" by the needle. This technical barrier means you must select files specifically built for 3D puff or heavy layering. Quality digitizing accounts for the "push and pull" of fabric, ensuring that intricate details remain crisp even when using specialty filaments or complex mixed media layers.
Elevating Designs with 3D Puff and Chenille Textures
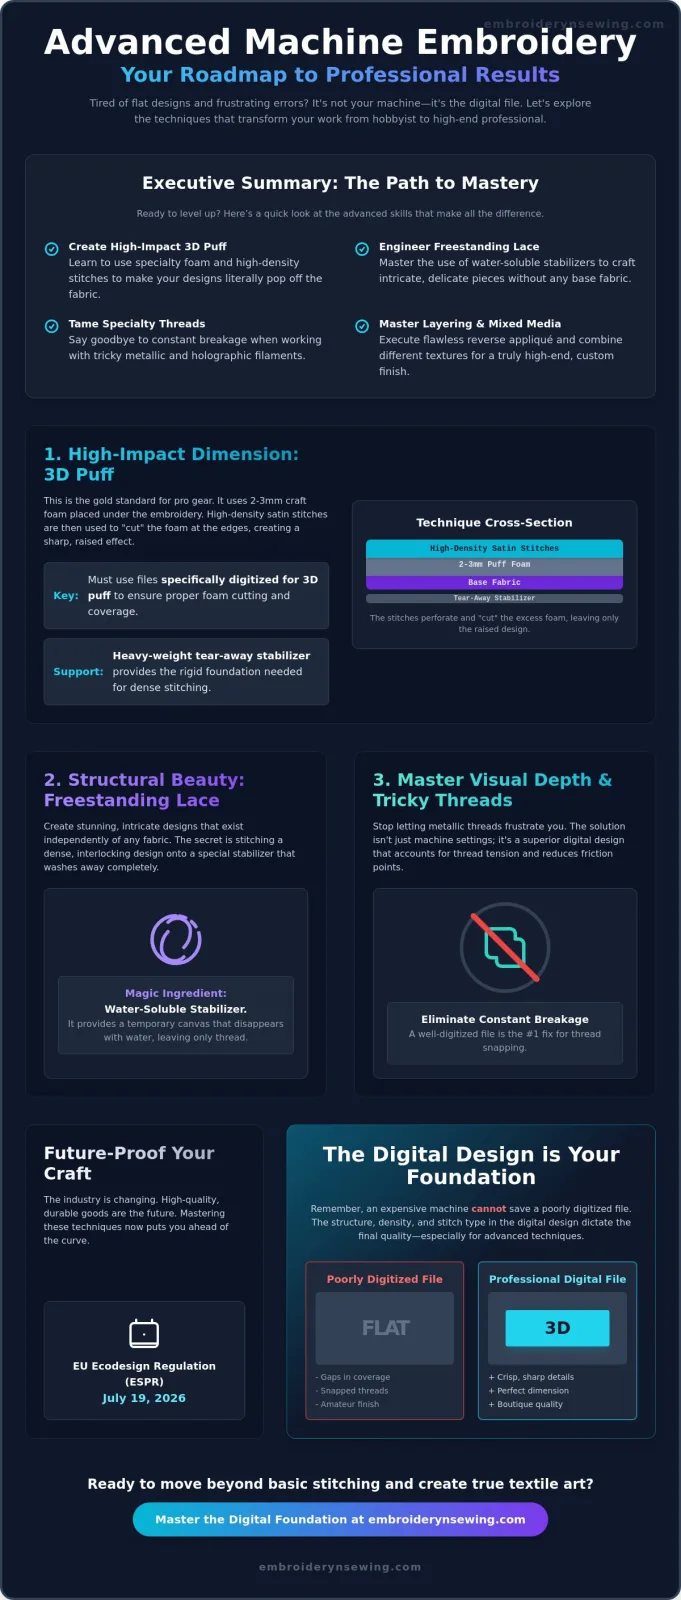
3D puff is a method using 2mm to 3mm foam to lift stitches off the fabric surface. It’s the gold standard for professional athletic gear and high-end streetwear. While I’m sorry to say I don’t provide the physical foam or the embroidery machines required to run these files, I can explain the digital precision needed for these advanced machine embroidery techniques. The secret to a crisp 3D effect isn't just the foam; it's using high-density satin stitches that are specifically programmed to cap the ends and "cut" the foam away during the stitching process.
Selecting the right digital file is non-negotiable for this look. You must choose designs specifically digitized for foam to ensure clean cuts at the edges. Standard designs simply won't have the stitch density required to hide the foam or the structural "stop" stitches needed to keep the foam from shifting. You can also achieve a plush, towel-like look by using chenille techniques. Even on a standard machine, specific looping patterns in the digitizing can mimic the look of traditional chenille embroidery, adding a unique tactile layer to your projects without needing industrial equipment.
Stabilization for Dimensional Work
Choosing the right support is vital when you're adding this much height to a design. Heavy-weight tear-away is often the best choice for high-impact 3D logos because it provides a rigid foundation for the thousands of extra stitches involved. It also makes cleaning up the excess foam much easier once the machine finishes its run. Proper stabilization ensures that the foam stays compressed only where the needle penetrates, maintaining that sharp, professional profile.
[Insert diagram showing foam placement and stitch direction]
Machine Settings for Thick Textures
When you're stitching over thick materials like 3mm foam, your machine's default settings might struggle. I recommend slightly loosening your top tension to prevent the thread from pulling too hard, which often causes unsightly "looping" or frequent thread breaks. It's a delicate balance that requires a bit of testing on your specific machine before you commit to a final piece. Mastering these advanced machine embroidery techniques starts with a solid digital foundation. If you're looking for patterns that handle these stresses well, you should check out our [embroidery designs]optimized for high-density work.
![Mastering Advanced Machine Embroidery Techniques for Professional Results]
Engineering Structural Beauty with Freestanding Lace and Cutwork
Freestanding Lace (FSL) is a unique technique where the embroidery exists independently of any base fabric once the stabilizer is dissolved. I must clarify that I don't provide the physical water-soluble stabilizer (WSS) needed for this, which typically costs between $15 and $20 for a 10-yard roll. However, the success of this method depends entirely on the digital architecture of the file. Unlike standard designs, FSL requires a specialized interlocking stitch path where every single stitch is connected to another. If the digitizing lacks these connections, your project will simply unravel into a pile of thread once the stabilizer is gone.
This is where advanced machine embroidery techniques become essential. By engineering a structural mesh, the digital design supports its own weight. Cutwork takes a slightly different approach by combining machine precision with manual fabric removal to create a classic eyelet effect. It’s a beautiful way to add negative space to a garment or home decor item. Both methods rely on the machine's ability to create a frame that holds its shape without the help of a permanent textile backing. This structural integrity is what separates amateur attempts from professional-grade textile art.
Mastering the Wash-Away Process
Rinsing your WSS is a delicate balancing act. If you rinse too much, the lace becomes limp and loses its form; if you rinse too little, it stays stiff and scratchy. I recommend using lukewarm water and patting the lace dry between two heavy towels. This ensures the structural integrity remains intact while achieving a professional feel that's soft to the touch.
Cutwork Digitizing Requirements
In cutwork, the digital file acts as your map. It uses specific placement and tack-down stitches to show you exactly where to make your manual cuts. Without these precise markers, you risk cutting through the structural thread and ruining the piece. Understanding the [embroidery stitches] used in these structural projects is the first step toward mastering advanced machine embroidery techniques that produce gallery-quality results.
Mastering Visual Depth with Thread Painting and Specialty Filaments
Thread painting is a sophisticated method that allows you to create a photorealistic, "painted" look on fabric. I must apologize for not offering the physical threads or needles required for this artistry, as my focus remains strictly on providing high-quality digital files. Thread painting relies on blending layers of stitches rather than distinct color blocks. This technique creates a seamless transition between shades, which is vital for capturing the subtle gradients found in nature or complex portraits. By using these advanced machine embroidery techniques, you can turn a flat image into a masterpiece with incredible visual depth.
Taming specialty filaments like metallic and holographic threads is often a major pain point for creators. I regret that I cannot sell you the specialized lubricants or stabilizers that help these threads run smoothly. However, I can suggest that using variegated threads is an excellent way to add automatic color movement to simple [embroidery patterns]. If you're working with high-end materials, keep in mind that a 300-meter spool of Floriani glow-in-the-dark thread costs between $18.49 and $22.49, while DMC Light Effects metallic floss is around $5.91. These are investments in your art, and they require a digital design that respects their fragile nature.
Needle Selection for Specialty Fibers
I'm sorry to inform you that using a standard needle for metallic thread will almost certainly lead to shredding. A "topstitch" or "metallic" needle is non-negotiable because it features a larger, elongated eye and a deeper groove. This reduces the friction that causes filaments to snap. If you want to see how these advanced machine embroidery techniques look on complex characters, I recommend browsing my Anime Embroidery Designs for inspiration.
[Insert close-up diagram of a metallic needle eye vs. a standard needle eye]
Managing Stitch Density
To avoid "thread nests," you should select designs with light, feathered fills. Heavy, dense blocks of color don't allow for the layering required in thread painting. When stitches are feathered, they interlock without creating a hard ridge of thread. You can discover how to machine embroidery sewing techniques apply to these fine-art projects by ensuring your digital foundation is built for layering rather than bulk.
Advancing Mixed Media Projects with Reverse Appliqué and Layering
Reverse appliqué is a "peek-a-boo" technique where you place the decorative fabric under the base fabric instead of on top. It’s a fantastic way to add dimension and color without the bulk of traditional layering. I’m sorry to say that I don’t sell the physical fabrics like cork or vinyl needed for these projects, but I can certainly provide the digital framework to make them work. To execute this properly, you need high-quality [applique] files that include precise placement and tack-down stitches. These digital guides allow you to make clean reverse cuts through the top layer, revealing the beautiful textures hidden beneath.
Combining different textures is another way to push your work into the realm of professional textile art. You might pair heavy vinyl, natural cork, or even thin leather with standard thread to create a multi-media finish. These advanced machine embroidery techniques rely heavily on "stop" commands programmed into the digital file. I regret that I cannot offer custom design services to modify files for you, but my standard designs already include these essential pauses. These stops give you the necessary time to manually manipulate your fabric, trim away layers, or swap out materials mid-run without the machine losing its place.
The Reverse Appliqué Sandwich
Creating a clean reverse appliqué requires a specific layering process. It's not as simple as just stacking fabric. You have to think about the "sandwich" of stabilizer, decorative fabric, and base material. Following a logical order ensures that your machine doesn't snag on loose edges or cause puckering during the final satin stitch.
[Insert 3-step diagram of the reverse appliqué process]
Final Finishing Touches
Once your machine finishes the design, you aren't quite done. For mixed media work involving raw edges, I suggest using heat-treating or a product like Fray Check to secure the fabric. This prevents the base material from unraveling over time. By combining these layering methods with the 3D puff, freestanding lace, and thread painting we discussed earlier, you can create a true masterpiece. Mastering advanced machine embroidery techniques is about more than just one skill; it's about the synergy of digital precision and hands-on craftsmanship. If you're ready to start your next project, feel free to explore my latest NFL Embroidery designs for high-impact results.
Transforming Your Vision into Textile Art
I hope this guide has clarified how 3D puff, freestanding lace, and mixed media can elevate your work. I'm sorry to say I don't provide physical machines or stabilizers, but I'm fully committed to offering the digital blueprints required for these advanced machine embroidery techniques. You now understand that professional results depend on a marriage between your technical execution and high-density, interlocking digitizing. Whether you're mastering the "sandwich" method for reverse appliqué or blending colors through thread painting, the right file makes all the difference.
Success in 2026 means focusing on quality and durability as global standards shift toward more sustainable textile practices. I provide specialized designs for 3D and FSL that are professionally digitized for clean results. My files are compatible with all major machine formats like PES, DST, and JEF. I invite you to explore our high-quality digital designs for your next advanced project. You've got the skills to create something extraordinary, and I'm here to provide the digital foundation you need to make it happen.
Frequently Asked Questions
What is the best needle for advanced machine embroidery techniques?
A topstitch or metallic needle is the best choice when you are working with advanced machine embroidery techniques. These specialized needles feature a larger eye and a deeper groove that accommodates thicker threads and significantly reduces friction during high-speed stitching. I'm sorry to say I don't sell these supplies myself, but I highly recommend using them to prevent thread shredding when you are working with specialty filaments or high-density 3D designs.
Do I need special software to do 3D puff embroidery?
You don't necessarily need specialized software to create 3D puff effects, but you definitely need a design file that is specifically digitized for foam. While I regret that I cannot offer custom digitizing services or software packages like Hatch or PE-Design 11, my pre-made digital designs are already optimized with the high stitch density required to cover 2mm to 3mm puff foam effectively. Success depends more on the file structure than the software itself.
How do I prevent metallic thread from shredding during high-speed stitching?
To prevent metallic thread from shredding, you should lower your machine's stitching speed and slightly loosen the top tension. I've found that using a vertical spool pin or a standalone thread stand also helps the thread unwind without twisting or catching. I apologize for not providing the lubricants or thread stands often used to solve this mechanical issue, but making these small machine adjustments usually fixes the problem for most creators.
Can any embroidery machine do freestanding lace?
Yes, almost any modern embroidery machine can execute freestanding lace as long as the design file is built with an interlocking stitch path. I'm sorry that I don't provide the water-soluble stabilizers needed for this process, but my digital lace designs are engineered to maintain their structural integrity once the stabilizer is rinsed away. You just need to ensure your machine's hoop size matches the dimensions of the digital file you've selected.
What is the difference between standard appliqué and reverse appliqué?
The main difference lies in where you place your decorative fabric in relation to the base material. In standard appliqué, the decorative fabric sits on top of the base material, while in reverse appliqué, it's placed underneath to create a "peek-a-boo" effect. Both methods are excellent advanced machine embroidery techniques that rely on specific "stop" commands in the digital file to allow you to pause the machine for manual fabric trimming.


