

You’ve found the perfect embroidery design, downloaded the ZIP file, and… your machine simply won’t read it. The frustration is real, and it often comes down to one confusing topic: getting the different embroidery file formats explained. Staring at a folder full of acronyms like PES, DST, JEF, and EXP can feel completely overwhelming, stopping a creative project right in its tracks before the first stitch is even made.
If this sounds painfully familiar, take a deep breath. You are in the right place! Think of this guide as your personal translator for the language of embroidery machines. We are going to demystify that alphabet soup of file extensions so you can finally understand why that download contains so many options. Most importantly, you will learn how to confidently choose the exact file your specific machine needs, every single time.
Get ready to say goodbye to file format errors and hello to successfully transferring any design from your computer to your machine with ease. Let's start stitching!
- Learn the crucial difference between an image file and an embroidery file, which contains the specific stitch-by-stitch instructions for your machine. - With our guide to embroidery file formats explained, you can quickly identify which file type (like PES, DST, or JEF) your specific machine brand requires. - Master a simple workflow for taking a design from a downloaded file to a successful stitch-out, ensuring you select the correct format at every step.
- Discover how to solve common file format errors, like your machine not recognizing a design, to spend less time troubleshooting and more time creating.
Table of Contents
- What Is an Embroidery File? (And Why Are There So Many?)
- The A-Z Glossary of Common Embroidery File Formats
- How to Find the Perfect File Format for YOUR Machine
- From Download to Stitch-Out: A File Format Workflow
- Troubleshooting Common File Format Problems
What Is an Embroidery File? (And Why Are There So Many?)
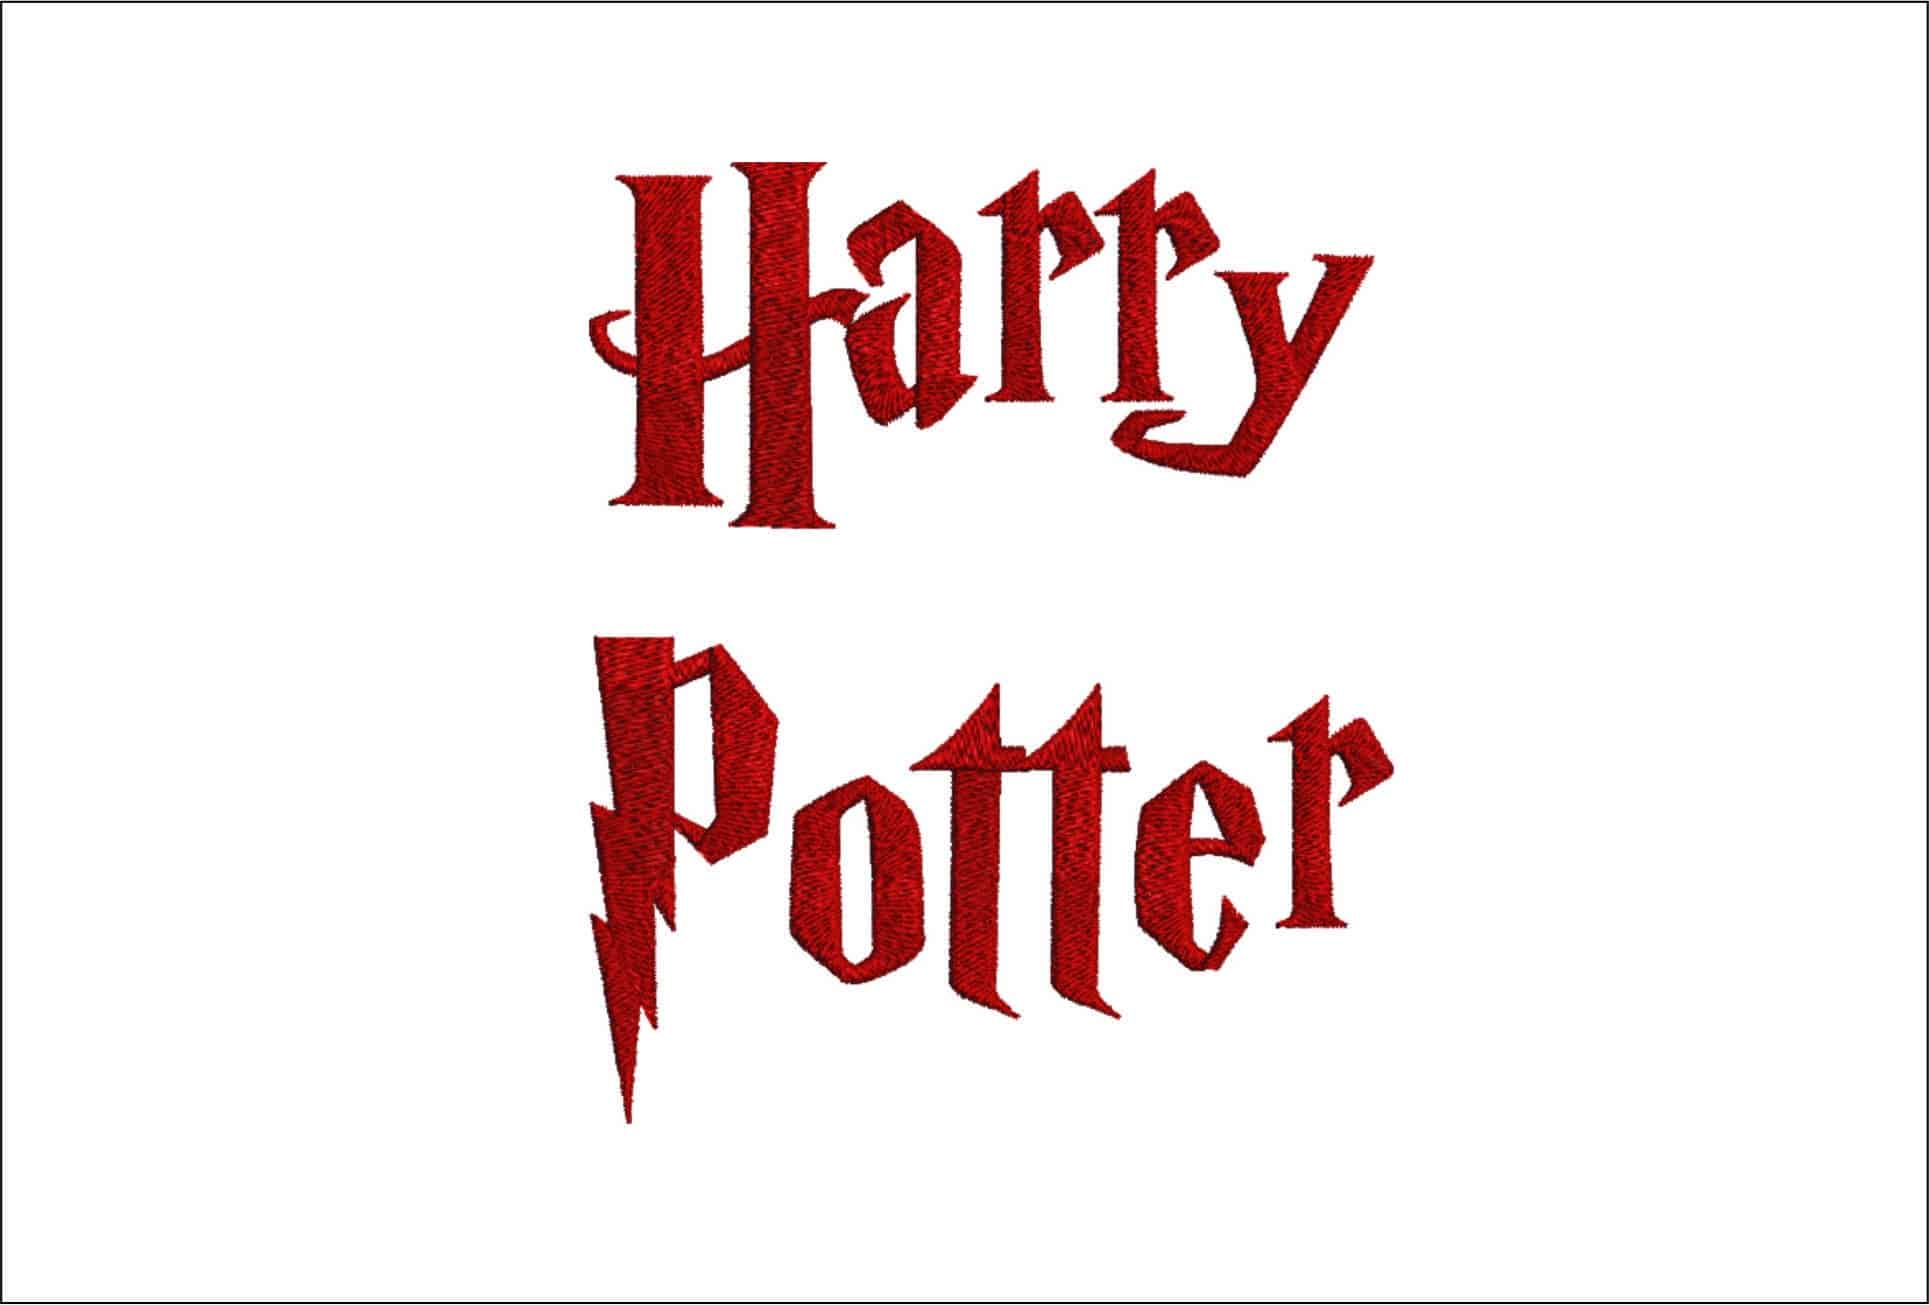
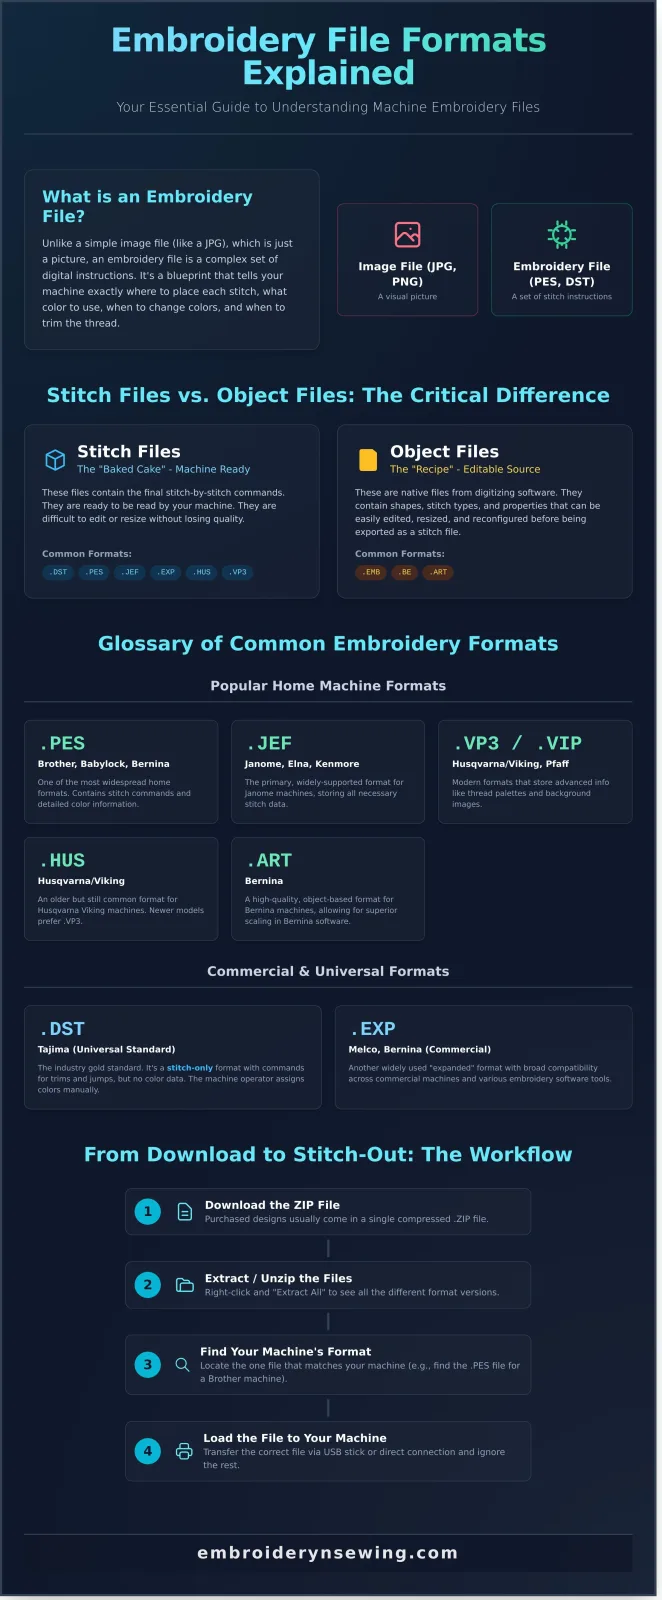
Think of an embroidery file format as the specific 'language' your embroidery machine understands. Unlike a simple image file like a JPG or PNG, which is just a picture, an embroidery file is a complex set of digital instructions. It tells your machine precisely where to place each stitch, what color thread to use, when to stop for a color change, and when to trim the thread. This detailed blueprint is the core of the entire computerized machine embroidery process.
So, why are there dozens of different formats? The answer lies in history. When embroidery machines were first developed, each major manufacturer-like Brother, Janome, Tajima, and Bernina-created their own proprietary file format. This 'language' was optimized for their specific hardware, creating the diverse landscape of files we see today. This guide on embroidery file formats explained will help you navigate them all with confidence.
Stitch Files vs. Object Files: The Most Important Difference
The most crucial distinction to understand is between a stitch file and an object file.
- Stitch Files (e.g., DST, PES, JEF, EXP) are the machine-ready files. Think of them as a baked cake. The instructions are set, the density is fixed, and it’s ready for your machine to sew. While you can resize them slightly, doing so can degrade the quality, just like stretching a finished cake would ruin it.
- Object Files (e.g., EMB, BE) are the native, editable source files from digitizing software. Think of this as the recipe. You can easily change ingredients-resize the design, alter stitch types, or rearrange elements-before exporting it as a 'baked' stitch file for your machine.
When you download a design from a creator, you'll almost always receive a ZIP file containing the same design in many different formats (PES, DST, HUS, etc.). This isn't a mistake; it's a customer-friendly practice to ensure maximum compatibility. Instead of making you figure out how to convert files, we provide a version for nearly every machine on the market. You simply need to find the one file that speaks your machine’s language, and you can ignore the rest.
The A-Z Glossary of Common Embroidery File Formats
Navigating the world of machine embroidery can feel like learning a new language, especially with so many different file extensions. But don't worry-you typically only need to know the one or two formats your specific machine uses. This quick-reference glossary has the most common embroidery file formats explained so you can easily identify what you need and get stitching faster.
Popular Home Machine Formats
These formats are designed for home and hobbyist embroidery machines and often contain rich data like thread color suggestions and notes.
- .PES (Brother, Babylock, Bernina): One of the most widespread formats in home embroidery. .PES files contain stitch commands and color information, making them a go-to for a huge range of popular machines.
- .JEF (Janome, Elna, Kenmore): The primary format for Janome machines. It stores the necessary stitch data and is widely supported by embroidery software.
- .HUS (Husqvarna/Viking): An older format used by Husqvarna Viking embroidery machines. While still common, many newer Viking models use .VP3.
- .VP3 / .VIP (Husqvarna/Viking, Pfaff): Newer, more advanced formats that can store more information than older types, including thread brand palettes and background images for positioning.
- .ART (Bernina): A high-quality, proprietary format for Bernina machines. Unlike most formats that just store stitches, .ART is "object-based," meaning it saves design shapes, allowing for easier scaling and editing without losing quality in Bernina's software.
Commercial & Universal Machine Formats
These formats are the workhorses of the professional embroidery industry, prized for their compatibility across different industrial machines.
- .DST (Tajima): Considered the universal industry standard. Nearly every commercial embroidery machine can read a .DST file. Its key characteristic is that it is a stitch-only format; it contains needle penetration points and commands for trims and jumps but holds no color information. The machine operator must assign thread colors manually.
- .EXP (Melco/Bernina): An "expanded" format also widely used by commercial machines. Because of its broad compatibility, many software tools and even creative coding platforms for generating patterns for embroidery machines support exporting designs as .EXP files, making it a versatile choice.
Other Formats You Might Encounter
While less common than the ones above, you may still see these files, especially if you use older machines or specific brands.
- .XXX (Singer): The primary format used by Singer home embroidery machines.
- .EMD (Elna): A format used by some older Elna Expressive machines.
- .SHV (Viking/Husqvarna): A specific format for the Viking Husqvarna Designer 1 model.
How to Find the Perfect File Format for YOUR Machine
Choosing the right file format doesn't have to be a guessing game. While the sheer number of options can seem overwhelming, finding the perfect match for your machine is straightforward. Most modern embroidery machines are impressively versatile and can read several different formats. However, for the best stitch quality and smoothest experience, using your machine's "native" format is always the top choice. Let's get these embroidery file formats explained so you can find yours in minutes.
Quick Reference Chart: Machine Brand to File Format
For a quick answer, consult this chart. While this covers the most common formats, always double-check with your manual for the most accurate information, especially for older or multi-needle models.
| Machine Brand | Recommended File Format(s) |
|---|---|
| Brother / Baby Lock | .PES, .PEC |
| Janome / Elna / Kenmore | .JEF, .SEW |
| Singer | .XXX, .CSD |
| Husqvarna Viking / Pfaff | .VP3, .VIP, .HUS |
| Bernina | .EXP, .ART |
| Melco | .EXP |
| Tajima | .DST |
Check Your Machine's Manual or On-Screen Menus
The most reliable source of information is the one that came with your machine. Your user manual is the ultimate authority. Look in the index or table of contents for terms like "file formats," "specifications," or "compatible designs." This section will list every format your machine is built to read. Don't have the physical manual? A quick search online for your machine model plus "manual PDF" usually brings it right up. You can also often find the answer on the machine itself by navigating to the design import or load screen, which typically displays the compatible file extensions.
What to Do When Your Machine Reads Multiple Formats
So, you've discovered your machine can read more than one file type. Which one should you choose? Always prioritize the native format. For example, a Brother machine can often read both .PES and the universal .DST format. You should always choose .PES when it's an option. The native format (.PES in this case) contains much more detail, including thread color information, trim commands, and other data specific to the machine brand. Universal formats like .DST are primarily stitch-only and strip out this valuable data. For a deeper, more technical overview of embroidery formats and the data they contain, the EduTech Wiki is an excellent resource. Think of .DST as a great backup or a universal key, but your native format is the custom-made key that works perfectly every time.
From Download to Stitch-Out: A File Format Workflow
Understanding the theory is great, but let's walk through the practical journey of a design file, from your computer to your embroidery machine. This simple workflow shows you exactly where file formats matter and how to handle them at each stage. Having these embroidery file formats explained in a step-by-step process removes the guesswork and helps you stitch with confidence.
Step 1: Downloading and Unzipping the File Pack
When you purchase a design, it almost always arrives as a single, compressed .ZIP file. This is just a tidy package containing all the different machine formats. You must "unzip" or "extract" it to access the files inside.
- On Windows: Right-click the .ZIP file and select "Extract All..." then follow the prompts.
- On Mac: Simply double-click the .ZIP file, and a new folder will appear next to it.
Inside the new folder, you'll see a list of files, often with the same name but different extensions (e.g., coolflower.DST, coolflower.PES, coolflower.JEF). Don't worry! You only need to find the one file that matches your machine.
Step 2: Transferring the Correct File to Your Machine
The most common way to get a design to your machine is with a USB stick. This step is critical: find the single file with the correct extension for your machine brand and copy only that file to your USB drive. Your machine cannot read the other formats and will likely show an error or not display the design at all if you copy the whole folder.
Some modern machines also support file transfer via a direct Wi-Fi connection or a USB cable linked to your computer. Whatever the method, the principle is the same: select only the specific file format your machine understands.
Step 3: What if You Have the Wrong Format? (Conversion Basics)
Occasionally, a designer might not offer the exact format you need. In this case, you need to convert the file. This is done using embroidery software. There are free online converters for quick, simple jobs, but for the best results, dedicated software like Embrilliance is recommended. This software can open one format (like .DST) and save it as another (like .JEF).
A word of caution: converting a stitch file can sometimes introduce small imperfections in stitch density or alignment. It's always a smart idea to do a quick test stitch-out on scrap fabric after converting a design to ensure the quality is perfect.
Ready to try? Find your first project in our design library!
Troubleshooting Common File Format Problems
Even with a solid understanding of file types, you might occasionally run into a snag. It happens to everyone! Think of this section as your quick-reference FAQ for the most common issues. Getting these basics down is the final step in having embroidery file formats explained and becoming confident in your craft. Let's solve some problems.
Help! My Machine Can't See the File on My USB Stick.
This is a classic frustration, but the fix is usually simple. If your embroidery machine isn't recognizing your design file, run through this quick checklist:
- Is it the right format? Double-check that you've exported the file in the specific format your machine requires (e.g., PES for Brother, JEF for Janome). Using the wrong one is the most common reason a file won't appear.
- Is the file unzipped? Designs often download in a .ZIP folder. You must extract the contents on your computer before copying the individual design file to your USB stick. Your machine cannot read a .ZIP file.
- Is your USB formatted correctly? Most embroidery machines require a USB stick formatted to FAT32. If yours is formatted as NTFS or exFAT, your machine likely won't be able to read it.
Why Can't I Resize a Stitch File Like a Normal Image?
It's tempting to scale a design up or down, but a machine stitch file (like DST or PES) is not a flexible image. It's a set of fixed instructions telling the needle where to go. When you resize it without specialized software, you're just stretching those instructions. This doesn't change the stitch count, leading to gaps in the fill stitches if you enlarge it or dense, thread-shredding knots if you shrink it. Proper resizing must be done with the original object-based file in embroidery software, which can intelligently recalculate the stitch count and density.
The Colors on My Machine Are Wrong!
Don't panic! Seeing a jumble of random colors on your machine's screen is normal, especially with formats like DST, which don't store any color information. The file only contains the stitch data and instructions for when to stop for a color change. Your machine simply assigns a default color to each stop.
The design itself is perfect. Your job is to refer to the thread chart or color sheet (usually a PDF) that came with your design file. Simply match the first color stop on your machine to the first thread color on the chart, the second to the second, and so on. The final result will be beautiful.
For more expert tips and a curated library of problem-free designs, feel free to explore our collection at embroiderynsewing.com.
From File to Fabric: Your Embroidery Journey Starts Now
Navigating the world of machine embroidery can seem complex, but it all comes down to one simple concept: communication. The most crucial takeaway is that your machine speaks a specific language-its required file format. Knowing whether you need a .PES, .JEF, or .DST file is the key to transforming a digital design into a beautiful, stitched creation. With this guide on embroidery file formats explained, you now have the knowledge to troubleshoot issues and choose the right files with confidence every time.
Feeling inspired to put your new skills to the test? We make it easy to find the perfect design without worrying about compatibility. At Embroidery n Sewing, we offer thousands of unique designs, and every purchase includes all major file formats in one convenient ZIP file. With instant downloads, you can go from browsing to stitching in just a few minutes.
Ready to stitch? Browse our huge collection of high-quality embroidery designs! Happy creating!
Frequently Asked Questions
What is the difference between PES and DST file formats?
The primary difference is the information they store. PES is a Brother-specific format that contains stitch data, thread color information, and design details. DST is a more universal format from Tajima that only contains the stitch commands (needle points). While most machines can read DST files, you lose the original color data. If you have a Brother machine, using a PES file ensures the colors load as the designer intended.
Can I use any embroidery file on my Brother (or other brand) machine?
Not necessarily. Each embroidery machine brand has its own "native" format that works best. For example, Brother uses PES, Janome uses JEF, and Husqvarna/Viking uses VP3. While many modern machines can read several different file types, you will achieve the most reliable results by using the format specifically designed for your machine. Always check your machine's manual to confirm which formats it supports before buying a design.
Do I need special software just to use purchased embroidery files?
To simply use a file, you typically don't. Most embroidery designs can be transferred from your computer to your machine using a standard USB stick. However, if you want to view the design on your computer, resize it, change colors, or combine it with other designs, you will need embroidery software. There are many options available, from free viewers to professional-grade editing and digitizing programs.
Why can't I open an embroidery file on my computer like a JPG or PNG?
A JPG or PNG is a simple image made of pixels. An embroidery file is a set of complex instructions for a machine, containing data for every single stitch, thread change, and trim. Standard image viewers don't know how to interpret this stitch data. You need specialized embroidery software that can read these instructions and render a visual preview of the final stitched design. Getting the various embroidery file formats explained helps clarify this key difference.
Is it possible to convert a regular image (like a JPG) into an embroidery file?
Yes, this process is called "digitizing," and it's more complex than a simple file conversion. It requires special software and skill to translate a flat image into a stitchable design. A digitizer must manually plot stitch types, directions, and densities to create a high-quality result. While some software offers an "auto-digitize" feature, it rarely produces the same quality as a design that has been professionally digitized by an expert.
Which embroidery file format is the best quality?
There isn't one single "best" format; the best quality format is the native one for your specific embroidery machine. Using your machine's native format (like PES for Brother or JEF for Janome) ensures that all the design data, including specific thread colors, is read correctly. The ultimate quality of the stitch-out, however, depends more on the skill of the original digitizer than on the file type itself.


