Diving into the world of machine embroidery can feel both exciting and a little overwhelming. You see beautiful, intricate designs on clothes, hats, and home decor, and you want to create them yourself. The good news? It's much easier than you think! With the right guidance, you can go from unboxing your machine to stitching out your first project in no time. This guide is designed to walk you through every essential step, making the process clear, simple, and fun.
- Gathering Your Toolkit: You'll get a simple, no-fuss checklist of the essential supplies you need, from the right thread to the crucial backing material called stabilizer.
- A Step-by-Step Walkthrough: We will guide you through a 7-step process, covering everything from choosing and loading a digital design to the final snip of the thread.
- Avoiding Common Pitfalls: Learn from the most common beginner mistakes so you can achieve clean, professional-looking results from your very first project.
Machine Embroidery vs. Hand Embroidery: What's the Difference?
Before we dive in, let's quickly clear up the main distinction. Hand embroidery is the traditional craft of using a needle and thread to create stitches by hand. It's a beautiful, meditative art form. Machine embroidery, on the other hand, uses a specialized sewing machine to automatically stitch out a pre-programmed digital design. It’s known for its precision, speed, and ability to perfectly replicate complex patterns, like logos and detailed illustrations. This guide focuses on the exciting and fast-paced world of machine embroidery.
Essential Supplies for Your First Machine Embroidery Project
Having the right tools makes all the difference. You don't need to buy everything at once, but this list covers the core items you'll need to complete your first successful project. Think of this as your beginner's toolkit.
- An Embroidery Machine: This is the heart of your setup. It can be an embroidery-only machine or a combination sewing and embroidery machine.
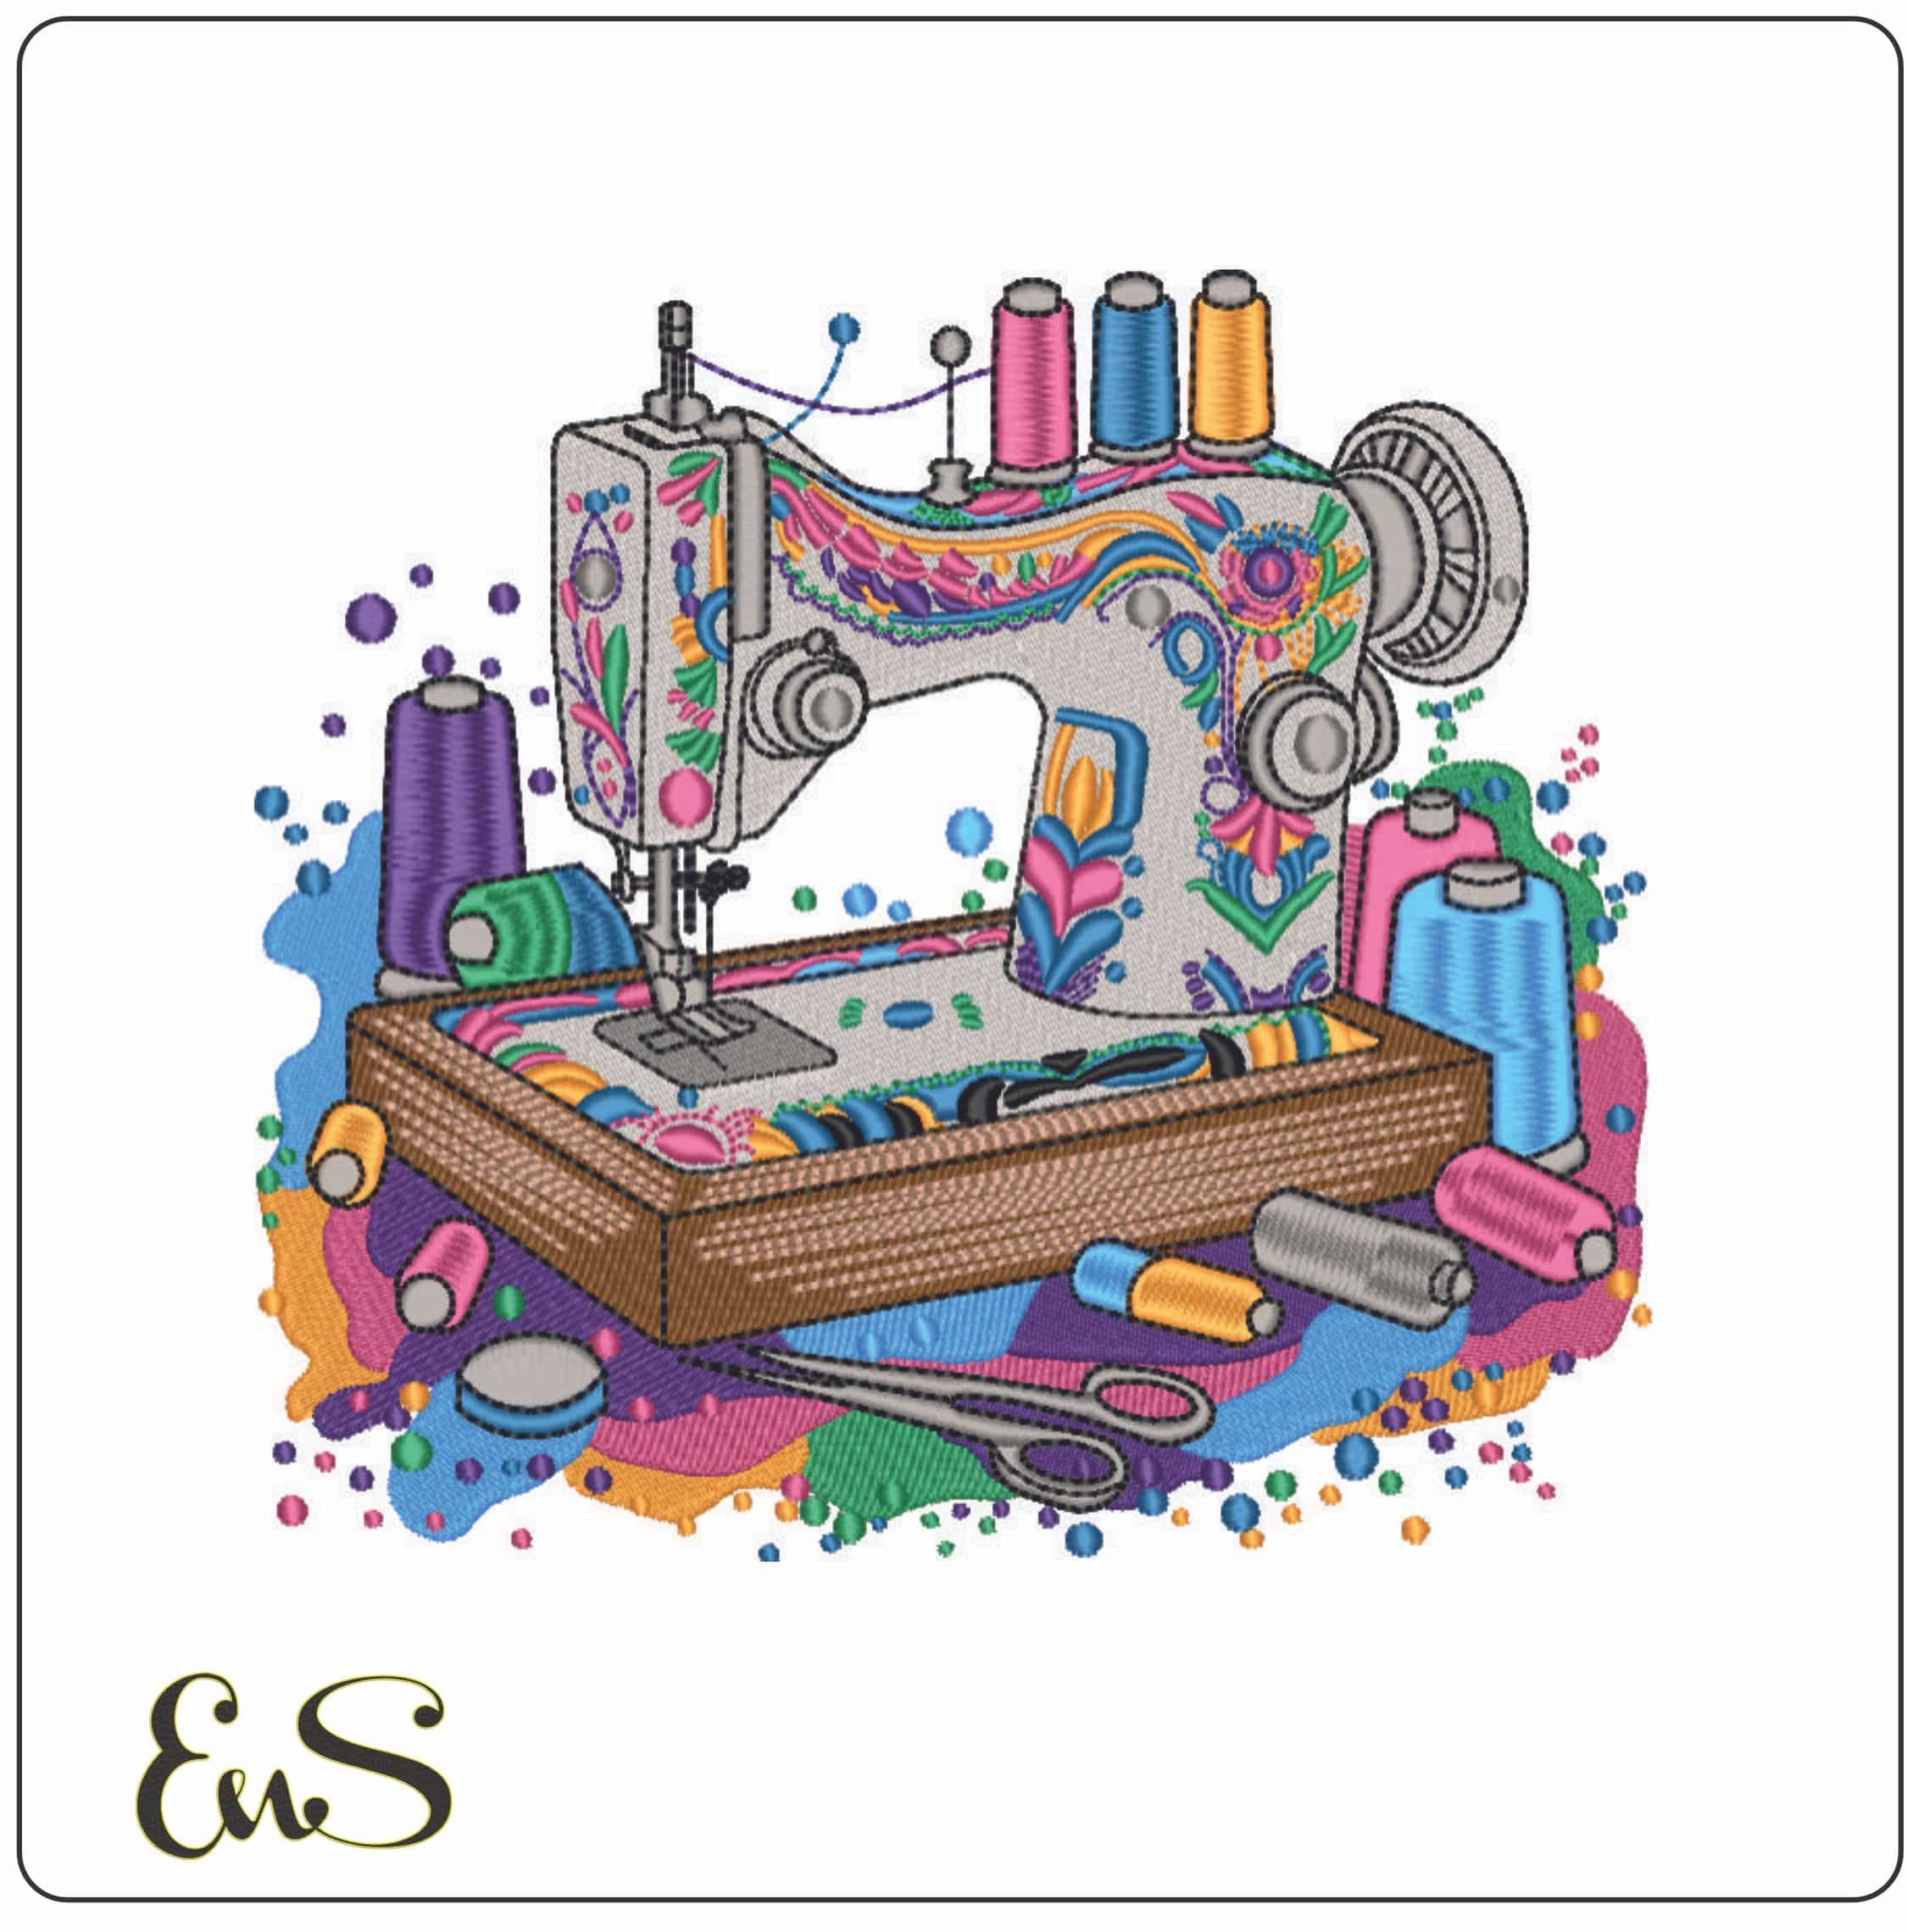
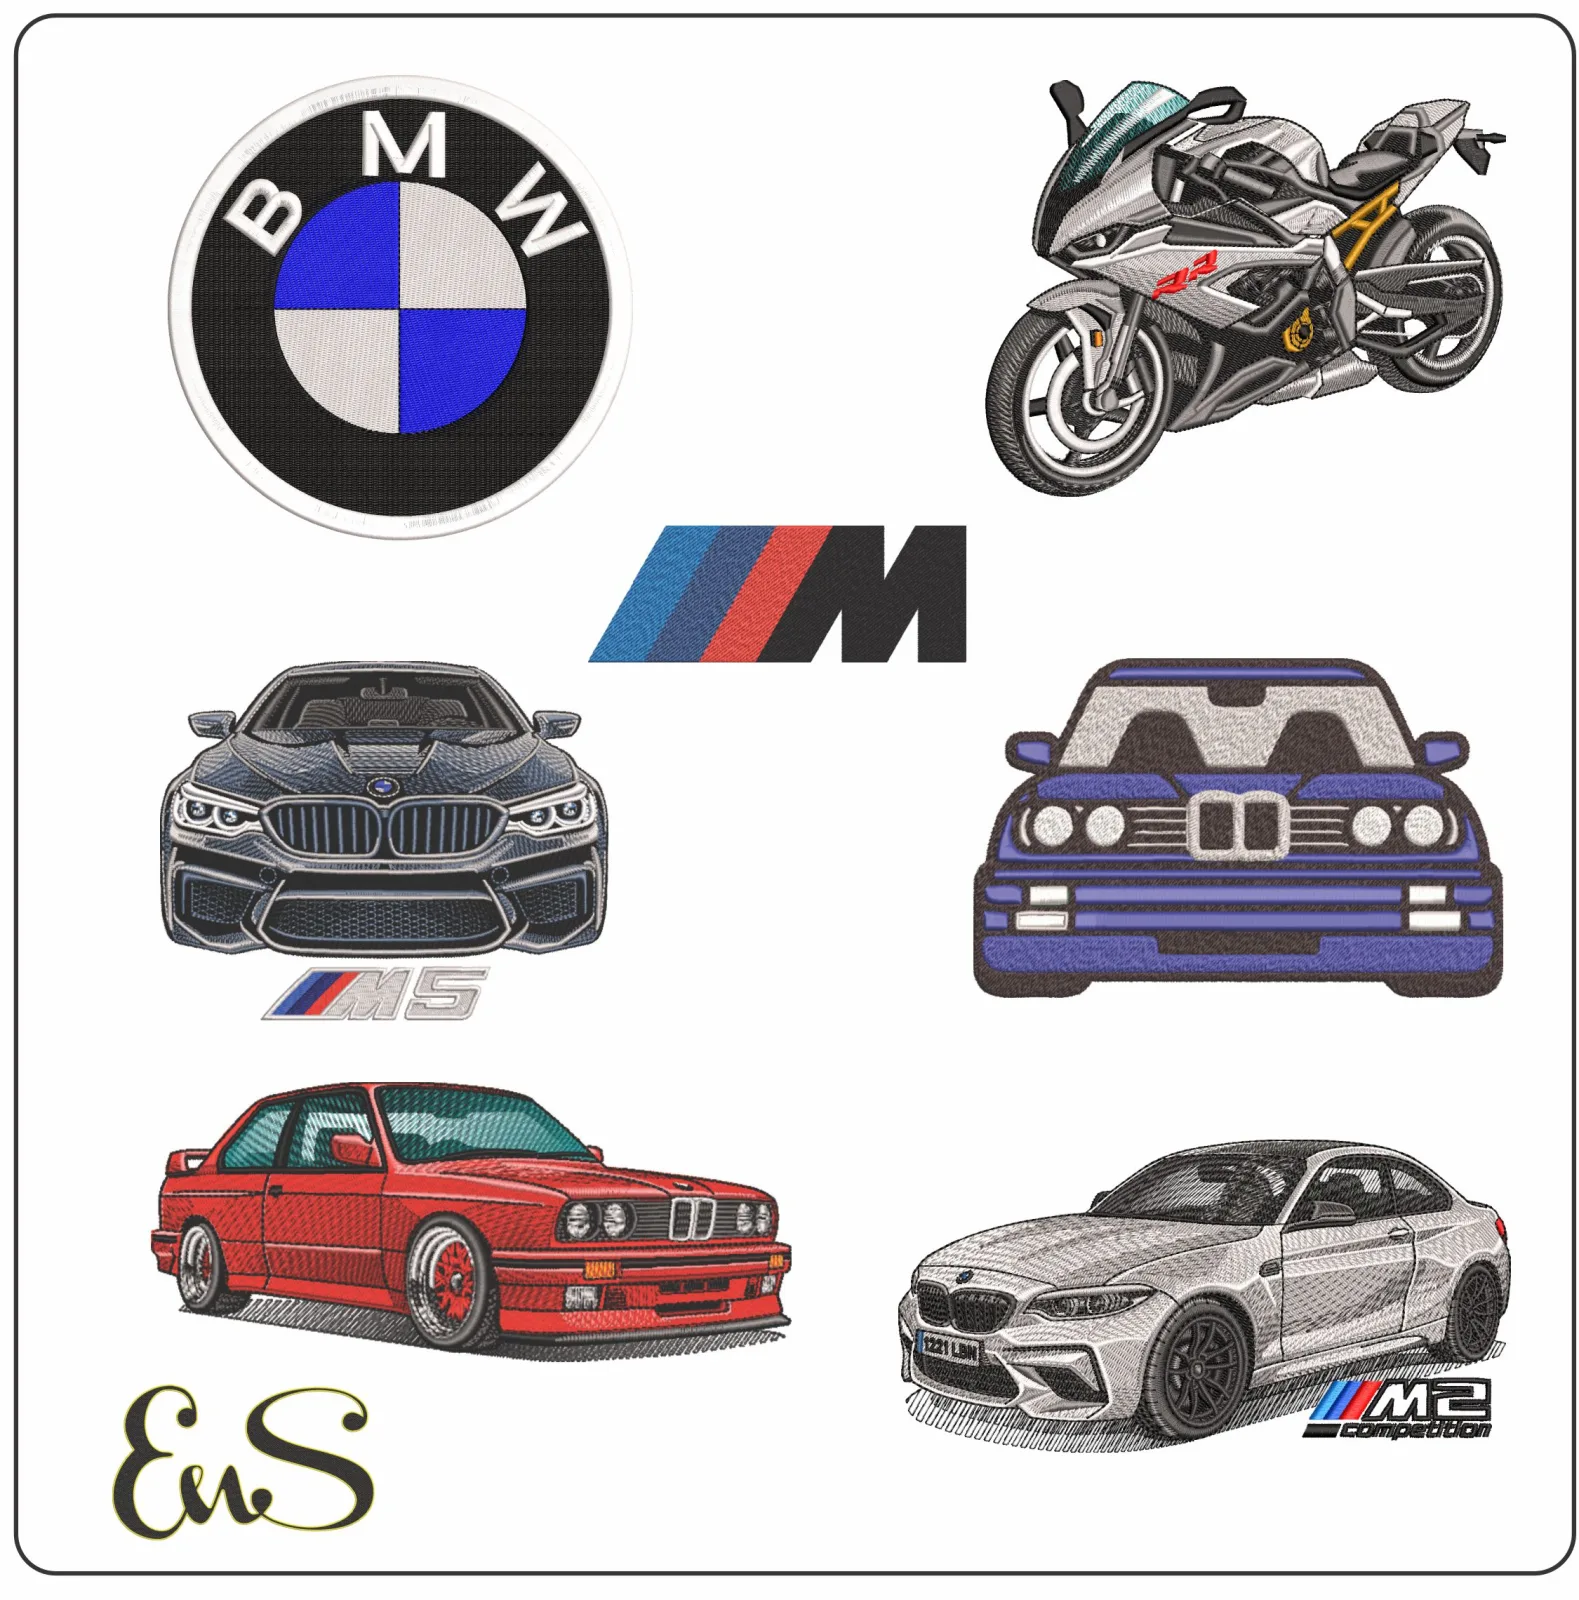
- Digital Embroidery Designs: These are the digital files (like .PES, .DST, or .JEF) that tell your machine what to stitch. They are the patterns of the modern embroidery world.
- Embroidery Thread: Specifically designed for high-speed stitching, it has a beautiful sheen and strength. It comes in a rainbow of colors.
- Fabric: This is what you'll be embroidering on. Beginners often find that non-stretchy cotton or denim is easiest to work with.
- Stabilizer: This is a crucial backing material that supports the fabric during stitching to prevent puckering and distortion. It's non-negotiable for good results!
- Embroidery Hoops: These frames hold the fabric and stabilizer tight and perfectly flat for clean, accurate stitching. Your machine will come with a few sizes.
- Small, Sharp Scissors or Snips: You'll need these for cleanly trimming threads between color changes and at the end of your project.
How to Embroider: Your 7-Step Guide to a Perfect Stitch-Out
Ready to get stitching? Follow these seven steps for a smooth and successful embroidery process. We've broken it down so you can confidently move from choosing a design to admiring your finished creation.
Step 1: Choose Your Digital Embroidery Design
The first fun step is picking what you want to create! For your first project, it's wise to start with a simple design that has clean shapes and only a few color changes. You'll need to download a design file that is compatible with your machine's brand (for example, Brother machines often use .PES files). Once you've purchased or found a free design, download the file to your computer and save it somewhere you can easily find it, like a dedicated "Embroidery" folder. Ready to find the perfect pattern? Explore thousands of beginner-friendly designs here!
Step 2: Prepare Your Fabric and Stabilizer
Proper preparation is key to a professional-looking result. If your fabric is washable, it's always a good idea to pre-wash and iron it to prevent any shrinking after you've embroidered it. Next, choose the right type of stabilizer for your fabric. A good starting point is a medium-weight tear-away stabilizer for stable fabrics like cotton. Cut a piece of both your fabric and your stabilizer so they are both at least an inch or two larger than your hoop on all sides. Place the stabilizer flat on your table, and then lay your fabric on top of it.
Step 3: Hoop the Fabric Correctly
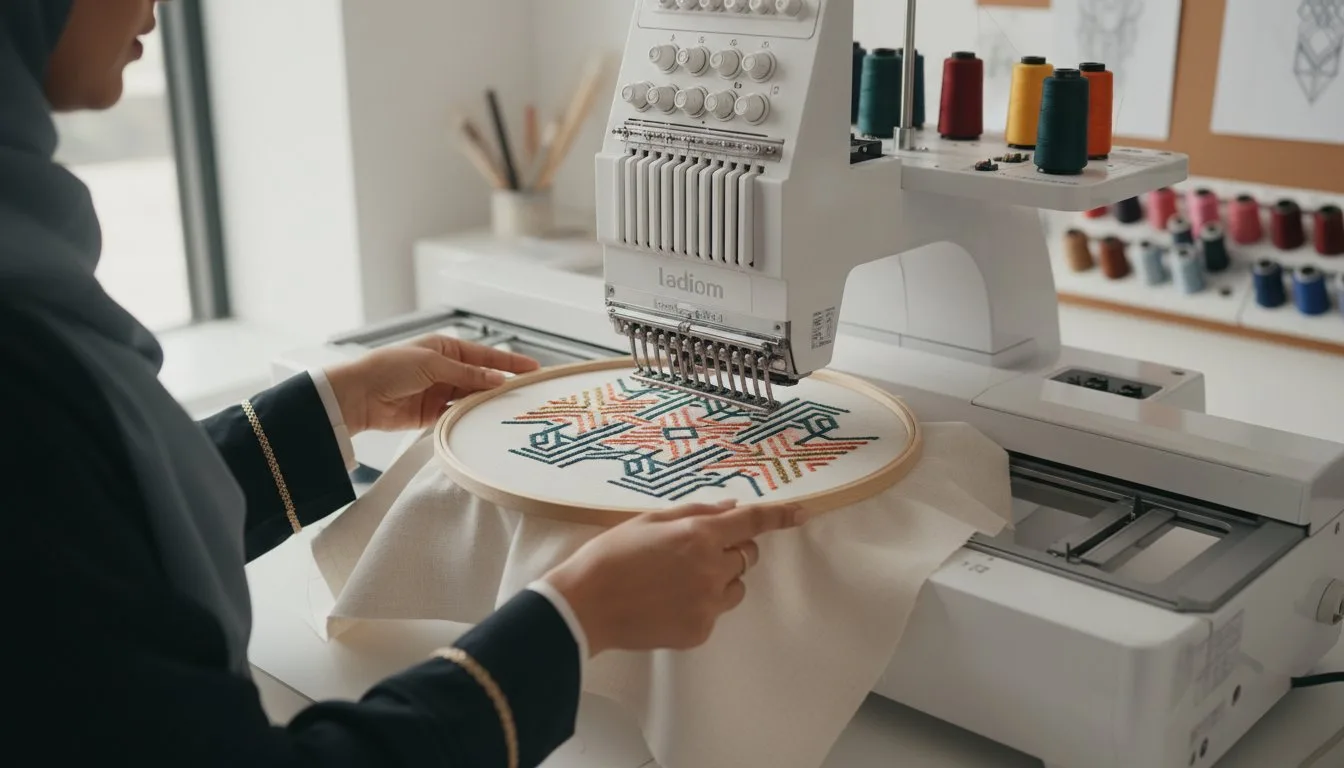
Hooping creates the foundation for good stitching. Separate the two rings of your embroidery hoop. Place the inner ring on your flat surface. Lay your fabric and stabilizer combination over that inner ring, making sure your design area is centered. Now, press the outer ring down firmly over the inner ring, sandwiching the fabric. Your fabric should be taut like a drum-smooth and tight, with no wrinkles or ripples. Most hoops have a screw that you can tighten to secure it perfectly.
Step 4: Set Up Your Embroidery Machine
Now, let's get your machine ready. If you have a combination machine, attach the embroidery unit. It's always best practice to start a new project with a fresh embroidery needle. Thread the machine with the first color in your design sequence, following the guides on your machine. Finally, make sure you have a bobbin wound with embroidery bobbin thread (which is finer than top thread) and insert it into the bobbin case.
Step 5: Load the Design and Position the Hoop
It's time to bring your digital design to life. Transfer the design file from your computer to the embroidery machine. Most modern machines use a USB stick for this, while some have Wi-Fi connectivity. Once transferred, select the design on your machine's LCD screen. Now, slide the hoop into the brackets on the machine's embroidery arm until it clicks securely into place. You can use the positioning arrows on your screen to move the needle precisely over the spot where you want the design to begin stitching.
Step 6: Start the Stitch-Out
This is the magical part! Before you press go, do a final check to ensure there's nothing obstructing the movement of the hoop. Lower the presser foot, and then press the "Start" button on your machine. The machine will whir to life and begin stitching the first color block of your design. It's a good idea to stay near the machine while it's working, just to monitor for any potential issues like thread breaking or nesting.
Step 7: Change Threads and Finish Your Project
Your machine is smart! It will automatically stop when it's time to change thread colors and will usually display a message on the screen. When it stops, carefully lift the presser foot, snip the top thread, and remove the spool. Load the next color indicated by your design, re-thread the needle, and press "Start" again. Once the entire design is stitched, the machine will stop. Remove the hoop, take your fabric out, and admire your work! The final step is to trim away the excess stabilizer from the back and snip any small "jump stitches" (threads between letters or elements) from the front.

Common Beginner Mistakes and How to Avoid Them
Every expert was once a beginner. Here are a few common hurdles and how you can easily clear them for better results from the start.
- Using the Wrong Stabilizer: This is the #1 cause of puckered, distorted designs. Solution: Always match your stabilizer to your fabric type and design density. When in doubt, a medium-weight cut-away stabilizer is a safe bet for most projects.
- Incorrect Hooping: If your fabric is too loose in the hoop, stitches can become misaligned and patterns can shift. Solution: Make sure your fabric is taut and smooth before you start. It should be tight, but not so stretched that it distorts the fabric weave.
- Forgetting the Embroidery Needle: A regular sewing needle is not designed for the speed and friction of embroidery and can cause shredding or breaking thread. Solution: Always use a needle specifically labeled for "Embroidery." They have a special scarf and a larger eye to protect the thread.
- Skipping a Test Stitch-Out: It's tempting to jump right to your final project, but this can lead to disappointment if something is wrong. Solution: Before embroidering on your expensive jacket or favorite towel, do a test run on a scrap piece of similar fabric. This lets you check your tension, colors, and placement.
Frequently Asked Questions
What is the best embroidery machine for a beginner?
The best machine is one that fits your budget and has good user reviews. Brands like Brother, Janome, and Singer offer excellent entry-level models that are user-friendly and reliable. Look for features like a USB port for easy design transfer and a clear LCD screen.
Can I embroider on any type of fabric?
You can embroider on a huge variety of fabrics, from delicate silk to sturdy canvas! The key is to pair the fabric with the correct type of needle and stabilizer to properly support the stitches.
What is a stabilizer and do I really need it?
A stabilizer is a special backing material that provides structure and support to the fabric during the embroidery process. Yes, you absolutely need it! It prevents the fabric from stretching, shifting, and puckering, and it's the secret to crisp, professional-quality embroidery.
How do I know which file format my machine uses?
Your machine's manual is the best place to check. However, some common formats are .PES for Brother/Babylock, .JEF for Janome, .HUS for Husqvarna/Viking, and .DST, which is a more universal commercial format. Most designs you buy will come with multiple format options in a single download.
What is the difference between embroidery thread and sewing thread?
Embroidery thread (usually rayon or polyester) is designed to run smoothly at very high speeds and has a higher sheen to make designs pop. Sewing thread is typically stronger and made of cotton or all-purpose polyester, designed for construction, not decoration.
Can I use a regular sewing machine for embroidery?
You can do "free-motion" embroidery on a regular sewing machine by dropping the feed dogs and guiding the fabric by hand, but this is a manual skill that takes a lot of practice. To use digital embroidery designs, you need a dedicated embroidery machine that can read the files and move the hoop automatically.
You now have the knowledge and a clear roadmap to start your machine embroidery adventure. The most important thing is to have fun, experiment, and not be afraid to make mistakes-that’s how you learn! Start with a simple design, follow these steps, and you’ll be creating amazing projects in no time. Ready to find that perfect first pattern? Browse our huge collection of digital embroidery designs to start your first project!