

You’ve found it-the absolute perfect embroidery design for your new project. But there’s a catch: it's just a little too big for your hoop or too small for the statement you want to make. If you've ever tried to guess your way through resizing, only to be met with a disappointing stitch-out full of gaps, bulletproof stitches, and puckered fabric, you know the frustration. Unlike a simple photo, an embroidery file is a complex set of instructions for your machine. That’s why learning how to resize an embroidery design the right way is one of the most crucial skills you can master.
This guide is here to take the guesswork and anxiety out of the process. We'll demystify why simply scaling a design can lead to disaster and reveal the secrets to adjusting stitch properties for a clean, professional finish. You will learn the safe limits for scaling any design, gain the confidence to modify files without fear of ruining expensive materials, and discover which software tools make the job easy. Get ready to unlock the freedom to customize any design for a flawless stitch-out on any project, every single time.
- Discover why dedicated embroidery software is the only safe tool for the job, while resizing on your machine risks ruining your project. - Follow a universal workflow for how to resize an embroidery design that preserves stitch quality and integrity. - Understand that a test stitch-out is the mandatory final step to guarantee a flawless result before embroidering on your final item.
Table of Contents
- Why You Can't Just 'Stretch' an Embroidery Design Like a Picture
- Essential Tools: Software for Resizing Embroidery Files
- Step-by-Step: How to Resize a Design in Your Software
- Troubleshooting Common Resizing Problems
- The Final, Non-Negotiable Step: The Test Stitch-Out
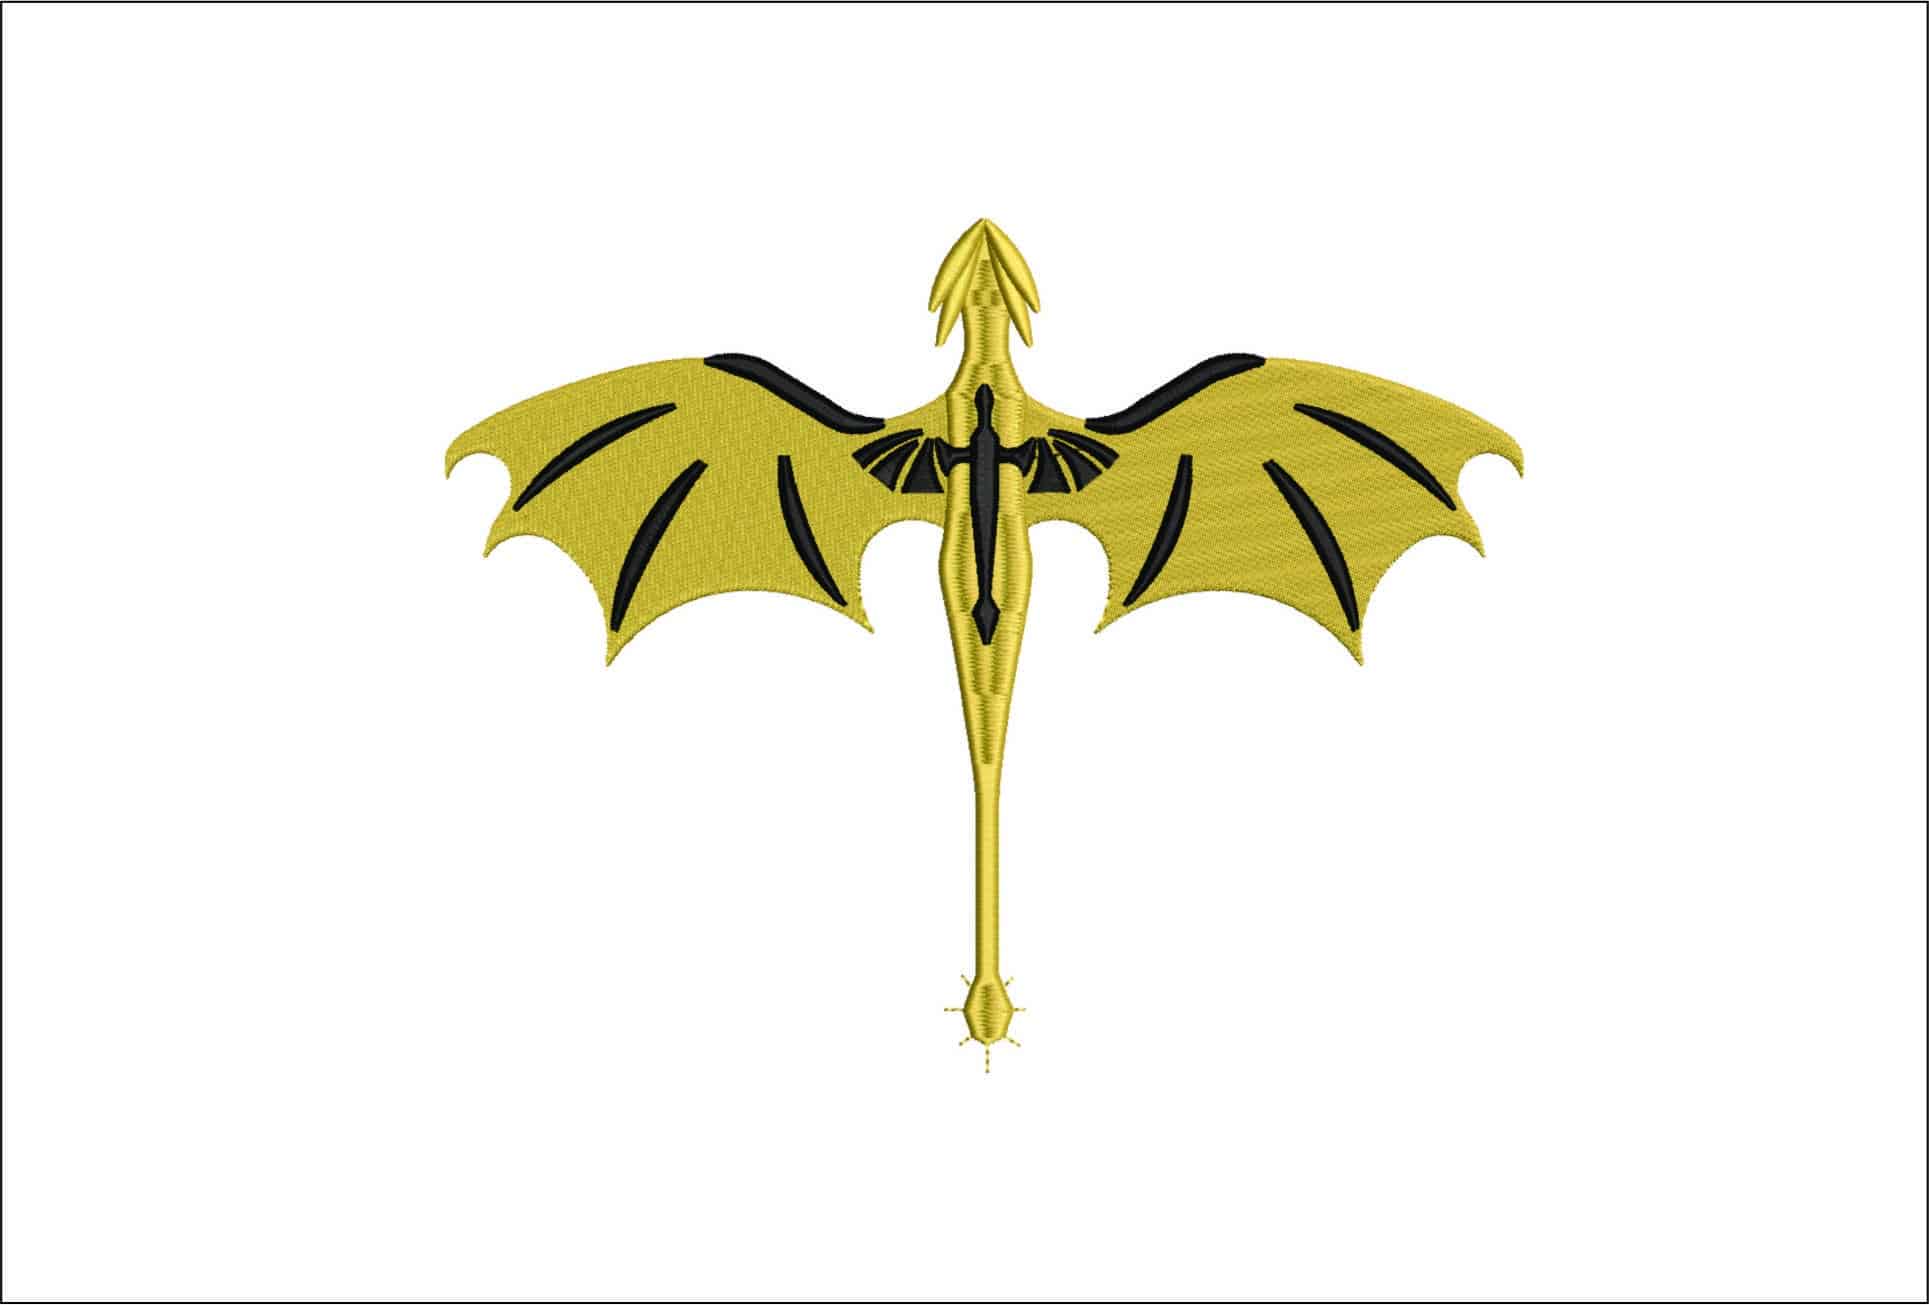
If you've ever dragged the corner of a photo to make it bigger, you might assume you can do the same with an embroidery file. This is the single biggest mistake newcomers make when learning how to resize an embroidery design. An embroidery file is not a visual image; it's a digital blueprint, a precise set of instructions for your machine.
Think of it as a command script that tells the needle where to go, when to cut the thread, and what type of stitch to create for every single point. Simply stretching this script doesn't add more detail-it just distorts the original commands, leading to poor quality stitch-outs and potential machine problems.
Stitch Files vs. Image Files: An Analogy
Imagine a JPG or PNG file is a map of colored pixels. When you enlarge it, the software adds more pixels to fill in the gaps. An embroidery file (like a PES, DST, or JEF) is more like a musical score for your machine. It dictates the exact timing and location of each note (or stitch). If you just stretch the score, the notes get longer and sound distorted, but you don't get any new notes to fill out the melody. That’s what happens to your stitches.
What Really Happens When You Resize Badly?
Forcing a design to change size without recalculating the stitches can cause a cascade of problems. The intricate balance created by the digitizer is thrown off, resulting in:
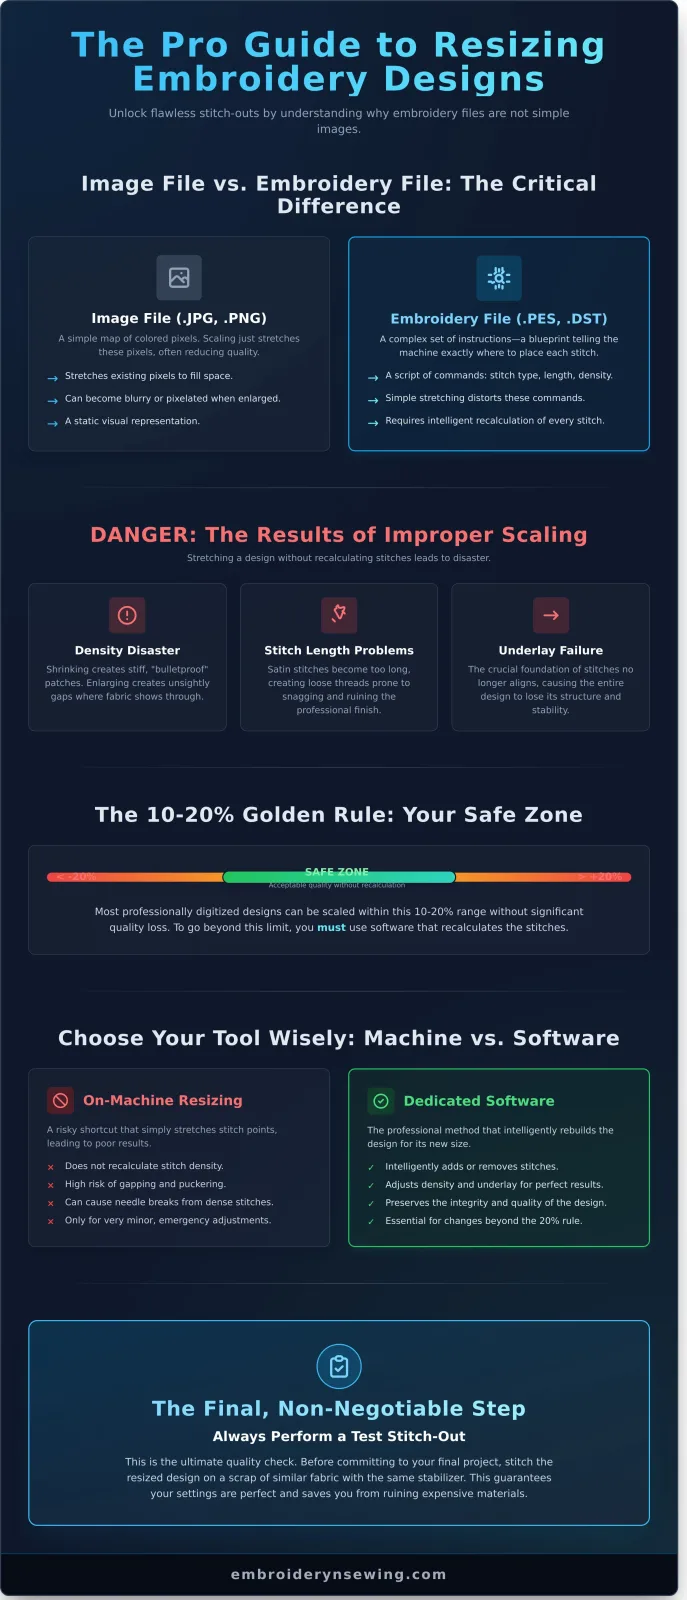
- Density Disaster: When you shrink a design, stitches become too dense, creating a stiff, "bulletproof" patch that can break needles and pucker fabric. Enlarge it, and you get unsightly gaps where the fabric shows through.
- Stitch Length Problems: Satin stitches are designed to be a specific length. Stretching them too far creates long, loose threads that are prone to snagging and ruin the design's professional finish.
- Underlay Failure: The underlay is the crucial foundation of stitches that stabilizes the fabric and supports the top stitches. When resized improperly, this foundation no longer aligns with the top layer, causing the entire design to lose its structure.
The 10-20% Rule: Why It's a Safe Bet
As a golden rule, most professionally digitized designs can be safely scaled up or down by 10-20%. This range is generally small enough that the stitch density and length remain within acceptable tolerances. The art and history of embroidery have evolved dramatically with technology, but the physics of thread on fabric remain. This guideline respects the original digitizer’s settings. To go beyond this limit, you need specialized software that doesn't just stretch the design but intelligently recalculates every single stitch, adding or removing them as needed to maintain perfect quality.
Essential Tools: Software for Resizing Embroidery Files
To properly resize an embroidery design, you need specialized software. While it might be tempting to use your embroidery machine's built-in resizing function, this is a risky shortcut. Most machines simply stretch or shrink the existing stitch points, which can lead to gapping, puckering, or stitches that are too dense and cause needle breaks. The key to success is using a program that can recalculate the stitch count, density, and length to match the new size.
Understanding how to resize an embroidery design correctly means knowing the difference between a simple file viewer, which only lets you see the design, and a full editing program that can intelligently alter its structure.
Free Software Options for Basic Resizing
For beginners or those who only need to make small adjustments (typically within 10-20% of the original size), free software is an excellent starting point. These programs offer basic resizing capabilities with the all-important stitch recalculation feature.
- Embrilliance Express: A popular choice that allows you to open most file types, make simple size changes, and save them for your machine.
- My Editor: Another free tool that provides viewing and basic editing, including resizing and rotating designs.
Paid Software for Advanced Control
If you frequently edit or resize designs, investing in paid software provides unparalleled control. These advanced programs are essential for anyone serious about getting professional results, especially when making significant size changes. They allow you to manually adjust stitch density, change stitch types, edit underlay for better stability, and much more. Popular options include:
- Hatch Embroidery
- Wilcom Embroidery Studio
- Embrilliance Essentials (and up)
Native vs. Machine File Formats (.EMB vs. .PES)
Understanding file types is critical. Think of a native or object-based file (like .EMB for Wilcom) as the master recipe. It contains all the original information-stitch types, paths, and layering-and is built upon principles of digital textile pattern design theory. These files resize beautifully because the software can re-apply the recipe to the new dimensions. In contrast, a machine or stitch-based file (.PES, .DST, .JEF) is like the baked cake. It only contains the final stitch coordinates. While software can still resize it, it's more like trying to alter the cake after it's out of the oven-possible, but with limitations. Most designs you buy online are stitch files, which is why having good software is so important.
Step-by-Step: How to Resize a Design in Your Software
While the exact menu names may differ between programs like Embrilliance, Hatch, or PE-Design, this universal workflow explains how to resize an embroidery design safely and effectively. The most important rule is to always work on a copy of your file. Never modify your original purchased design; you might need it again later!
The goal is to change the dimensions while allowing the software to intelligently adjust the stitch count. A successful resize will always result in a different number of total stitches.
Step 1: Open and Analyze the Original Design
First, open your chosen design file. Before you touch any settings, take a moment to analyze its properties. This information is usually displayed in a corner of your screen or in a design properties window. Make a note of the following:
- Original Dimensions: The starting height and width.
- Total Stitch Count: The number of stitches in the original file.
- Stitch Types: Visually identify the main stitch types used, such as wide fill stitches, delicate satin stitches, or simple running stitches. This helps you know what to look for when you check the resized version.
Step 2: Enter the New Dimensions
Locate your software’s sizing tool, often called 'Transform,' 'Scale,' or 'Resize.' In the tool's dialog box, you will see options to enter new dimensions. To avoid a squashed or stretched-out result, ensure the 'Keep Aspect Ratio' or 'Maintain Proportions' option is locked (it often looks like a small padlock). Now, enter your desired new height or width. Remember to stay within the recommended 10-20% size change for the best quality stitch-out.
Step 3: Recalculate Stitches (The Magic Step)
This is the most critical step. Simply changing the dimensions isn't enough. You must tell the software to recalculate the stitches for the new size. Look for a checkbox or setting labeled 'Recalculate Stitches,' 'Apply Density,' or 'Auto Adjust Density.' This feature, a cornerstone of modern textile pattern software, ensures that stitch density remains correct. Once you apply this, you should see the total stitch count change. If you made the design larger, the stitch count will increase; if you made it smaller, it will decrease.
Step 4: Save Your Resized File Correctly
Never just click 'Save'! This will overwrite your original file. Instead, go to File > Save As. This allows you to create a completely new file for your resized version. Give it a descriptive name that includes the new size, like 'FloralLogo_4x4.pes' or 'Dragon_small.dst'. Finally, double-check that you are saving it in the correct file format that your specific embroidery machine requires.
Troubleshooting Common Resizing Problems
Even with the best software, resizing an embroidery design isn't always foolproof, especially when you push the limits beyond that 10-20% guideline. The only way to be certain your resized file will stitch correctly is to run a test stitch-out on a scrap piece of similar fabric. Learning to spot and fix common issues will save you countless hours of frustration and wasted materials. Here are the most frequent problems you might encounter and how to solve them.
Problem: Gaps Appearing in Fill Stitches
If you notice unwanted gaps or spaces in what should be a solid area of color, you have likely enlarged the design too much. The software has simply pulled the original stitches further apart without adding new ones to compensate. The solution is to manually increase the stitch density in your software’s settings. This tells the program to add more stitches to fill the area properly. Also, double-check that you are using the correct stabilizer for your fabric, as poor stabilization can also cause gapping.
Problem: Fabric is Puckering or the Design is 'Bulletproof'
When you shrink a design, the original number of stitches gets packed into a smaller area. This can make the stitch density too high, causing the fabric to pucker and pull. The resulting embroidery can feel stiff and "bulletproof." When learning how to resize an embroidery design, this is a common hurdle. To fix it, you need to reduce the stitch density in your software. This removes some of the stitches, relieving the tension on the fabric. Be careful not to use too much stabilizer, which can contribute to a stiff final product.
Problem: Satin Stitches Look Long, Loose, and Snag
Enlarging a design can stretch satin stitches beyond their functional limit, which is typically around 7mm to 12mm. These overly long stitches look unprofessional, feel loose, and are highly prone to snagging on jewelry or during laundering. Fixing this often requires advanced software features that can convert the long satin stitches into a different type, like a tatami or fill stitch. For beginners, the best advice is to avoid significantly enlarging designs that rely heavily on satin stitching. If you need a larger size, it's often better to find a file digitized for that dimension from the start. Browse our professionally digitized designs to find the perfect size for your project.
The Final, Non-Negotiable Step: The Test Stitch-Out
You’ve carefully adjusted settings in your software, and the design looks perfect on screen. But the digital world and the physical world of thread and fabric don't always align perfectly. This is why a test stitch-out isn't just a suggestion-it's a mandatory final step in the resizing process. Think of it as the dress rehearsal before opening night. A quick 10-minute test can save you from a two-hour disaster, a ruined garment, and a lot of frustration. It is your ultimate quality control checkpoint and the most critical part of learning how to resize an embroidery design successfully.
How to Prepare for Your Test
To get a truly accurate preview, you must replicate the conditions of your final project as closely as possible. This isn’t the time to grab a random scrap of felt if you plan to embroider on a stretchy t-shirt. Your goal is to see exactly how the resized design will behave on your actual item. For a reliable test, make sure you use:
- Similar Fabric: Use a scrap piece of the same material or one with a very similar weight, weave, and stretch.
- Identical Stabilizer: Use the exact same type and number of layers of stabilizer you plan to use for the final garment.
- The Same Tools: Use the same needle type and size, as well as the same brand and weight of thread you'll use for the real thing.
What to Look For in the Stitched Sample
Once your machine has finished, it’s time to play detective. A thorough inspection now will reveal any adjustments you need to make before you commit to your project. Don't just glance at it-examine it closely from all angles and assess its quality.
- Check the Front: Are the fill stitches smooth and even, or are there unsightly gaps and puckering? Are the satin stitch borders crisp and clean, or are they jagged and pulling away from the fill?
- Inspect the Back: Flip the sample over. Look for signs of tension issues, like excessive bobbin thread showing (too loose) or thread "looping" (too tight). This often points to density problems in the resized file.
- Evaluate the Feel: Pick it up and feel it. Does the design feel soft and flexible, or is it stiff and "bulletproof"? An overly dense resize can make a garment uncomfortable and rigid.
If your test stitch-out looks perfect, you can proceed with confidence! If you spot issues, return to your software and make small adjustments to density, pull compensation, or underlay. Mastering how to resize an embroidery design is a journey of practice, and the test stitch-out is your most valuable teacher. For more expert tips and project inspiration, explore the resources at embroiderynsewing.com.
Mastering Your Designs: The Final Stitch
You now have the essential knowledge for how to resize an embroidery design the correct way. Remember that embroidery files are complex sets of instructions, not simple images, which is why specialized software is necessary to adjust stitch density and prevent poor results. Above all, never skip the final, non-negotiable step: the test stitch-out. This single action will save you from wasting time and materials, guaranteeing your final project looks professional and polished.
Ready to start a new project without the resizing hassle? Find perfectly sized patterns in our collection of thousands of embroidery designs! Every design is professionally digitized for all major machine formats and has been tested to ensure high-quality stitch-outs. Plus, with instant downloads, you can get started on your next masterpiece right away.
Go ahead and experiment with your new skills. Happy stitching!
Frequently Asked Questions
Can I resize an embroidery design directly on my machine's screen?
Yes, most modern embroidery machines allow basic resizing, typically up to 20% larger or smaller. However, this method only scales the stitch points without recalculating stitch density. For minor adjustments, this is often acceptable. For larger changes, resizing on your machine can create gaps in fill stitches when enlarging or cause stitches to become too dense and bulky when shrinking.
What is the best free software for resizing embroidery designs?
For high-quality results, several free programs are excellent. Ink/Stitch, an extension for the vector program Inkscape, offers powerful resizing and editing. Other popular choices include My Editor and Bernina Artlink, which are dedicated viewing and editing tools. These programs can recalculate stitch density when you resize, which provides a much more professional finish than resizing on your machine's screen.
How much can I enlarge an embroidery design before it looks bad?
As a general rule, you should not resize an embroidery design more than 20% larger than its original size. Exceeding this limit can cause quality issues. Fill stitches may develop gaps, revealing the fabric underneath, and satin stitches can become too long, making them prone to snagging. For the best results, always try to use a design that is already close to your desired final size.
What happens to the stitch count when I resize a design?
This depends entirely on your resizing method. If you resize on your embroidery machine, the stitch count remains the same. The machine simply makes each stitch longer or shorter. When using embroidery software, the program intelligently recalculates the design to maintain proper density. This means enlarging the design will increase the stitch count, while shrinking it will decrease the stitch count for a clean stitch-out.
Is it better to make an embroidery design bigger or smaller?
It is generally safer to make a design slightly smaller than to make it bigger. When you shrink a design using software that recalculates stitches, it can often maintain its quality. Enlarging a design, however, can expose digitization flaws and create overly long satin stitches. Learning how to resize an embroidery design properly often means understanding that starting with a file close to the target size is always the best approach.
Will resizing a design affect the thread colors?
No, resizing an embroidery design will not change the thread color information stored in the file. The color stops and thread sequence are embedded in the design data and remain constant regardless of the final dimensions. You will be prompted for the same color changes in the same order, whether you are stitching the original size or a resized version. Your machine simply applies that color data to the new stitch path.
How do I resize embroidery fonts without them getting distorted?
Resizing pre-digitized embroidery fonts follows the same 20% guideline. For larger adjustments, it is much better to use lettering software or the fonts built into your embroidery machine. This allows you to type the text at the exact size you need. The software then generates the stitches perfectly for those dimensions, ensuring satin stitches remain clean and the letter shapes are preserved without any distortion.


