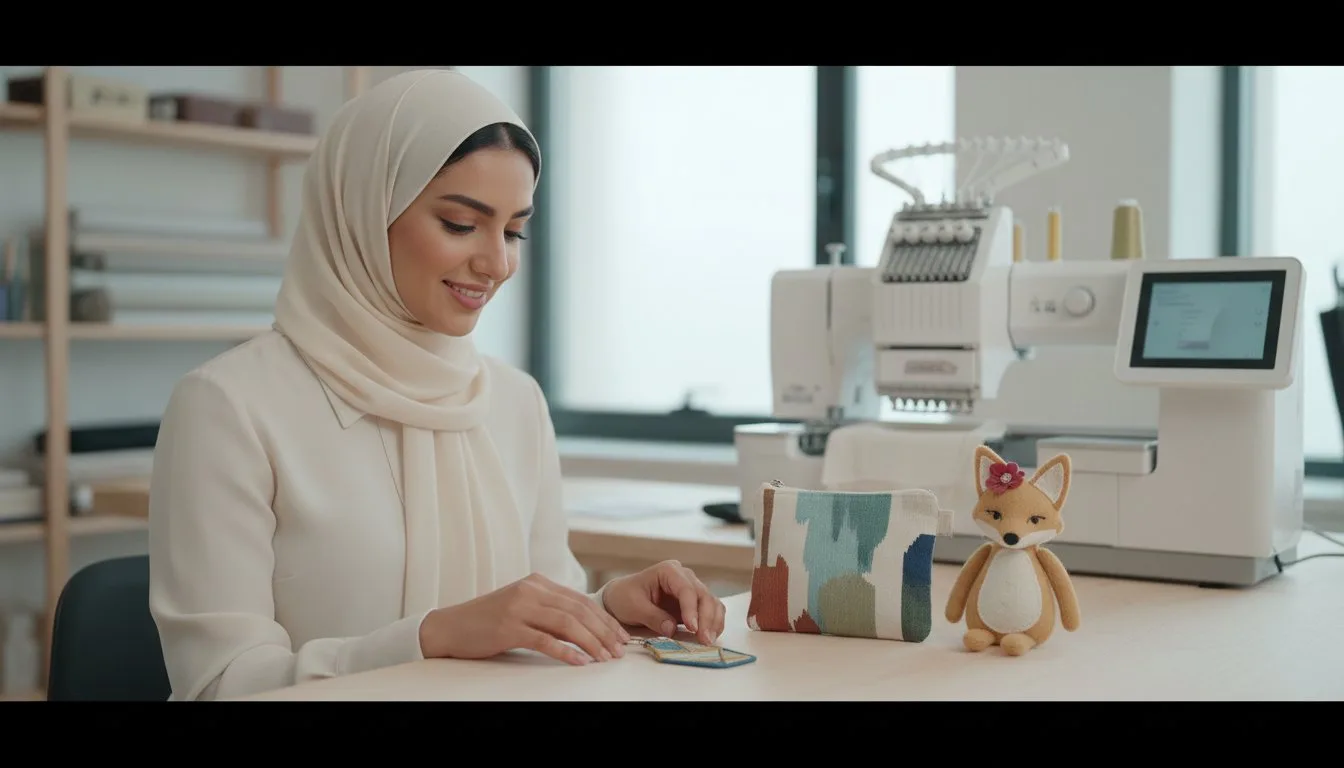
Have you ever marveled at those perfectly stitched key fobs or zippered pouches made entirely on an embroidery machine and thought, “I could never do that”? It’s easy to feel intimidated when you’re just starting out, worried about wasting beautiful fabric or not knowing where to begin. But the truth is, creating amazing things from scratch is easier than you think, especially with the right in-the-hoop projects for beginners. This guide is your friendly starting point, designed to take the fear out of the first stitch and replace it with pure creative joy.
We’re going to break it all down for you, step-by-step. You’ll learn exactly what in-the-hoop (ITH) embroidery is and how it works, get a complete list of essential supplies so you can shop with confidence, and discover a curated collection of simple, fun projects. By the end, you’ll be ready to load your first design, press 'start,' and watch in amazement as your machine crafts a beautiful, finished item right inside the hoop. Let’s get stitching!
## What Are In-the-Hoop (ITH) Projects? The Magic Explained
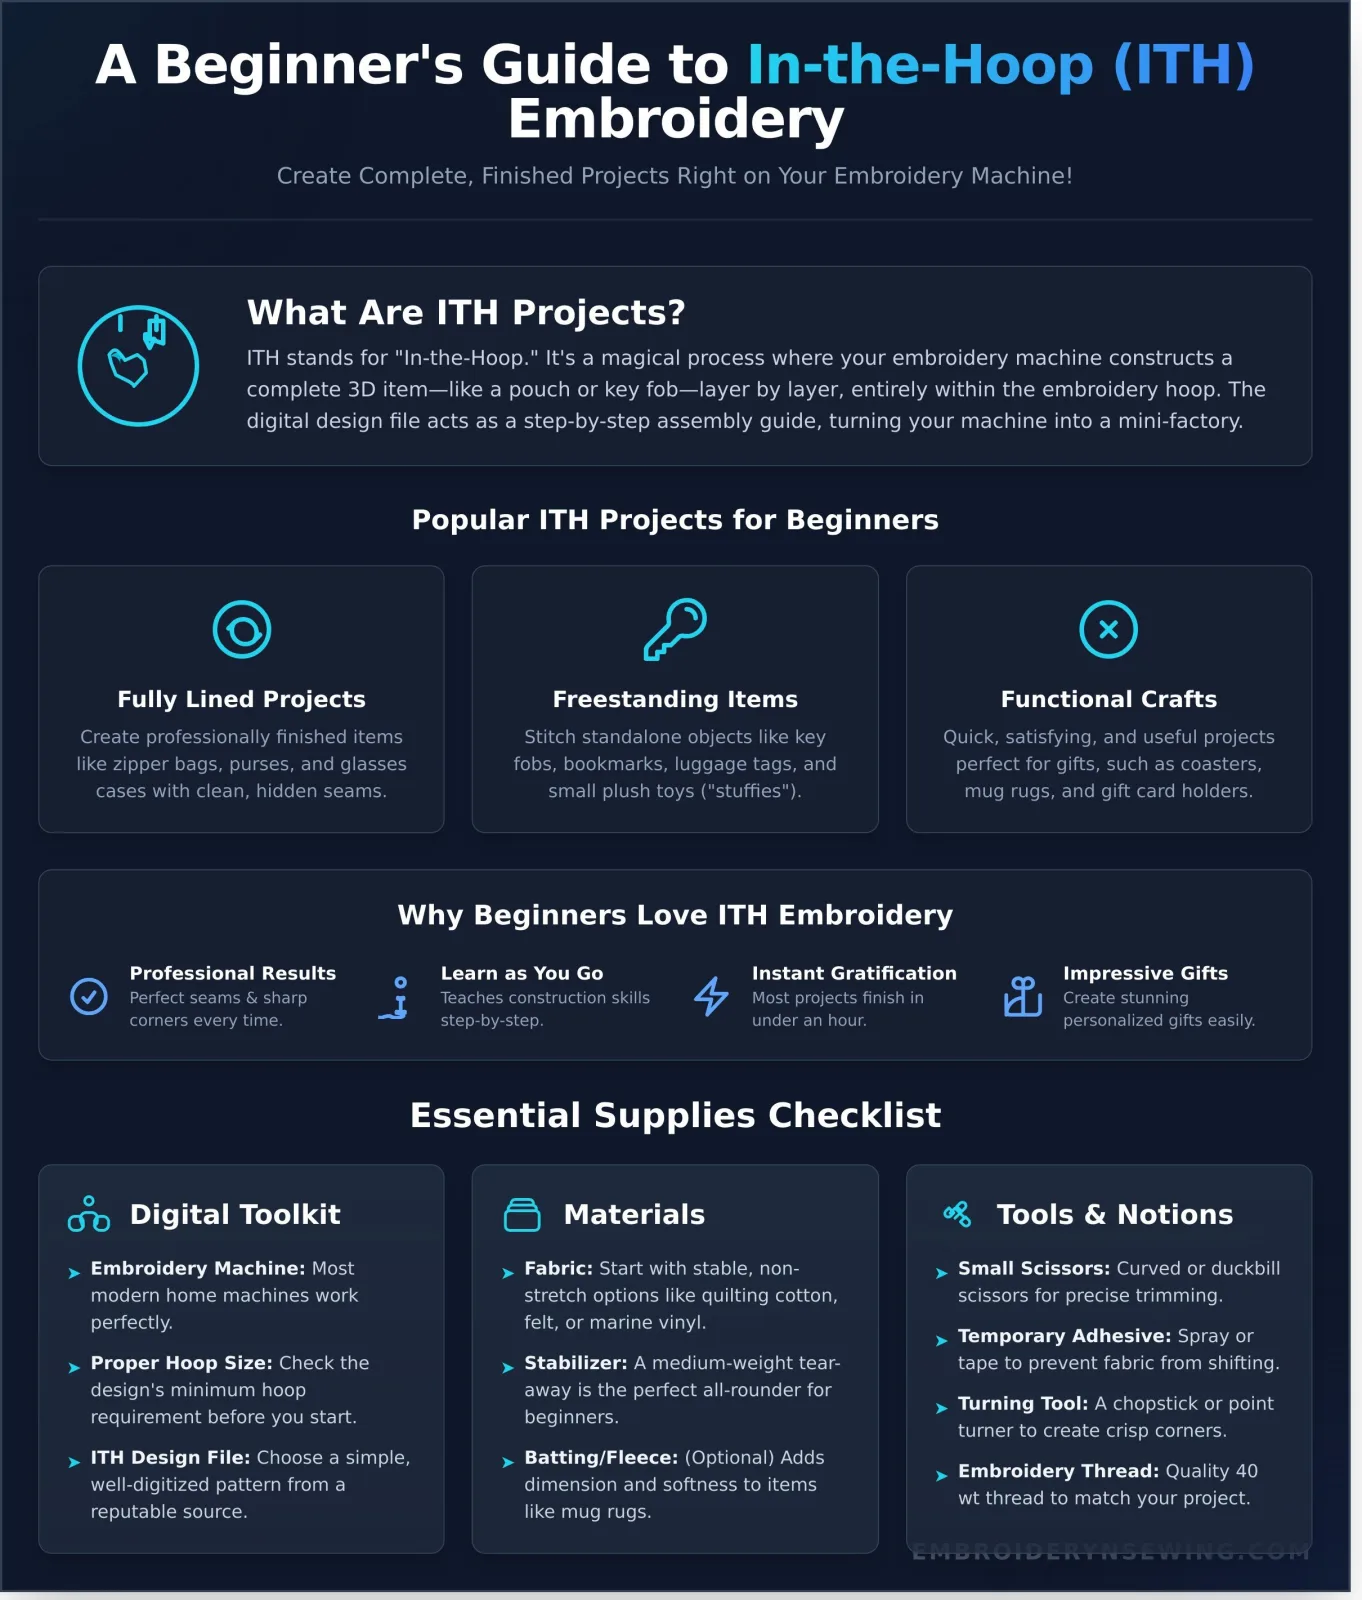
Imagine creating a complete, three-dimensional item-like a zipper pouch, a key fob, or a small stuffed toy-entirely within the hoop of your embroidery machine. That’s the magic of in-the-hoop (ITH) projects. Unlike traditional embroidery that simply adds a decorative design to an existing item like a t-shirt or a towel, ITH projects build the item from the ground up, layer by layer.
The secret is in the digital design file. It’s not just a set of stitches; it's a step-by-step construction guide for your machine. The file includes placement lines for your fabric, tack-down stitches to hold everything together, and all the finishing details. While it’s helpful to understand what machine embroidery is in general, ITH takes it to the next level by turning your machine into a multi-talented assembly tool. The only manual work usually required is trimming fabric between steps and closing a small turning gap with a few hand stitches or fabric glue after the project is complete.
The world of ITH is vast, but most designs fall into a few popular categories. These are excellent starting points for anyone exploring in-the-hoop projects for beginners:
- **Fully Lined Projects:** These are some of the most impressive ITH creations. Think of perfectly constructed zipper bags, purses, and glasses cases that emerge from the hoop nearly finished, with clean, professional linings.
- Freestanding Items: These projects are stitched onto a stabilizer that is later washed or torn away, leaving a standalone object. Popular examples include key fobs, bookmarks, luggage tags, and adorable "stuffies" (small plush toys).
- Functional Crafts: Perfect for quick, satisfying makes and gifts. This category includes useful household items like coasters, mug rugs, gift card holders, and decorative bunting.
Why Beginners Love ITH Embroidery
Embroidery enthusiasts of all skill levels enjoy ITH, but it's particularly game-changing for newcomers. The guided process removes the guesswork and delivers fantastic results right away.
- Professional Results: The precision of the embroidery machine means every stitch is perfect. You get flawless seams, sharp corners, and a polished look that’s difficult to achieve with traditional sewing.
- Learn as You Go: ITH designs teach you fundamental construction techniques like inserting zippers and appliqué in a controlled, step-by-step manner.
- Instant Gratification: Most ITH projects are quick to complete, often in under an hour. This fast turnaround is incredibly motivating and rewarding.
- Impressive, Easy Gifts: You can create stunning, personalized gifts with minimal hands-on effort, making you look like a crafting superstar.
Essential Supplies for Your First ITH Project
Think of this as your creative checklist. Gathering your materials before you press 'start' on your embroidery machine is the single best thing you can do to ensure a smooth, frustration-free experience. Having the right supplies on hand is the secret to turning a digital file into a beautiful finished item. Success with in-the-hoop projects for beginners starts long before the first stitch.
Machine, Hoop, and Design
The core of any project is your digital toolkit. Thankfully, most modern home embroidery machines are fully capable of handling ITH designs. The most critical step is ensuring your hoop is large enough for the project you want to make; the design's description will always list the minimum required hoop size. Finally, choose a simple, well-digitized pattern from a reputable designer. The quality of the file is crucial, as the entire process relies on precise digital instructions-not unlike following the guide for an Electronic Kit Complete. Creating these files is a specialized skill, with prestigious institutions offering entire courses on advanced digital embroidery techniques to master the software and process.
Fabrics and Stabilizers
These are the physical building blocks of your project. Choosing the right combination will prevent puckering and ensure your project holds its shape beautifully.
- Fabric: Start with stable, non-stretch fabrics. Quilting cotton is perfect for pouches and coasters, while felt and marine vinyl are excellent for key fobs and tags because their edges don't fray.
- Stabilizer: This is the non-negotiable foundation that supports your fabric in the hoop. For most beginner ITH projects like coasters or zipper bags, a medium-weight tear-away stabilizer is the perfect choice. It provides support during stitching and is easily removed afterward.
- Batting or Fleece: For projects that need a little dimension, like mug rugs or potholders, a thin layer of cotton batting or fleece is placed between the fabric layers to add softness and structure.
Must-Have Tools and Notions
While your machine does the heavy lifting, a few small tools make the finishing process much easier and yield more professional results.
- Small, Sharp Scissors: A pair of curved embroidery scissors or duckbill applique scissors is essential for trimming fabric and threads close to your stitch lines without accidentally snipping your project.
- Temporary Adhesive: A light mist of temporary spray adhesive or a few pieces of embroidery tape will hold your fabric pieces perfectly in place, preventing any shifting during stitching.
- Turning Tool: For projects that are sewn right-sides-together, you'll need to turn them out. A simple chopstick or a plastic point turner will help you push out corners for a crisp, clean finish.
- Embroidery Thread: Choose a quality 40 wt embroidery thread in colors that match or complement your fabric.
A Beginner's ITH Project: Step-by-Step Walkthrough
The magic of in-the-hoop embroidery is that it feels like your machine is doing all the work for you-and in many ways, it is! Let’s demystify the process by walking through a classic example of in-the-hoop projects for beginners: a simple vinyl key fob or coaster. The most important thing to remember is that your embroidery machine is programmed to pause and tell you what to do at every single step. Your main job is to follow along with the designer's instructions.
Step 1: Preparation is Key
Success starts before you press "Go." First, hoop your stabilizer, making sure it’s taut like the top of a drum. Load the design file onto your embroidery machine. Next, gather your materials-like your fabric pieces and any hardware-and carefully read the PDF instructions included with your design. Understanding the steps beforehand is crucial. If you're new to some of the basic sewing terms, excellent free educational materials like the Utah State University Extension sewing resources can help build your foundational knowledge.
Step 2: The Stitch-Out Process
This is where your machine takes the lead. It will stitch the design in a series of color stops, pausing after each one to let you complete a task. The process generally follows this sequence:
- Placement Line: The first step stitches an outline directly onto your stabilizer. This shows you exactly where to place your first piece of fabric.
- Tack-Down Stitch: After placing your fabric over the outline, the machine will stitch it down, securing it to the stabilizer.
- Adding Layers: The machine will stop again for you to add the backing fabric, often to the underside of the hoop. It might also pause for other elements like adding a ribbon loop.
- Final Details: Lastly, the machine will complete all the decorative stitching and the final outline that holds everything together.
Step 3: Finishing Your Project
Once the machine beeps to signal it's finished, the final touches are done by hand. Carefully remove the hoop from the machine and your project from the hoop. Use a sharp pair of scissors to trim the excess fabric and stabilizer close to the final stitch line, being careful not to snip any threads. If your project has a turning gap, you'll gently turn it right-side out. A quick press with an iron (using a pressing cloth for delicate materials) gives it a professional look, and you can close any gaps with a few hand stitches or fabric glue.
7 Perfect In-the-Hoop Projects for Absolute Beginners
Ready to move from theory to practice? The best way to build confidence with your embroidery machine is to start stitching. We’ve curated this list of perfect in-the-hoop projects for beginners that are designed to be fast, fun, and educational. Each one uses minimal fabric, involves simple steps, and teaches a core skill you’ll use for years to come.
1 & 2. Key Fobs and Snap Tabs
These are arguably the most popular entry point into ITH embroidery for a reason. They stitch up in minutes, use tiny scraps of non-fraying materials like marine vinyl or cork fabric, and have very few steps. They are fantastic for mastering two critical skills: precise material placement within a guideline stitch and trimming fabric close to a seam. The quick, professional-looking result is an instant confidence boost. Browse our collection of beginner-friendly key fob designs.
3 & 4. Coasters and Mug Rugs
If you want to create something functional right away, coasters and mug rugs are a perfect choice. Their simple square or rectangular shapes eliminate the stress of complex curves. More importantly, they are the ideal project for learning how to layer materials. You'll get hands-on practice combining a top fabric, inner batting, and a backing layer all within a single hooping. Many designs also include simple quilting lines, allowing you to practice creating beautiful textures.
5 & 6. Felt Stuffies and Ornaments
Working with felt is a game-changer for ITH beginners. Because felt doesn’t fray, the final trimming step is incredibly forgiving. These charming little projects, from cute animals to holiday shapes, are often stitched in just one or two simple pieces. They also introduce a key concept in three-dimensional ITH: leaving a small opening to add stuffing before sealing the project.
7. Simple Zipper Pouches
While a zipper might sound intimidating, a well-digitized ITH zipper pouch design makes the process surprisingly simple. Start with a basic, fully lined pouch with minimal steps. This project is a fantastic skill-builder that takes you from beginner to confident creator. Learning to perfectly place and secure a zipper with your embroidery machine is a foundational technique that opens the door to countless other exciting projects. Ready for a challenge? Check out our simple pouch patterns.
Pro Tips: Avoid These Common ITH Beginner Mistakes
Embarking on your first few projects can feel a little intimidating, but a few expert tips can make all the difference. Let's turn potential frustrations into beautiful finishes and ensure your first in-the-hoop projects for beginners are a resounding success! We want you to achieve that professional, polished look right from the start.
Stabilizer and Hooping Success
Your stabilizer and hooping technique are the foundation of a great project. Get them right, and you're halfway to a perfect finish. Keep these two key points in mind:
- Choose Cut-Away for Durability: While tear-away stabilizer is tempting for its easy removal, it often isn't strong enough for functional items like zipper bags or key fobs. For projects that will be handled frequently, always opt for a medium-weight cut-away stabilizer. It provides the robust support needed to prevent puckering and keeps your stitches looking crisp and clean, wash after wash.
- Hoop It Like a Drum: A loose hoop is a primary cause of misaligned stitches and gaps in your final project. Before you place the hoop in your machine, check that your stabilizer is completely taut. A great test is to tap it with your finger-if it sounds like a small drum, you've got it just right!
Fabric and Trimming with Confidence
The right materials and tools will make your sewing experience smooth, enjoyable, and much more successful. Here’s how to handle fabric selection and trimming like a pro.
- Start with Stable Fabrics: Stretchy fabrics like knit or jersey can easily warp and pull under the tension of embroidery stitches, which can be frustrating for a beginner. To guarantee success, stick to stable, non-stretch woven fabrics like quilting cottons, canvas, or craft felt. They are a dream to work with and yield beautiful, predictable results.
- Use the Right Scissors for Trimming: Trimming away excess fabric too close to the stitch line and accidentally snipping your threads is a heartbreaking mistake. The solution is a simple tool: a small pair of curved embroidery scissors. The unique curved tip gives you incredible control, allowing you to trim fabric neatly and safely right next to the stitch line for a flawless finish.
By keeping these simple tips in mind, you'll bypass the most common hurdles and move straight to creating stunning projects you can be proud of. For more tutorials and high-quality supplies, explore our resources at embroiderynsewing.com.
Your ITH Adventure Awaits!
You've now unlocked the magic behind In-the-Hoop embroidery! As you've seen, what might seem complex is actually a wonderfully streamlined process that combines sewing and embroidery into one simple step. By gathering a few essential supplies and keeping our pro tips in mind to avoid common mistakes, you have built a solid foundation for success. You now have all the knowledge you need to confidently tackle your first in-the-hoop projects for beginners and watch amazing creations come to life right inside your embroidery hoop.
Ready to stop reading and start stitching? Your perfect first project is just a click away. We offer a huge variety of beginner-friendly designs as instant digital downloads, available in all major machine formats like PES, JEF, and DST, so you can start creating immediately. Explore our huge collection of In-the-Hoop designs and start your first project today! Don't wait to unleash your creativity-the machine is threaded, the fabric is ready, and a world of beautiful projects is waiting for you. Happy stitching!
Frequently Asked Questions About In-the-Hoop Projects
What is the difference between appliqué and in-the-hoop embroidery?
Appliqué is a decorative technique where fabric pieces are stitched onto a base item, like adding a letter to a t-shirt. In contrast, an in-the-hoop (ITH) project is a construction method where the entire item, such as a coin purse or a key fob, is created from start to finish within the embroidery hoop. Essentially, appliqué decorates an existing item, while ITH builds a new one.
Do I need a special embroidery machine for ITH projects?
No, you do not need a special machine! Any standard home embroidery machine that can read digital design files (like PES, JEF, or DST) is capable of completing ITH projects. The most important consideration is your hoop size. You must ensure your machine's hoop is large enough for the specific ITH design you want to create, a detail that is always listed by the design's creator.
What is the best stabilizer to use for beginner ITH projects like zipper bags?
For freestanding projects like zipper bags and pouches, a medium-weight tear-away stabilizer is an excellent choice. It provides the necessary support during the stitching process but can be removed easily for a clean, professional finish. For projects that require more permanent structure, such as coasters or bookmarks, a medium-weight cut-away stabilizer that remains with the fabric is a better option.
Can I sell items I make using in-the-hoop designs?
Generally, yes, you can sell the physical items you create. However, it is crucial to read the licensing agreement or "Terms of Use" that comes with each digital design file. Most designers permit the sale of finished products on a small scale but strictly prohibit the reselling, sharing, or distributing of the digital design file itself. Always check the designer's specific policy first.
How do I know what hoop size I need for a specific ITH design?
The required hoop size will always be specified in the design's product description before you buy it. Designers list the minimum hoop size needed, such as 4x4, 5x7, or 6x10 inches. The downloadable files are also frequently labeled with the size (e.g., "keyfob_4x4.pes"). Always confirm your machine has a compatible hoop to ensure the design will stitch correctly.
What does 'floating' the fabric mean in an ITH project?
"Floating" means placing your project fabric on top of the hooped stabilizer rather than hooping the fabric itself. You first hoop only the stabilizer, run a placement stitch, and then use temporary adhesive spray or tape to secure the fabric in place. This technique is perfect for materials that are too thick or delicate to be hooped, like cork or vinyl, and is key for many in-the-hoop projects for beginners.