Machine embroidery embroidery: ideas, tips & how-to
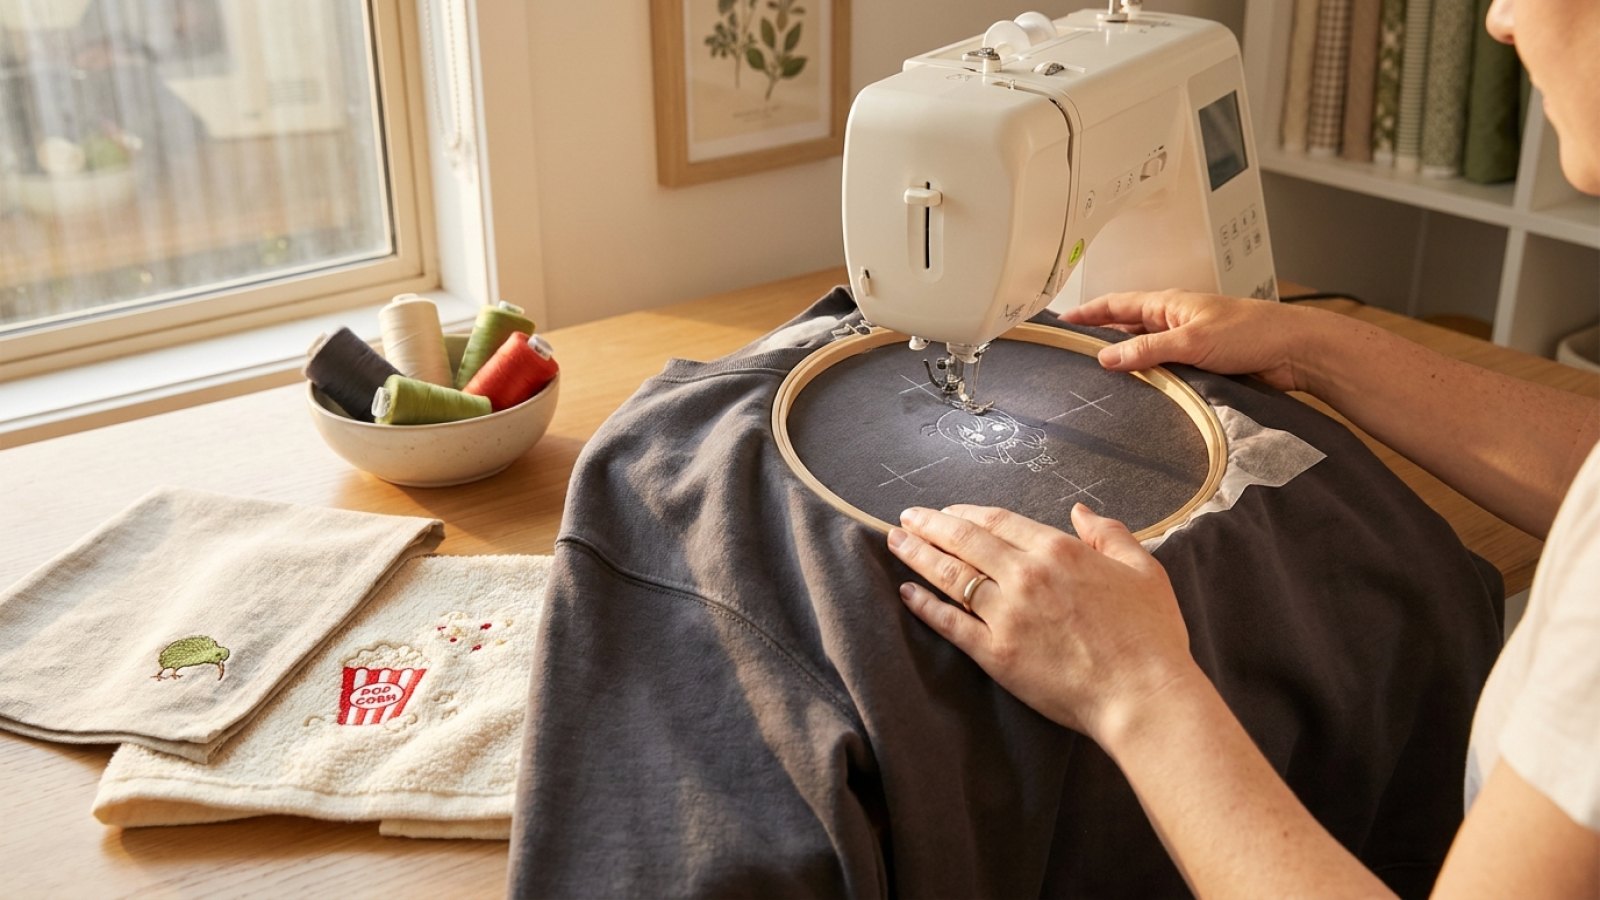
Machine embroidery becomes much easier once you stop treating every design the same. A dense satin outline, a small novelty motif and a stylised anime-inspired chest design all behave differently on fabric. The best results come from matching the file, fabric, needle, stabiliser and placement before you press start.
If you are building projects around a varied design catalogue, this guide will help you choose well, stitch cleanly and avoid the most common waste of thread and blanks.
Start with the right design for the job
A good machine embroidery project begins with scale and purpose.
- Small left-chest embroidery works best with cleaner shapes and limited fine detail.
- Pocket-area motifs suit simple novelty designs.
- Children’s items and kitchen textiles often carry playful objects and food themes.
- Tote bags and sweatshirts can take slightly larger, bolder fills.
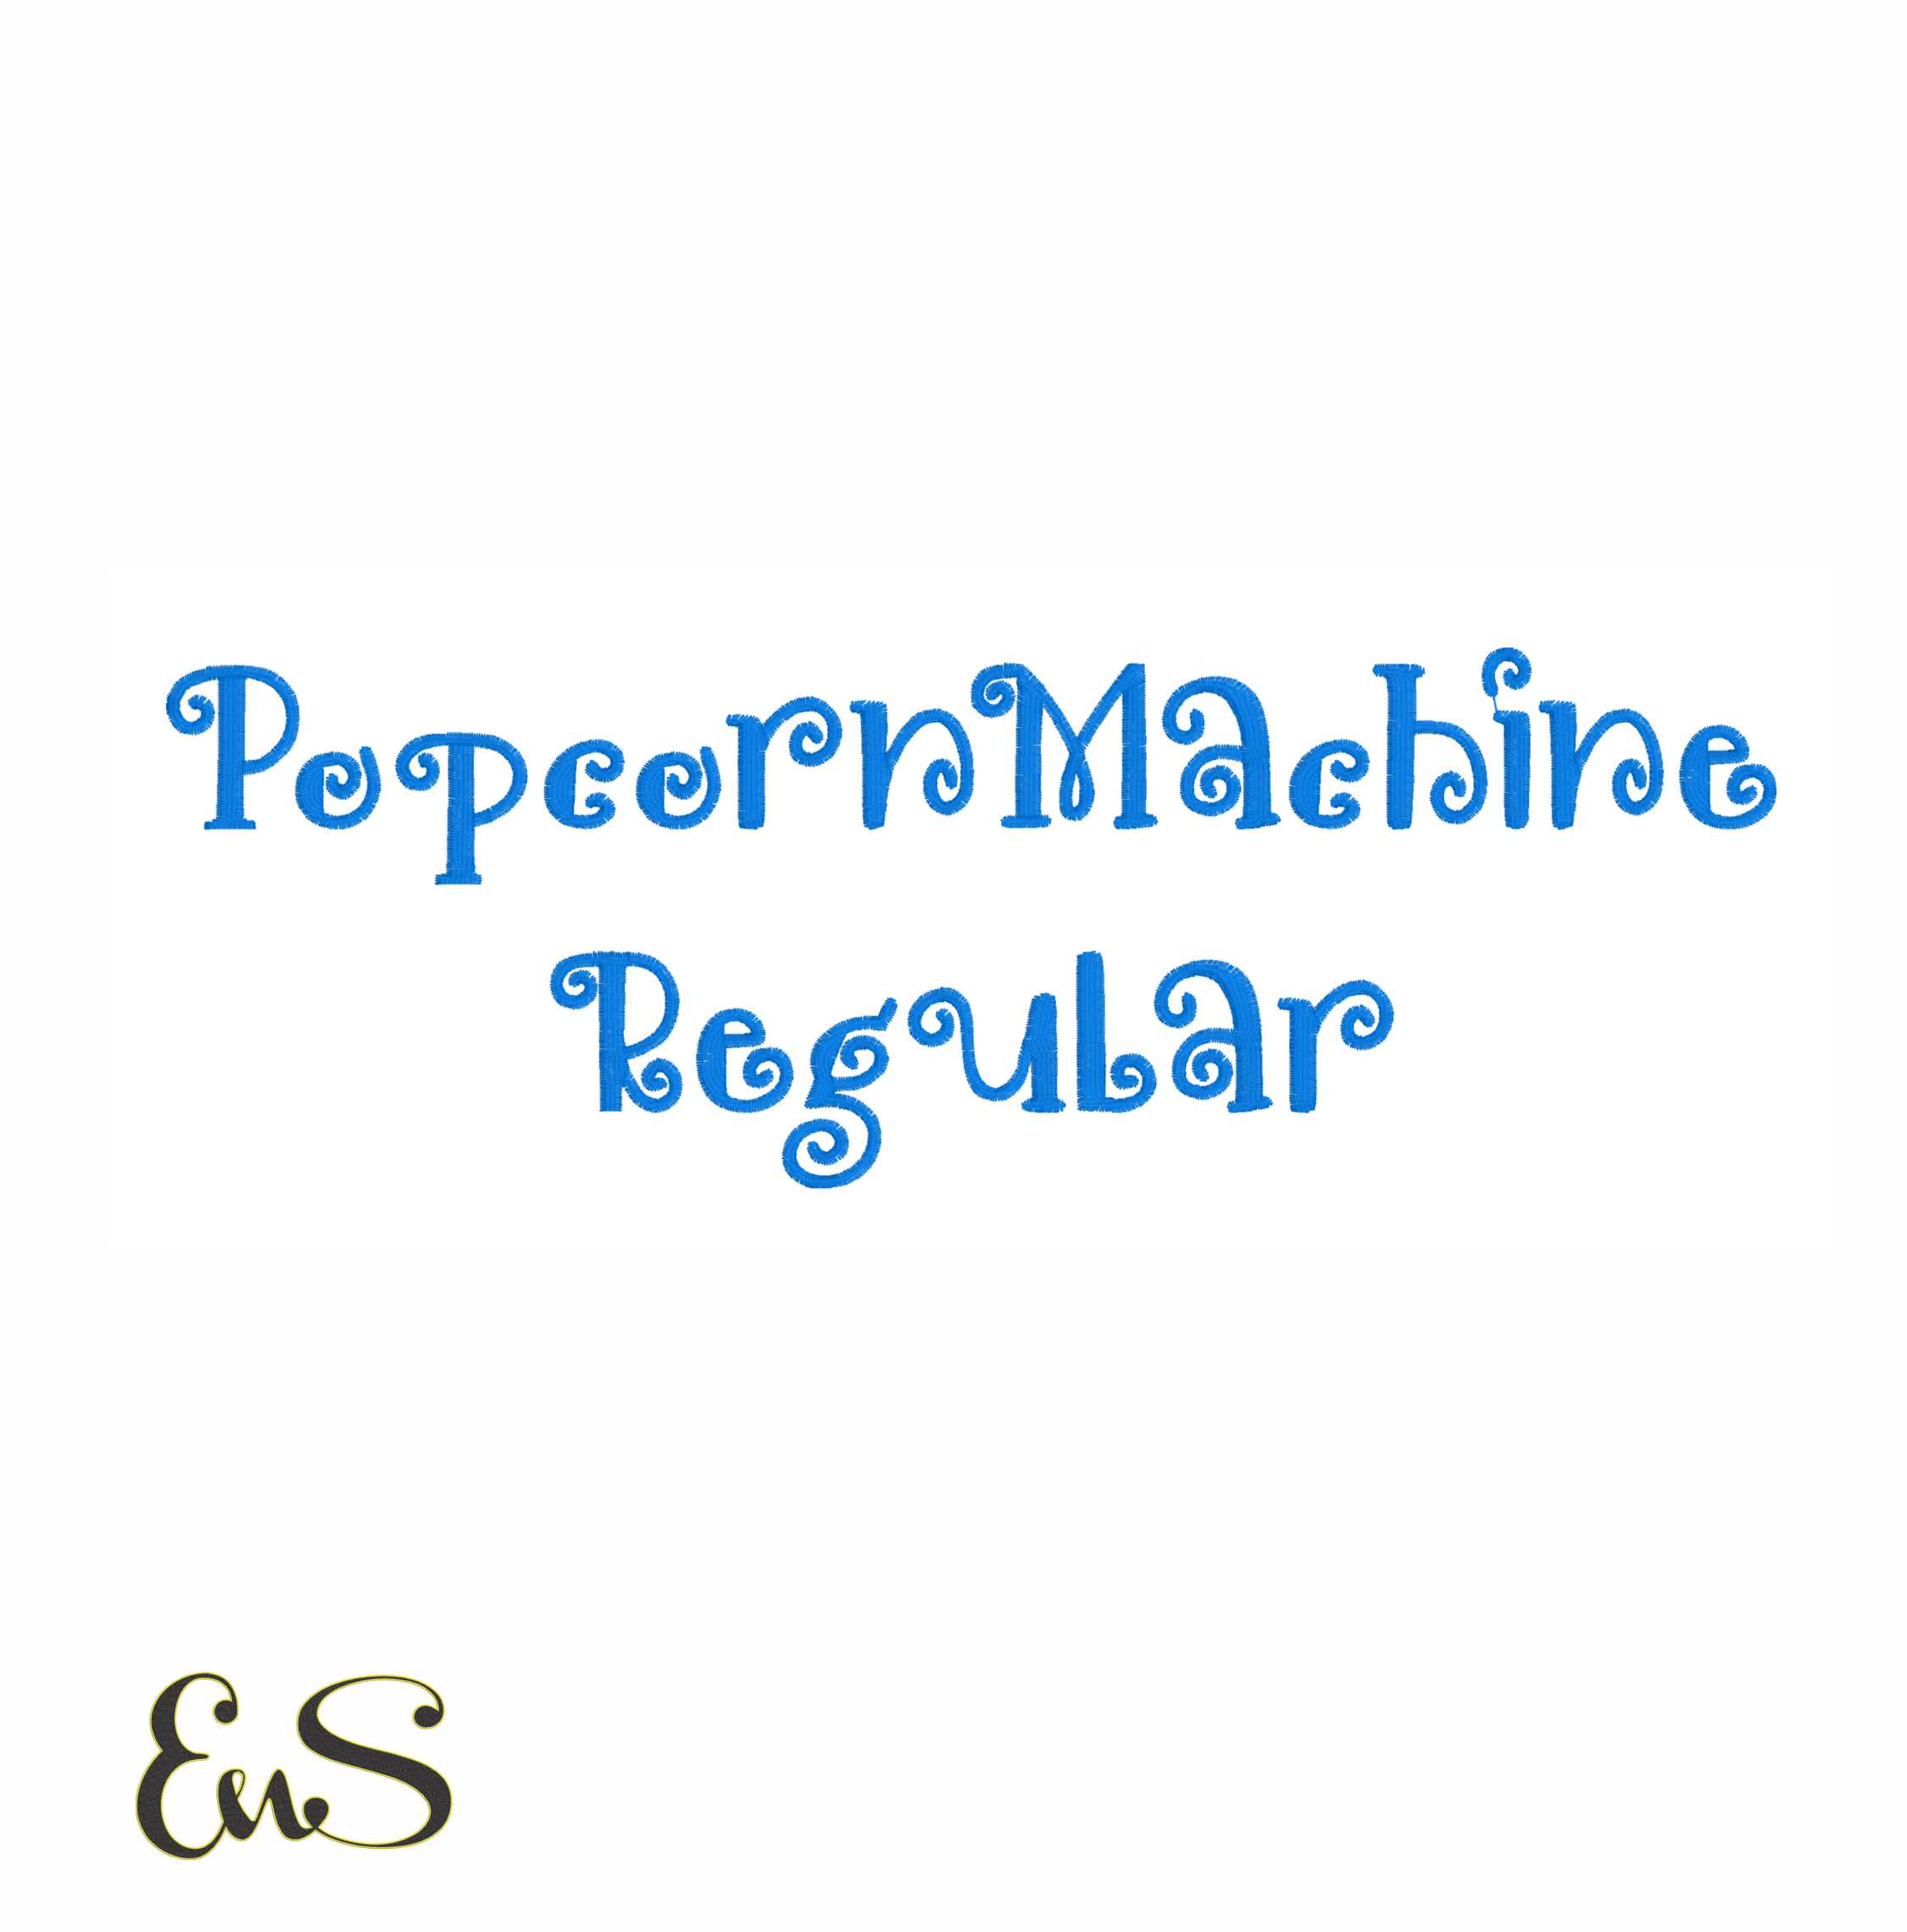
For example, a compact fruit design such as Kiwi Embroidery is practical for tea towels, aprons, market bags or a corner placement on a sweatshirt. A novelty appliance design such as Popcorn Machine is ideal for cinema-night gifts, snack aprons or kitchen linens where the theme matters as much as the stitch-out.
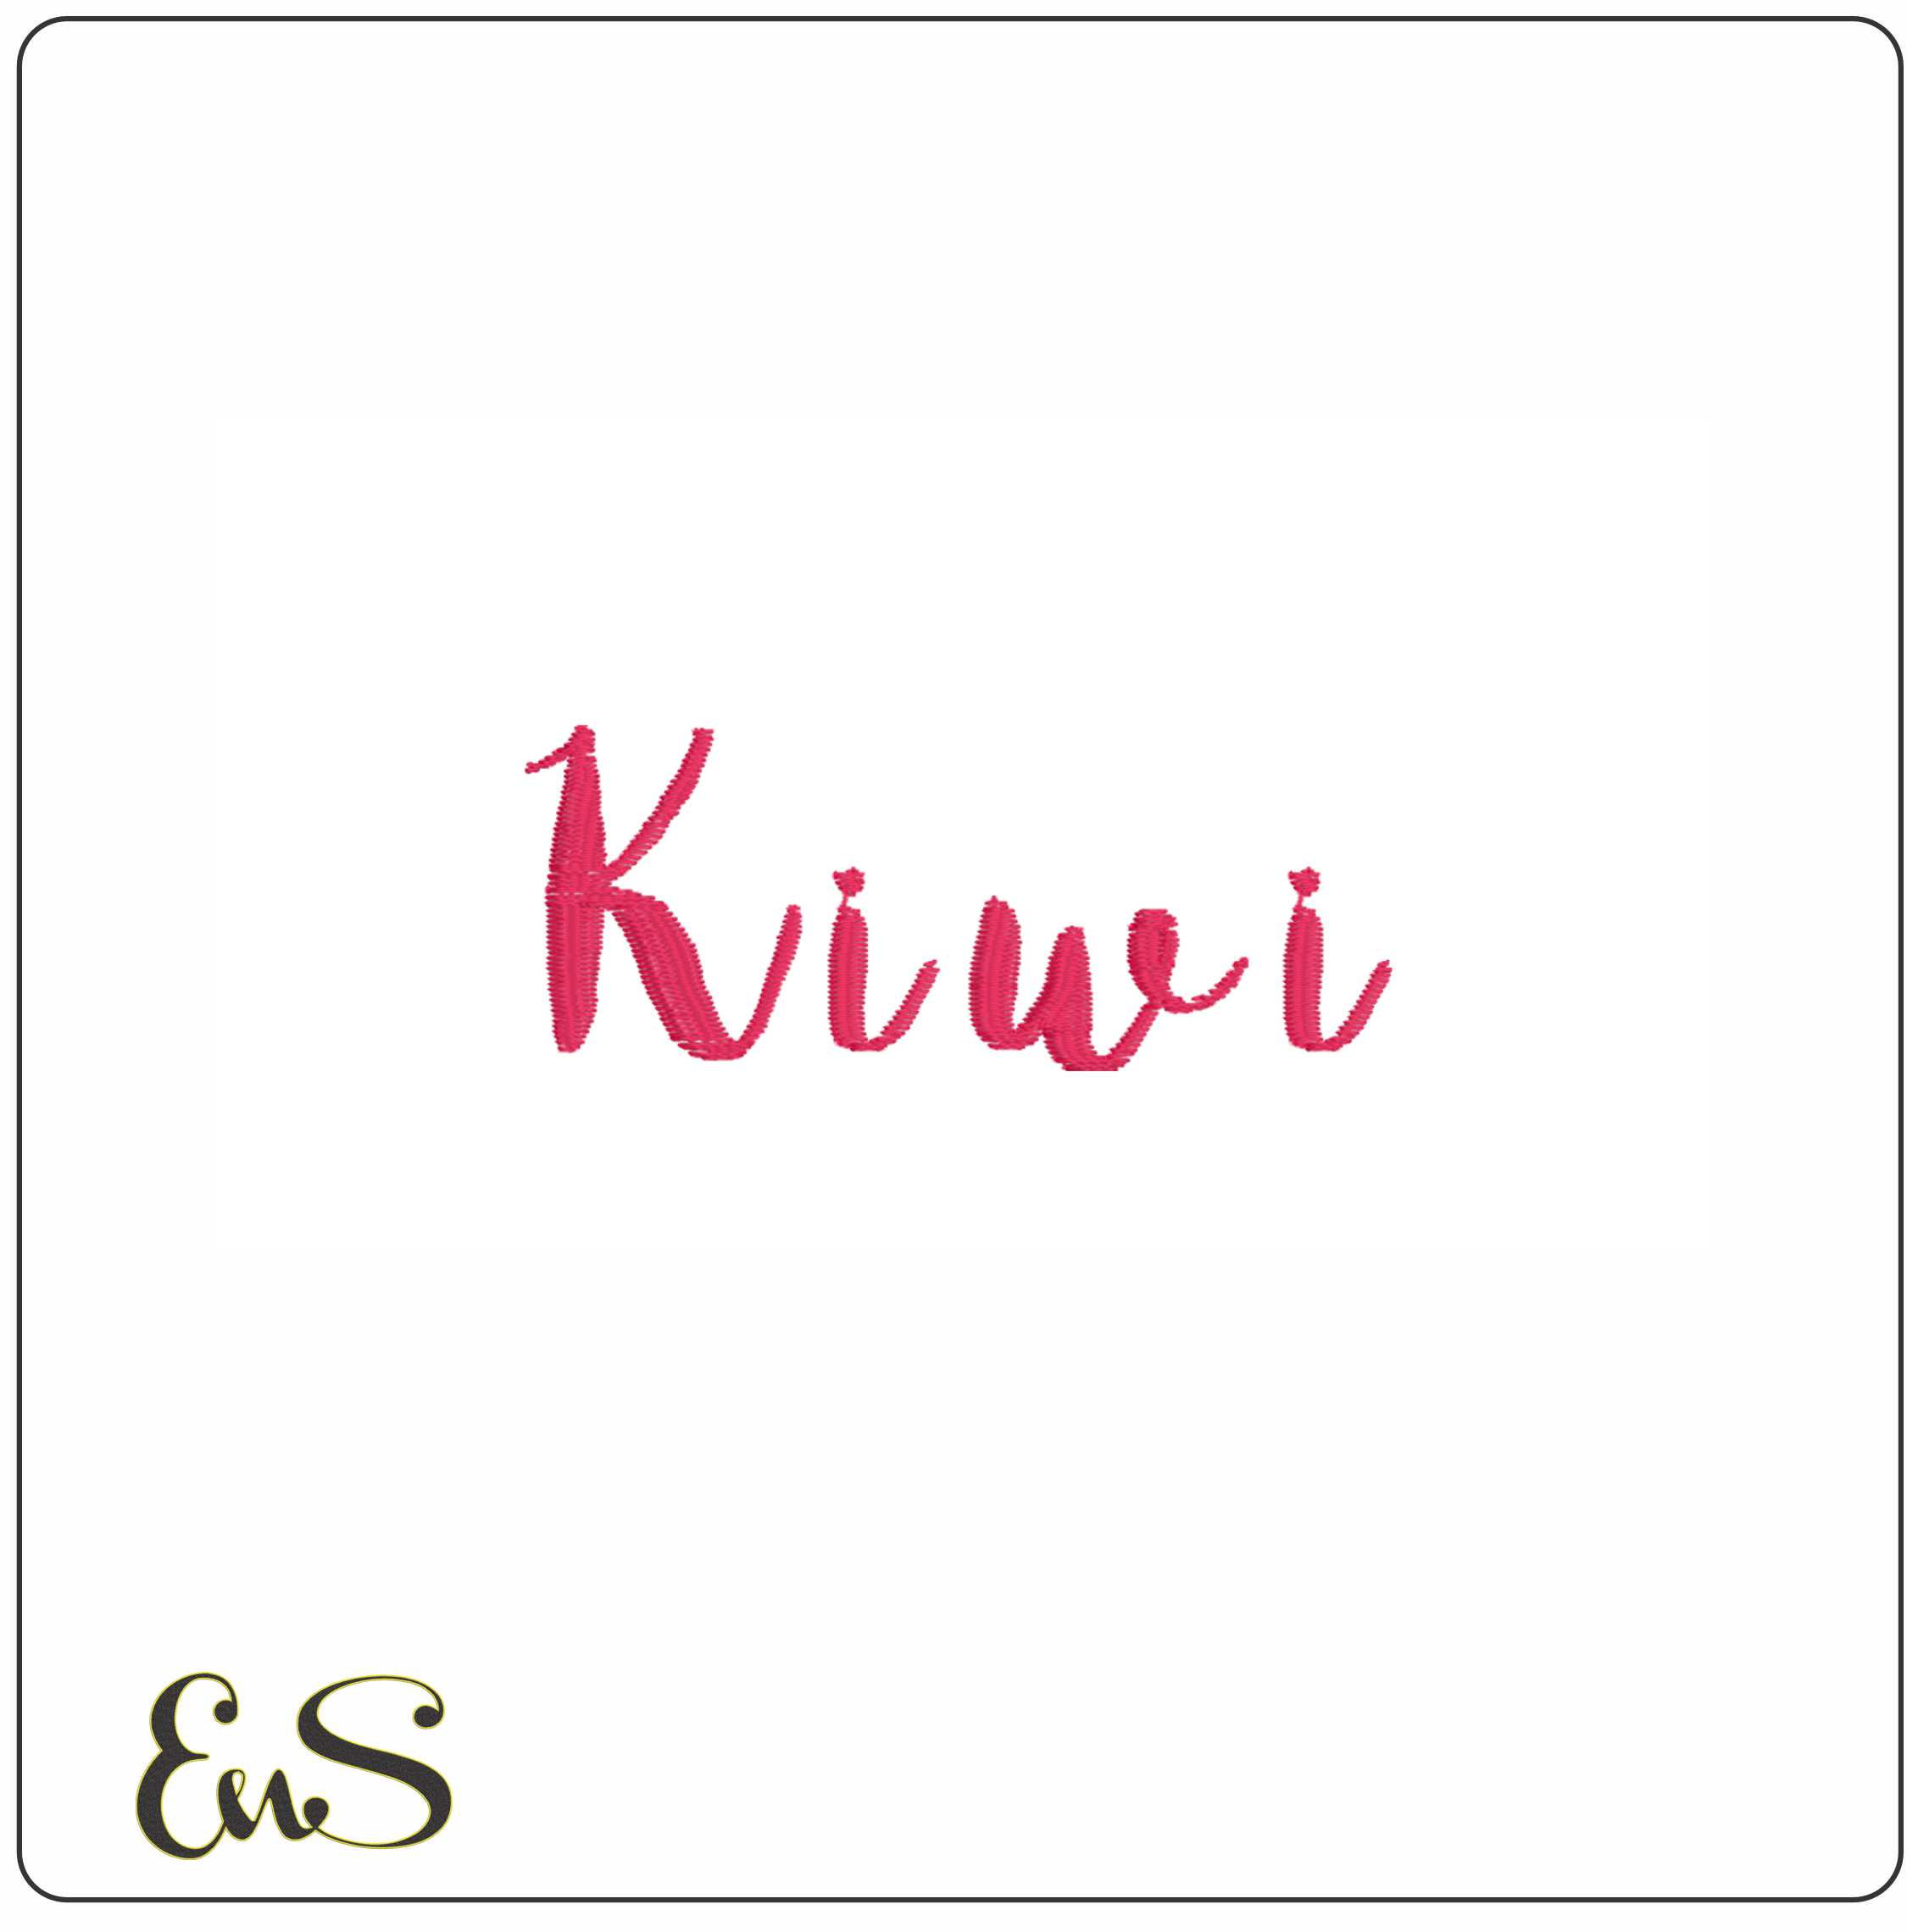 Embroidery designKiwi EmbroideryView this design →
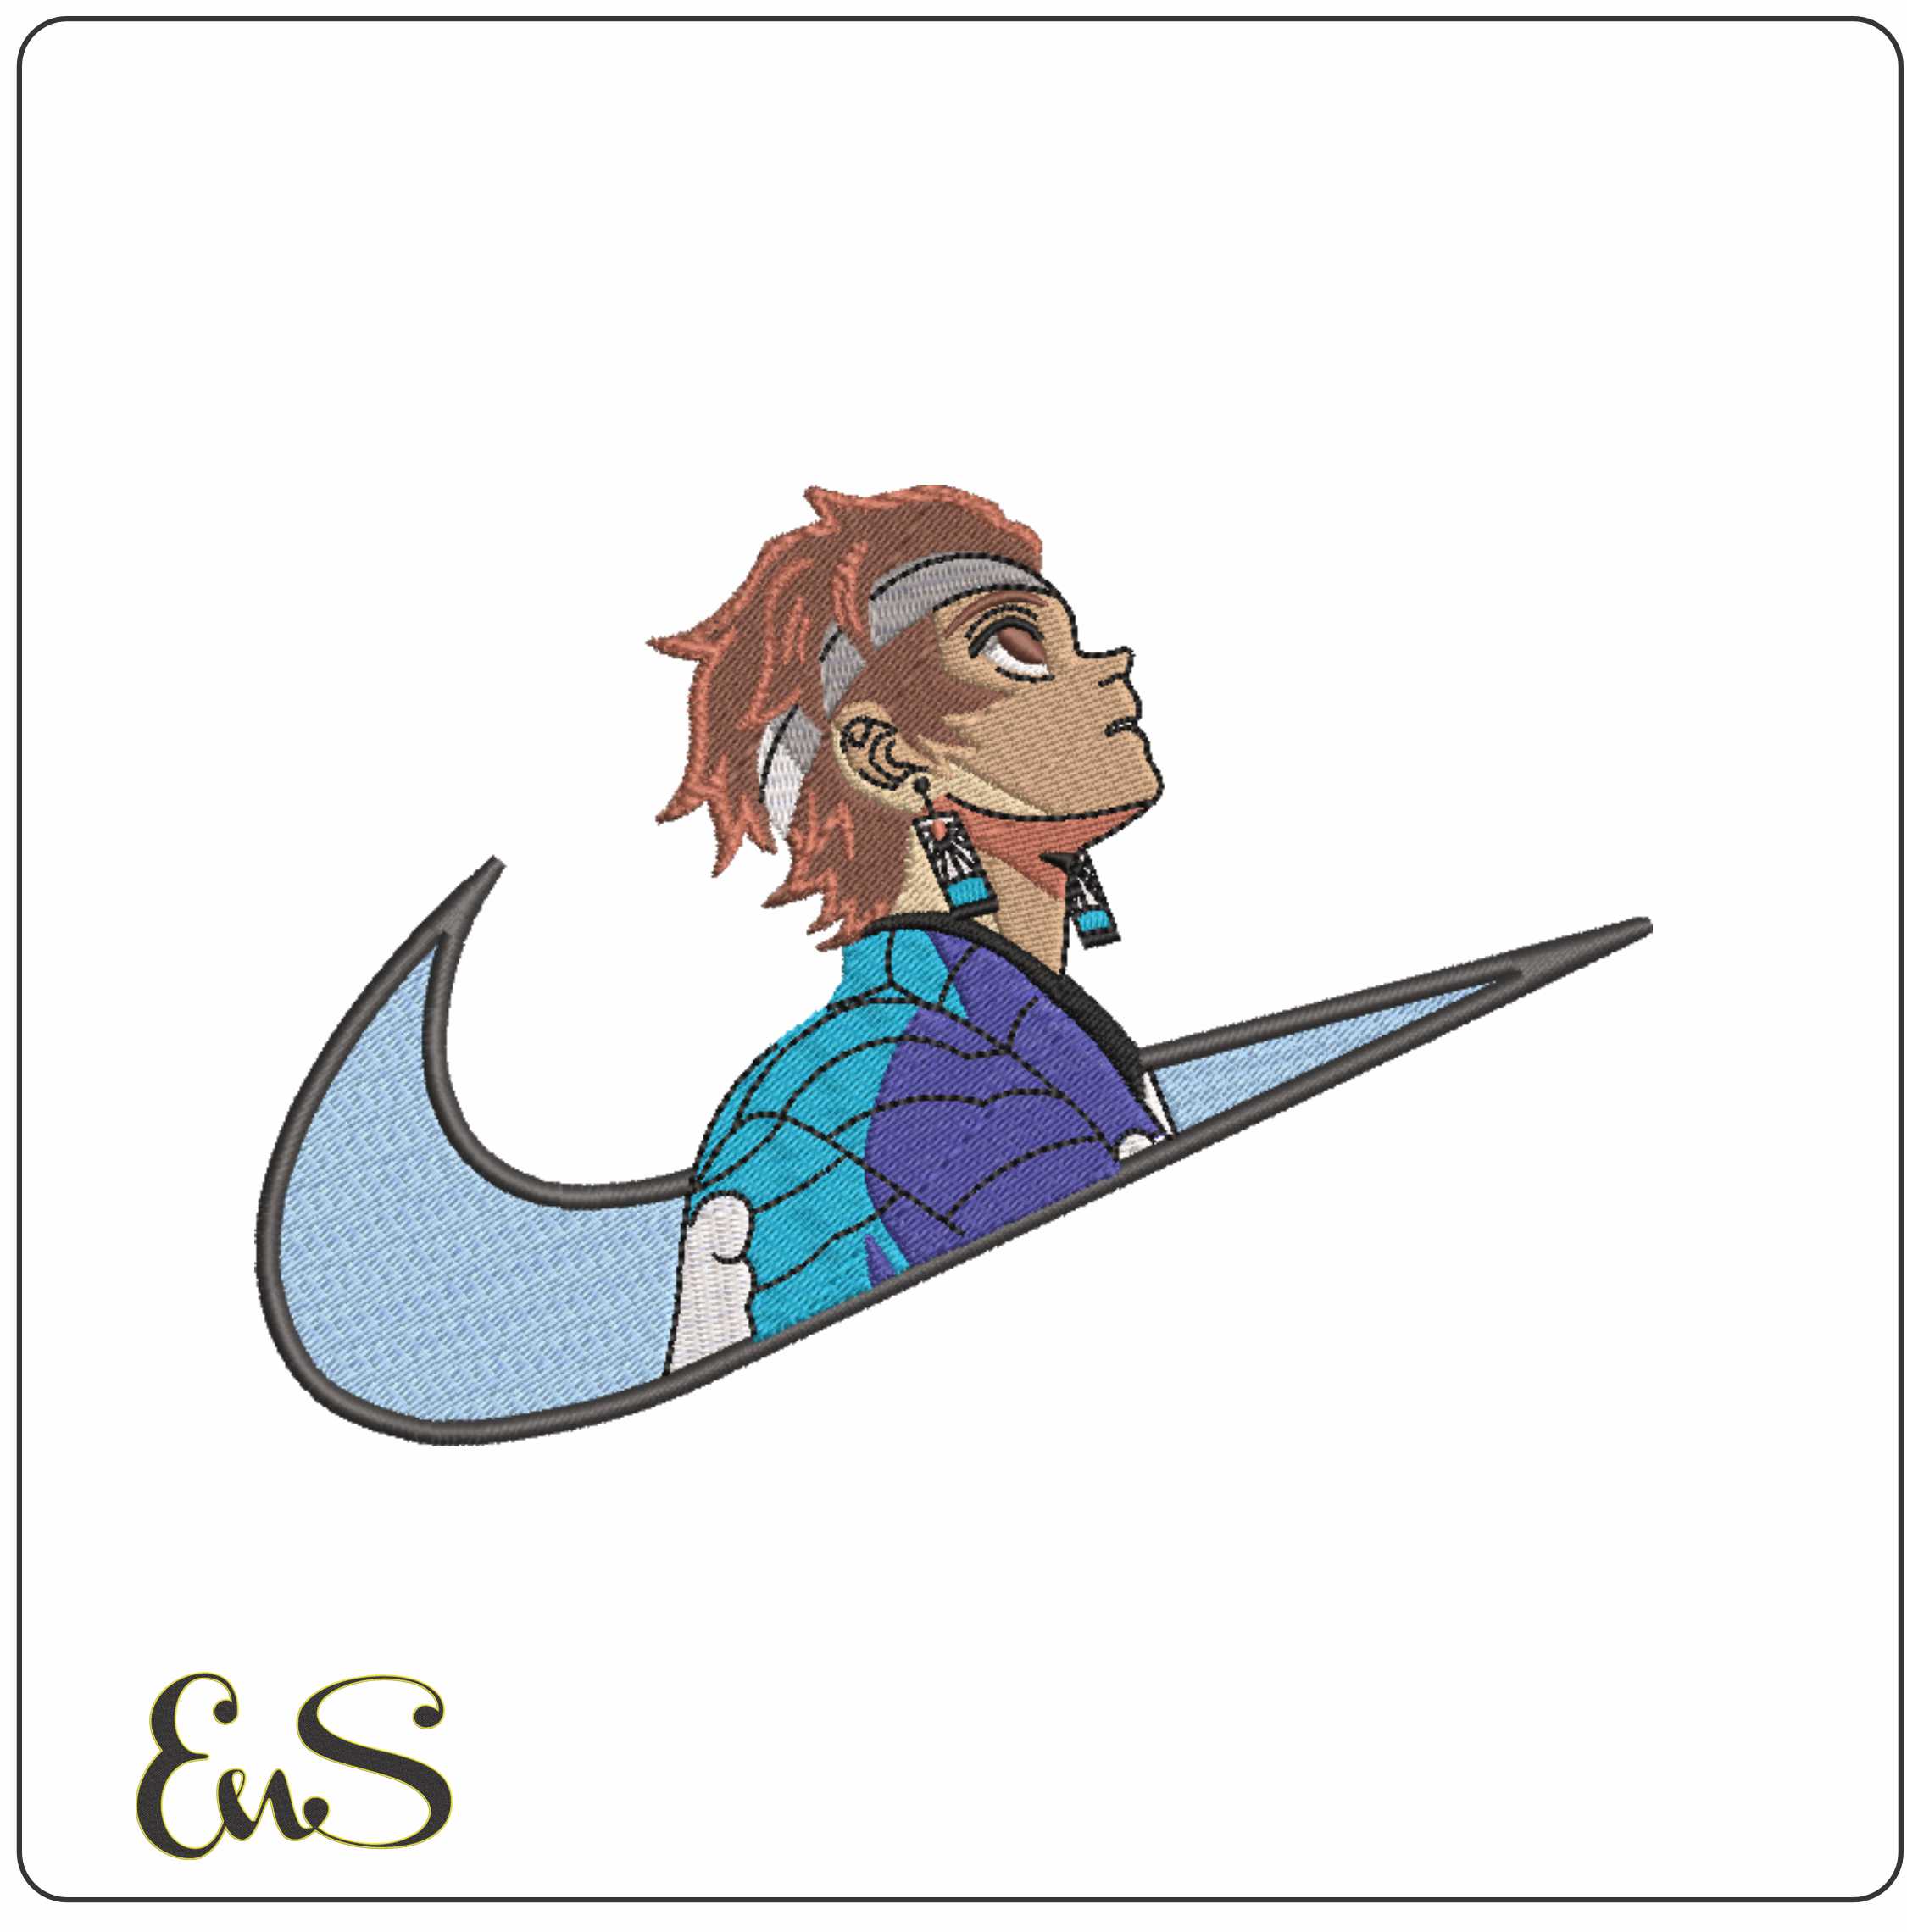
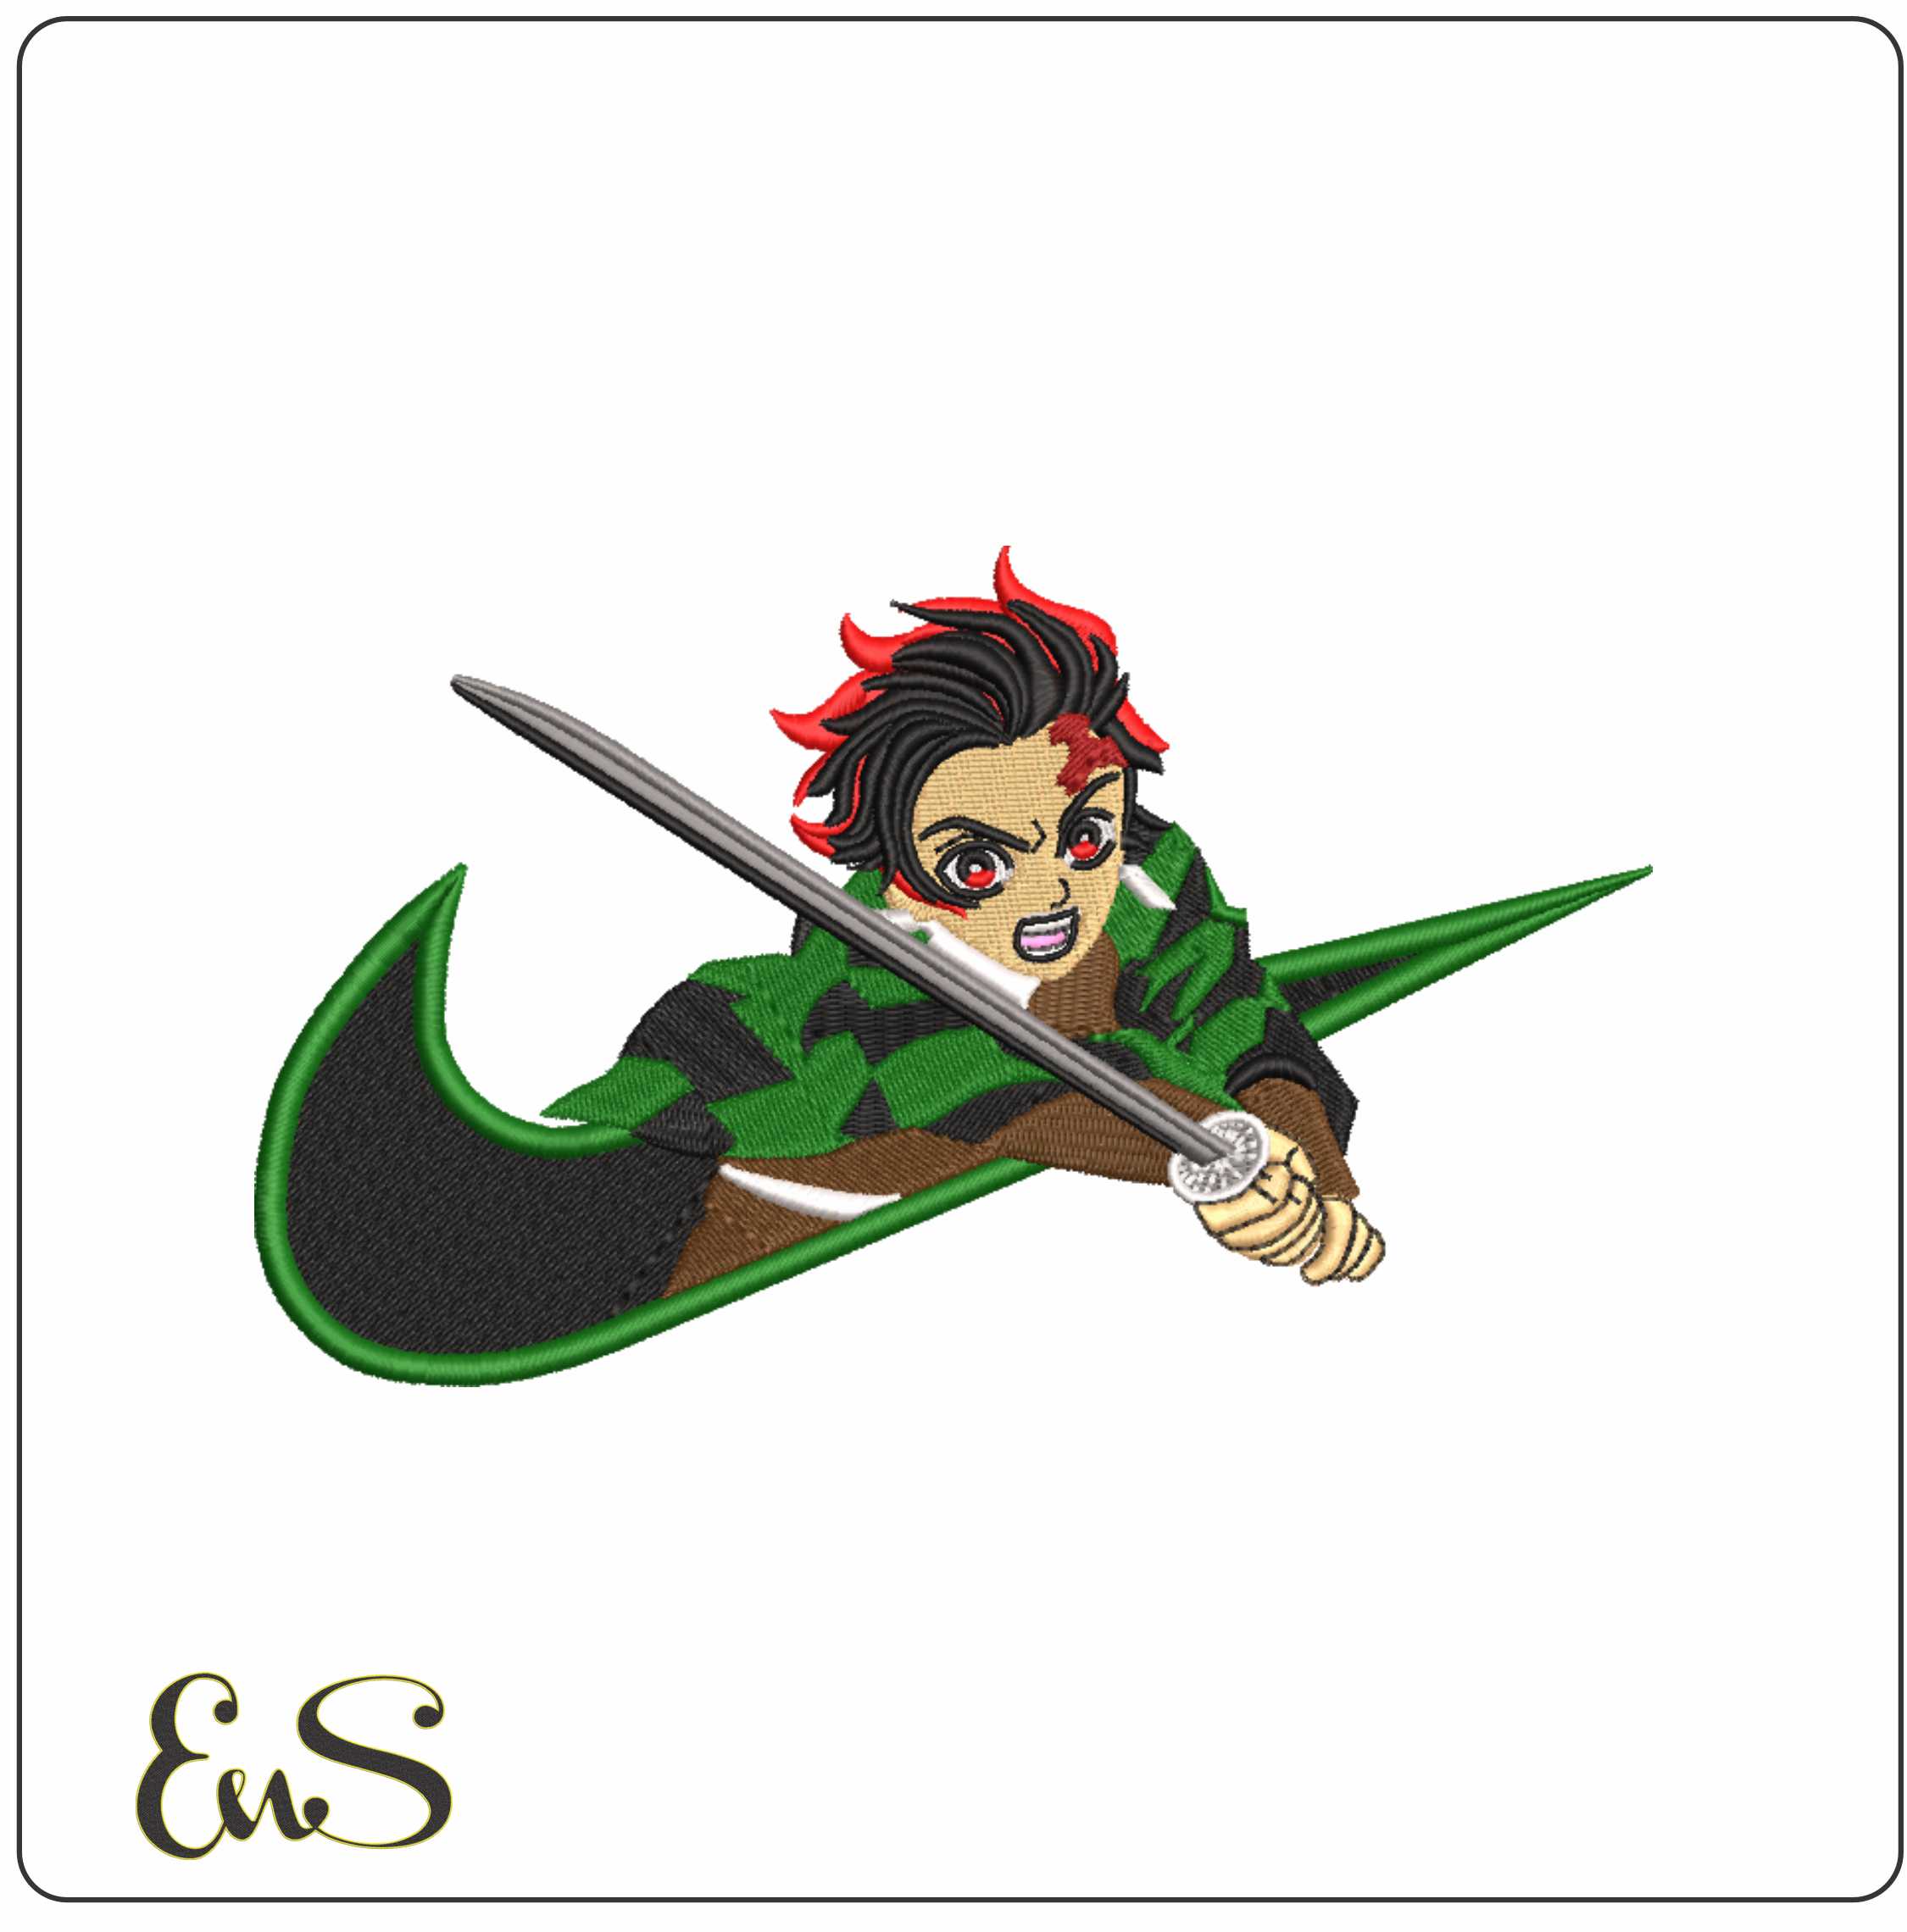
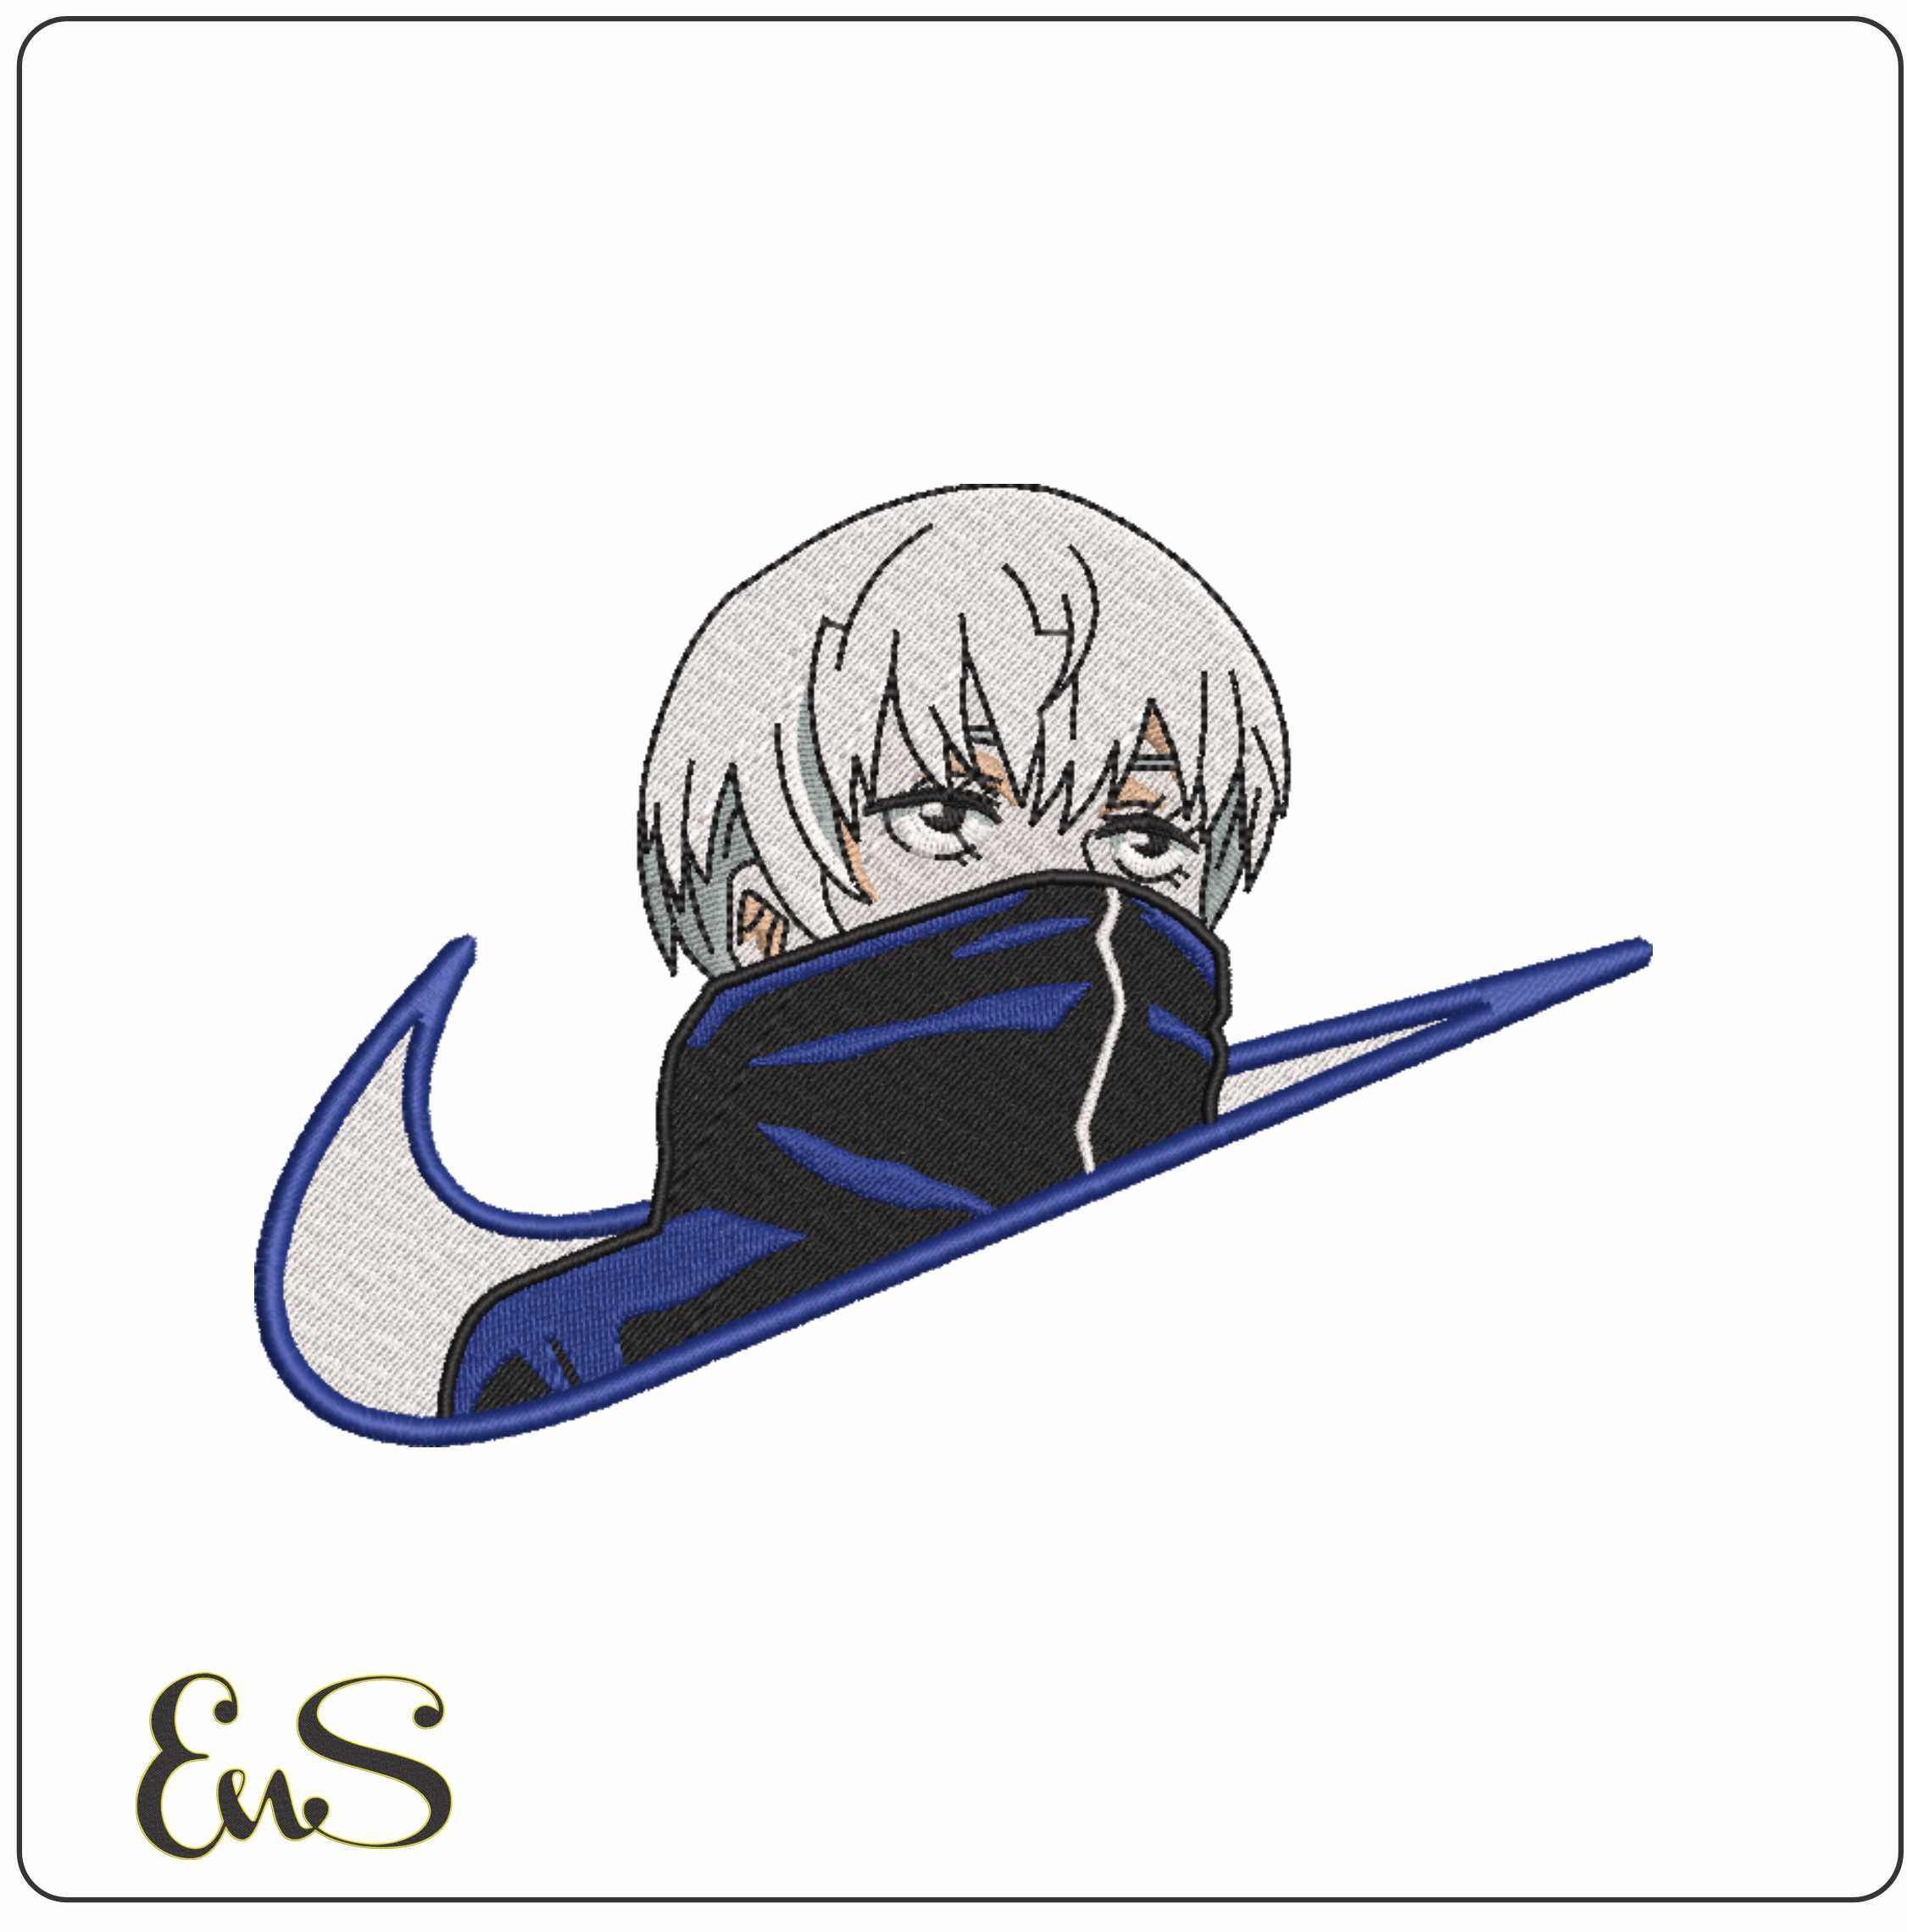
If you prefer streetwear-style embroidery, keep the placement modest and the fabric stable. A left chest or upper sleeve is usually safer than the centre front on stretchy garments. Designs such as Nike Swoosh Toge Inumaki - Anime- Elegant embroidery design file - instant download or Nike Swoosh Tanjiro Sword - Anime- Elegant embroidery design file - instant download are better suited to firm hoodies, jackets and heavy tees than to fine jersey.
Match stabiliser to fabric, not just to the design
This is where many beginners go wrong. The same embroidery file can look crisp on canvas and distorted on T-shirt knit if the backing is wrong.
A simple stabiliser guide
| Fabric type | Best starting stabiliser | Extra help |
|---|---|---|
| Cotton woven, linen, canvas | Tear-away or cut-away depending on density | Temporary adhesive spray helps keep layers still |
| Sweatshirt fleece, hoodies | Medium cut-away | Topper if the surface is fluffy |
| T-shirt jersey, stretch knit | Cut-away | Ballpoint needle and avoid over-stretching in hoop |
| Towels, fleece, minky | Cut-away | Water-soluble topper to stop stitches sinking |
| Caps and structured bags | Cap backing or firm cut-away | Check hoop compatibility first |
If the fabric stretches, moves or has pile, stabilise for the fabric first and the design second.
For a simple woven tea towel, Popcorn Machine Regular may stitch nicely with a quality tear-away. On a hoodie, that same file is usually safer with cut-away because the garment flexes in wear and laundering.
Hooping matters more than speed
Poor hooping causes puckering, misalignment and registration problems. The fabric should be taut like a smooth drum surface, but not stretched out of shape.
Better hooping habits
- Press the fabric first so creases do not become permanent under stitches.
- Mark the centre and placement lines with a removable fabric marker.
- Hoop stabiliser and fabric squarely so the grain stays straight.
- Do not pull the fabric after hooping to tighten it; this can distort the final result.
- Use a topper on textured fabrics such as towel, fleece and brushed sweatshirts.
If you are stitching a compact novelty motif like Kiwi Embroidery, floating the item can sometimes work on awkward products such as ready-made pockets or thick bags. For wearable garments, traditional hooping is still more reliable whenever possible.
Needles, thread and density: keep the combination sensible
Most home and small commercial machines handle standard 40 wt embroidery thread well. Pair it with a fresh needle appropriate to the fabric:
- 75/11 embroidery needle for many standard woven and knit projects
- Ballpoint needle for soft knits
- 90/14 embroidery needle for thicker fabrics or dense designs
Dense or satin-heavy designs need special care. If thread breaks repeatedly, the issue may be one of these:
- old or damaged needle
- burr in the needle plate or hook area
- poor-quality thread
- excessive speed
- unsuitable scaling
Be careful when resizing embroidery files
Resizing is not just a visual change. Stitch count, underlay and density were digitised for a particular size. Small reductions can be fine, but large changes often lead to gaps, stiffness or thread build-up.
As a rule of thumb:
- Reduce or enlarge only modestly unless you have software that compensates stitch properties.
- Avoid shrinking detailed designs too far; small elements become muddy.
- Test on similar fabric first before using a final garment blank.
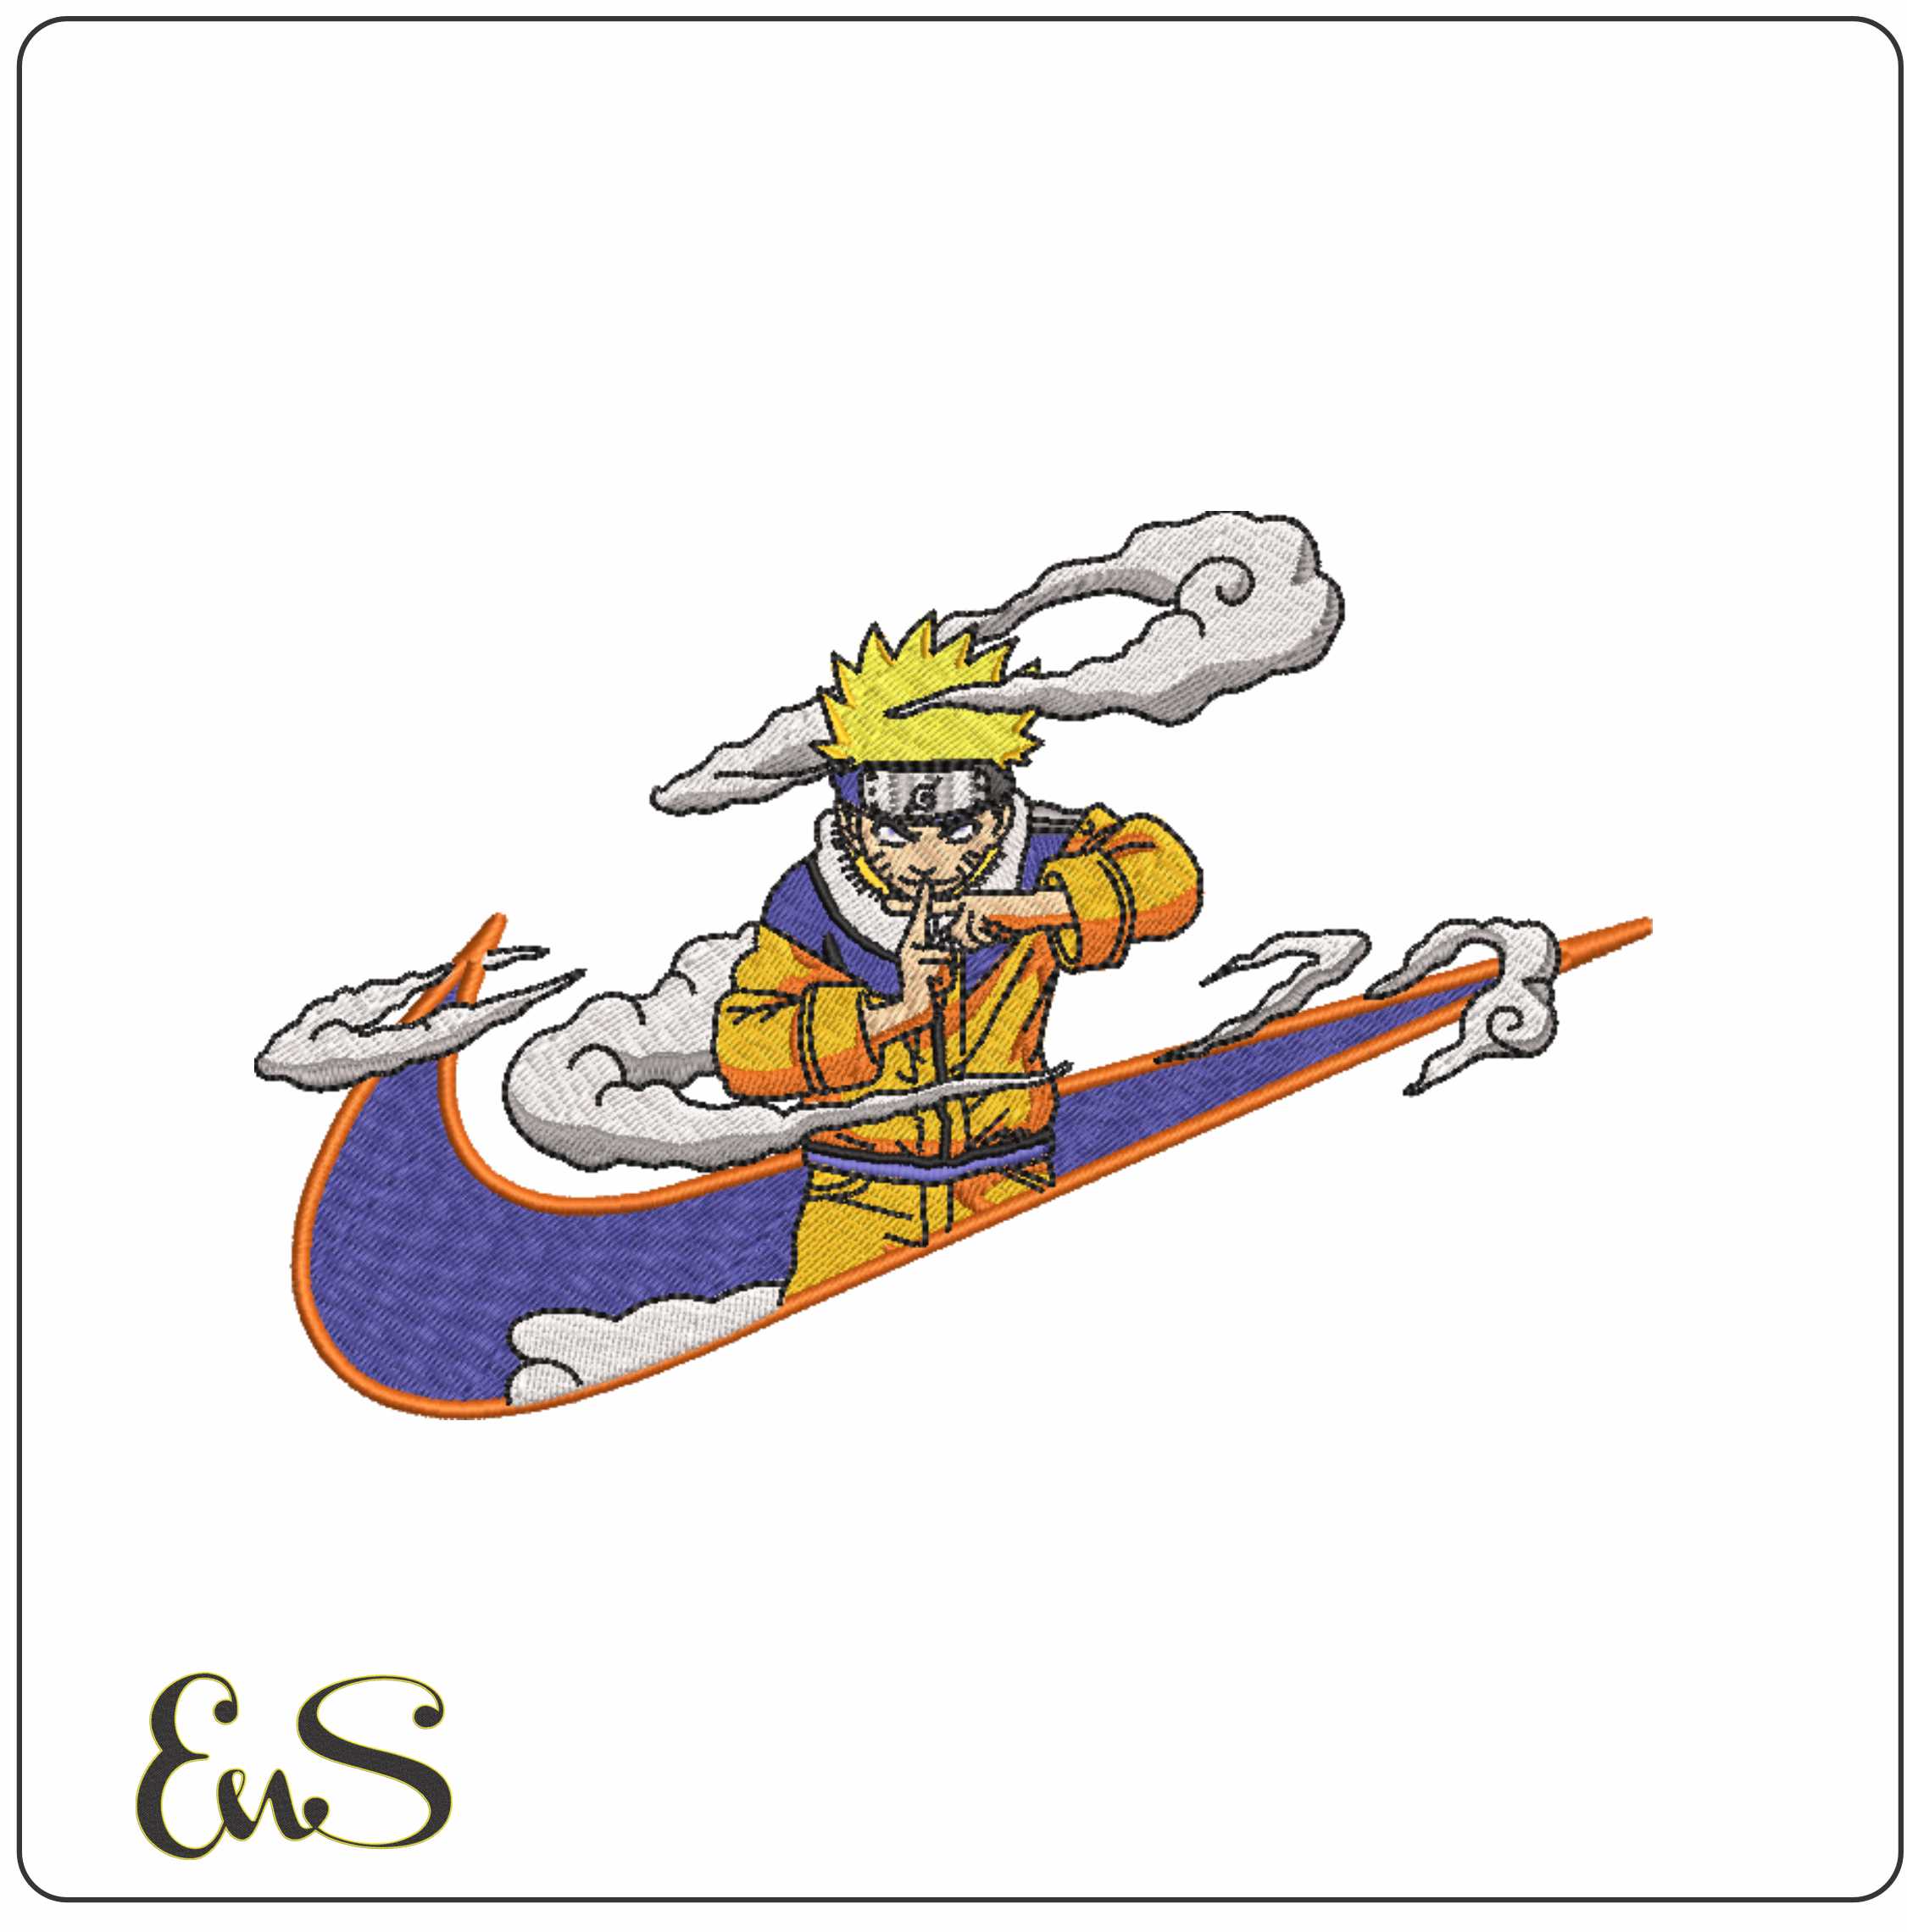
This matters especially with stylised chest logos and character-inspired files. A design such as Nike Swoosh Unzumaki Naruto - Anime- Elegant embroidery design file - instant download may look clean at its intended size but lose definition if reduced too aggressively.
Placement ideas that work in real life
Here are practical placements that customers actually use:
For kitchen and home textiles
- Corner of a tea towel
- Centre of an apron bib
- Lower corner of a table runner
- Front of a bread bag or snack pouch
Playful food and object motifs are strong here. Popcorn Machine suits movie-night accessories, while Kiwi Embroidery works well in fruit-themed kitchen sets.
For garments
- Left chest on sweatshirts and polos
- Sleeve near the cuff
- Back yoke on jackets
- Pocket area on tote bags and overshirts
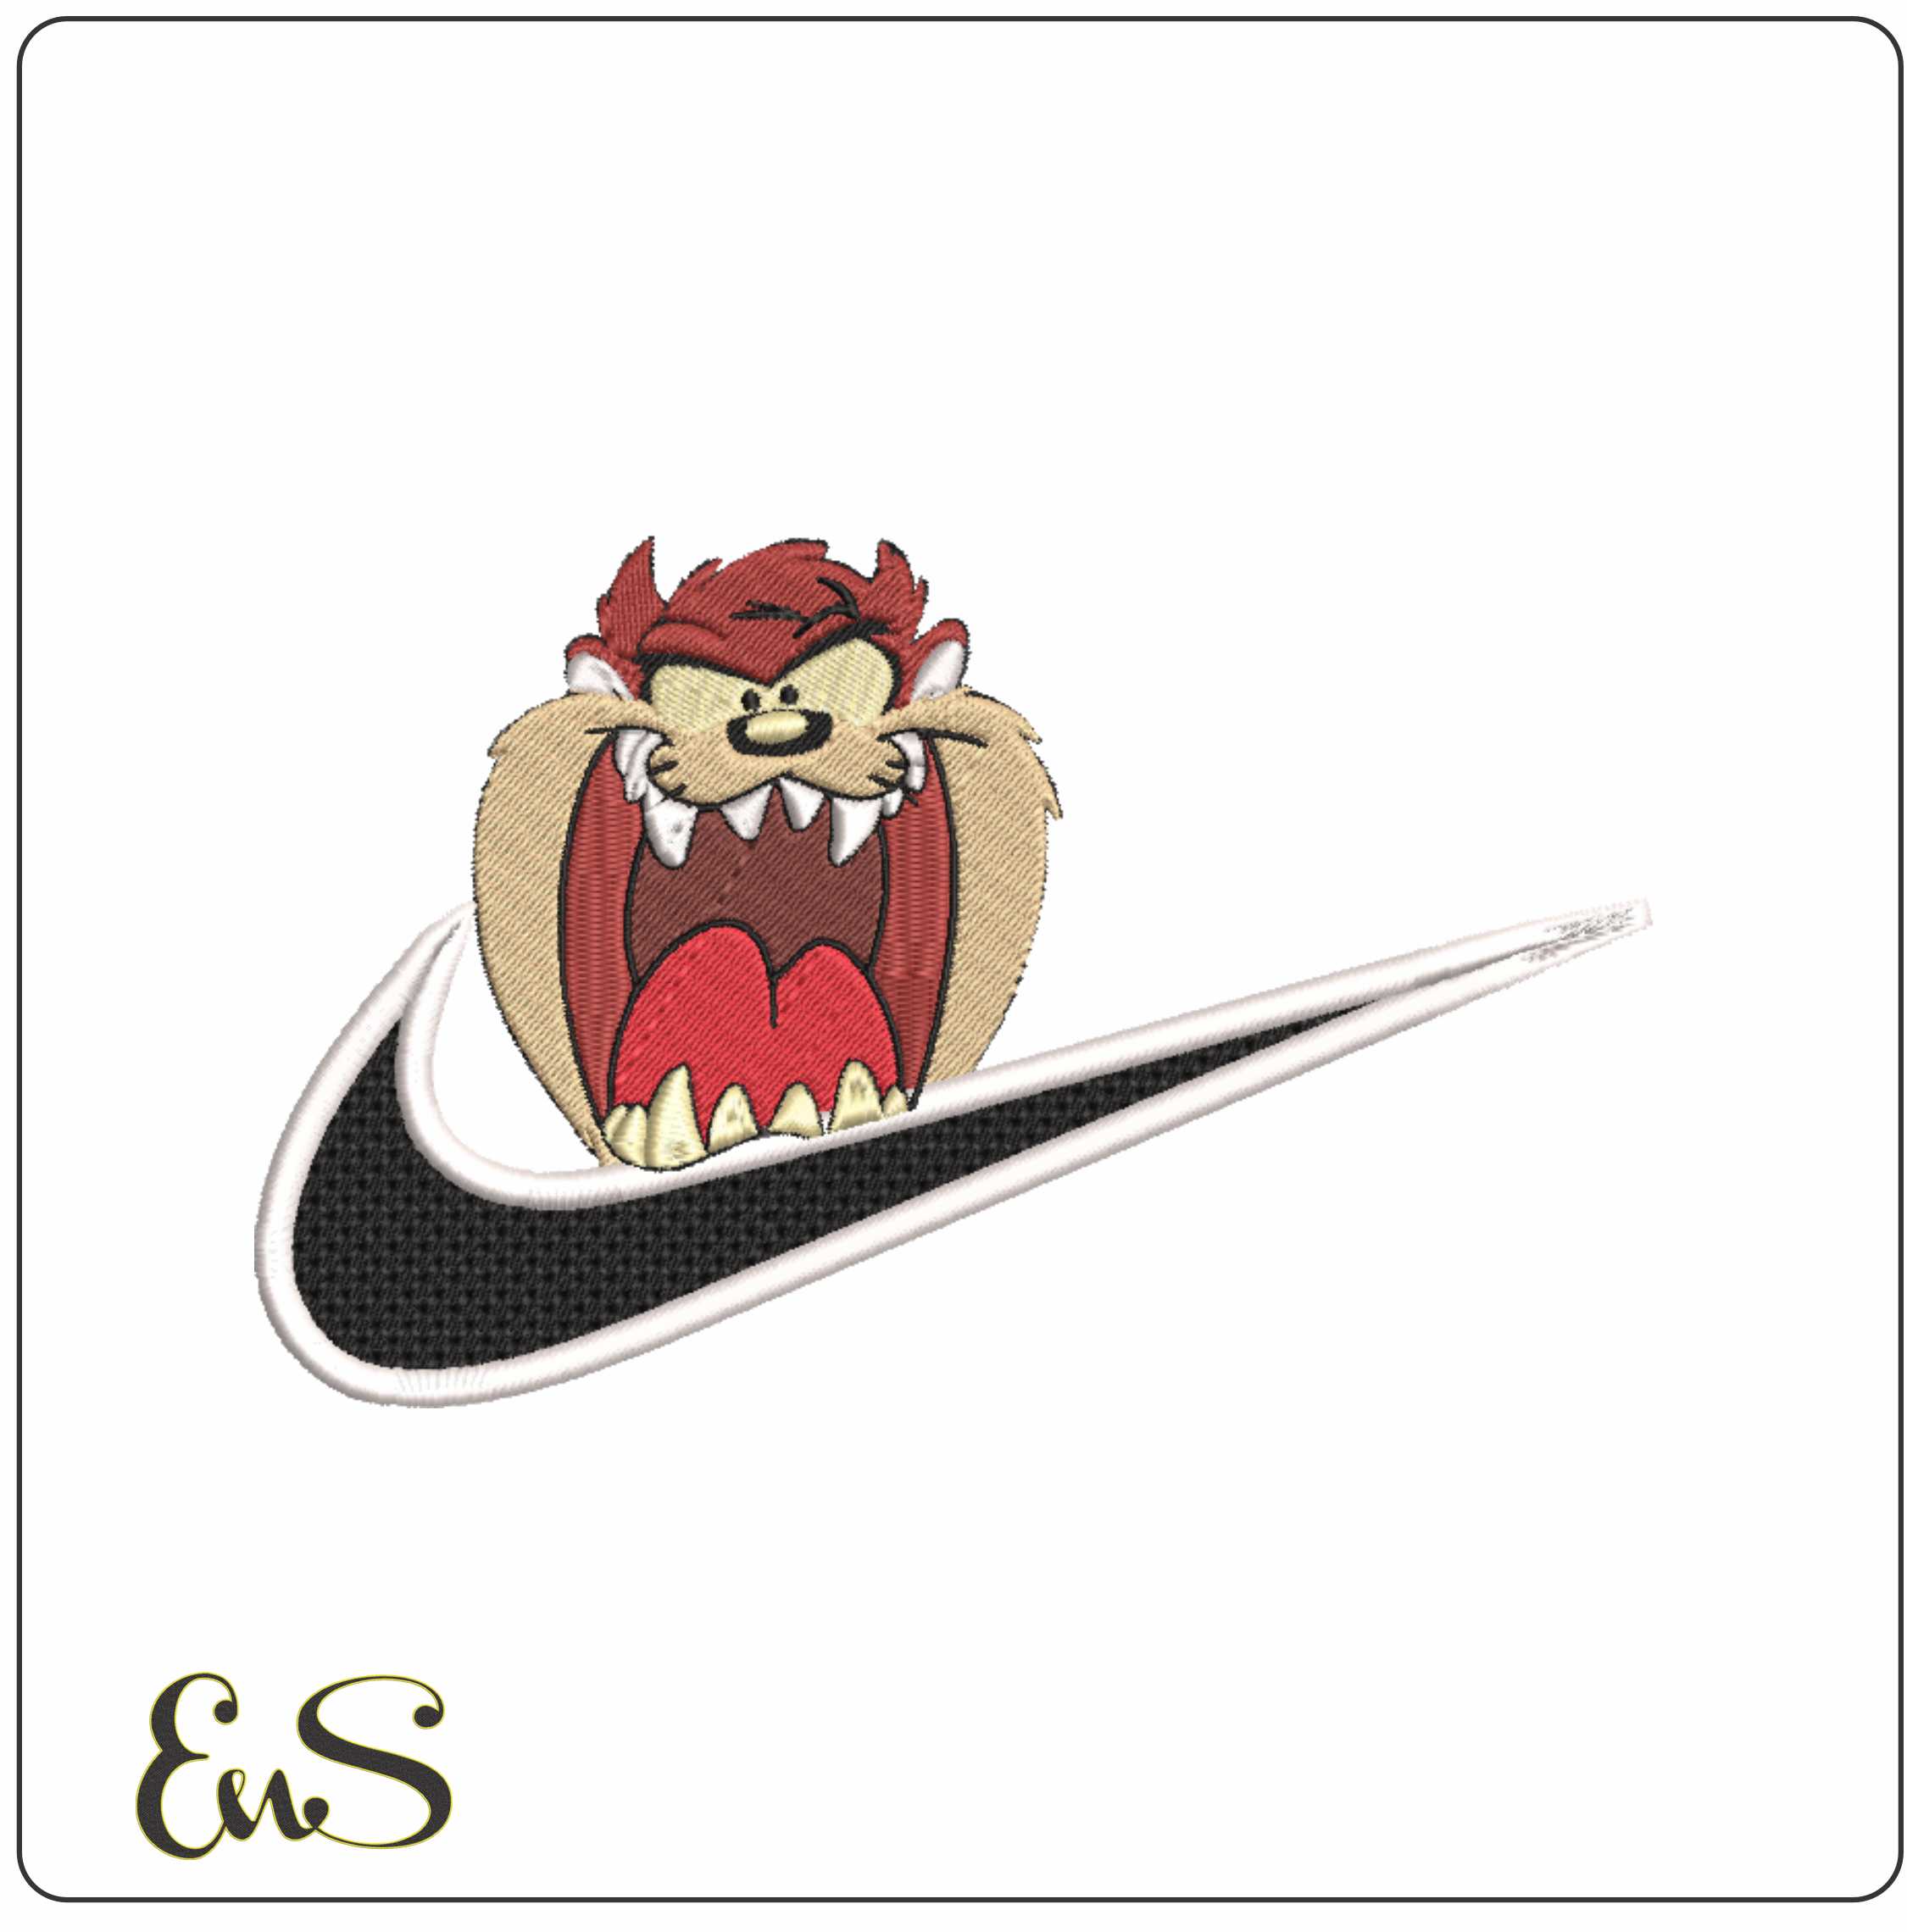
Streetwear-style files such as Nike Swoosh Taz Bite- Elegant embroidery design file - instant download or Nike Swoosh Tanjiro Kamado Earing - Anime- Elegant embroidery design file - instant download often look stronger as a small, intentional accent than as an oversized centre design.
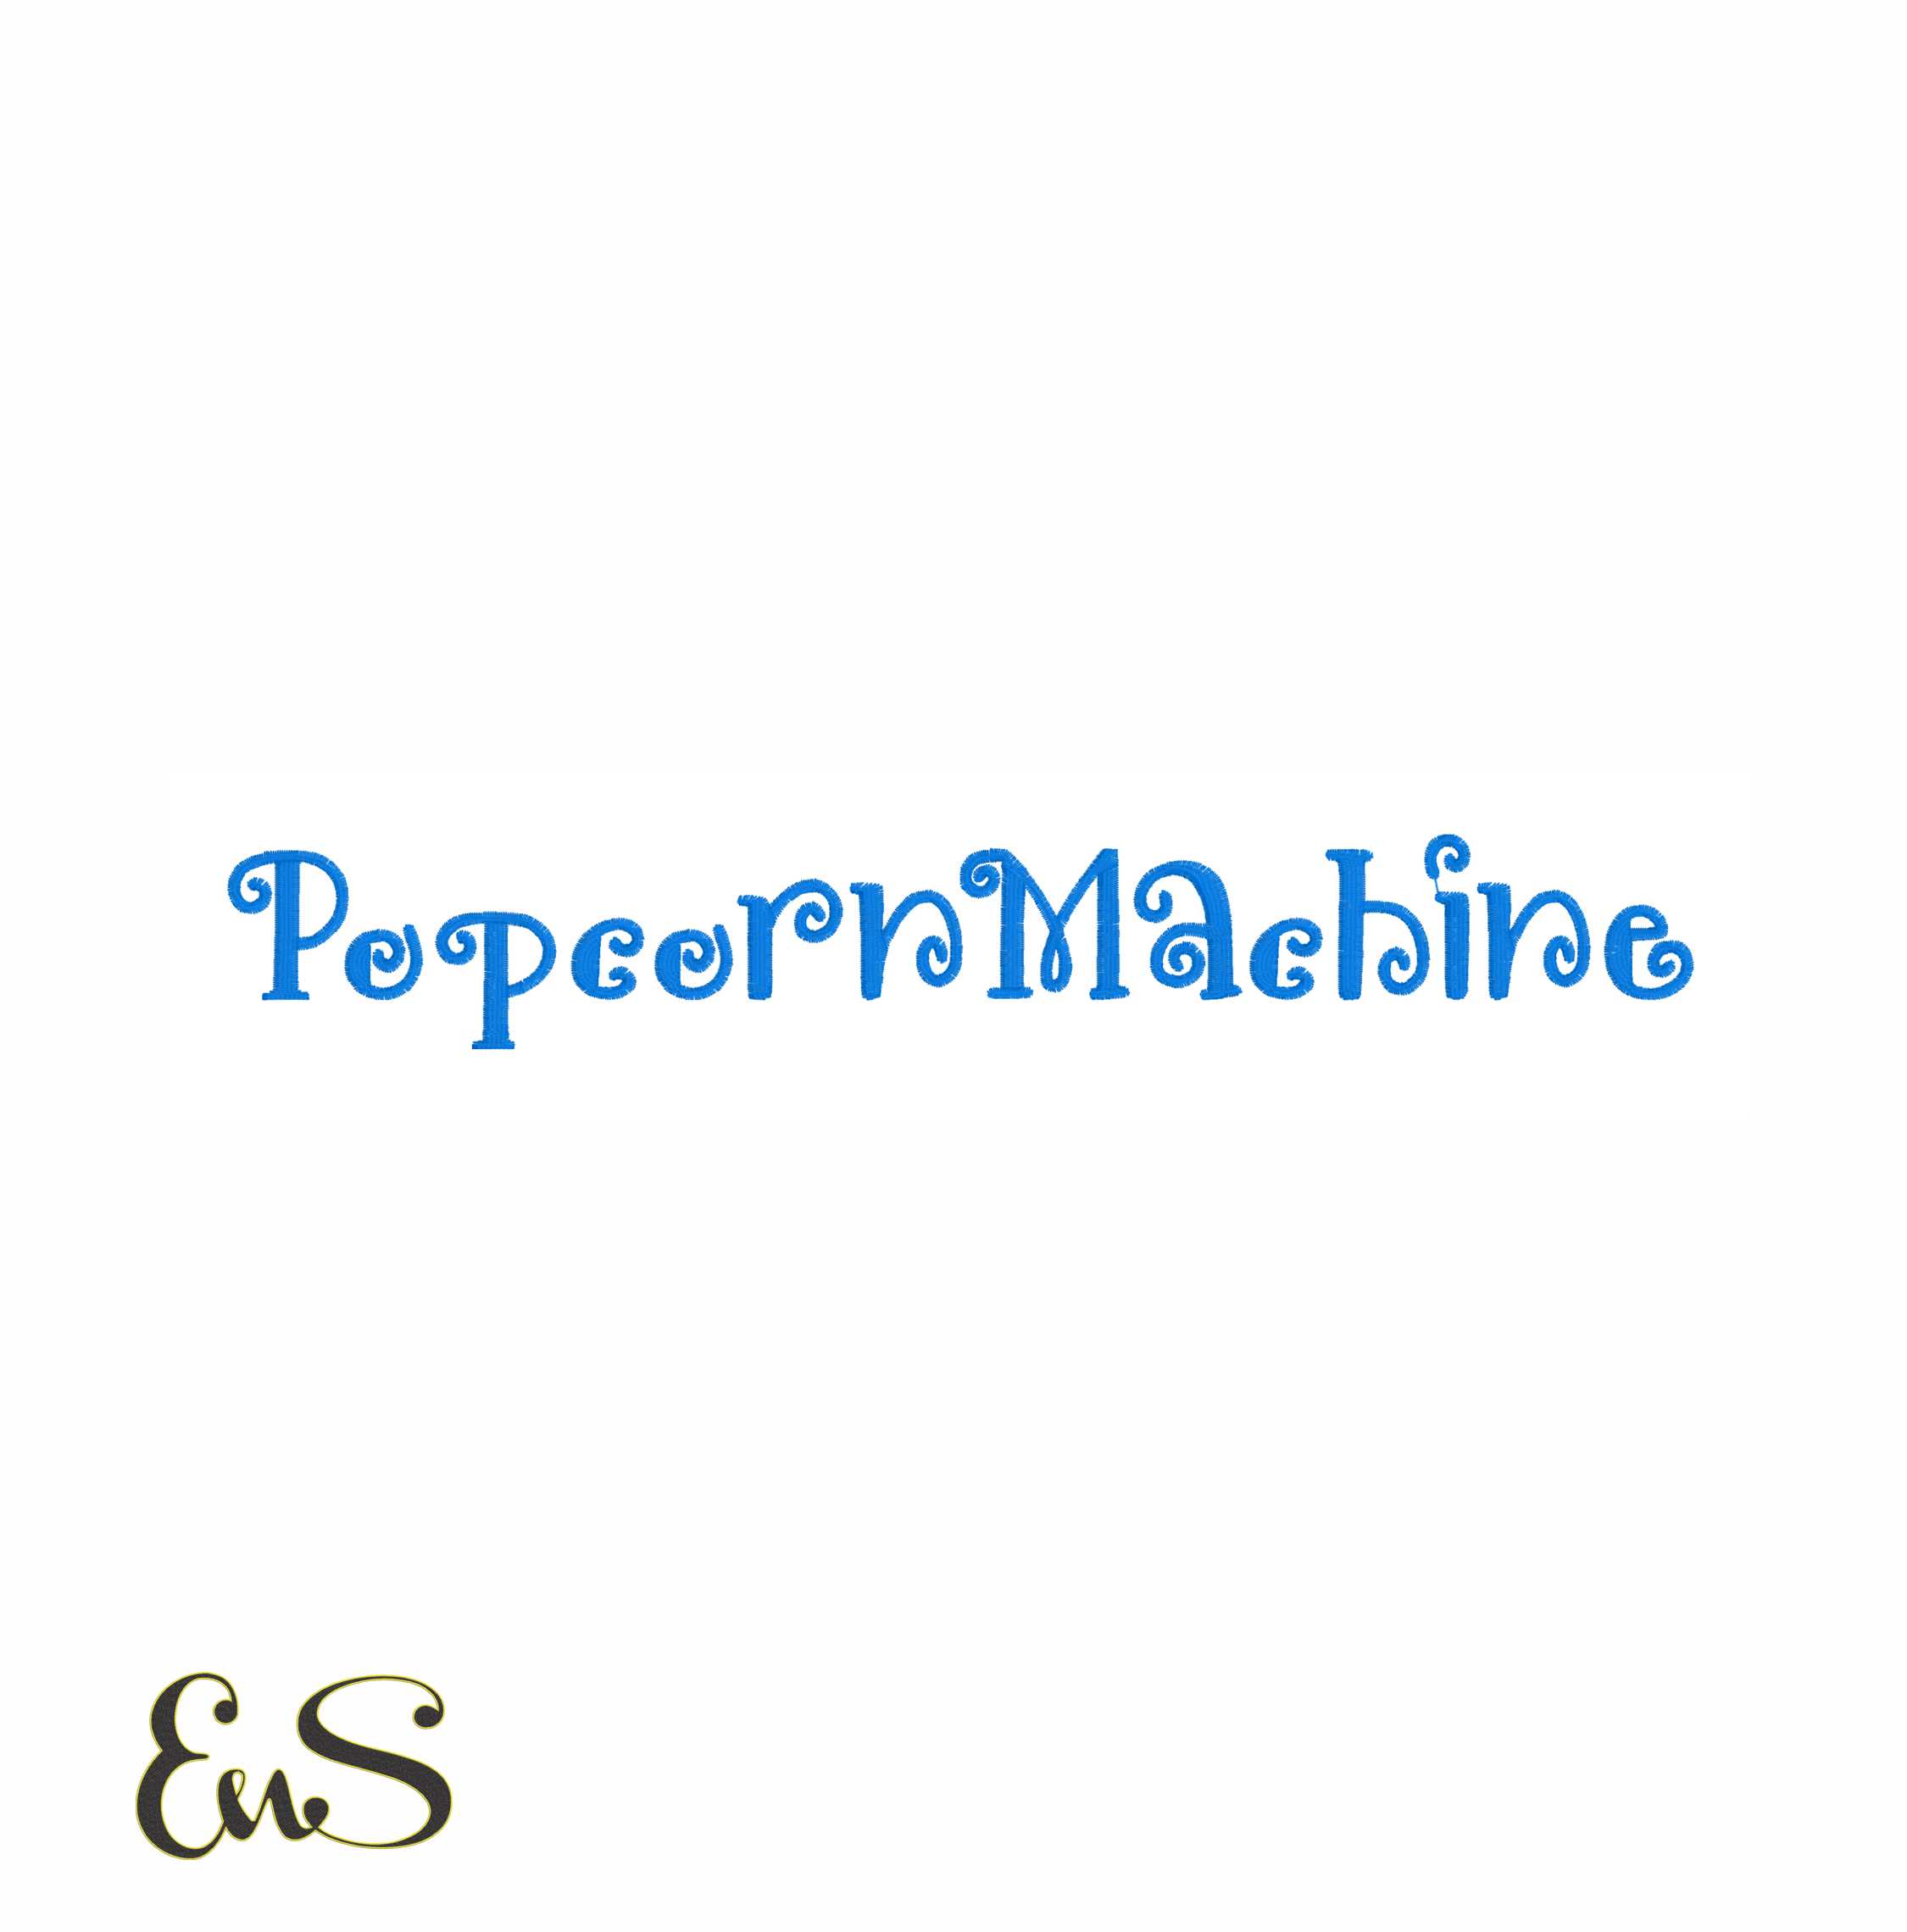 Embroidery designPopcorn MachineView this design →
Test stitch first, especially on new fabric
A test stitch is not wasted time. It is how you catch:
- poor contrast between thread and fabric
- pull causing circles to become oval
- top stitches sinking into pile
- outlines not meeting fills cleanly
- bobbin showing on top or top thread pulling underneath
Use a spare of the same fabric, the same stabiliser and the same hooping method. One test stitch can save an expensive hoodie or a full set of towels.
Finishing makes homemade look professional
Once the machine finishes:
- Trim jump threads neatly from front and back.
- Remove tear-away carefully so stitches are not stressed.
- Leave enough cut-away to keep the design supported.
- Rinse or steam away topper residue if applicable.
- Press from the reverse over a towel to protect the stitch texture.
If you are selling finished items, check every piece for consistency. Small files such as Popcorn Machine Regular are excellent for batch production because they are easier to place consistently than large multi-area embroidery.
A note on use and buyer expectations
When working with branded or character-inspired aesthetics, always make sure your use is appropriate for your market and purpose, particularly if you intend to sell finished goods. From a production standpoint, keep the embroidery neat, durable and correctly placed; that is what customers notice first.
In short, successful machine embroidery is less about owning hundreds of files and more about using each one in the right context. Pick a design that suits the item, stabilise for the fabric, hoop without distortion and always run a test stitch when trying a new combination.