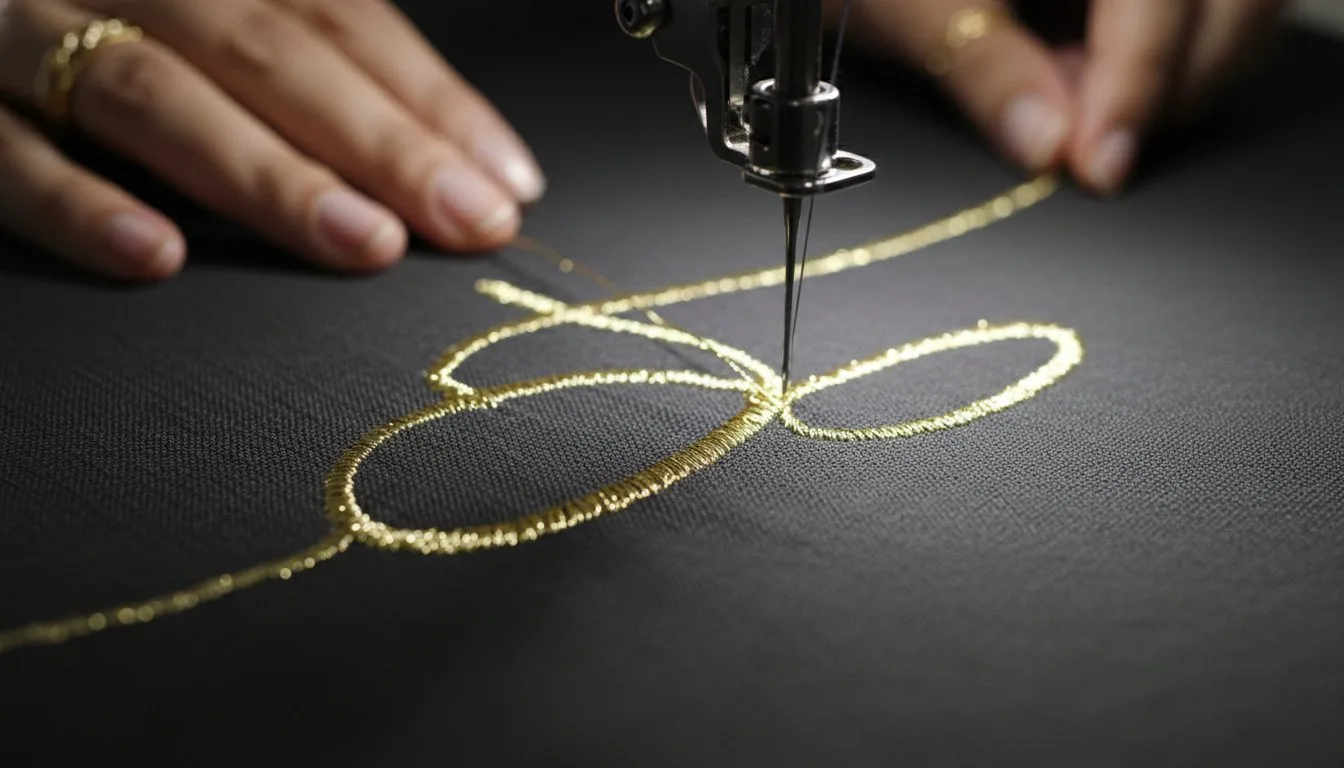
Is there anything more frustrating than watching a beautiful script font sink into your fabric, with delicate letters that refuse to connect smoothly? The search for the perfect script embroidery fonts download can feel like a maze of confusing file types and questionable quality, often leading to stitched-out results that just don't live up to your creative vision. It's a common struggle that can turn an exciting personalization project into a real headache.
Well, get ready to say goodbye to those stitching woes! In this ultimate guide, we'll show you exactly how to choose, download, and perfectly stitch elegant script fonts for your embroidery machine. You will learn the secrets to making thin lines pop, finally understand the difference between BX and PES files, and discover our curated collection of professional-quality fonts. By the end, you'll have the confidence and the tools to create stunning monograms and personalized text that looks clean, connected, and absolutely beautiful every single time.
## What Makes Script Embroidery Fonts Unique (and Tricky)?
Script fonts are designed to emulate the fluid, connected strokes of handwriting. While the history of what script fonts are is rooted in calligraphy and print, translating that elegance to thread and needle presents a unique set of challenges. The very things that make them beautiful-delicate loops, thin upstrokes, and seamless connections-can quickly turn into a tangled mess without expert preparation.
Unlike standard block letters, where each character is a standalone object, script letters must flow into one another perfectly. This requires a skilled digitizer who can plan the stitch path from the end of one letter to the beginning of the next, ensuring a clean, professional finish without bulky, awkward joins. Thin strokes and tiny serifs are particularly difficult, as they can easily sink into fabric or break during stitching if not properly stabilized.
### The Anatomy of a Well-Digitized Script Font
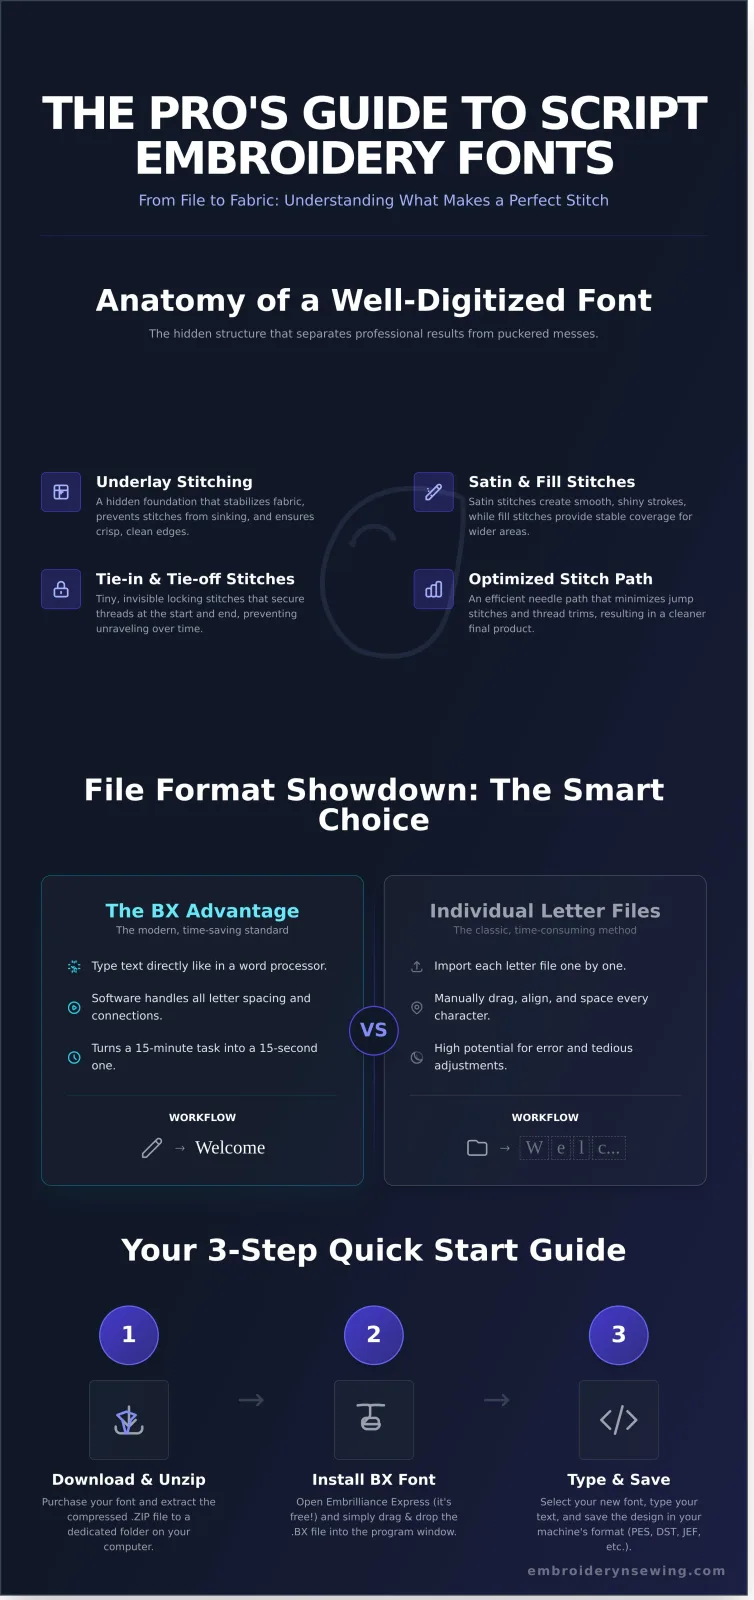
The quality of a script embroidery font goes far beyond its appearance. The invisible structure, or digitizing, determines whether your text will be crisp and durable or puckered and prone to unraveling. Here are the key elements a professional digitizer builds into every high-quality font:
- Underlay Stitching: This is a hidden foundation of stitches laid down before the main text. It stabilizes the fabric and provides a smooth base, preventing the top stitches from sinking and ensuring crisp, clean edges.
- Satin vs. Fill Stitch: Most script fonts use satin stitches-a series of close, parallel stitches-to create a smooth, raised, and slightly shiny look that mimics a pen stroke. Wider parts of a letter may use a fill stitch for stability.
- Tie-in and Tie-off Stitches: At the beginning and end of each letter or word, tiny locking stitches are embedded to secure the threads and prevent them from ever unraveling, even after many washes.
- Optimized Stitch Path: A digitizer carefully plans the most efficient path for the needle to travel, minimizing jumps between letters which reduces thread trims and creates a cleaner final product.
### Why File Format Matters: BX vs. Individual Letter Files
When you're ready for a script embroidery fonts download, the file format is one of the most important considerations for ease of use. Traditionally, fonts came as a folder of individual letter files (like PES, DST, JEF, etc.). To write a word like "Welcome," you had to import, place, and align seven separate files manually-a tedious and time-consuming process.
The BX format is a game-changer. It is an installable font file that works with the popular free software, Embrilliance Express. Once installed, you can simply select the font and type your words directly on your screen, just like in a word processor. The software automatically places and spaces the letters for you, turning a 15-minute task into a 15-second one. For any project involving names, phrases, or monograms, choosing a BX font will save you an incredible amount of time and frustration.
## How to Download & Install Your Script Embroidery Fonts: A Step-by-Step Guide
You’ve found the perfect font, but what happens after you click "buy"? This guide demystifies the process, turning your digital files into beautiful, stitched-out text. The journey from a script embroidery fonts download to a finished project is simple once you know the steps. Let's walk through it together.
### Step 1: Purchasing and Downloading Your Font Files Once you add a font to your cart and complete the checkout, you'll typically receive access to your files in two ways: via an immediate download link on the confirmation page and through a follow-up email. We recommend creating an account on the site so you can access your purchase history and re-download files anytime. When you purchase a font, you are technically buying a license to use it; for a deeper dive into the legalities, this article on understanding font licensing is a great resource.
Your download will arrive as a single .ZIP file. You must "unzip" or "extract" this compressed folder to access the individual font files inside. To stay organized, create a dedicated "Embroidery Fonts" folder on your computer to save all your purchases.
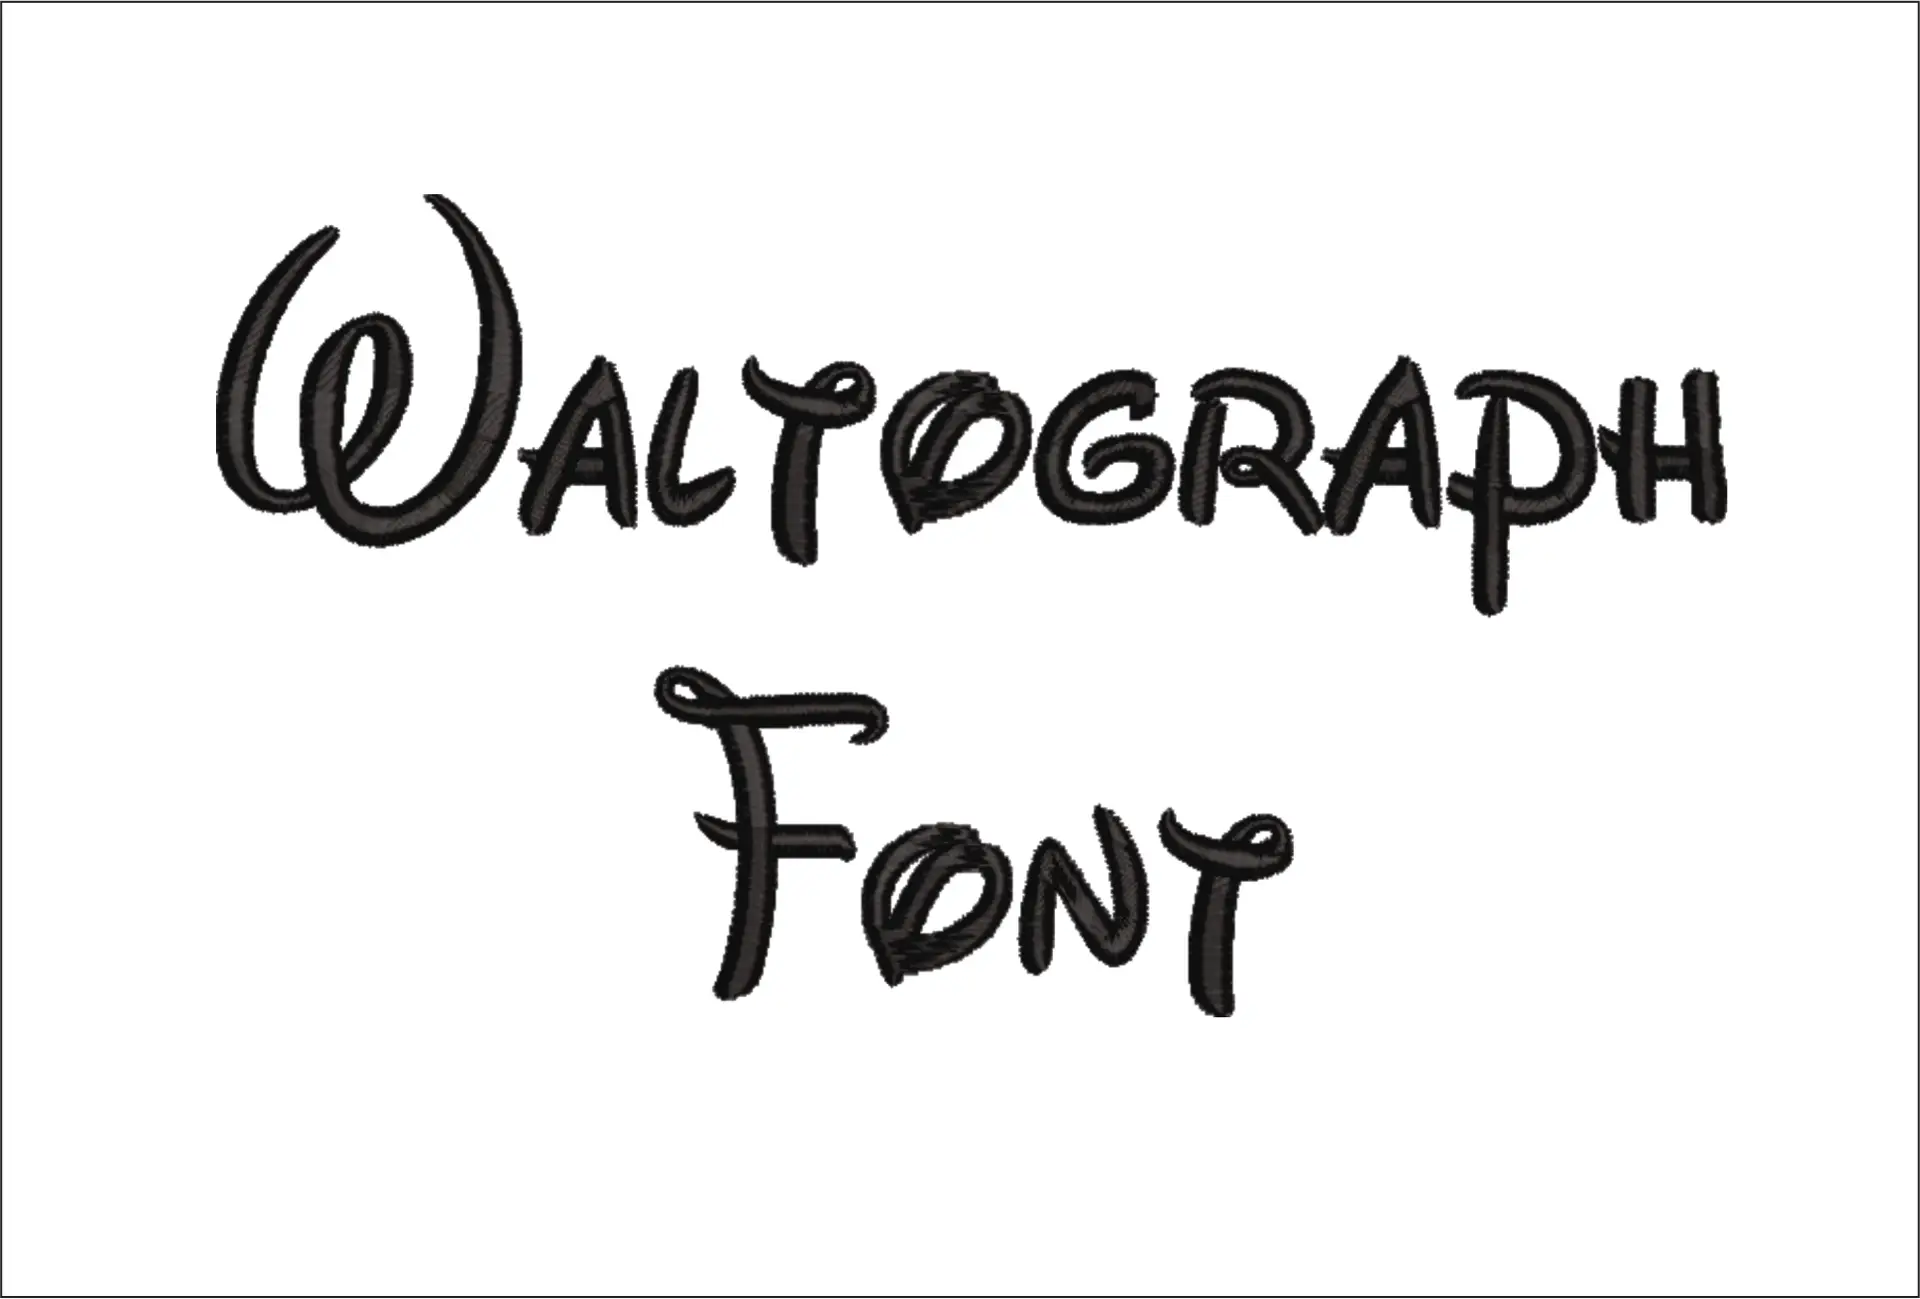
The BX format is a game-changer for embroiderers because it allows you to type with your fonts directly. This format requires Embrilliance software, which has a free version called Embrilliance Express that is perfect for this task. Installation couldn't be easier:
- Open your Embrilliance software.
- Locate the unzipped font folder on your computer.
- Simply drag the file ending in .BX and drop it directly onto the open Embrilliance window.
A confirmation will pop up saying the font was installed. Now, you can select it from the font dropdown menu, type your text, and save the final design in your machine's format (like PES, DST, or JEF).
Step 3: Using Individual Letter Files
If you don't use Embrilliance or your font doesn't include a BX version, you can still use it! This method involves importing each letter individually. Open your machine's embroidery software and use the "Import" or "Merge" function to bring in the file for each letter you need (e.g., C.pes, a.pes, t.pes). You will then need to manually drag each letter into position, aligning them to create your word. While more time-consuming, this classic method works with virtually any embroidery editing program.
Choosing the Perfect Script Font Style for Your Project
Once you've handled the technical side of your machine, the real fun begins: choosing a font with the right personality. The best script fonts do more than just spell out words; they convey a mood and elevate the item they adorn. This concept isn't just for print-understanding the principles of textile typography can transform your embroidery from simple lettering to a true design element. When you look for script embroidery fonts download options, think about the story you want to tell. Is it a timeless heirloom, a trendy statement piece, or a playful gift? Let’s explore the styles that match your vision.
Classic & Formal Cursive Fonts
These are the timeless, elegant scripts that speak of tradition and sophistication. They are the perfect choice for creating cherished keepsakes and high-end personalized gifts. Think of graceful, flowing letters that add a touch of class to any fabric.
- Best For: Monograms on bath towels, wedding and anniversary gifts, formal table linens, and heirloom pieces.
- Characteristics: Graceful loops, consistent letterforms, and often intricate flourishes and swashes.
- Pro Tip: Use these fonts at a larger size. This allows the fine details and elegant serifs to stitch out cleanly, preventing them from looking cluttered or messy.
Ready to create something timeless? Explore elegant formal script fonts and start your next heirloom project.
Modern Calligraphy & Brush Fonts
Reflecting the popular hand-lettering trend, modern calligraphy and brush fonts are full of energy and personality. They feel less formal and more personal, making them ideal for fashion items and contemporary home decor. Their signature "bouncy" baseline and varied line thickness mimic the look of a real brush pen.
- Best For: Favorite quotes on sweatshirts, names on tote bags, custom hats, and trendy home decor like throw pillows.
- Characteristics: Varying thick and thin strokes, an irregular baseline, and a handcrafted, artistic feel.
- Pro Tip: These fonts excel at adding a casual, personalized touch. They make a simple item feel custom-made and unique.
Whimsical & Playful Script Fonts
When your project needs to be fun, sweet, and approachable, a whimsical script is the perfect choice. These fonts are often rounded, bouncy, and simple, making them incredibly charming and easy to read, especially for younger audiences.
- Best For: Names on children's clothing, cute sayings on kitchen towels, personalized stuffed animals, and fun craft projects.
- Characteristics: Rounded edges, simple letter shapes, and a clean, legible appearance.
- Pro Tip: Legibility is key. Ensure the size is large enough for clean stitching, especially on smaller items or textured fabrics like terry cloth, to avoid losing the font's charming details.
Pro Tips for Flawless Script Font Stitch-Outs
You've found the perfect font, but getting a clean, professional stitch-out is what truly brings your project to life. Script fonts, with their delicate curves and varying line widths, can be tricky. Common issues like fabric puckering, stitches sinking into the material, or gaps between letters are often not the fault of the design file but the setup. These pro tips will help you master the process and achieve flawless results every time.
Stabilizer is Your Best Friend
The right foundation is everything in machine embroidery. Stabilizer prevents fabric from shifting and puckering under the needle, which is crucial for the precise details in script lettering. Choosing the correct type for your fabric is the first step toward success.
- For Knits (T-shirts, Sweatshirts): Use a medium-weight cut-away stabilizer. It remains with the garment after stitching, providing permanent support for stretchy fabrics.
- For Wovens (Cotton, Denim): A crisp tear-away stabilizer is usually sufficient for stable, non-stretch fabrics as it can be cleanly removed afterward.
- For Plush Fabrics (Towels, Fleece): Place a water-soluble topping over the fabric. This clever film prevents delicate stitches from sinking and getting lost in the pile, ensuring your letters are crisp and visible.
Needle and Thread Selection
Using the right tools can make a world of difference in stitch quality. A dull needle or incorrect thread weight can quickly ruin an otherwise perfect design.
- Needle: Always start a new project with a fresh embroidery needle. A sharp size 75/11 needle is a versatile choice for most projects. A dull needle can cause skipped stitches, shredded thread, and fabric pulls.
- Thread: The industry standard is a 40wt polyester or rayon embroidery thread. It provides excellent coverage and strength. For balanced tension, make sure your bobbin thread is a similar weight (usually 60wt bobbin fill).
The Importance of a Test Stitch
This is the single most important step you can take. Before committing to your final garment, always run a test stitch on a scrap of the same fabric, using the same stabilizer and thread. A quick test reveals potential issues with tension, density, or letter connections. It's the best way to guarantee your chosen script embroidery fonts download will stitch out beautifully, saving you time, thread, and frustration in the long run.
By paying close attention to these key areas, you empower yourself to turn any digital design into a stunning embroidered reality. The best script embroidery fonts download deserves a flawless execution. For more expert advice and premium designs, explore the resources at embroiderynsewing.com.
Bring Your Embroidery Projects to Life with Elegant Script Fonts
You now have the complete roadmap to mastering the elegant and often intricate world of script embroidery fonts. We've covered why their flowing lines require special attention, how to choose the perfect style that matches your project’s personality, and the essential pro tips needed for a flawless stitch-out every time. You're no longer just using fonts; you're equipped to create true art with thread.
Now that you're prepared, the final step is finding a reliable, high-quality source for your script embroidery fonts download. Instead of searching endlessly and risking a poor result, get started right away with a collection that guarantees quality. Shop our collection of professionally digitized script fonts now! You'll receive an instant download after purchase, with every font including multiple machine formats and the convenient BX format for easy typing directly in your software.
Your next beautiful, personalized creation is just a few clicks away. Happy stitching!
Frequently Asked Questions About Script Embroidery Fonts
What is a BX embroidery font?
A BX font is a special, installable font format designed exclusively for Embrilliance embroidery software. Instead of importing and aligning individual letter files (like A.pes, B.pes), you can simply type out words and names directly from your keyboard. This makes creating text-based designs significantly faster and more accurate. The software automatically handles the spacing and connections between letters, saving you a huge amount of time and effort when personalizing projects.
Can I use these fonts without Embrilliance software?
Absolutely. While the BX format is a convenient bonus for Embrilliance users, nearly every font package also includes individual character files in all major machine formats (such as PES, DST, JEF, HUS, and EXP). This means you can use the font with any embroidery machine and software. You will just need to import each letter file one by one into your software's design window and manually arrange them to spell out your desired words.
What size script font should I use for a left-chest monogram?
For a classic left-chest name or monogram on a polo shirt or jacket, a height of 0.5 to 0.75 inches is a great starting point. If you are doing a traditional three-letter monogram, the larger center initial typically looks best at around 1 inch tall, with the two side letters at 0.75 inches. Always perform a test stitch-out on a scrap piece of similar fabric to ensure you are happy with the size and legibility before stitching on your final garment.
How do I know if a script font will be too thin for my project?
Thin script fonts can sometimes get lost or sink into high-pile fabrics like fleece, minky, or terry cloth towels. Check the font digitizer’s description for a recommended minimum stitch size. As a rule, avoid very delicate fonts for plush fabrics. The best way to be certain is to do a test stitch. Using a water-soluble topper will also help the thin satin stitches sit on top of the fabric pile instead of sinking in.
Why are my script letters not connecting properly when I stitch them?
This issue usually stems from two things: incorrect spacing or fabric distortion. When manually placing letters from a script embroidery fonts download, you might leave a tiny gap that becomes obvious after stitching. Alternatively, insufficient stabilization can cause the fabric to shift or pucker during the stitch-out, pulling the letters apart. Ensure you are using the correct stabilizer and that your fabric is hooped tautly to prevent this movement during the embroidery process.
What's the difference between a satin stitch script and a fill stitch script?
A satin stitch creates the letter shape with a series of parallel stitches that go back and forth across the column, resulting in a smooth, shiny finish. It's ideal for most lettering and delicate details. A fill stitch (or tatami stitch) covers wider areas with a pattern of shorter, overlapping stitches, creating a textured, matte appearance. You typically see fill stitches used for very large or bold fonts where a satin stitch would be too long and prone to snagging.