

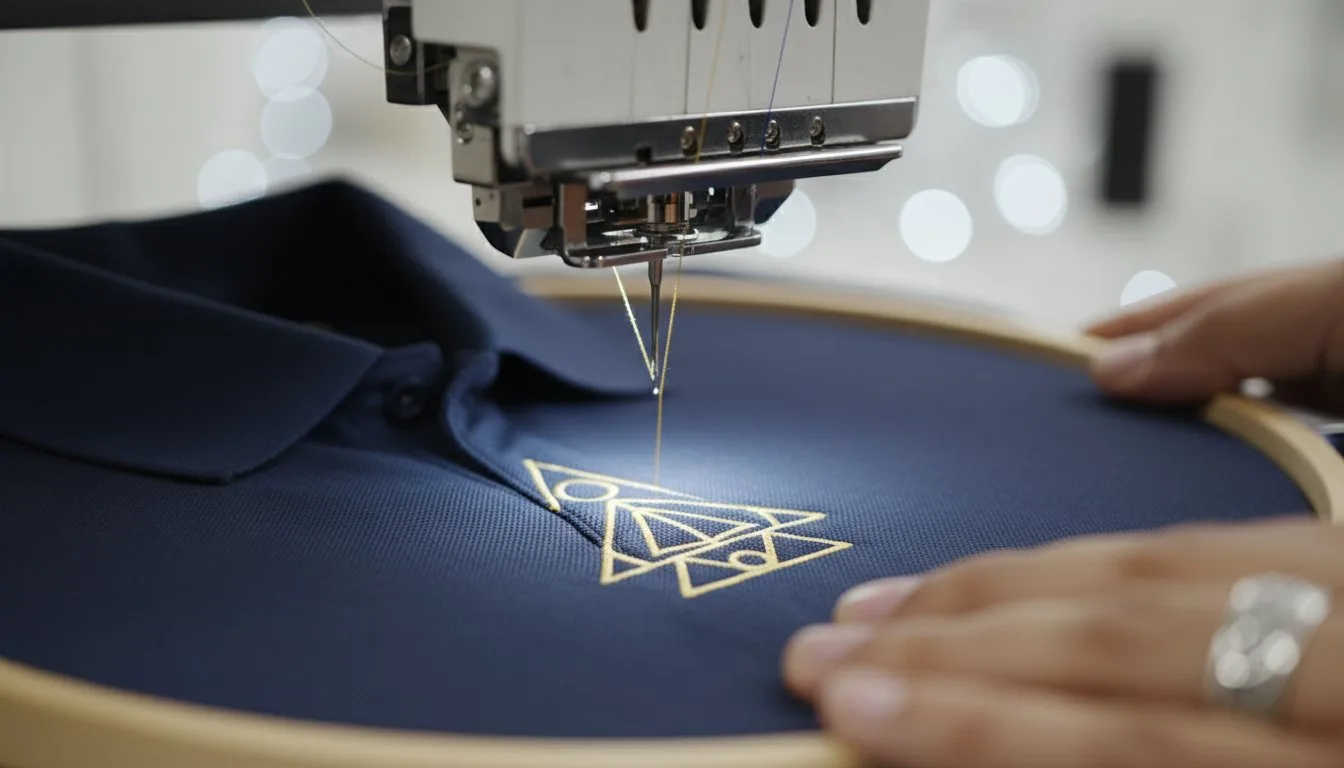
Have you ever spent hours digitizing and stitching a logo, only to have it emerge from the hoop as a messy, unreadable blob of thread? It’s a frustratingly common problem. Tiny text becomes a jumble, and all those intricate details you loved in the digital file simply vanish on fabric. If you’re tired of disappointing results and want to know why your small logos look blurry, you’re in the right place. The secret isn't just more practice; it's about understanding the unique principles behind creating effective small embroidery designs for logos.
In this complete guide, we'll walk you through everything you need to know to achieve crisp, professional, and perfect results every time. You will learn the essential rules for choosing and simplifying artwork, the specific digitizing techniques that make tiny details shine, and the best practices for getting clean, legible text even at a miniature scale. Get ready to confidently stitch stunning logos on hats, polos, and any other apparel you can imagine.
## Why Small Logos Are a Unique Challenge in Machine Embroidery
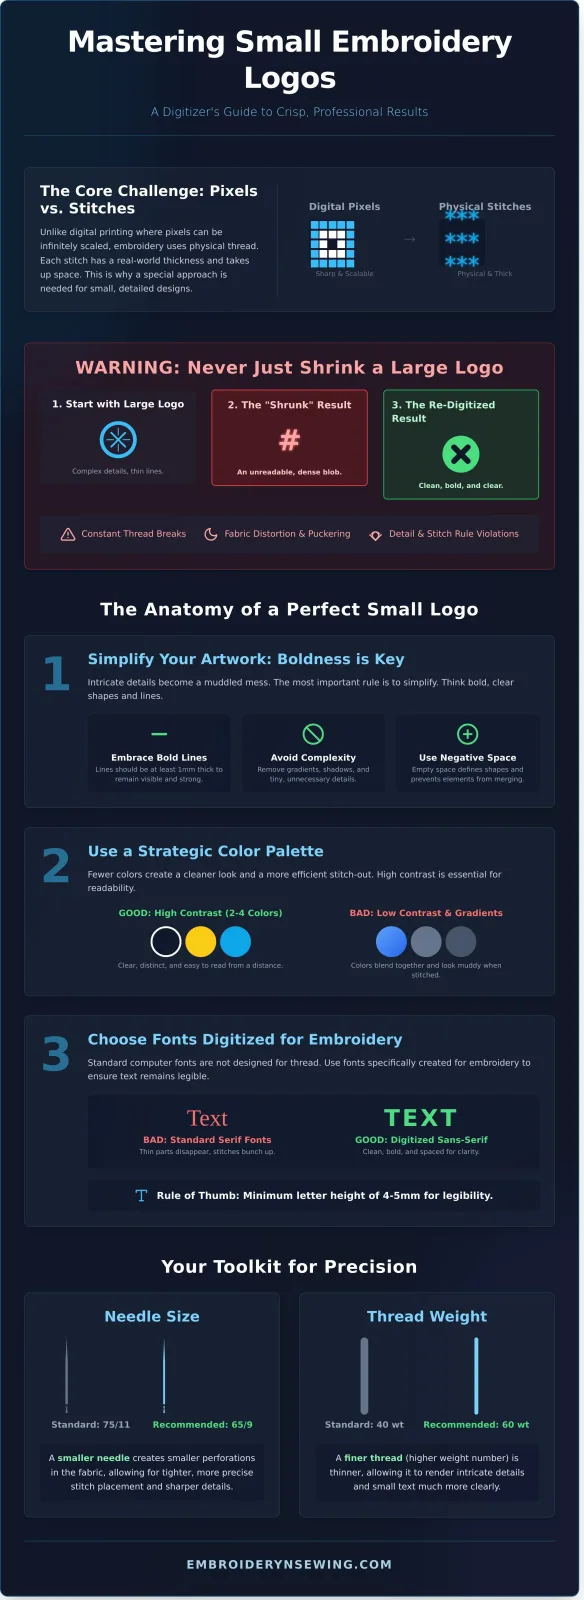
When you want your brand to look sharp on a polo shirt collar or a hat, you're entering the specialized world of small-scale embroidery. Unlike digital printing where pixels can be scaled infinitely, embroidery uses physical thread. This simple fact is the root of every challenge. Each stitch has a real-world thickness, and every needle puncture takes up space. This means creating crisp, clear small embroidery designs for logos requires a completely different approach than their larger counterparts.
### The Problem with Stitch Density and Detail Loss
Stitch density refers to the number of stitches packed into a given area. While high density can create a rich, solid look, it becomes problematic in small designs. Too many stitches in a tiny space create a hard, inflexible patch that feels "bulletproof" and can pucker the fabric. Fine lines merge, small gaps disappear, and delicate details are lost. It’s like trying to draw a detailed portrait with a thick permanent marker-the tool is simply too broad for the intricate work required.
### Why You Can't Just Shrink a Standard Design
A common misconception is that you can take a large, complex logo file and simply scale it down. This is the fastest way to an unreadable, messy result. The entire Machine embroidery overview process is built on precise instructions for the needle and thread, and shrinking a design file corrupts those instructions. It artificially inflates the stitch density, leading to a cascade of technical failures.
- Constant Thread Breaks: The machine tries to place too many stitches in a tiny area, causing the thread to shred and snap.
- Violated Stitch Rules: Many stitch types, like the popular satin stitch, have minimum and maximum length requirements. Shrinking a design can make these stitches too short for the machine to execute properly.
- Fabric Distortion: The underlay-a foundation of stitches that stabilizes the design-becomes excessively dense and can pull, warp, and even tear the garment.
Ultimately, a high-quality small logo isn't resized; it's completely re-digitized. A professional digitizer rebuilds the design from the ground up, simplifying elements and choosing specific stitch types that work at a small scale. This careful planning is the secret behind creating effective and durable small embroidery designs for logos.
The Anatomy of a Perfect Small Embroidery Logo
Transforming a digital logo into a stitched masterpiece requires a specific approach. Unlike print, where detail is nearly infinite, embroidery is a physical medium constrained by thread, needle, and fabric. When creating effective small embroidery designs for logos, the rules of digital design must bend to these real-world factors. To achieve a professional finish, your design must be optimized for thread and needle from the very beginning. Following established logo embroidery guidelines is the first step to ensuring your brand looks crisp and clean.
Simplicity and Bold Lines are Key
The single most important rule in small-scale embroidery is simplicity. Intricate details get lost and can turn into a messy, indistinguishable blob of thread. Think bold and clear.
- Embrace Bold Lines: Thin, delicate strokes under 1mm wide often disappear or look uneven when stitched. Opt for thick, confident lines that provide a solid foundation for the thread.
- Avoid Complexity: A logo with many tiny elements, watercolor effects, or photographic detail will not translate well. For example, a detailed drawing of a lion’s face will become muddled, whereas a simple, bold silhouette of a lion's head will look sharp.
- Use Negative Space: Empty space is just as important as the stitches. It helps define shapes and prevents elements from bleeding into one another, ensuring your design is legible.
Strategic Use of Color
Color can make or break the clarity of a small embroidered logo. While your brand may have a complex palette, you’ll need to simplify it for stitching. Limiting your design to 2-4 solid, high-contrast colors is ideal. Contrasting colors, like black on white or yellow on navy, make the design pop and improve readability from a distance. Avoid subtle gradients or shades of the same color, as they don't translate well into thread and can look muddy. A practical benefit is that fewer color changes mean a faster and more cost-effective stitch-out process.
Choosing Fonts Digitized for Small Sizes
Text is often the first thing to fail in small embroidery designs for logos. Standard computer fonts (like TTF or OTF) are made of pixels and don't account for the pull and push of thread on fabric. For clean lettering, you must use fonts specifically digitized for embroidery. These fonts are designed with fewer details and wider spacing to prevent stitches from bunching up. As a general rule, sans-serif fonts work best, and lettering should be at least 4-5mm tall to remain legible. For guaranteed results, explore our collection of professionally digitized embroidery fonts built for clarity at small sizes.
Technical Setup for Stitching Small Logos
A brilliant design is only half the battle. To truly bring small embroidery designs for logos to life, you must shift your focus from the digital canvas to the physical machine. The right technical setup is what separates a crisp, professional logo from a blurry, amateurish one. Once your artwork is digitized following the best technical guidelines for embroidery logo design, the next crucial step is preparing your equipment and materials for a flawless stitch-out.
Choosing the Right Supplies
The secret to sharp detail lies in using materials that match the scale of your design. Think of it as using a fine-tipped pen instead of a thick marker. For intricate logos, your standard supplies might not be up to the task. Here’s what you need:
- Needle Size: Swap your standard 75/11 needle for a smaller 70/10 or even a 65/9. A smaller needle creates a smaller perforation in the fabric, allowing for tighter, more precise stitch placement.
- Thread Weight: Standard 40wt thread can make small text look bulky and unreadable. Switch to a lighter 60wt thread. Its finer diameter is perfect for rendering tiny letters and delicate lines with incredible clarity.
- Stabilizer: For common apparel like polo shirts, a no-show mesh or a light cut-away stabilizer is critical. It provides the support knit fabric needs to prevent stretching and distortion during stitching.
- Topping: When working with textured fabrics like fleece or terry cloth, a water-soluble topping is non-negotiable. It keeps stitches from sinking into the fabric pile, ensuring your logo sits crisply on the surface.
Perfect Hooping and Machine Settings
Your machine setup directly controls the quality of the final product. A few careful adjustments can make a world of difference in achieving professional results with small embroidery designs for logos.
First, focus on hooping. The fabric must be drum-tight but not stretched. Any slack will cause shifting and registration issues. Always use the smallest hoop that comfortably fits your design, as this provides the best tension and stability. Next, adjust your machine settings. Slow the stitch speed down significantly-a slower pace gives the machine more time to place each stitch accurately, which is essential for tiny details. Finally, double-check your thread tension. Improper tension is a primary cause of puckering and unsightly thread loops on the back of your design. Perform a quick test stitch-out on a scrap piece of the same fabric to ensure everything is balanced before starting on your final garment.
Where to Find Small Embroidery Designs for Logos
Once you've chosen the perfect placement and thread, the final step is sourcing a high-quality, stitch-ready design file. Finding the right digital file is crucial for a crisp, professional result. You generally have two paths: using a pre-made, tested design or commissioning a custom-digitized file of your unique logo. Let's explore which option is best for your project.
Pre-Made Designs vs. Custom Digitizing
Your choice between a pre-made design and custom digitizing depends on your budget, timeline, and branding needs. Pre-made designs are an excellent starting point for many businesses, while custom work is essential for established brands with specific logo requirements.
- Pre-Made Designs: These are affordable, instantly downloadable, and have been professionally digitized and tested. This ensures a clean stitch-out without the trial and error, making them perfect for generic symbols, icons, or text-based logos.
- Custom Digitizing: If you need to embroider your specific company logo, you'll need a custom service. A digitizer manually converts your image file into a stitch file. This process is more expensive and can take several days, but it's the only way to get a truly unique brand representation.
For those looking for reliable and expertly crafted small embroidery designs for logos, a curated library of pre-made options offers the best balance of quality and value.
Understanding Embroidery File Formats
An embroidery file format is the specific language your machine reads to create the stitches. It's not a standard image file like a JPG or PNG. Each machine brand uses a proprietary format, such as PES for Brother, JEF for Janome, or DST for commercial machines like Tajima. It is essential to know which format your machine requires before purchasing a design.
Always check your machine’s manual to confirm the correct file type. The good news is that reputable sellers provide designs in a bundle with all major formats included, so you don't have to worry. At Embroidery n Sewing, every design comes ready to load onto your machine, no matter the brand. Ready to get started? Browse our library of logo-ready designs now.
Stitch Your Brand's Story with Precision
Mastering the art of small logo embroidery opens up a world of professional branding possibilities. As we have explored, success lies in the details. Remember that simplifying your design's elements and choosing the correct underlay stitching are fundamental for clarity. Equally important is your technical setup; the right needle, stabilizer, and hooping technique are non-negotiable for achieving crisp, clean results that make your brand stand out.
Ultimately, the quality of your finished product begins with a professionally digitized file. Sourcing high-quality small embroidery designs for logos is the most critical step to avoid frustration and ensure a beautiful stitch-out. Instead of starting from scratch, why not begin with a design that is already proven to work?
Our collection features thousands of professionally digitized designs, all tested for quality stitch-outs and available for instant download in all major machine formats. Stop guessing and start stitching with confidence.
Find Your Perfect Logo Design in Our Collection Today! Happy stitching, and may your next project be your best one yet.
Frequently Asked Questions
What is the absolute smallest text you can embroider?
As a general rule, the smallest legible text you can embroider is about 4-5mm (or 0.16-0.20 inches) in height. Below this size, the stitches merge, and letters like 'a' or 'e' can close up, becoming unreadable. For best results with small lettering, always use a simple, clean, sans-serif font. Block fonts are much easier for a needle to replicate than delicate scripts, ensuring your logo remains crisp and professional even at a small scale.
Can I turn a JPEG or PNG image into an embroidery file myself?
Converting a standard image file requires a specialized process called digitizing. While auto-digitizing software exists, it often struggles with the precision needed for clean results, especially for intricate logos. For professional-quality small embroidery designs for logos, it is highly recommended to hire a professional digitizer. They manually plot each stitch, ensuring the final design sews smoothly without puckering or unnecessary density, which is critical for a polished look on your final product.
What type of stabilizer is best for embroidering logos on hats?
For structured hats like baseball caps, a heavy-weight cut-away stabilizer is the best choice. It provides the firm foundation needed to handle the dense stitching of a logo on a curved, thick surface, preventing puckering and shifting. Place one or two sheets inside the front panel before hooping. This robust support ensures the design remains stable and crisp throughout the stitching process and after washing, maintaining the logo's professional appearance over time.
How do I know if a design is well-digitized before I buy it?
Look for clear photos of the actual stitched-out design on fabric, not just a digital rendering. A reputable digitizer will always showcase their finished work. Check the design's stitch count and density information; an excessively high stitch count for a small area is a red flag. Finally, read reviews from other customers. Positive feedback about how well a design sews is the best indicator of a quality, well-digitized file that will save you frustration.
Why does my thread keep breaking when I stitch small designs?
Thread breakage on small, dense designs is often caused by the wrong needle. Ensure you are using a new, sharp needle, typically a size 65/9 or 70/10, which can penetrate dense areas without friction. Other common culprits include incorrect upper thread tension (it might be too tight), low-quality thread, or a poorly digitized file with too many stitches packed into a tiny space. Always check and replace your needle first, as it's the simplest fix.
Is it legal to use a design I bought for a commercial business logo?
This depends entirely on the license you purchase with the design. Most pre-made embroidery files are sold with a limited commercial license that allows you to sell items you stitch the design onto, but strictly prohibits using it as your own trademarked business logo. To use a design as an official logo, you must purchase an exclusive commercial license or commission a custom design. Always read the seller's terms of service carefully to avoid copyright infringement.


