

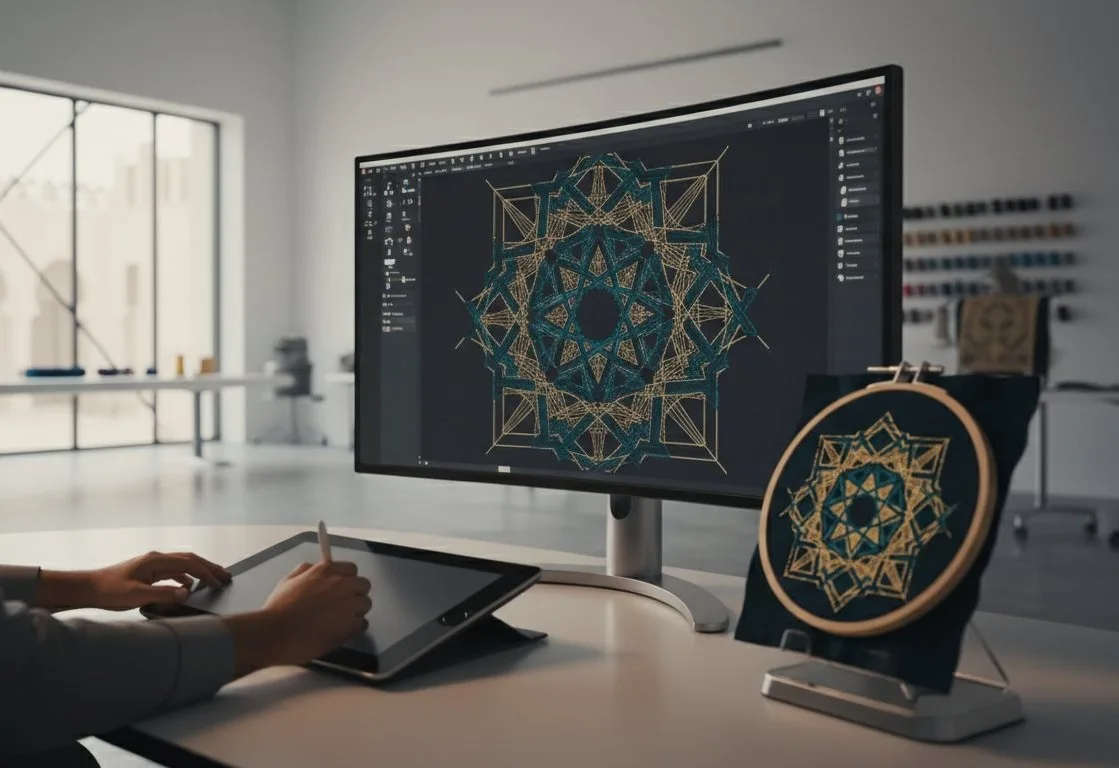
Have you ever found the perfect image, a beautiful JPG or PNG, only to discover your embroidery machine completely ignores it? Or perhaps you’ve downloaded a file that stitched out into a tangled, messy disappointment, looking nothing like the picture you admired. This frustrating gap between a digital image and a flawless embroidered design is bridged by a crucial, often misunderstood process. If you're wondering how to solve this, you're in the right place. This guide is here to demystify exactly what is embroidery digitizing and reveal why it’s the secret ingredient to professional-quality results.
If your interests extend to the broader world of digital creativity and learning, exploring online storefronts that offer a variety of educational resources, such as Namse Digital, can be a great next step.
Forget the intimidating jargon and complex software. We're breaking it all down in simple, beginner-friendly terms. You will learn precisely how a flat picture is masterfully transformed into a stitch-by-stitch roadmap that your machine can read and execute perfectly. By the end of this guide, you’ll not only understand this essential craft but also feel confident in choosing high-quality embroidery files, troubleshooting common issues, and turning your creative vision into beautifully stitched reality.
- Understand what is embroidery digitizing at its core: it's the essential process of translating a digital image into a stitch-by-stitch roadmap for your machine. - Discover why quality digitizing is an art form, not an automatic conversion, and how a digitizer's choices directly impact your final result. - Learn how to spot a high-quality design before you buy, saving you from the frustration of a messy and disappointing stitch-out. - Decide whether learning to digitize yourself or purchasing professionally-made designs is the right path for your embroidery goals.
Table of Contents
- The Simple Answer: Translating Art into Stitches
- Inside the Digitizing Process: A Look Under the Hood
- How to Spot Quality Digitizing (and Avoid a Messy Stitch-Out)
- Do You Need to Learn Digitizing? The Hobbyist's Dilemma
The Simple Answer: Translating Art into Stitches
At its core, embroidery digitizing is the process of converting a graphic file (like a JPG, PNG, or vector art) into a digital stitch file that an embroidery machine can read and sew. Think of the digitizer as a translator and the final file as a musical score. An embroidery machine can't "see" your logo or artwork; it can only follow the precise, step-by-step instructions in this special file.
This file tells the machine's needle exactly where to go, what type of stitch to make, how dense the stitches should be, and when to change colors. Answering the question of what is embroidery digitizing is simple in concept but complex in practice. It is a meticulous craft that blends artistic interpretation with technical expertise, ensuring a flat image is reborn as a textured, high-quality embroidered design.
Why Can't Your Machine Just Use a JPG or PNG?
Standard image files are made of pixels (raster) or mathematical lines (vector)-a simple map of colors. An embroidery machine, however, works with physical thread and needs explicit instructions. It’s the difference between a photograph of a house and the architect's blueprint. The stitch file is the blueprint, containing critical data points:
- Stitch Type: Is it a fill stitch for large areas, a satin stitch for borders, or a running stitch for details?
- Stitch Direction: Which way should the stitches lie to create texture and properly reflect light?
- Density & Pull Compensation: How many stitches are needed, and how must they be adjusted to prevent the fabric from puckering?
- Color Changes & Trims: Commands telling the machine when to stop, cut the thread, and switch to a new color.
The Human Element: What is an Embroidery Digitizer?
This is where the human expert, an embroidery digitizer, comes in. A digitizer is a unique blend of artist and technician who performs this "translation." They don't just trace an image; they interpret it, deciding how to best recreate the design in thread. They consider the target fabric, the size of the design, and the desired final texture, manually plotting the path for the stitches to ensure the final product is clean, durable, and beautiful. This mastery takes years of practice to develop.
### The Myth of the 'Magic Button': Auto-Digitizing vs. Manual Digitizing
While many software programs include an "auto-digitize" function, it's the source of most poor-quality embroidery. This tool attempts to guess the stitch paths without any understanding of fabric physics or artistic intent. The results are often messy, with illogical layering, unnecessary stitches, and poor density that causes the design to look flat and the fabric to pucker. For professional results that truly honor the original artwork, manual digitizing is the only reliable method.
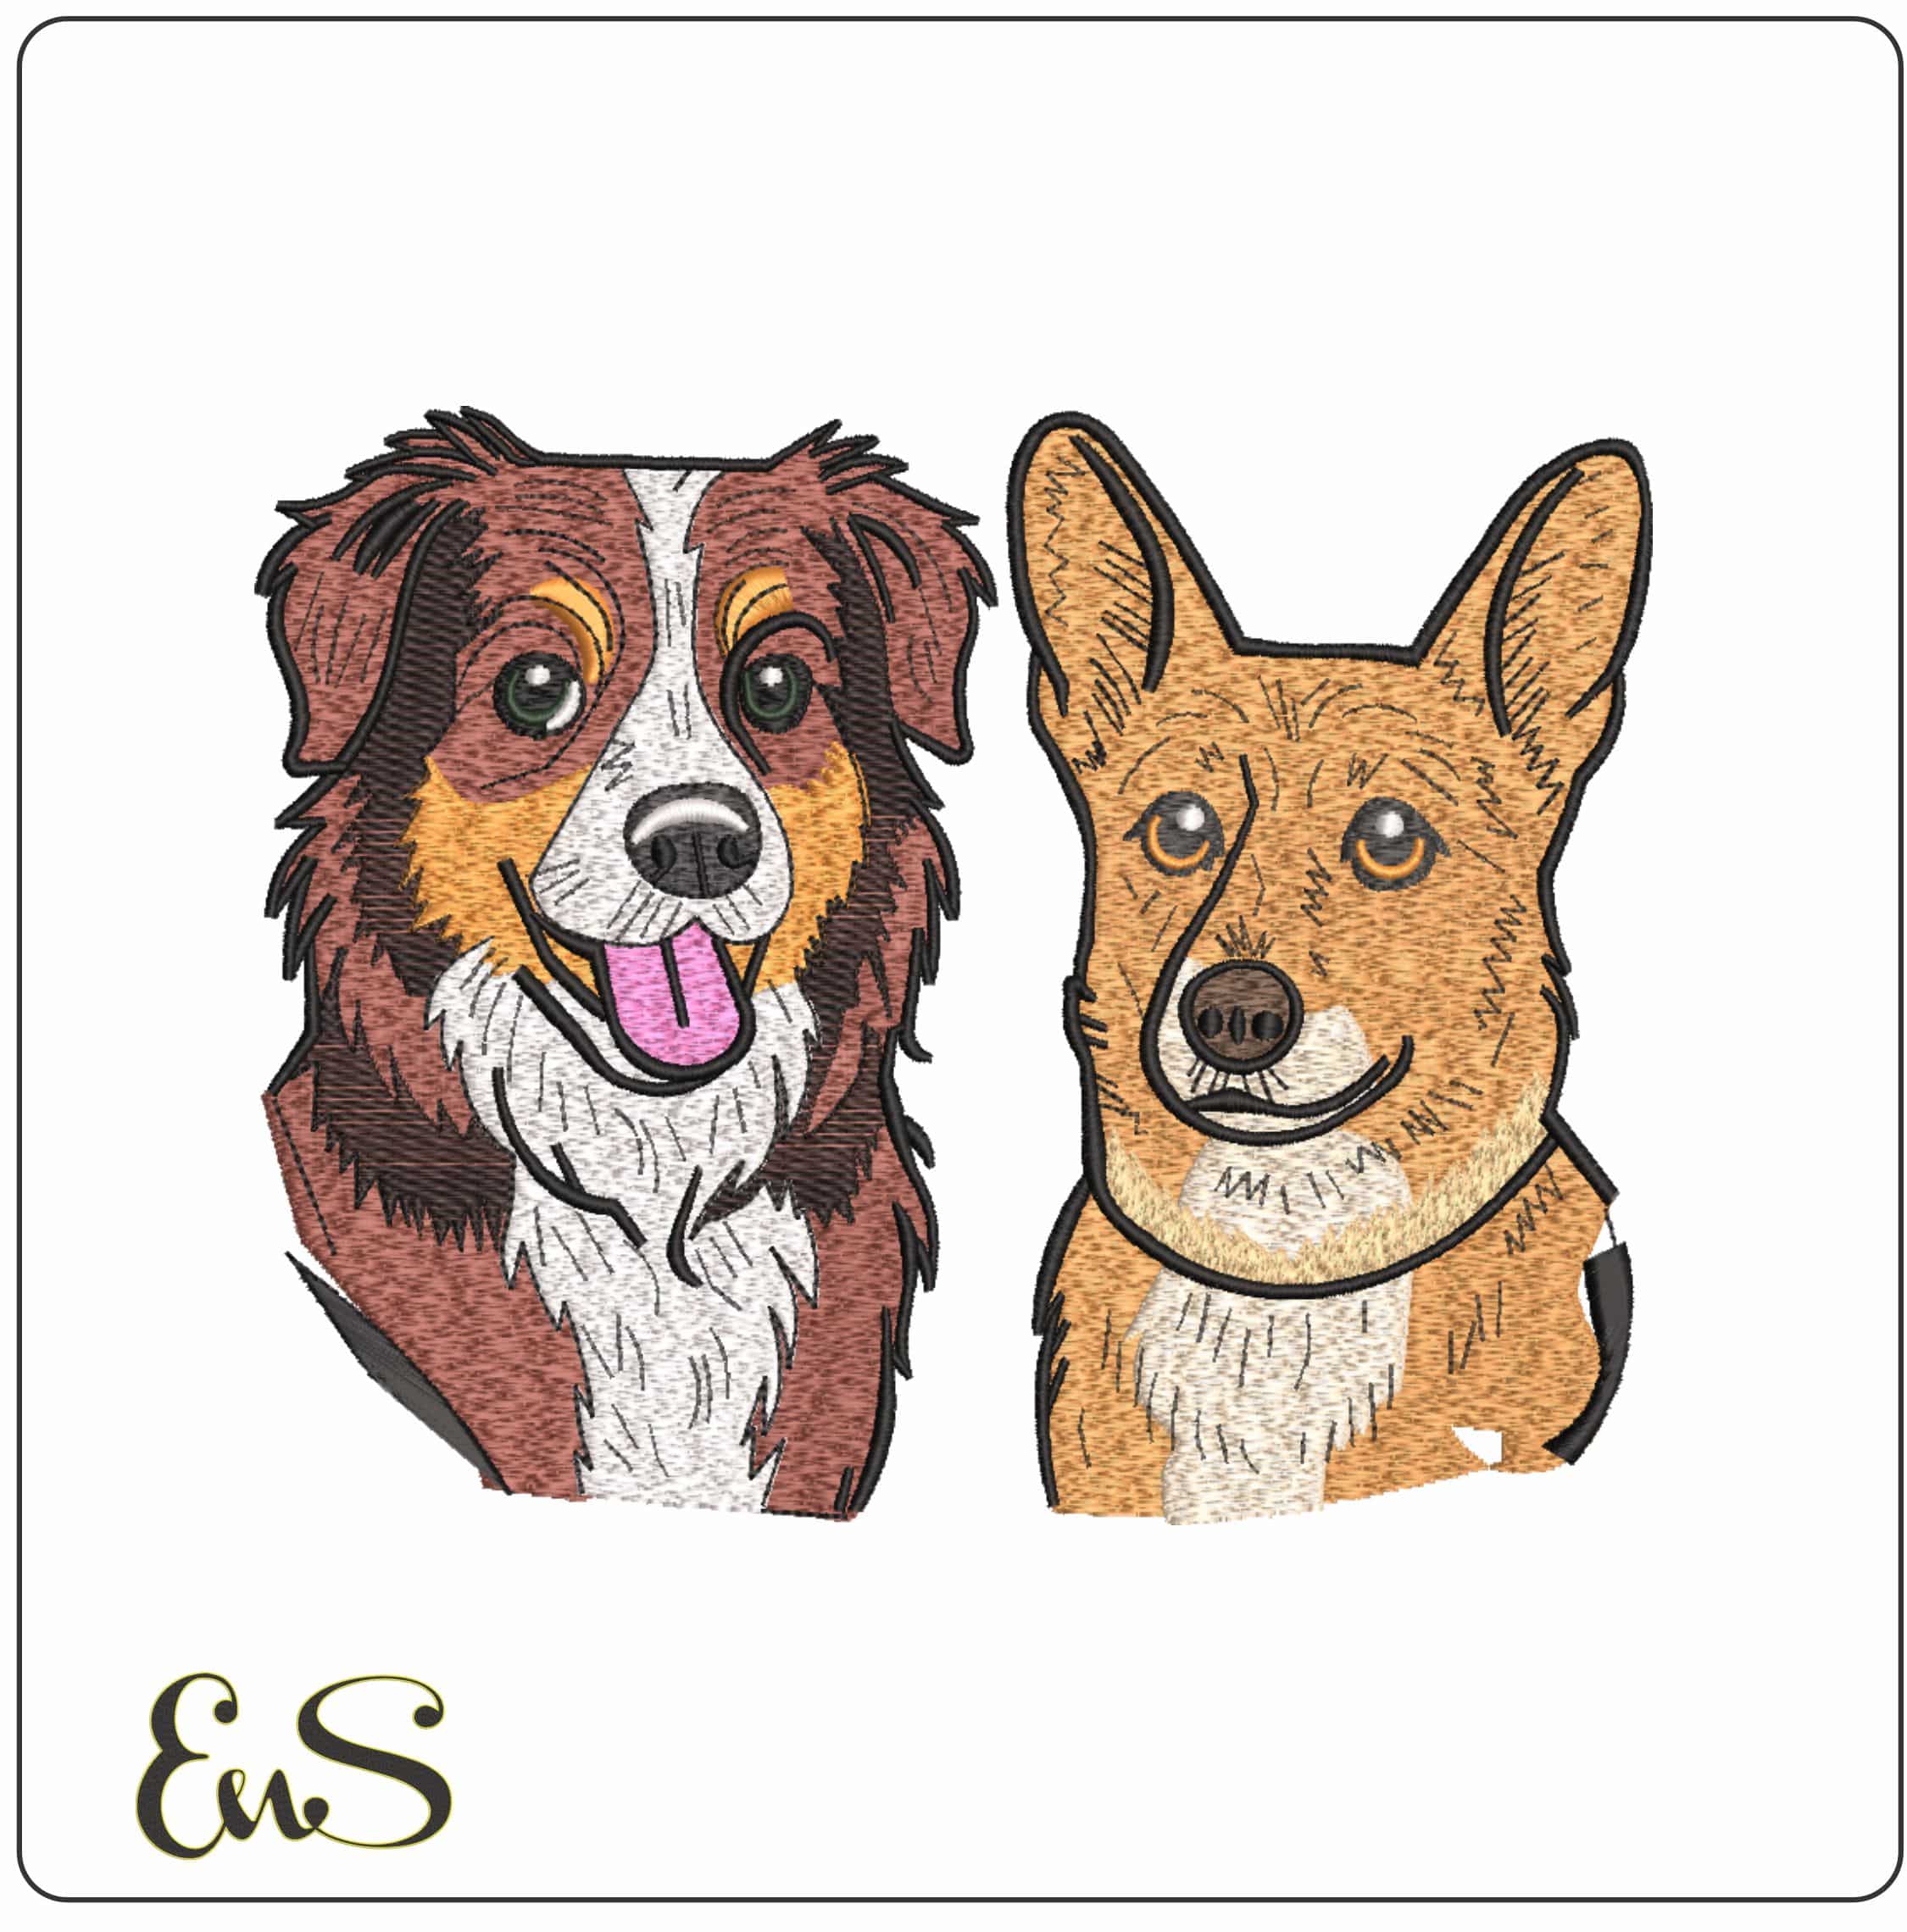
Embroidery digitizing is far more than a simple file conversion; it's a technical art form where a digitizer acts as a translator and an engineer. They don't just trace an image; they rebuild it stitch by stitch, making critical decisions that determine the final quality. Understanding these decisions is key to grasping what is embroidery digitizing and why professional work stands out. Every choice, from stitch type to stitch direction, is made with the final fabric and design size in mind.
Choosing the Right Stitch Types: The Building Blocks of Design
A digitizer selects from a palette of stitch types to create texture, dimension, and detail. The three most fundamental are:
- Satin Stitch: A series of straight stitches placed side-by-side. It creates a smooth, glossy finish perfect for borders, outlines, and lettering.
- Fill Stitch (or Tatami Stitch): Used to cover large areas, this stitch creates a textured, matte look by layering rows of stitches. It's the workhorse for filling in solid shapes.
- Running Stitch: A single line of stitches used for fine details, delicate outlines, or as a hidden travel stitch between two sections of a design.
Stitch Density & Underlay: The Foundation for Success
Underlay is a hidden framework of stitches laid down before the main design. This base layer stabilizes the fabric, preventing the puckering and distortion common with dense designs. It also gives the top stitches a raised, clean surface to sit on. Stitch density refers to the spacing between stitches. A higher density means more thread and better coverage, but too much can make the design stiff and even damage delicate fabrics.
The Art of Pathing: Creating an Efficient Stitch-Out
Pathing is the digital road map that tells the embroidery machine where to go and in what order. A skilled digitizer plans the most efficient route for the needle to travel, minimizing the number of "trims" (where the machine stops, cuts the thread, and moves to a new spot). Good pathing ensures a smoother, faster stitch-out with fewer unsightly jump stitches, leading to a cleaner final product.
Push/Pull Compensation: Accounting for Fabric Distortion
When thread penetrates fabric, it naturally pulls the material inward (pull) while the bulk of the stitches pushes the fabric outward (push). A digitizer must anticipate and compensate for this distortion by slightly overlapping or pulling back shapes in the digital file. This ensures that shapes meet perfectly without gaps when embroidered. This foresight is a hallmark of an expert and a common failure point for auto-digitizing software.

How to Spot Quality Digitizing (and Avoid a Messy Stitch-Out)
Not all embroidery files are created equal. The difference between a beautiful, professional-looking result and a tangled, puckered mess often comes down to the quality of the digitizing. A well-digitized file is a roadmap for your machine, designed to stitch efficiently and flawlessly. Investing in quality designs saves you time, thread, and the frustration of a ruined project. By learning to recognize the signs of an expert file, you can become a more discerning customer.
Signs of a Professionally Digitized File
A high-quality file looks clean and intentional, both on-screen and in the final stitch-out. The digitizer has anticipated how thread will interact with fabric. Here’s what to look for:
- Clean, Crisp Outlines: Satin stitch borders should meet fill areas perfectly, with no gaps or messy overlaps. Every line should look deliberate and sharp.
- Smooth, Even Fills: Fill stitch areas should have consistent density, providing full coverage without revealing the fabric underneath. The texture should look uniform and smooth.
- Minimal Jump Stitches: While some jump stitches (long threads between sections) are unavoidable, a professional digitizer minimizes them and places them logically to be easily trimmed.
- Logical Stitching Order: The design is layered intelligently, stitching background elements before foreground details. This creates depth and prevents unnecessary bulk.
Red Flags of a Poorly Digitized File
Many common embroidery problems are blamed on the machine or user error, but they often originate with a poorly constructed file. Understanding what is embroidery digitizing at a fundamental level helps you trace these issues back to their source. Watch out for these red flags:
- Puckering or Wrinkling: If the fabric around your design is bunching up, the digitizer likely failed to account for "push and pull compensation," resulting in stitches that are too dense for the fabric.
- Gaps Between Colors: Noticeable gaps between an outline and its fill color are a classic sign of amateur digitizing.
- Messy, Illegible Lettering: Small text that becomes a blob of thread is a common issue. A skilled digitizer knows how to create clean, readable text even at small sizes by adjusting stitch type and density.
- Excessively High Stitch Count: A simple design with a massive stitch count is inefficient. This often indicates an "auto-digitized" file that will waste thread, take longer to stitch, and increase the risk of puckering.
By choosing designs from reputable sources, you ensure your projects have the best possible foundation for success. For expertly crafted files and resources, explore the collections at embroiderynsewing.com.
Do You Need to Learn Digitizing? The Hobbyist's Dilemma
After learning what is embroidery digitizing, you might be wondering if this is a skill you need to master. For the vast majority of embroidery enthusiasts and hobbyists, the answer is a resounding no. The path you choose depends entirely on your goals, budget, and how you want to spend your creative time.
Let's break down the two main options so you can decide which is right for you.
The DIY Path: What It Takes to Digitize Your Own Designs
Learning to digitize your own designs is a significant commitment. It requires specialized, and often expensive, software that can cost hundreds or even thousands of dollars. Beyond the financial investment, there's a steep learning curve. Mastering the technical aspects of stitch types, density, and pathing takes countless hours of practice and trial-and-error. This path is truly best for those who want to start an embroidery business or who demand absolute, custom control over every single project.
The Smart Path for Hobbyists: Using Pre-Digitized Designs
For most people who embroider for fun, relaxation, or personal gifts, using professionally digitized files is the ideal solution. This approach allows you to bypass the steep learning curve and high costs entirely. You get instant access to a world of beautiful, tested, and stitch-perfect designs. This means you can spend less time troubleshooting on a computer and more time doing what you love: bringing creations to life with thread and fabric.
Why a Professional File is Worth It
Opting for a professionally created design file isn't a shortcut; it's a smart choice that guarantees a better result. A skilled digitizer has already solved the complex problems, ensuring your final project looks incredible. Understanding what is embroidery digitizing is knowing that an expert's touch makes all the difference.
- Saves Time and Materials: A well-digitized file prevents common issues like thread breaks, puckering, and poor registration, saving you hours of frustration and wasted supplies.
- Unlocks Complex Designs: Gain access to intricate and artistic designs that would take a beginner months or even years to learn how to create properly.
- Ensures a Polished Look: Your finished projects will have the clean, impressive, and professional quality you see in high-end retail products.
Ready to skip the learning curve and start stitching beautiful projects today? Browse our collection of professional embroidery designs.
From Pixels to Stitches: Your Embroidery Journey Begins
We've unraveled the complex world behind what is embroidery digitizing, transforming it from a confusing term into a clear concept: the essential art of translating a digital image into a stitchable file. You now understand that the quality of this digital blueprint is the secret to a flawless stitch-out, and you know what to look for to avoid a puckered, messy result. It truly is the foundation of every great embroidery project.
While learning to digitize is a rewarding skill, you don't need to become an expert to create beautiful things. You can skip the steep learning curve and jump straight to the fun part by using professionally prepared designs that guarantee a perfect finish every time.
Ready to bring your next idea to life? Explore Thousands of Professionally Digitized Designs Now! You'll find a huge variety of categories, from sports to cartoons, ready for instant download. Plus, every design is compatible with all major embroidery machine brands, making it easy to get started immediately.
Your machine is waiting. Download your next masterpiece and start stitching today!
Frequently Asked Questions About Embroidery Digitizing
What software is used for embroidery digitizing?
Professionals rely on specialized software like Wilcom Embroidery Studio, Hatch Embroidery, and Pulse. These are not simple image converters; they are complex programs that allow a digitizer to manually plot each stitch type, direction, and density. For hobbyists, software such as Embrilliance or Bernina ArtLink offers more accessible features. It's crucial to use dedicated embroidery software, as standard graphic programs like Adobe Illustrator cannot create stitch-ready files without special plugins.
Can I digitize an image for free?
While some free tools and online auto-converters exist, they rarely produce quality results suitable for stitching. Understanding what is embroidery digitizing reveals it's a skilled craft, not an automatic process that free software can replicate well. Options like Ink/Stitch for Inkscape are free but have a steep learning curve. For a clean, professional-looking design, you will typically need to invest in paid software or hire a professional digitizing service for the best results.
How much does it cost to have a custom logo digitized?
The cost for digitizing a custom logo typically ranges from $15 to $60. Simple text-based logos are on the lower end, while complex designs with intricate details, color gradients, and multiple elements will be more expensive. Most digitizing services charge a one-time flat fee based on the design's complexity rather than the final stitch count. Always get a quote upfront from a reputable digitizer to avoid any surprises with the final cost for your project.
Once your logo is ready for embroidery, you might also consider other branding materials. For a comprehensive range of professional printing services, you can learn more about Printnow.gr.
What is the most common embroidery file format my machine will use?
The most common file format depends on your machine's brand. For example, Brother and Babylock machines often use .PES, Janome uses .JEF, and Tajima commercial machines use .DST. The .DST format is a widely compatible choice for many professional machines. Always check your embroidery machine’s manual to confirm which file formats it accepts. Most digitizers can provide your design in multiple formats upon request, so just let them know what you need.
How can I tell if a design is poorly digitized before I stitch it?
Before stitching, open the file in an embroidery viewer or your machine's software. Look for red flags like an excessive number of jump stitches, especially across open spaces. Check for very dense areas that look like dark blobs, as this can cause thread breaks and needle snaps. Poorly digitized files may also lack proper underlay stitching for stability or have illogical pathing that makes the machine jump around inefficiently. A test stitch on scrap fabric is the best final check.
Does a higher stitch count mean a better quality design?
No, a higher stitch count does not automatically equal better quality. In fact, an unnecessarily high stitch count can create a design that is overly dense, stiff, and prone to puckering the fabric. It can also lead to thread and needle breaks during the stitch-out process. A well-digitized design uses the most efficient number of stitches necessary to achieve full coverage and detail for the specific fabric type, resulting in a clean and stable final product.


