A good team hoodie has to work harder than a basic T-shirt. It needs a design that still looks sharp on thick fleece, holds up to repeat wear, and feels right for everyone in the group. This team hoodie embroidery project example shows how to turn a ready-to-stitch design into polished apparel for a youth sports squad, school club, dance team, staff crew, or family event. The project uses a left-chest embroidered team mark with an optional name or number detail on the sleeve. It is a practical format because it keeps the front comfortable, controls stitch time, and gives the hoodie a clean retail look. Best of all, once you set up the first hoodie correctly, repeating the project for the rest of the team becomes much faster. [
Team Hoodie Embroidery Project Example: The Project Plan](https://embroiderynsewing.com/articles)
For this example, picture a 12-piece order for a local baseball team. Each player receives a navy pullover hoodie with a 3.5-inch left-chest team emblem. The coaching staff gets the same emblem plus a small embroidered title on the right chest. Player initials are added near the cuff only if the customer wants individual personalization.
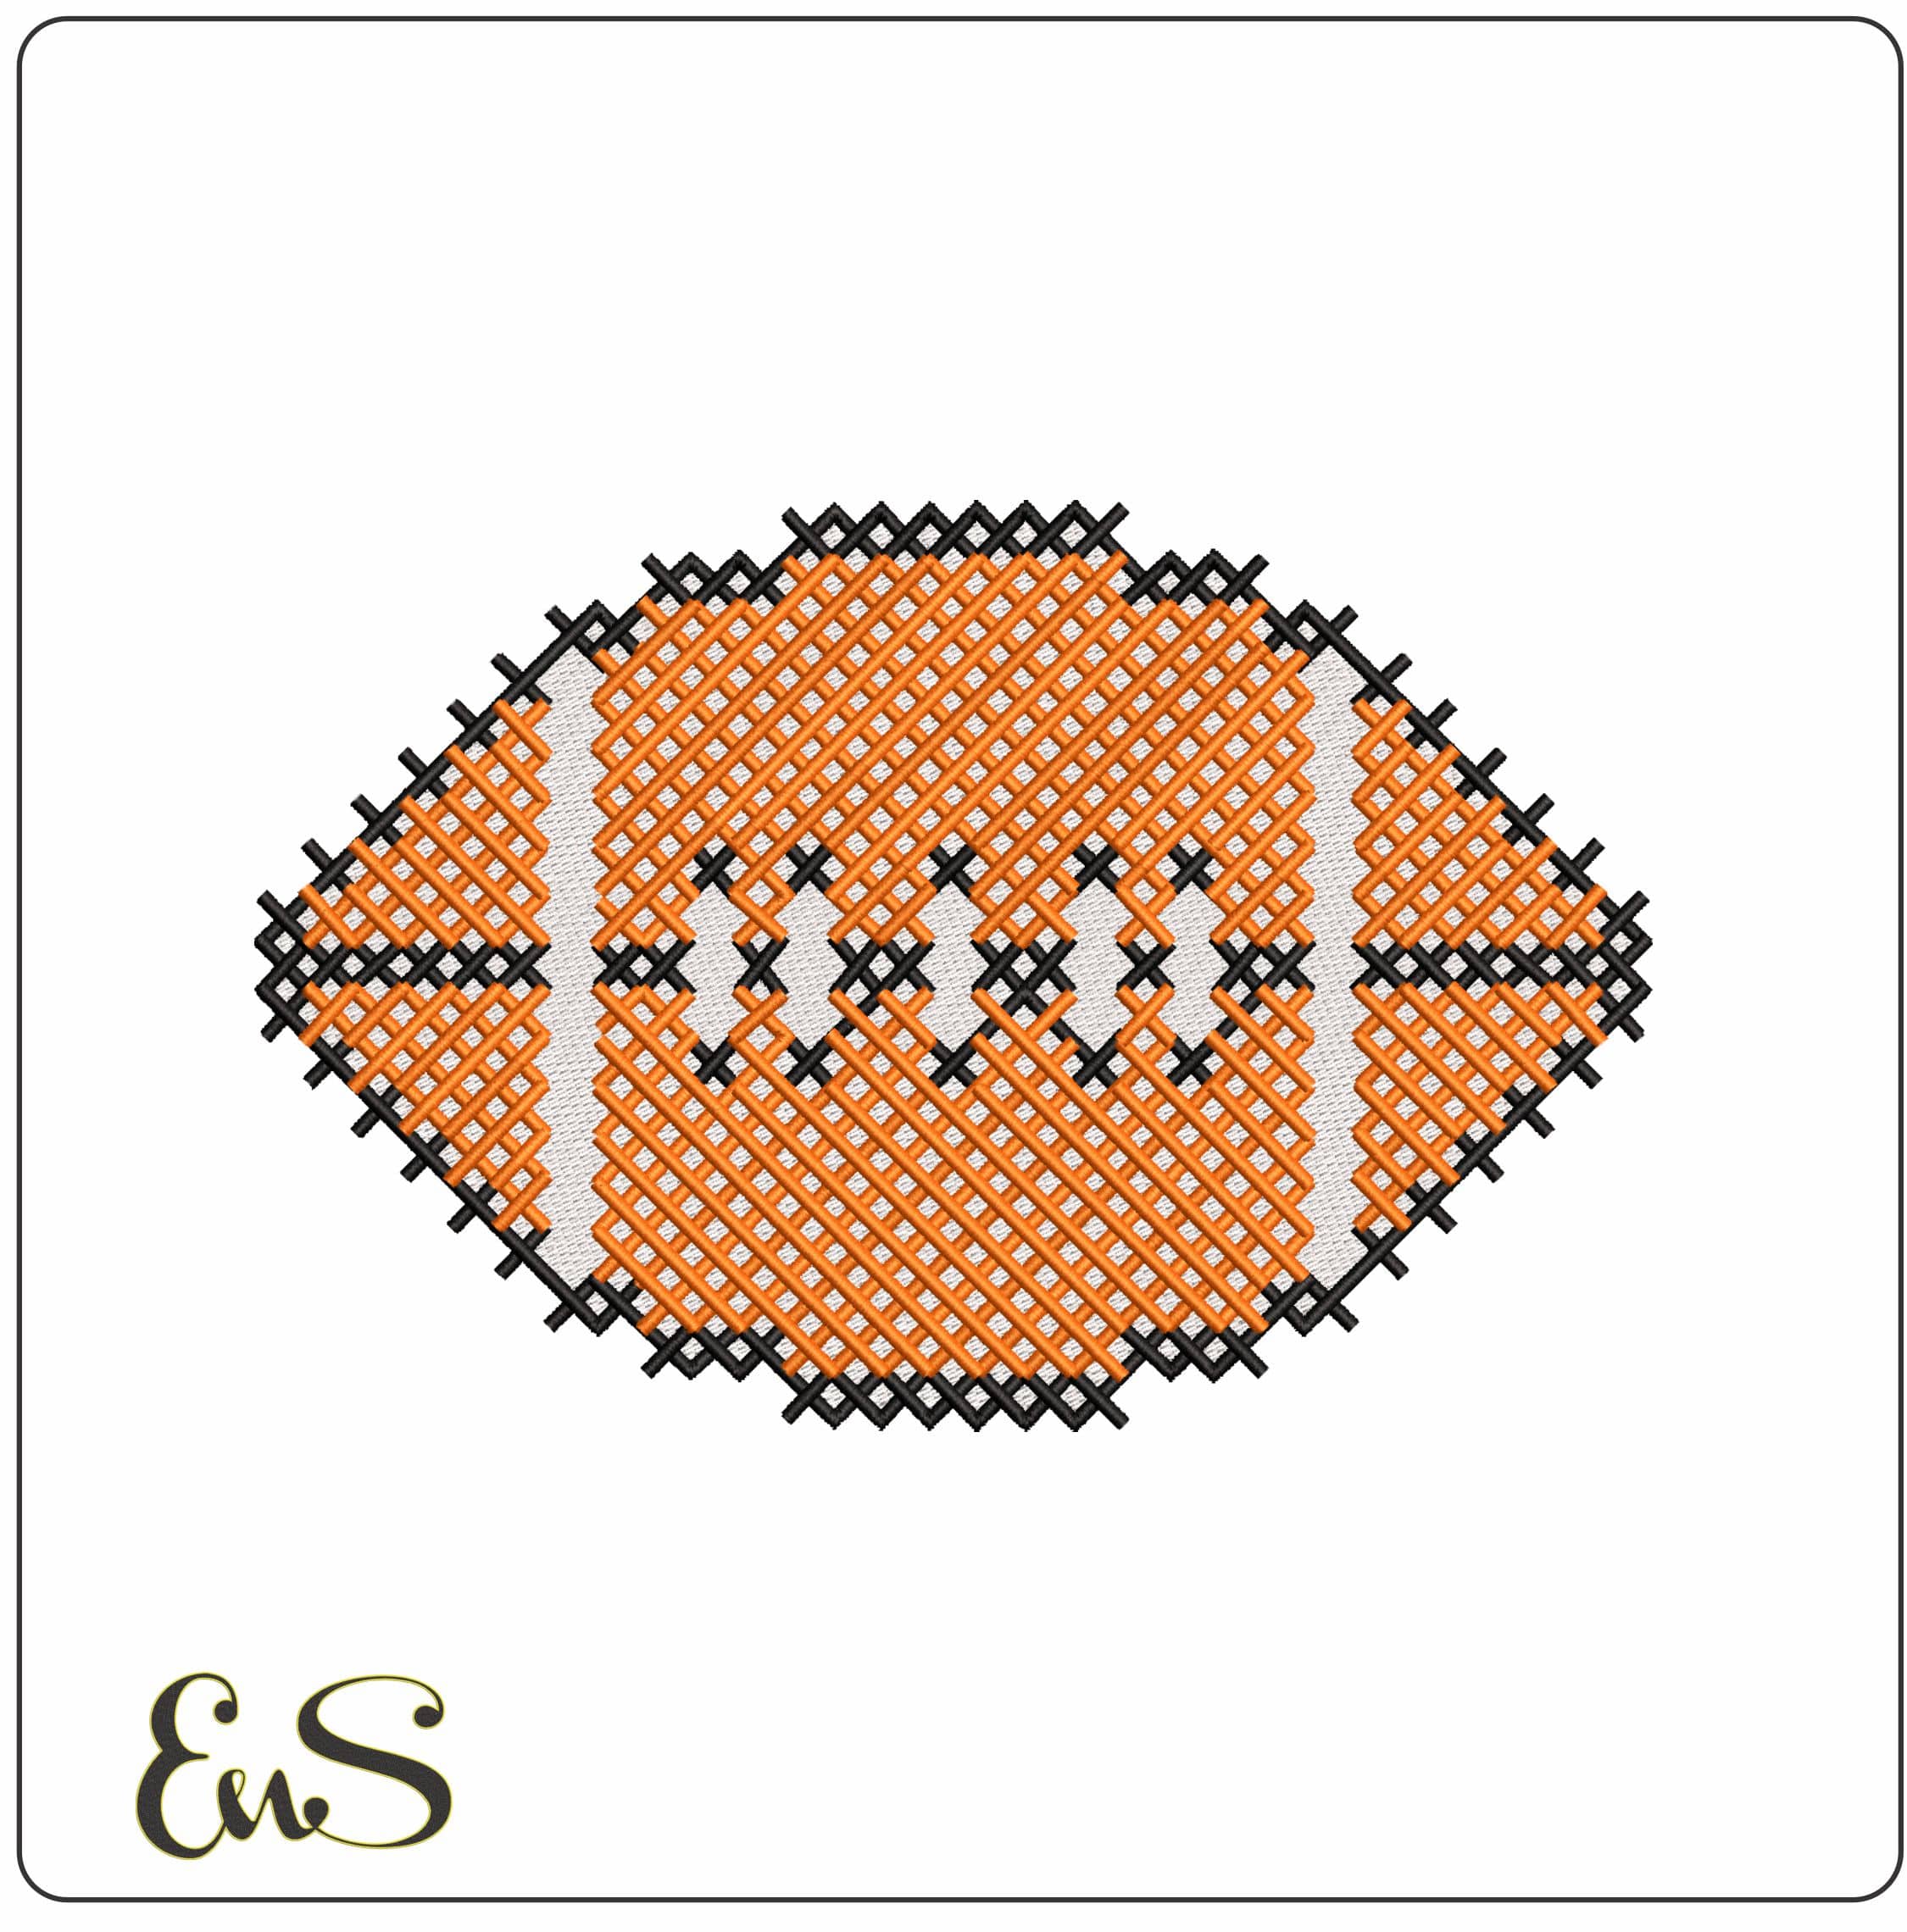
This layout is easy to adapt. A football team may use a helmet-style file, a school spirit group may choose a mascot or letter design, and a dance team may prefer a script name with a small star, bow, or heart accent. The key is to choose one central design that looks good at a modest size. Large, dense artwork can make fleece stiff and may not sit smoothly over a hoodie pocket, zipper, or heavy seam.
Before buying or stitching a file, confirm the embroidery field size of your machine and check the finished design dimensions. A design that looks detailed on a product preview may be too wide for a standard left-chest placement. For most adult hoodies, a finished width between 3 and 4 inches is a reliable starting point. Youth garments often need a smaller version.
Choose a File That Will Stitch Cleanly
Team apparel looks best when the design is recognizable at embroidery scale. Simple mascot heads, bold monograms, sports balls, team names, and stadium-inspired artwork generally translate better than artwork with very small lettering or tiny color blocks.
Browse by sport, school theme, team-inspired motif, or embroidery font to build a design that matches the customer’s vision. Embroidery n Sewing offers instant-download files across sports, lettering, flags, seasonal themes, and many other popular categories, so makers can begin with a ready-made element instead of waiting for custom digitizing.
For a left-chest hoodie design, look for clean outlines and lettering large enough to read from a few feet away. If you are combining a logo-style design with a name, do a test layout first. Names can be added beneath an emblem, arched above it, or placed separately on the sleeve. Putting too much information into one small chest design often creates crowded stitching.
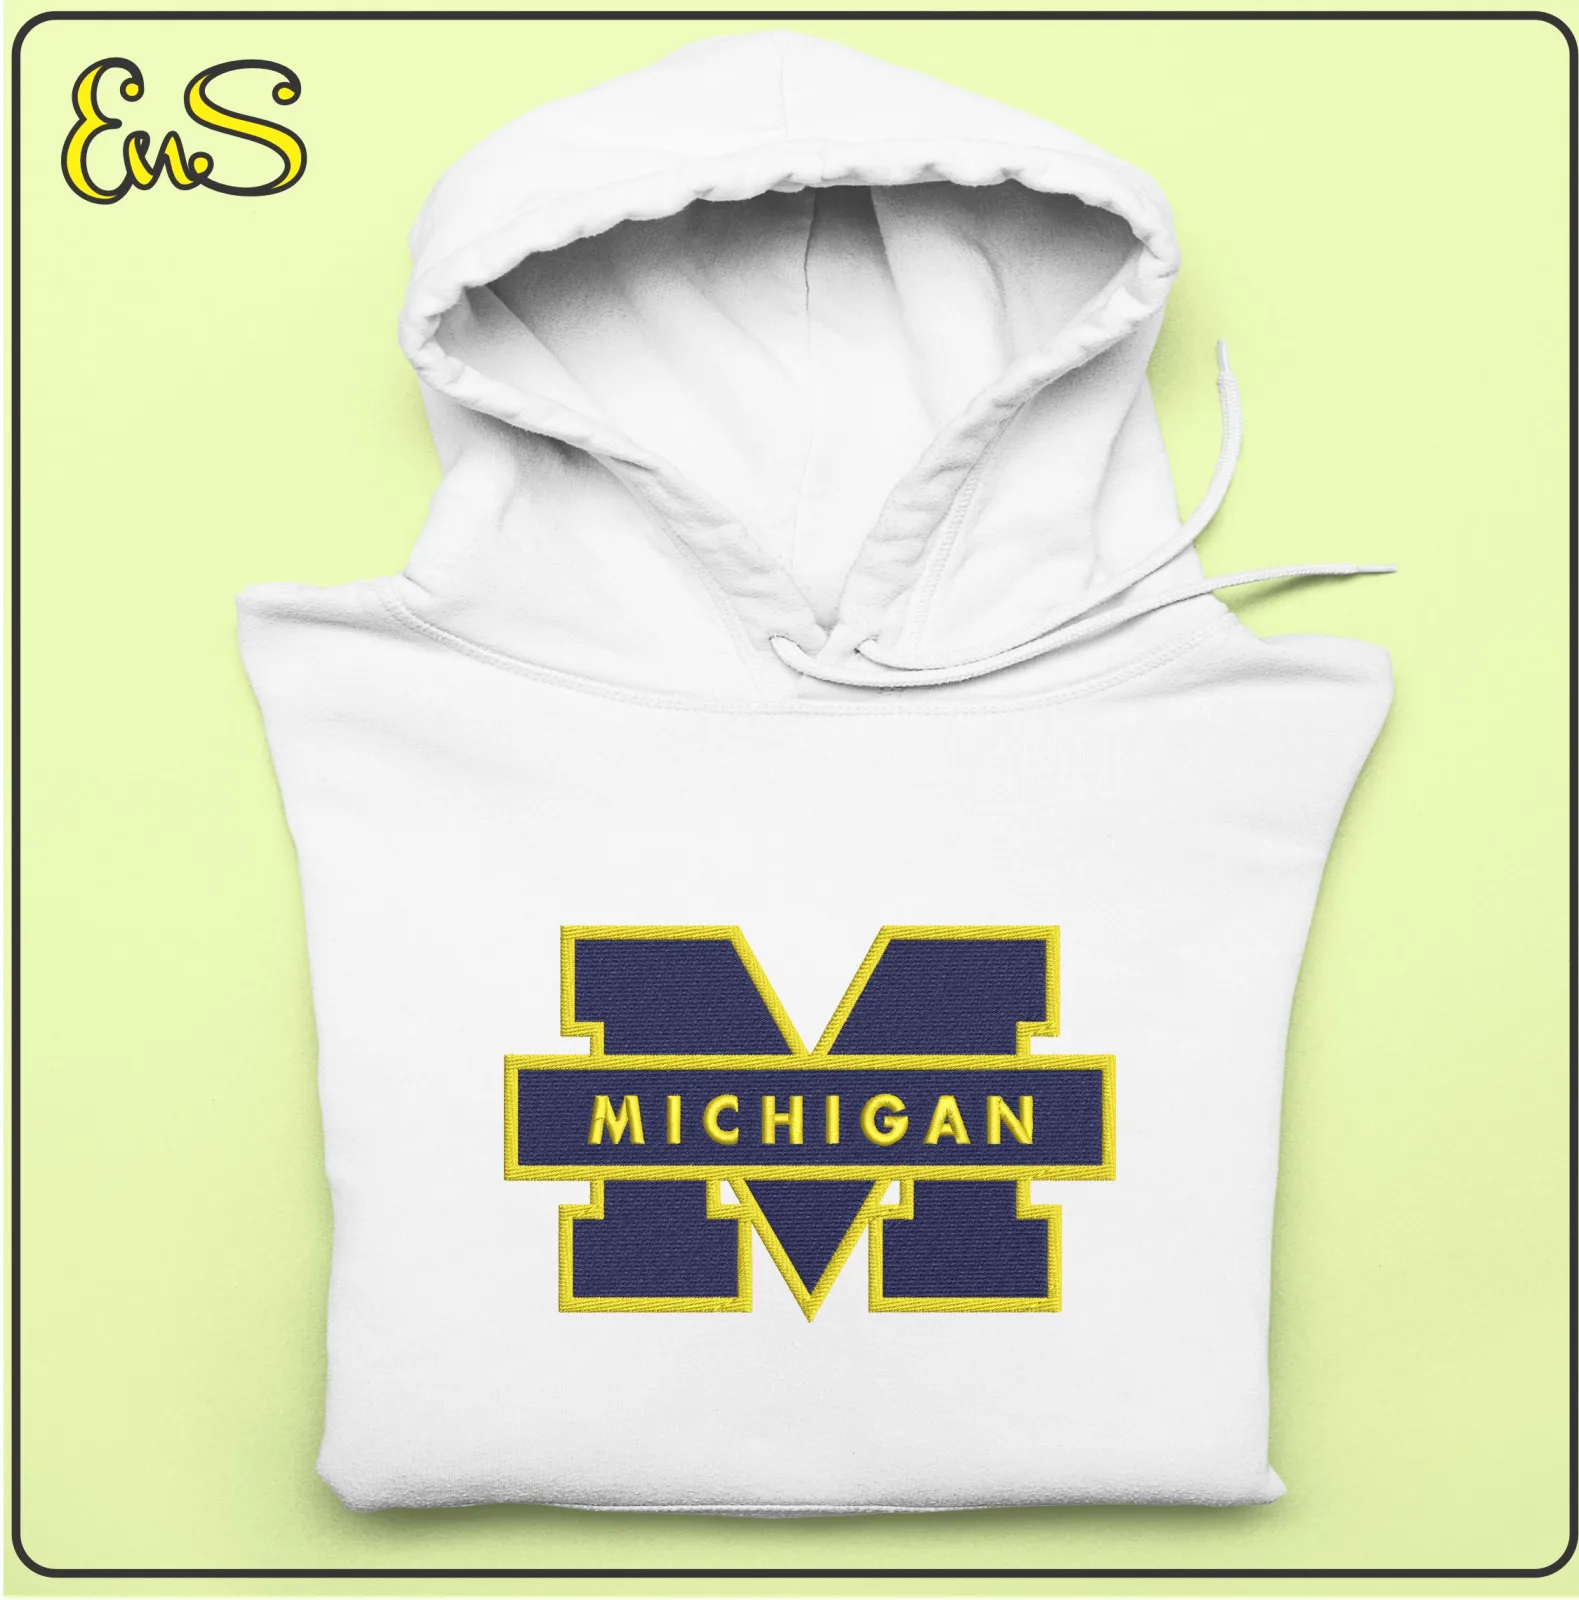
Be thoughtful when working with team names, university marks, entertainment properties, and other recognizable artwork. Use files and finished items in ways that follow the applicable licensing, trademark, and marketplace rules. A design that is fine for a personal fan gift may not be appropriate for commercial resale or an official team order.
Materials for a Fleece Hoodie Project
Hoodie fleece has stretch, loft, and a soft surface. That is exactly why stabilizing and topping matter. Skipping either step can lead to shifting, puckering, or stitches that sink into the fabric.
For this project, gather these core supplies:
- A stable cotton or cotton-blend hoodie in the correct team color
- Cut-away stabilizer for support behind the embroidery area
- Water-soluble topping to keep stitches visible over fleece
- Embroidery thread, bobbin thread, and a 75/11 or 80/12 embroidery needle
Cut-away stabilizer is usually the right choice for hoodies because the garment will stretch during wear and washing. Tear-away can work for a very light design on a firm sweatshirt, but it leaves less long-term support. If the hoodie is thin, stretchy, or especially plush, use a stronger cut-away or layer stabilizer as needed.
A water-soluble topping is not always required on smooth performance fleece, but it is worth using on most brushed or fluffy hoodies. The topping prevents narrow satin stitches and small lettering from disappearing into the nap. After stitching, gently tear it away and remove remaining bits according to the topping instructions.
Mark Placement Before You Hoop
Placement separates a professional-looking team order from one that feels accidental. Lay the hoodie flat and find the center front by aligning the shoulder seams and folding the garment. Mark the vertical center line with a removable fabric marker or a small piece of painter’s tape.
For left-chest placement, the design should generally sit about 7 to 9 inches below the shoulder seam and 3 to 4 inches left of the center line on an adult hoodie. These numbers are starting points, not fixed rules. A cropped hoodie, youth size, full-zip style, oversized garment, or hoodie with a thick drawstring channel may require adjustment.
Avoid placing embroidery directly over a pocket edge, zipper tape, drawstring, heavy seam, or doubled layer of fabric. If the hoodie has a front pouch pocket, check where its top seam falls before committing to the location. A design can look centered on a flat garment but become distorted when it crosses a seam.
Hoop the stabilizer and use temporary adhesive or basting stitches to secure the hoodie fabric without stretching it. Floating the garment on top of hooped stabilizer can be useful when the item is bulky or hard to hoop, but basting becomes especially important. The fabric must stay still from the first placement stitch through the final trim.
Stitch the First Hoodie as Your Sample
Do not start a 12-hoodie run by loading every garment at once. Stitch one complete sample first. This sample confirms design size, placement, color order, stabilizer choice, and thread contrast against the hoodie fabric.
Use a thread color sequence that creates clear separation. A navy hoodie, for example, may need white, light gray, gold, or red details to keep the emblem visible. Dark-on-dark embroidery can look sophisticated for a coach or staff hoodie, but it is less readable from a distance. That can be a deliberate choice, not a mistake, as long as the customer approves it.
Watch the machine during the first few thousand stitches. Fleece can shift if it was not secured well, and dense fills can reveal whether the backing is strong enough. If you see puckering, stop and reassess before moving forward. Increasing stabilizer support or reducing unnecessary density in the design can save the rest of the garments.
Once the sample is complete, trim jump stitches, remove topping, and inspect the back. Cut the stabilizer close to the stitching without cutting into it. Ask the customer to approve the finished sample if this is a paid team order. A quick approval step prevents costly disagreements about placement or color later.
Repeat the Order Without Losing Consistency
When the sample is approved, write down the measurements and settings. Record the hoop size, design name, finished dimensions, thread colors, needle type, stabilizer, placement measurements, and any sleeve personalization details. This small production note keeps every hoodie consistent and makes reorders easier.
For names or initials, double-check spelling against the order sheet before stitching. Personalized items are where simple errors become expensive. Group similar thread colors together when possible, but do not sacrifice accuracy for speed. A clean, correctly spelled hoodie is always worth the extra minute.
Fold each finished hoodie carefully so the embroidery is not creased sharply. If you are delivering a team set, sort garments by size and name before packaging. The final presentation matters, especially when the order is for a coach, parent organizer, or boutique customer who has trusted you with the whole group.
A team hoodie project is a repeatable opportunity, not just a one-time stitch-out. Start with a design that fits the fleece, build your first sample carefully, and keep clear notes. The next request for spirit wear, staff hoodies, or fan apparel will be easier to price, produce, and personalize with confidence.