Magnetic hoop, push-fit hoop or screw hoop: what should a beginner buy first?
If you are new to machine embroidery, hoop choice can feel oddly complicated. You are not just choosing a size; you are choosing how fabric is held, how stabiliser behaves, how easy placement will be, and how likely you are to get puckering, shifting or hoop marks.
For most beginners, the best approach is simple: learn what each hoop type does well, then match it to the fabric and project in front of you.
==A magnetic hoop is not automatically “better” than a traditional hoop==. It is better for specific jobs: awkward items, thick layers, fabrics that mark easily, and repeat hooping where speed matters. Traditional push-fit or screw hoops still work brilliantly for stable cottons, everyday blanks and designs that need very firm, even tension.
The three main hoop styles
1. Traditional screw hoops
These are the classic inner-and-outer hoops with a tightening screw. They are common on home embroidery machines and are often the default hoop supplied by the manufacturer.
Best for:
- Woven cotton
- Linen blends
- Stable blanks
- General beginner practice
- Projects where you want a familiar, adjustable hold
Watch for:
- Over-tightening, which can distort the grain
- Hoop burn on delicate or pile fabrics
- Slower setup compared with magnetic systems
2. Push-fit hoops
Some embroiderers use “push-fit” to mean hoops that pop together without much screw adjustment, including some quick-fit styles and snap-style systems. They can be fast and straightforward.
Best for:
- Flat, easy-to-hoop items
- Lightweight to medium fabrics
- Beginners who want less fiddling than a screw hoop
Watch for:
- Less fine adjustment than screw hoops
- Not ideal for very bulky seams or thick bags
You may also hear about products like the DIME Snap Hoop Monster. These snap-style magnetic systems are popular for larger or commercial-style setups, but the same principle applies: they are strongest when matched to the right machine and project.
3. Magnetic hoops
A magnetic embroidery hoop uses magnetic force rather than screw pressure to hold fabric and stabiliser between frames. Popular searches often mention mighty hoop magnetic embroidery hoop, maggieframe magnetic hoop review, sewtech magnetic hoop brother, and magnetic hoop for babylock because buyers want to know whether the concept is worth the money across different machine brands.
Best for:
- Towels
- Sweatshirts and hoodies
- Quilted layers
- Bags and awkward placements
- Velvet, fleece and nap fabrics that mark easily
- Faster repeat hooping
Watch for:
- The wrong size can increase movement or wasted hooping area
- Thick items can still shift if under-hooped or badly stabilised
- Magnets must be handled carefully around tools, clips and electronics
Magnetic hoop vs traditional hoop: the real beginner answer
The best comparison is not “which is best overall?” but “which causes fewer problems on this fabric?”
| Fabric / project | Traditional screw hoop | Push-fit hoop | Magnetic hoop |
|---|---|---|---|
| Quilting cotton | Excellent | Good | Good |
| T-shirt jersey | Good with cut-away | Fair to good | Good |
| Towels | Good with topping | Fair | Excellent |
| Velvet / silk | Risk of marks | Risk of marks | Better, but not mark-free |
| Sweatshirts / hoodies | Good | Fair | Excellent |
| Caps / specialist items | Depends on machine system | Depends | Depends |
| Bags with seams | Can be awkward | Can be awkward | Often easiest |
| Multi-layer quilting | Fair | Fair | Very good |
Which fabrics suit magnetic hoops best?
Towelling and plush fabrics
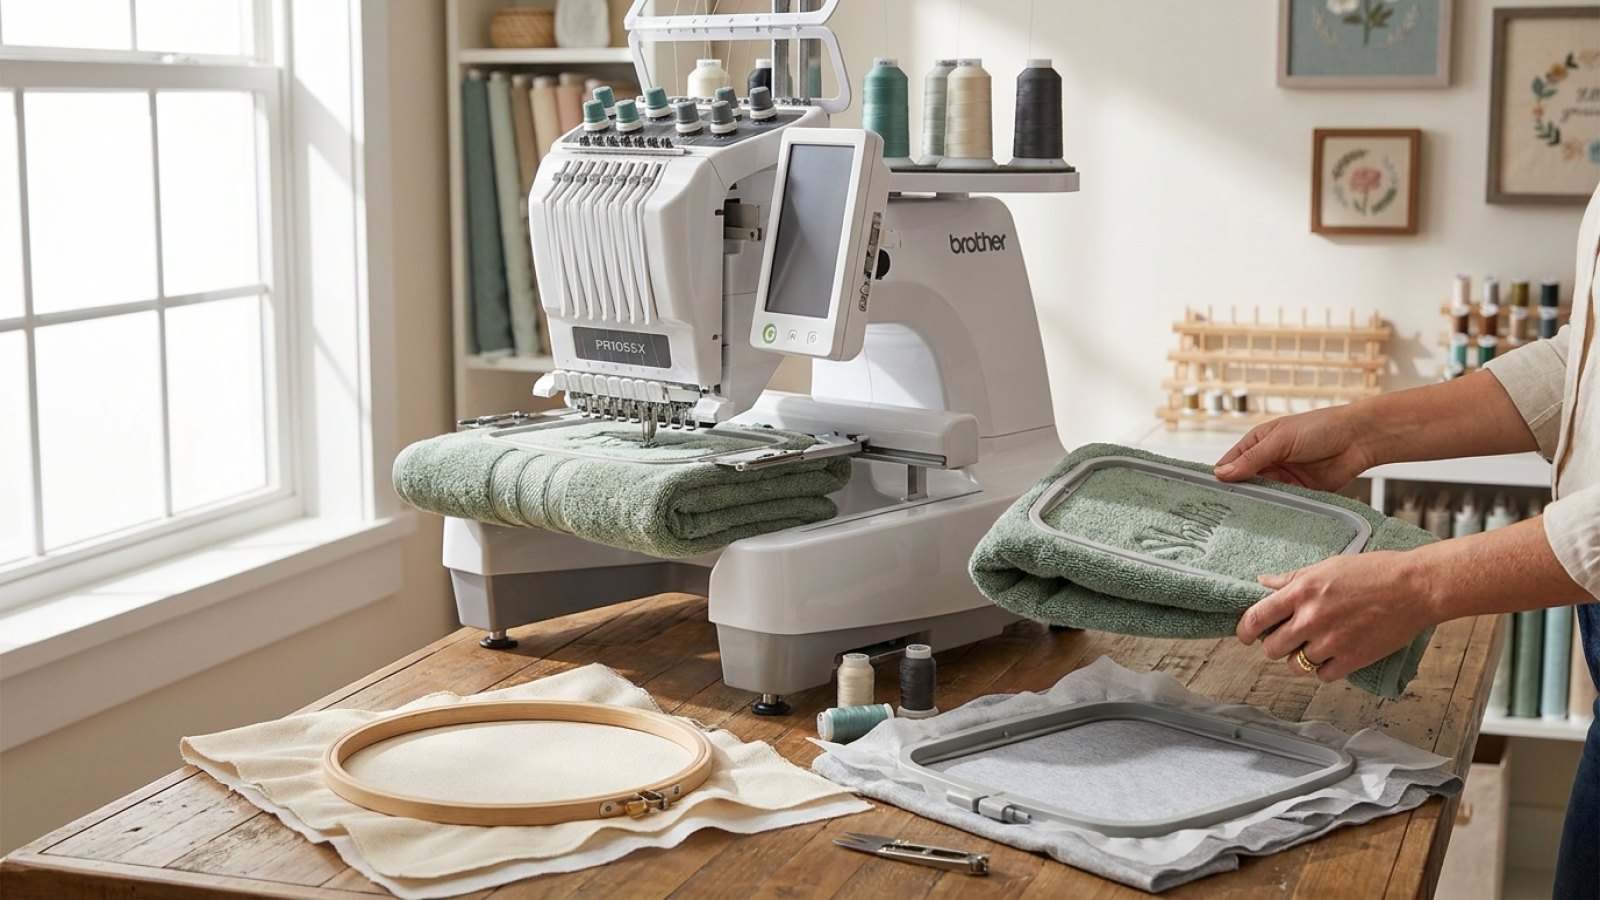
Magnetic hoops are especially useful on towels because they clamp bulky fabric without as much crushing as a screw hoop. You will still usually need wash-away topping over the pile, plus the right backing underneath.
Recommended stabiliser: medium to heavy cut-away for garments, or tear-away for some towels and decorative household items if the stitch count is not too dense.
Sweatshirts, fleece and thicker knits
These fabrics are where many beginners start to appreciate magnetic hoops. Thick layers can be awkward in a standard hoop, and a magnetic frame often makes the process faster.
Recommended stabiliser: cut-away in most wearable projects. For stretchy fleece or sweatshirting, avoid relying on tear-away alone.
Velvet, minky and fabrics that bruise easily
Magnetic hoops can reduce pressure lines, but they do not eliminate hoop burn entirely. If the fabric is extremely delicate, consider floating the item where appropriate, using a soft protective layer, and keeping handling to a minimum.
Magnetic hoops reduce marking risk; they do not make delicate fabrics indestructible.
Quilting sandwiches
A magnetic embroidery hoop for quilting can be very convenient because it handles thickness well and makes re-hooping less tiresome. Even so, choose a hoop that is not massively larger than your design area, because excess unsupported space can contribute to movement.
What stabiliser works with each hoop type?
Hoops hold the item; stabiliser controls stitch stress. Confusing the two causes many embroidery problems.
Use cut-away when:
- The fabric stretches
- The design is dense
- The item will be worn and washed often
- You are stitching on T-shirts, sweatshirts, babywear or knit garments
Use tear-away when:
- The fabric is stable and woven
- The design is lighter
- The back needs to stay softer or cleaner
- You are doing logos on structured cotton or linen items
Use wash-away topping when:
- The surface has pile or texture
- You are stitching on towels, fleece, velvet or similar fabrics
Floating with magnetic hoops
Some users float fabric over hooped stabiliser, particularly on difficult placements. That can work, but it is not a cure-all. If the design is dense or the fabric is stretchy, hooping the fabric and stabiliser together is usually safer.
What size magnetic hoop should a beginner buy first?
For general use, buy the size that fits the designs you actually stitch most often, not the largest frame you can afford. Many beginners do best with a mid-size everyday hoop, suitable for chest logos, small motifs and common gift items.
A very large magnetic hoop can be tempting, but it is not always the most useful first purchase. Larger hoops can make placement harder, add bulk, and create more unsupported fabric area if your design is small.
If most of your work is left chest, babywear, tea towels and small gifts, start modestly. If you often stitch sweatshirt fronts, jacket backs or quilt blocks, size up carefully.
Are magnetic hoops worth it on a single-needle home embroidery machine?
Often, yes — but only if your projects justify the cost.
For a magnetic embroidery hoop single needle setup, the investment makes sense when you regularly embroider:
- thick garments
- awkward ready-made items
- fabrics that mark badly
- repeated placements where speed matters
If you mainly stitch flat quilting cotton and occasional monograms, a standard hoop may serve you perfectly well for much less money.
Do magnetic embroidery hoops damage computerized machines?
Used correctly, a magnetic hoop should not damage a compatible embroidery machine. The key issues are compatibility, correct attachment, and following the hoop maker’s guidance. Problems usually come from using an incompatible frame, exceeding machine limits, or allowing the hoop to strike the machine arm because placement was wrong.
The magnets themselves do not somehow “ruin” a modern machine in normal use. However, always keep magnetic parts away from items that could be affected during storage or handling, and never force a frame that does not belong on your machine.
How does a multi-needle machine know which hoop is attached?
On many machines, hoop recognition is handled by the machine’s hoop detection system, attachment points, or the hoop selection made in the machine interface. It is not simply a matter of “feeling magnets”. Different brands and models handle this differently, so always use a hoop system designed for your exact machine family.
Mighty Hoops, MaggieFrame and Sew Tech: what is the difference?
Beginners often compare blue Mighty Hoops with white/black MaggieFrame or Sew Tech style hoops. The practical differences usually come down to:
- machine compatibility
- frame construction and shape
- available sizes
- magnet strength and handling feel
- support, availability and price
A brand-name comparison is only useful if the hoop fits your machine and your workflow. A glowing maggieframe magnetic hoop review means very little if you need a different mounting system. Likewise, a search for sewtech magnetic hoop brother or magnetic hoop for babylock should always end with checking the exact model compatibility before purchase.
How to prevent fabric slippage in a magnetic hoop
This is one of the most important issues behind embroidery hoop flagging issues.
To reduce slippage on heavy items:
- Choose a hoop close to the design size, not wildly larger.
- Use the correct stabiliser weight for the fabric.
- Keep the hooped area flat and fully supported.
- Avoid placing bulky seams directly in the stitch field if possible.
- Add temporary adhesive spray or fusible support only when appropriate and safe for the project.
- Slow the machine slightly for difficult, bulky or high-pile items.
- Check for flagging after the first few stitches rather than after 10,000.
A HoopMaster hooping station or similar alignment aid can also help with consistent placement, especially on garments.
Cleaning and storing magnetic hoops safely
Do not treat them roughly just because they feel sturdy.
- Wipe frames with a soft dry or lightly damp cloth.
- Remove lint, topping residue and adhesive build-up carefully.
- Avoid harsh solvents unless the manufacturer says they are safe.
- Store paired parts so they do not slam together unexpectedly.
- Keep fingers clear when stacking or separating frames.
- Keep them organised away from loose metal tools and pins.
Normal cleaning and storage do not “demagnetise” a hoop. Damage is more likely to come from impact, poor storage, corrosion or misuse than ordinary careful handling.
Final buying advice for beginners
If you are deciding between one magnetic hoop and sticking with your standard hoops, start by asking what you embroider every week, not what looks impressive online.
- Mostly cottons and simple gifts? Your traditional hoop may be enough.
- Lots of towels, sweatshirts, quilts or awkward placements? A magnetic hoop is often worth it.
- Very delicate fabrics? Magnetic helps, but test first and manage expectations.
And remember: the cleanest results come from the full combination of correct hoop + correct stabiliser + correct design density + correct placement.
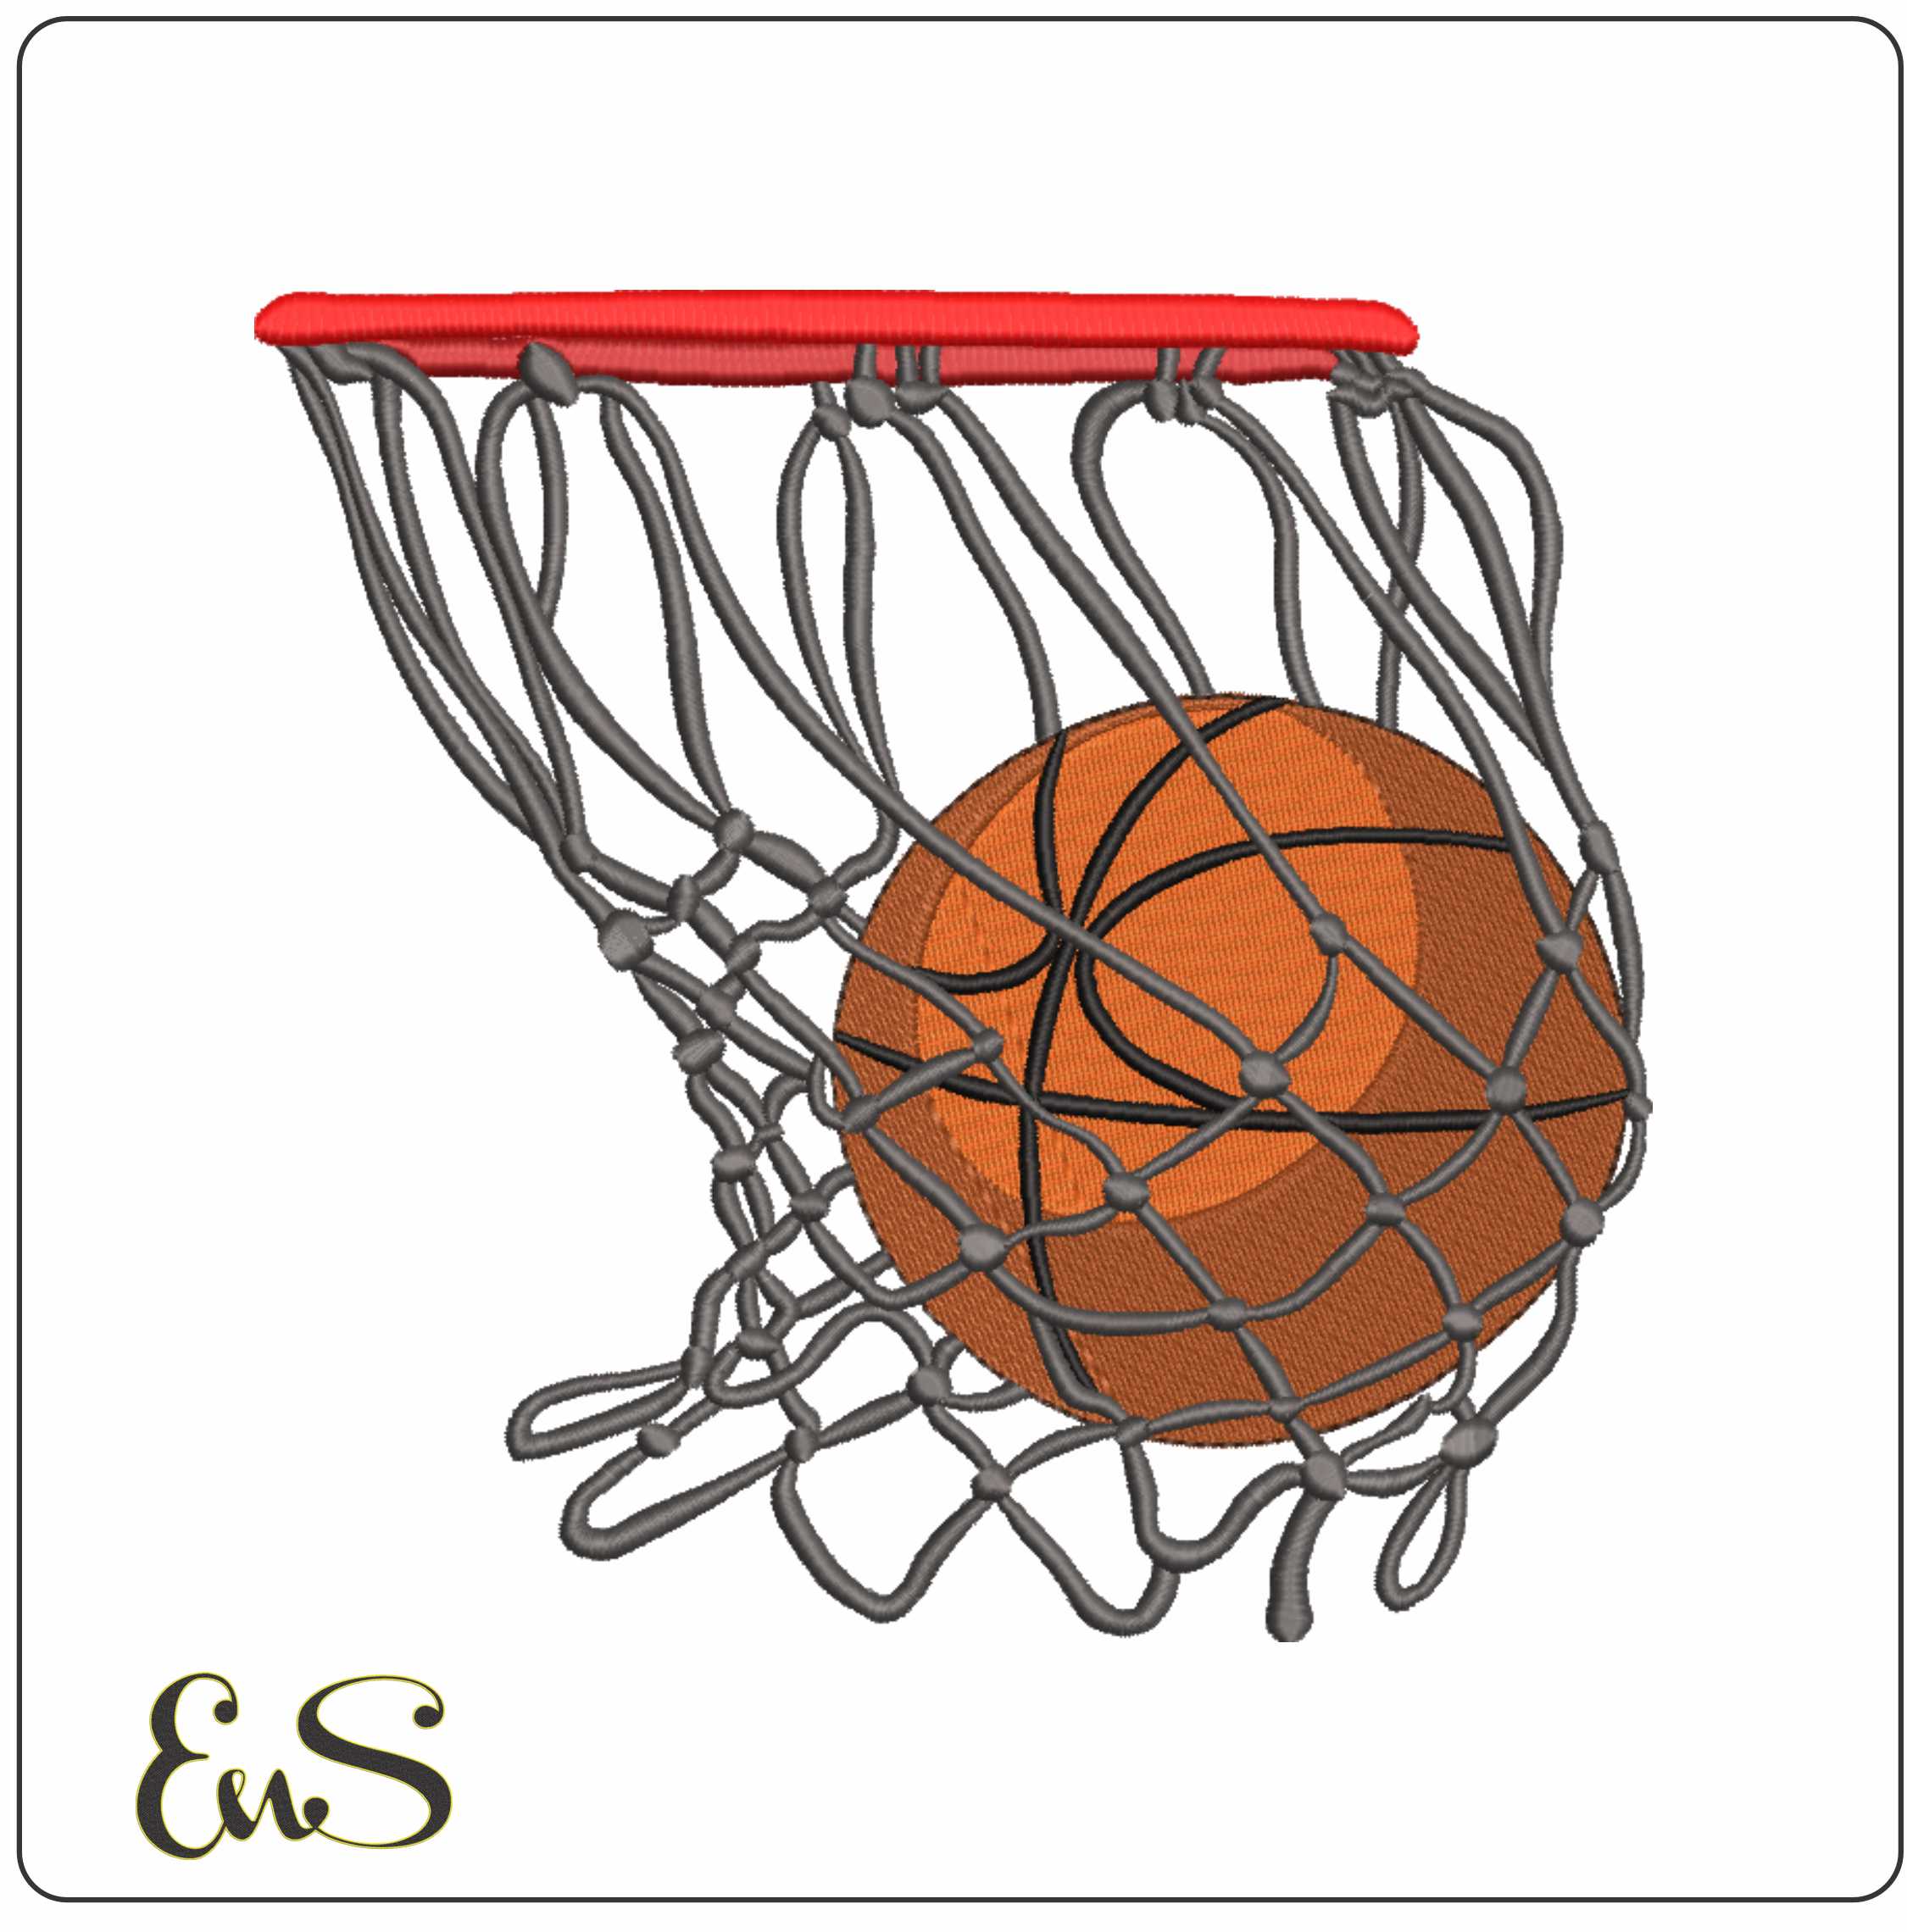
If you are practising on sports-themed projects, a simple design such as Basketball Through Hoop or Basketball Hoop embroidery design is a useful way to test fabric handling, topping and stabiliser choices before moving to more difficult garments.

For slightly bolder placement tests on hoodies or towels, you could also trial a denser sports motif like Nike Swoosh with hoop and Basketball and compare the result in a standard hoop versus a magnetic one.
If you prefer novelty placements on thicker items, Dog Running through Hoop is another practical design for testing stability and edge definition.