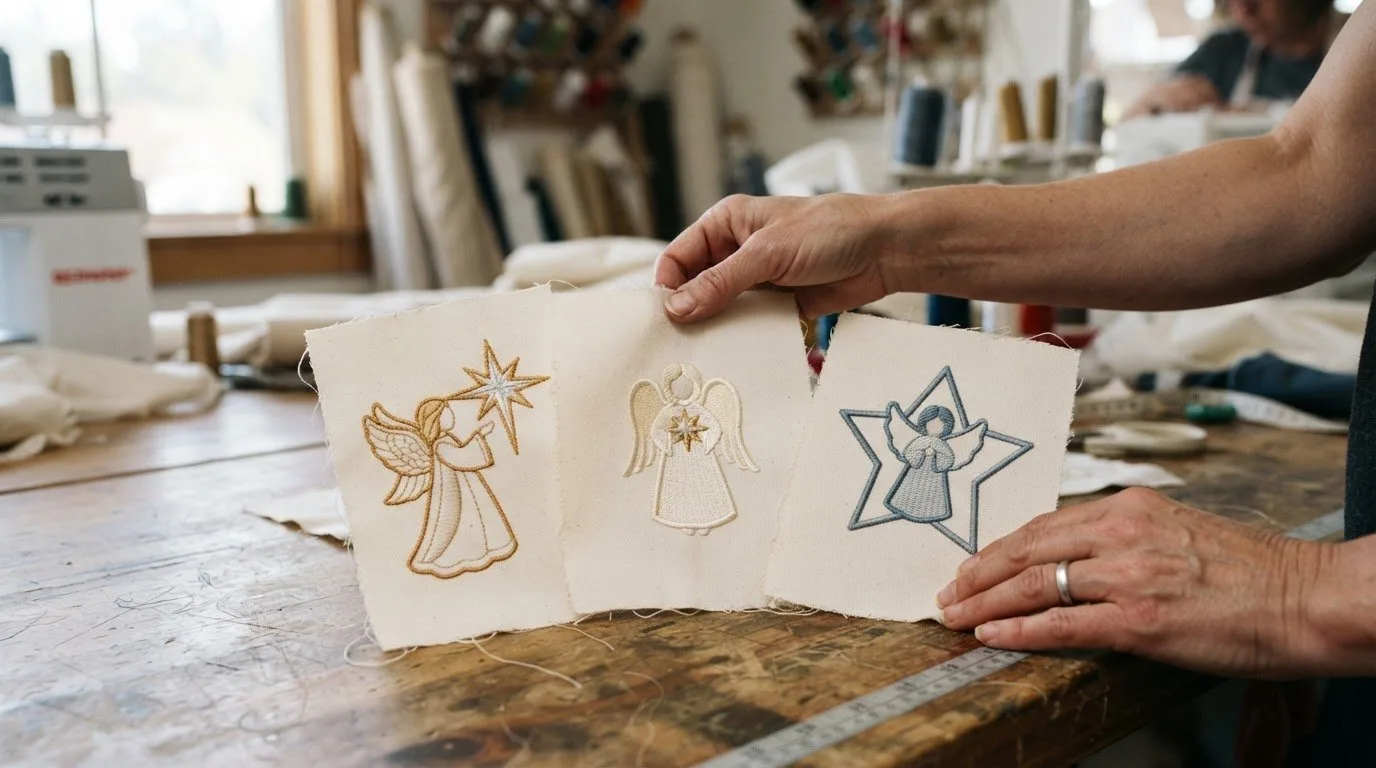

Christmas stitching can be quick and varied: these 25 Christmas in-the-hoop projects to stitch before December include ornaments, festive house and wreath designs, and other seasonal ideas. Many are suitable for a weekend of stitching, so you can choose a project that fits the time and materials you have.
Before choosing a project, check what it involves, especially if you want a felt-finished ornament or a pattern that fits your hoop. This guide covers project ideas and practical finishing details, along with Christmas stitching e-books and kits that include instructions and patterns. If you are new to this style of stitching, our guide to in-the-hoop projects for beginners explains the basics first.
Explore ideas for handmade decorations and gifts, from simple seasonal motifs to projects with a few extra steps.
Key Takeaways
- Stitch house and wreath ornaments in the design’s intended order, then use felt finishing details to give your project a neat, finished look.
- Explore Christmas stitching e-books and kits for projects such as Twelve Trees for Christmas, which includes instructions and patterns.
- Choose a beginner-friendly design by considering its thread colours, hoop size, and finishing steps before you start stitching.
- Compare the project’s fabric and hoop requirements with what you have on hand to find an idea that fits your setup and available crafting time.
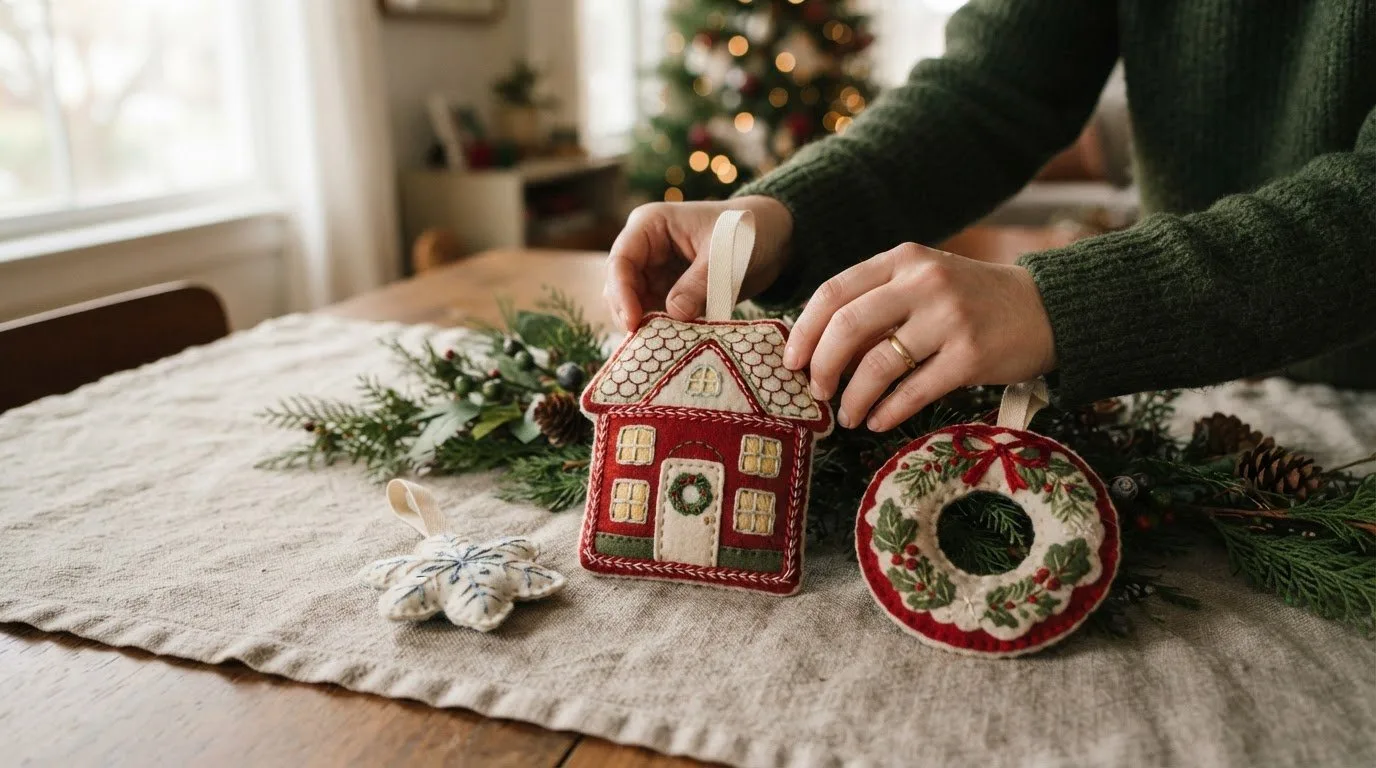
Making a Christmas house and wreath ornament
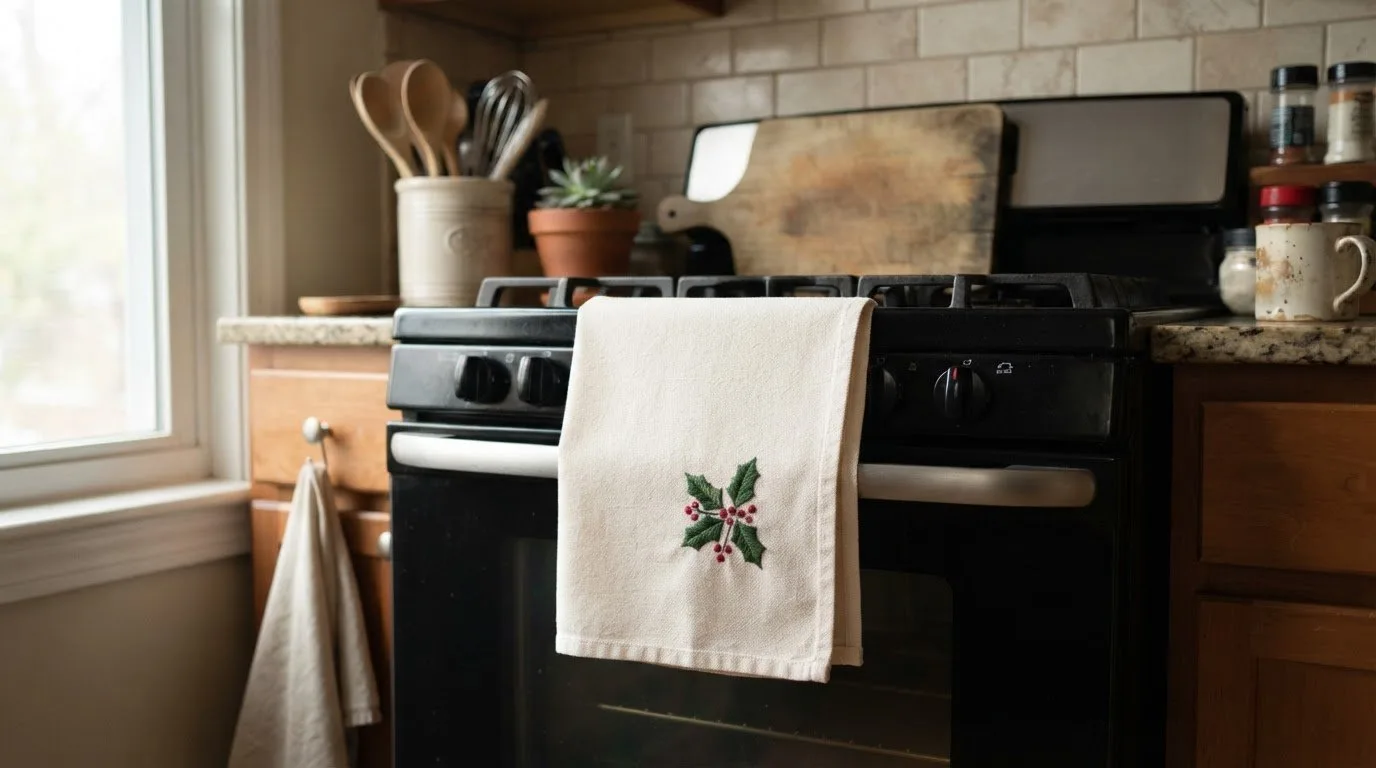
Explore 25 Christmas in-the-hoop projects to stitch before December, including practical handmade gifts, tree decorations, and stocking stuffers. House-shaped and wreath ornaments suit seasonal displays, while a holly design can also decorate cloth napkins or towels.
Before stitching an ornament, review its materials list and stitch sequence. Follow the design’s specified order rather than changing the steps on your machine. Make sure the design fits your hoop, then gather the required materials.
- Embroidery machine and hoop: Stitch the design in its intended hoop. A snowman ornament requires a hoop at least 5 by 7 inches. For a smaller snowman motif, try our Snowman Small Christmas embroidery design.
- Clear vinyl: Use the 4 to 8 gauge vinyl recommended for the snowman ornament’s clear front.
- Felt: Keep 9 by 12 inch sheets ready for the ornament layers and backing.
- Tear-away stabilizer: Choose light, medium, or heavyweight stabilizer to support the stitching. Our beginner’s guide to the best stabilizer for embroidery helps you pick the right weight.
- 90/14 embroidery needle: Use the needle size recommended for the snowman tutorial.
During finishing, stitch the optional cutting line if the design provides one. Otherwise, trim around the snowman outline and leave about 1/8 inch of felt. Scissors help control the trim around curves and narrow details.
For another Christmas accent, the Boughs of Holly design features a holly corner suited to tablecloths, flour-sack towels, and cloth napkins. Our Holly Leaf and Berries embroidery design works the same way on napkin and towel corners. Pair a stitched house or wreath ornament with a matching textile for a coordinated seasonal gift.
The felt sheets are made from 100% recycled plastic bottles. Stitched from Stash presents its Christmas Ornament project as a step-by-step series, including finishing instructions.
Christmas stitching e-books and kits
A Christmas stitching e-book brings several seasonal projects together in one reference, while a kit groups patterns and instructions around a shared theme. Twelve Trees for Christmas includes full instructions and patterns, making it a useful guide for stitching a coordinated set of tree designs. Before choosing, decide whether you want to make one ornament or several related decorations.
How much do Christmas in-the-hoop embroidery design files typically cost? Prices depend on the design and what the purchase includes, such as a single embroidery file or a larger pattern collection. Compare the instructions, project variety, and file formats, not just the design image.
Keep a few tools close at hand to make your project easier to follow:
- Tablet or computer: Use it to read an e-book and refer to each step while stitching.
- Printer: Print patterns or instructions when you prefer a paper copy beside your embroidery setup.
- Embroidery machine and hoop: Use these for machine-embroidery projects, matching the hoop to the design requirements.
- Notebook: Record thread choices or finishing notes when making several pieces from one pattern set.
A kit or e-book can help you plan a small collection of handmade gifts. Choose projects with compatible themes, then plan the stitching order around what you want to finish first. For example, tree designs can become a coordinated set of ornaments or small seasonal accents, such as our Christmas Tree Decorated embroidery design paired with a Christmas Bauble Bell design.
For more seasonal inspiration, browse embroidery design ideas and our full range of Christmas embroidery designs, then choose a theme that fits your next stitching project.
Which Christmas in-the-hoop projects are suitable for beginners?
Begin with a project that has a straightforward motif and fewer thread changes. The Home Alone cross-stitch ornament uses one thread colour, keeping colour changes simple. The free Mini Christmas Tree Cross Stitch Pattern uses three colours and fits a 3-inch hoop, offering a compact seasonal option.
For small motifs, Christmas cross-stitch patterns with hoop options around 2-4 inches can suit a first project. Snowstorm of Snowflakes includes six designs sized for 4-inch hoops on 14-count Aida. Before stitching, compare the fabric count with the pattern: the same chart will appear larger on 14-count fabric than on 18-count fabric.
- Embroidery hoop: Holds fabric taut so stitches stay even; choose a size that fits the selected pattern.
- Pattern or chart: Shows the design and stitch placement, helping you follow the motif step by step.
- Needle and thread: Use them to build the design, following the project’s instructions for colour and stitch choices.
- Scissors: Trim loose thread ends and tidy the finished piece.
For machine embroidery, start with a simple in-the-hoop design that has clear construction steps. Multiple layers or vinyl finishing require extra handling, so a small, single-piece motif may be easier for a first project. Check the hoop and fabric requirements before you begin, and keep the instructions nearby as you stitch.
Browse digital embroidery designs for a motif that suits your interests and stitching setup. Our Christmas machine embroidery designs holiday guide rounds up festive motifs, and a familiar theme and straightforward pattern let you focus on learning the stitch sequence.
Embroidery n Sewing
Embroidery n Sewing offers more embroidery inspiration and themes for your next project. Explore its Best Embroidery Blogs for ideas, such as our ultimate guide to holiday embroidery designs, or browse Sports Embroidery and team designs for options beyond holiday motifs. Choose a theme that fits your next stitching goal, whether you’re planning a seasonal project or another occasion.
For example, Buffalo Bills Embroidery and Detroit Lions designs in our NFL embroidery designs collection can inspire fan-focused projects. They serve a different purpose from Christmas ornaments, but offer a clear direction when you’re ready to stitch team spirit. Browse by subject to narrow your choices and find designs that match your interests.
For help finding an embroidery theme that fits your next project, contact Embroidery n Sewing.
Choose Your Next Stitching Project
Let these 25 Christmas in-the-hoop projects to stitch before December spark ideas beyond holiday décor. A seasonal design can be the start of a broader embroidery plan: select digital embroidery designs or machine embroidery designs for your next project, then explore a different theme when your interests shift. College embroidery designs offer another direction for stitching personal, school-inspired designs.
Embroidery n Sewing brings together design themes for crafters looking for their next source of inspiration. If you’d like help finding a direction for a future project, contact Embroidery n Sewing for project help. Pick a design that feels right for your plans, prepare your materials, and enjoy making something that reflects your creativity.
Frequently Asked Questions
What are 25 Christmas in-the-hoop machine embroidery projects to stitch before December?
Project ideas include house, wreath, snowman, mini tree, snowflake, holly, tree-set, stocking, gift-tag, mug-rug, coaster, towel-corner, napkin, gift-pouch, candy-cane, mitten, star, reindeer, Santa, gingerbread, bell, bauble, banner, and stocking-tag designs, plus another snowflake variation. Featured examples include house and wreath ornaments, snowman and tree designs, snowflakes, and holly accents.
What does in-the-hoop embroidery mean, and what equipment is needed?
In-the-hoop embroidery uses a machine to stitch a design and, in some projects, assemble the item while it remains in the hoop. You’ll need an embroidery machine, the correct hoop, embroidery thread, fabric or felt, and stabilizer suited to the project. Use scissors to trim threads and excess material, and follow the design instructions for the stitch sequence and finishing.
Which embroidery machine hoop sizes and file formats do Christmas projects require?
Requirements depend on the design. Examples include a 3-inch hoop for the Mini Christmas Tree Cross Stitch Pattern, 4-inch hoops for Snowstorm of Snowflakes, and a hoop at least 5 by 7 inches for the snowman ornament. Check the design dimensions against your hoop before starting. Christmas machine files may use formats such as PES or HUS, but formats vary by design.
How long does each type of in-the-hoop Christmas project take to make?
Most of the listed projects can suit a weekend of stitching, though the time required varies by project. Small single-piece motifs and gift tags can often be finished in under an hour, while layered felt or vinyl ornaments take longer because of extra placement, tack-down and trimming steps.