
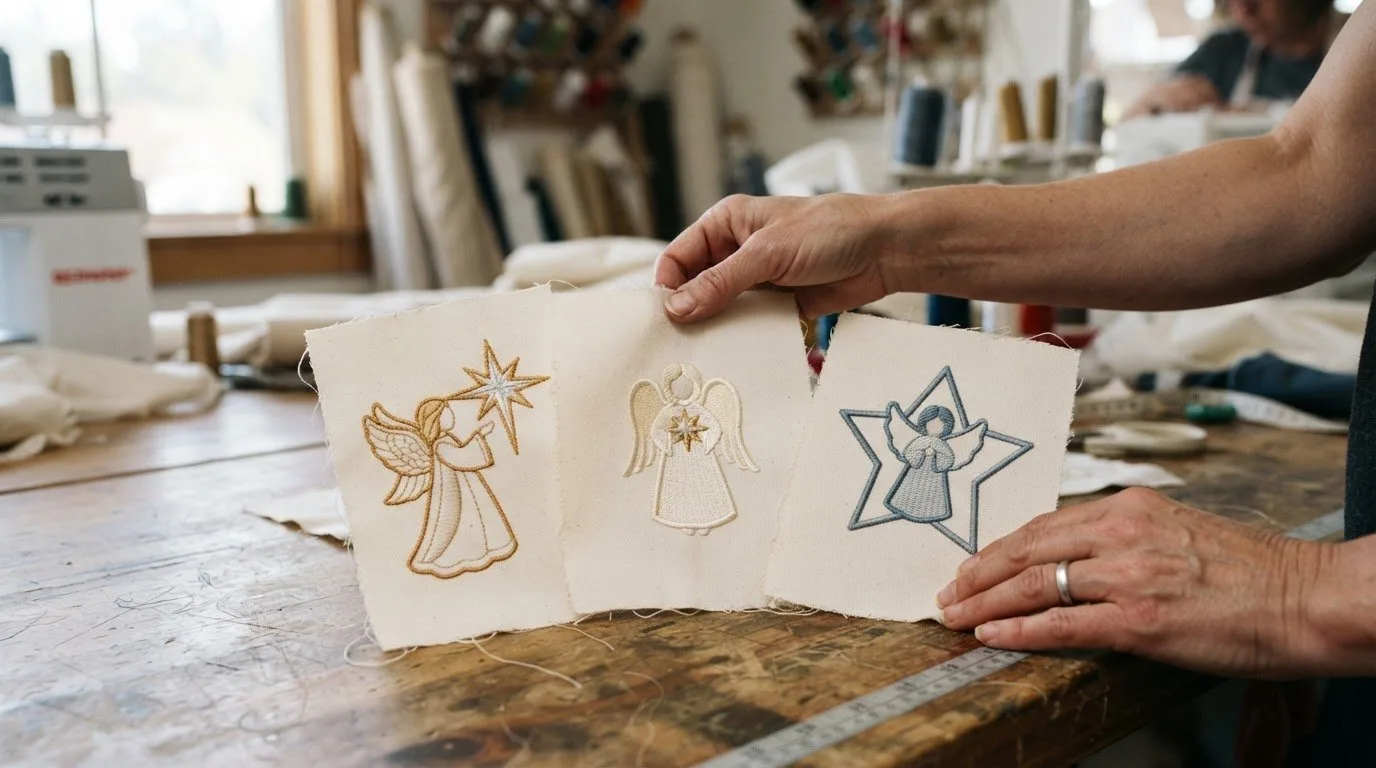
A strong angel-and-star embroidery design depends on a clear silhouette, balanced wings, and a star that reads as part of the composition. Angels and Stars That Hold Their Shape work best when the main outline is easy to recognize, whether the angel holds a star or the figure itself follows a star shape. Small details should support the outline, not crowd it.
These motifs are appealing because wings add movement and a star creates a bright focal point. This guide explains how to pair angel wings with stars, compose an angel holding a star, and plan an angel shaped like a star. You'll also find practical ways to balance each form and choose a design direction that suits your embroidery project.
Key Takeaways
- Keep the angel's wing outline clear, and let the star complement rather than crowd the silhouette.
- For an angel holding a star, use the star as a focal point and balance its placement with the figure's pose.
- A star-shaped angel needs a recognizable central figure and wings that support the outer shape.
- Choose your composition first, then use stitch direction and detail placement to reinforce its main outline.
Angel Wings and Stars
"Angels and Stars That Hold Their Shape" describes embroidery motifs with recognizable angel and star outlines, rather than naming a specific creator. For example, a star can sit between two wings without blending into their edges. This section focuses on arranging the shapes so each remains clear.
Choose the main silhouette first: outstretched wings, folded wings, or an angel beside a star. Leave a visible gap between the wing tips and star points so each shape reads separately. For machine embroidery, choose fabric and stabilizer suited to your project and follow the design's stitch order, keeping outlines distinct from filled areas. Use contrasting thread colors, such as pale wings beside a darker star. Avoid crowding the center with details; a small halo or starburst can draw attention without obscuring the outline. Aim for a balanced composition rather than a fixed stitch count.
Browse our Christmas embroidery designs for a file with the arrangement you want, such as wings framing a star or an angel holding one, and see our religious embroidery designs for more angel motifs. Review the design preview and the file formats listed on its page before choosing. Every format listed on a design's page is included in the download. This helps you match the motif to your embroidery project.
For hand stitching, handle needles carefully and store them safely between steps. Small embellishments can pose choking hazards for young children. Keep needles and loose pieces out of their reach, and supervise children who take part. Age guidance depends on the materials and activity, so follow the instructions supplied with a specific kit or design. Display the finished piece where it won't be pulled down or handled roughly. These steps help protect both the stitched outline and the people nearby.
Angels Holding Stars
An angel holding a star needs a clear connection between the hands and the focal point. Place the star close to the arms so it appears supported. A gold star creates a bright center, while olive branches can frame the design. Holly offers another seasonal detail, but keep its leaves clear of the angel's hands.
Before stitching, identify the figure's center and the star's position. The hands should meet the star's edge or sit visibly beneath it. If the star floats above the palms, add a short connector, such as a ribbon or small rays. Keep it narrow so it doesn't compete with the face. Compare the star's visual weight with the wings and robe: a large star may call for simpler clothing details, while a smaller one can share attention with decorative folds.
Plan the stitch order around overlapping shapes. Stitch the angel's main areas first, then add the hands and star outline. This can make the grip easier to read. Use these checks when arranging the composition:
- Keep both hands visible against the star or robe.
- Leave space between star points and nearby wing edges.
- Use contrasting thread colors for hands and star.
- Place olive branches or holly outside the gripping area.
For machine embroidery, follow the file's stitch sequence and preview the design before stitching. Dense details near the hands can blur their shape, so a simple grip often reads better. A star held at chest level creates a centered composition, while holding it beside the body adds movement. Choose a pose that fits the project's available space, and keep supporting details clear of the hands.
Star-Shaped Angels
A star-shaped angel combines two outlines, so plan the silhouette before stitching. Draw a central angel inside a star, keeping the head, wings, and robe recognizable. For example, the star's upper points can frame the wings while its lower point extends beneath the robe. This creates a clear outer boundary and an identifiable center.
Use this sequence to make a shaped fabric decoration:
- Sketch the outline. Draw a star, then place the angel within its center. Keep the star points distinct from the head and wing edges.
- Prepare the fabric. Transfer the outline and secure the fabric with suitable stabilizer. This helps the stitched edges stay aligned during embroidery.
- Stitch the main shapes. Work from the center outward, adding the angel's face, robe, and wings before outlining the star. Choose contrasting thread colors to separate each part.
- Finish the edge. Trim excess fabric around the star, then secure the border. Keep the points crisp rather than rounding them during finishing.
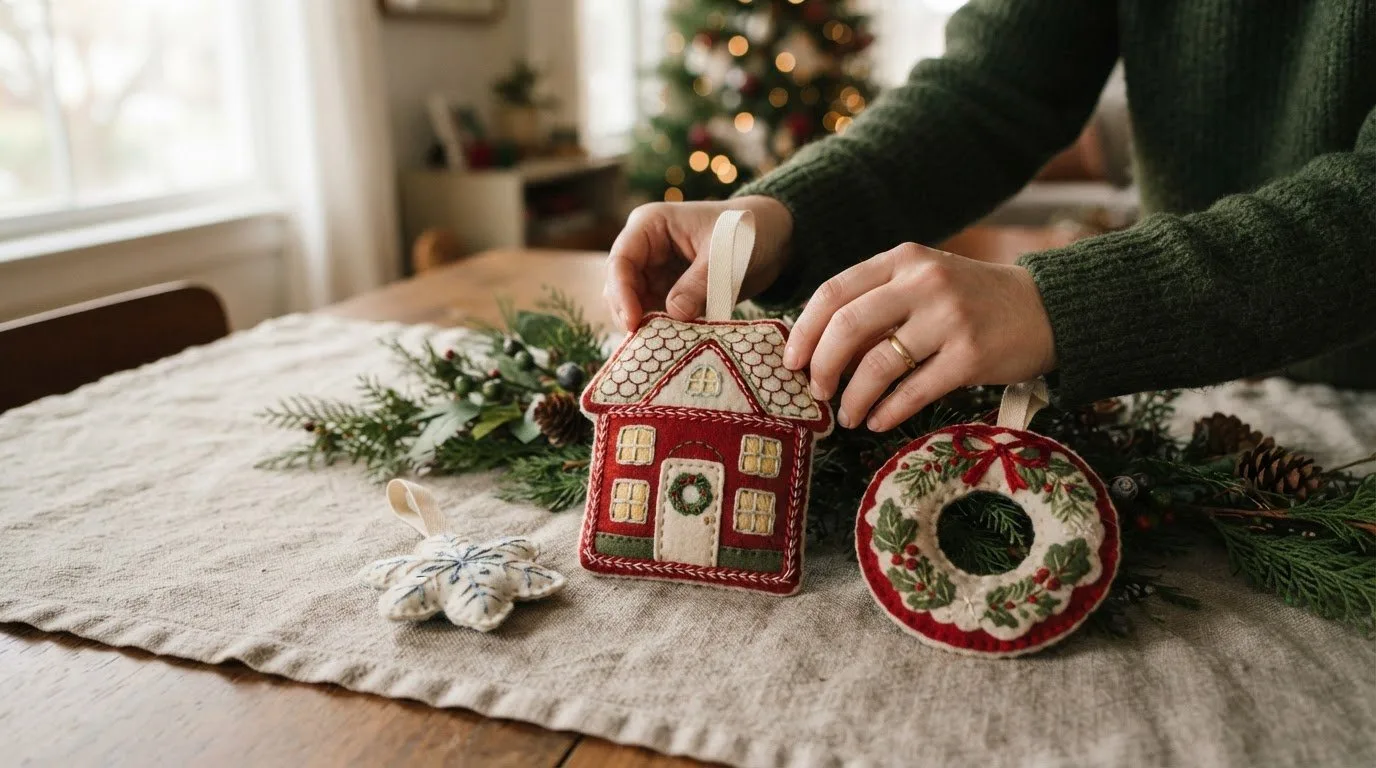
For machine embroidery, choose a design with an outline suited to the intended decoration. Preview the angel inside the star before stitching. A crowded face or wings can disappear against nearby star points, so simplify small details and keep the star border visually separate from the interior stitching. If the decoration will hang, include a suitable hanging loop when finishing its edge. For lace ornaments that hold their shape without fabric, see our guide on how to stitch FSL snowflake Christmas ornaments, and for jewelry-sized lace projects, our freestanding lace earring designs guide.
Embroidery n Sewing
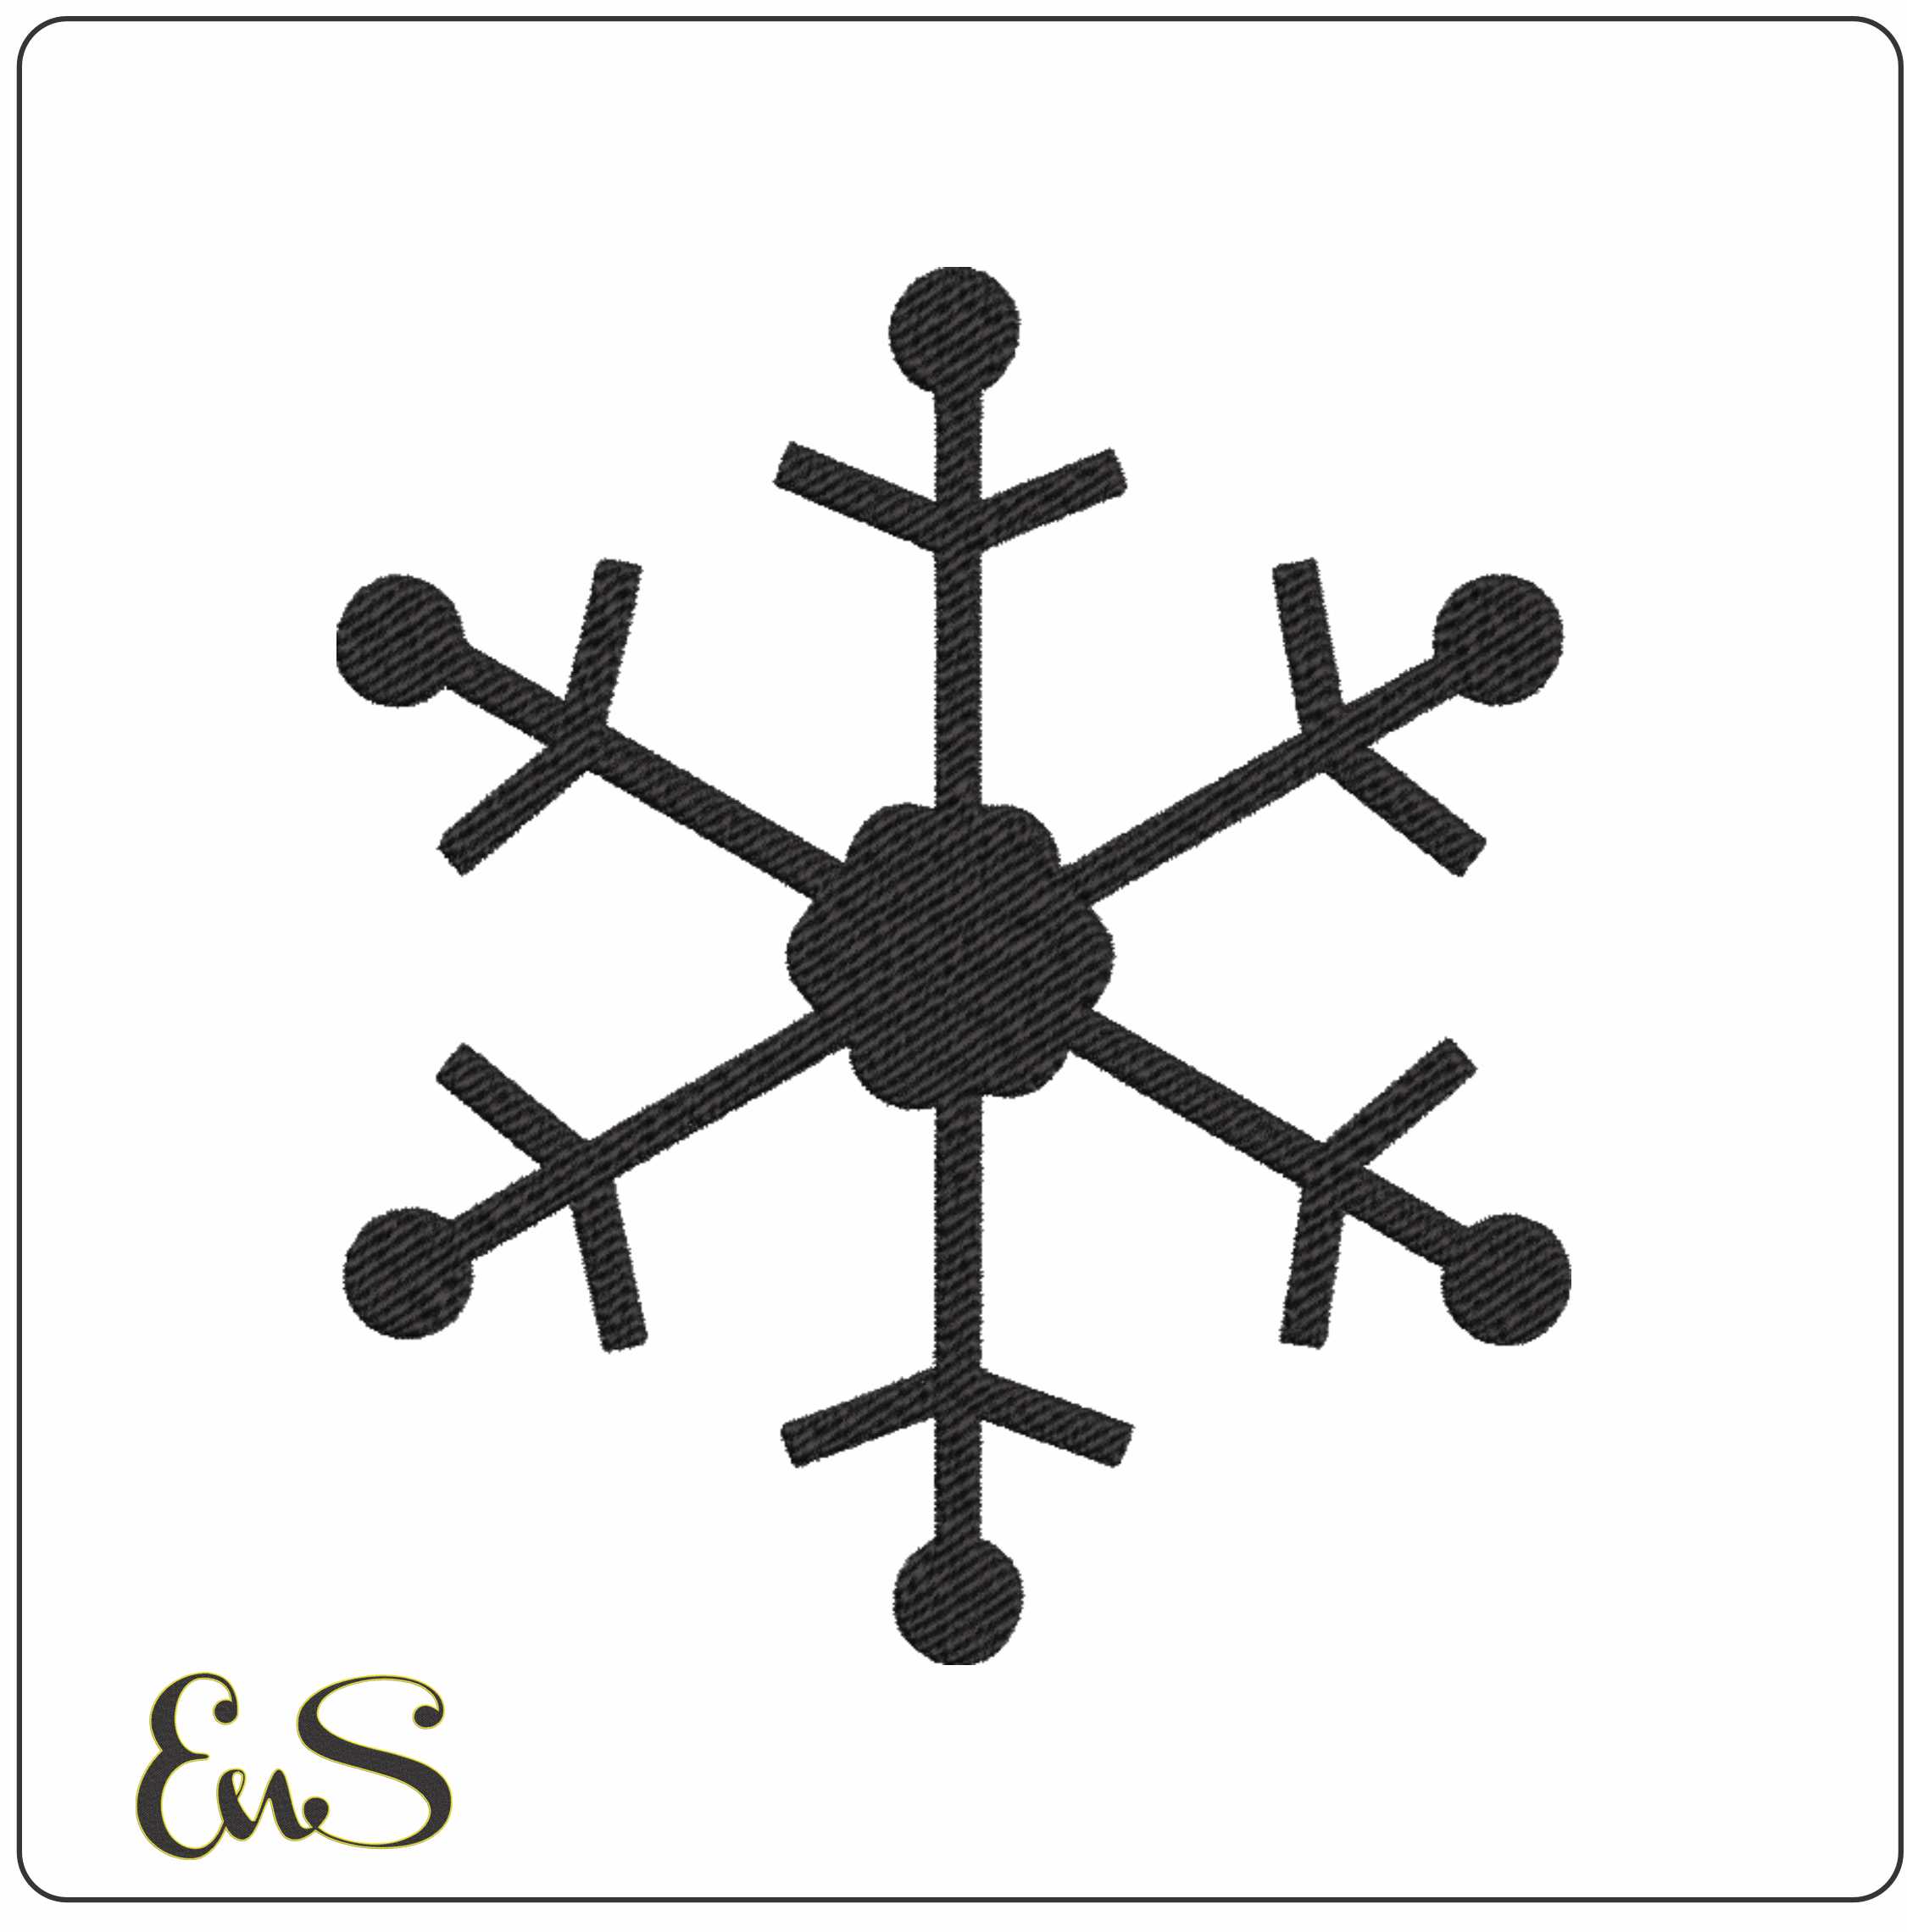
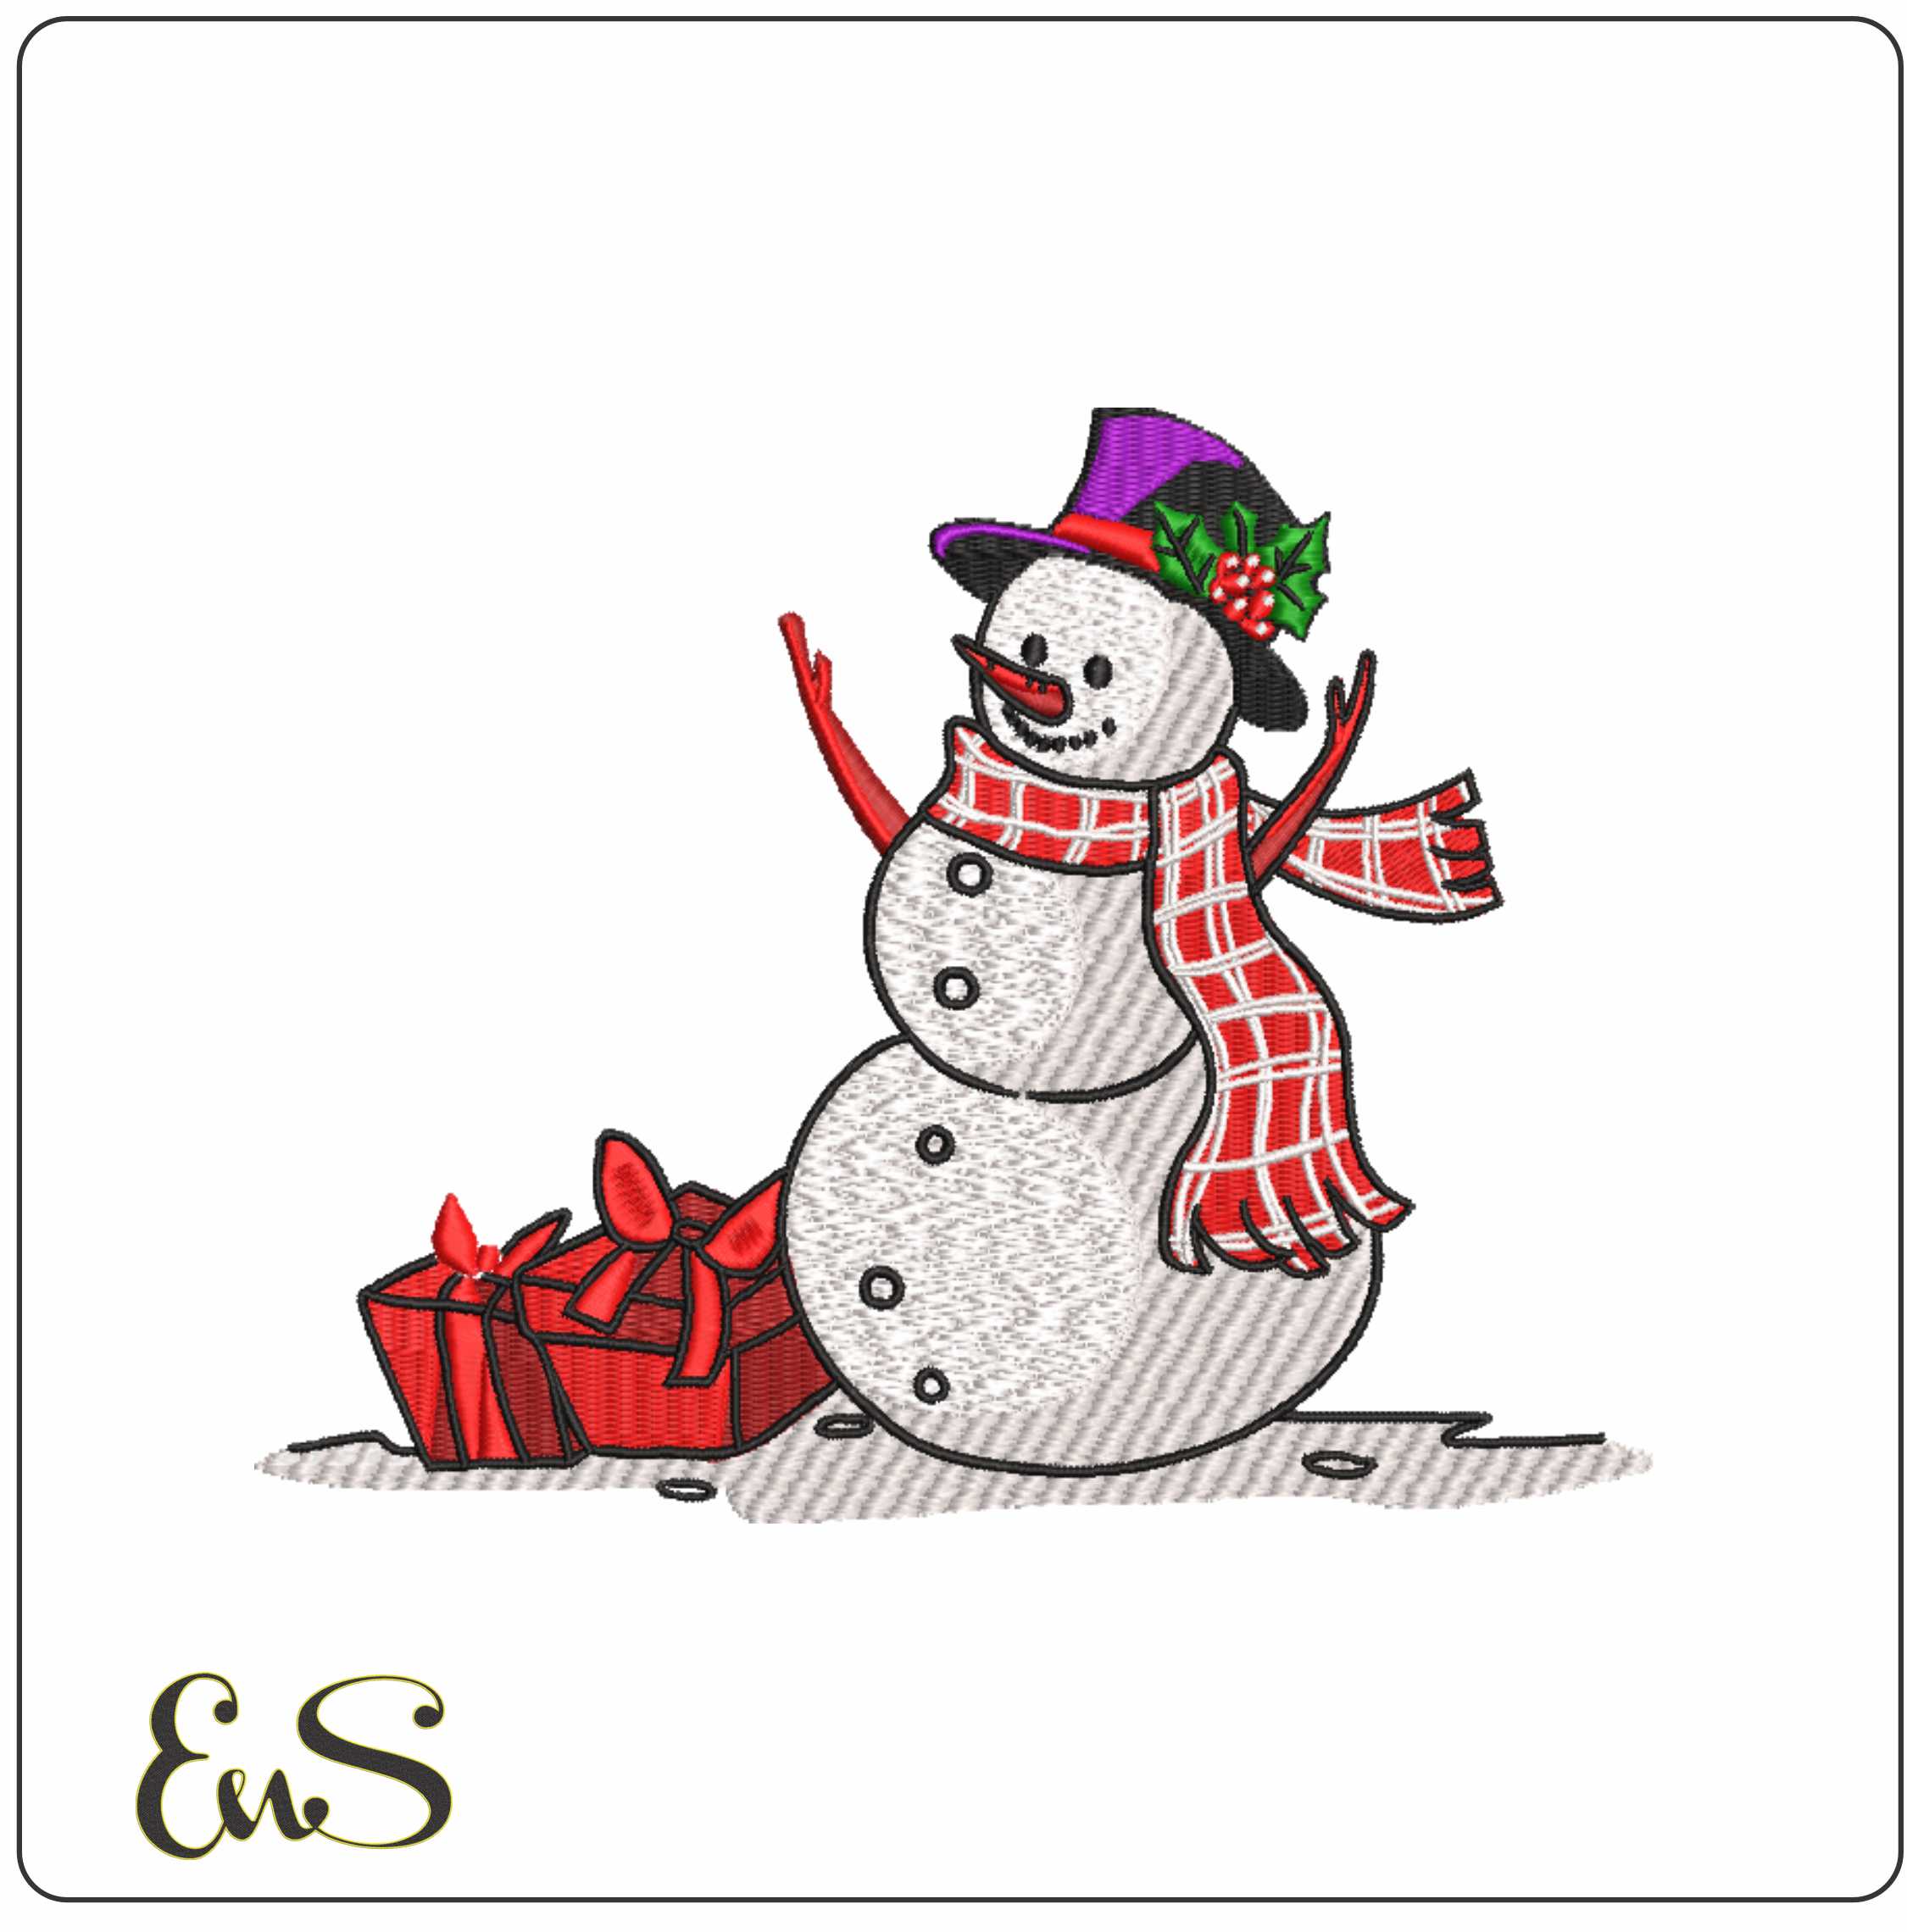
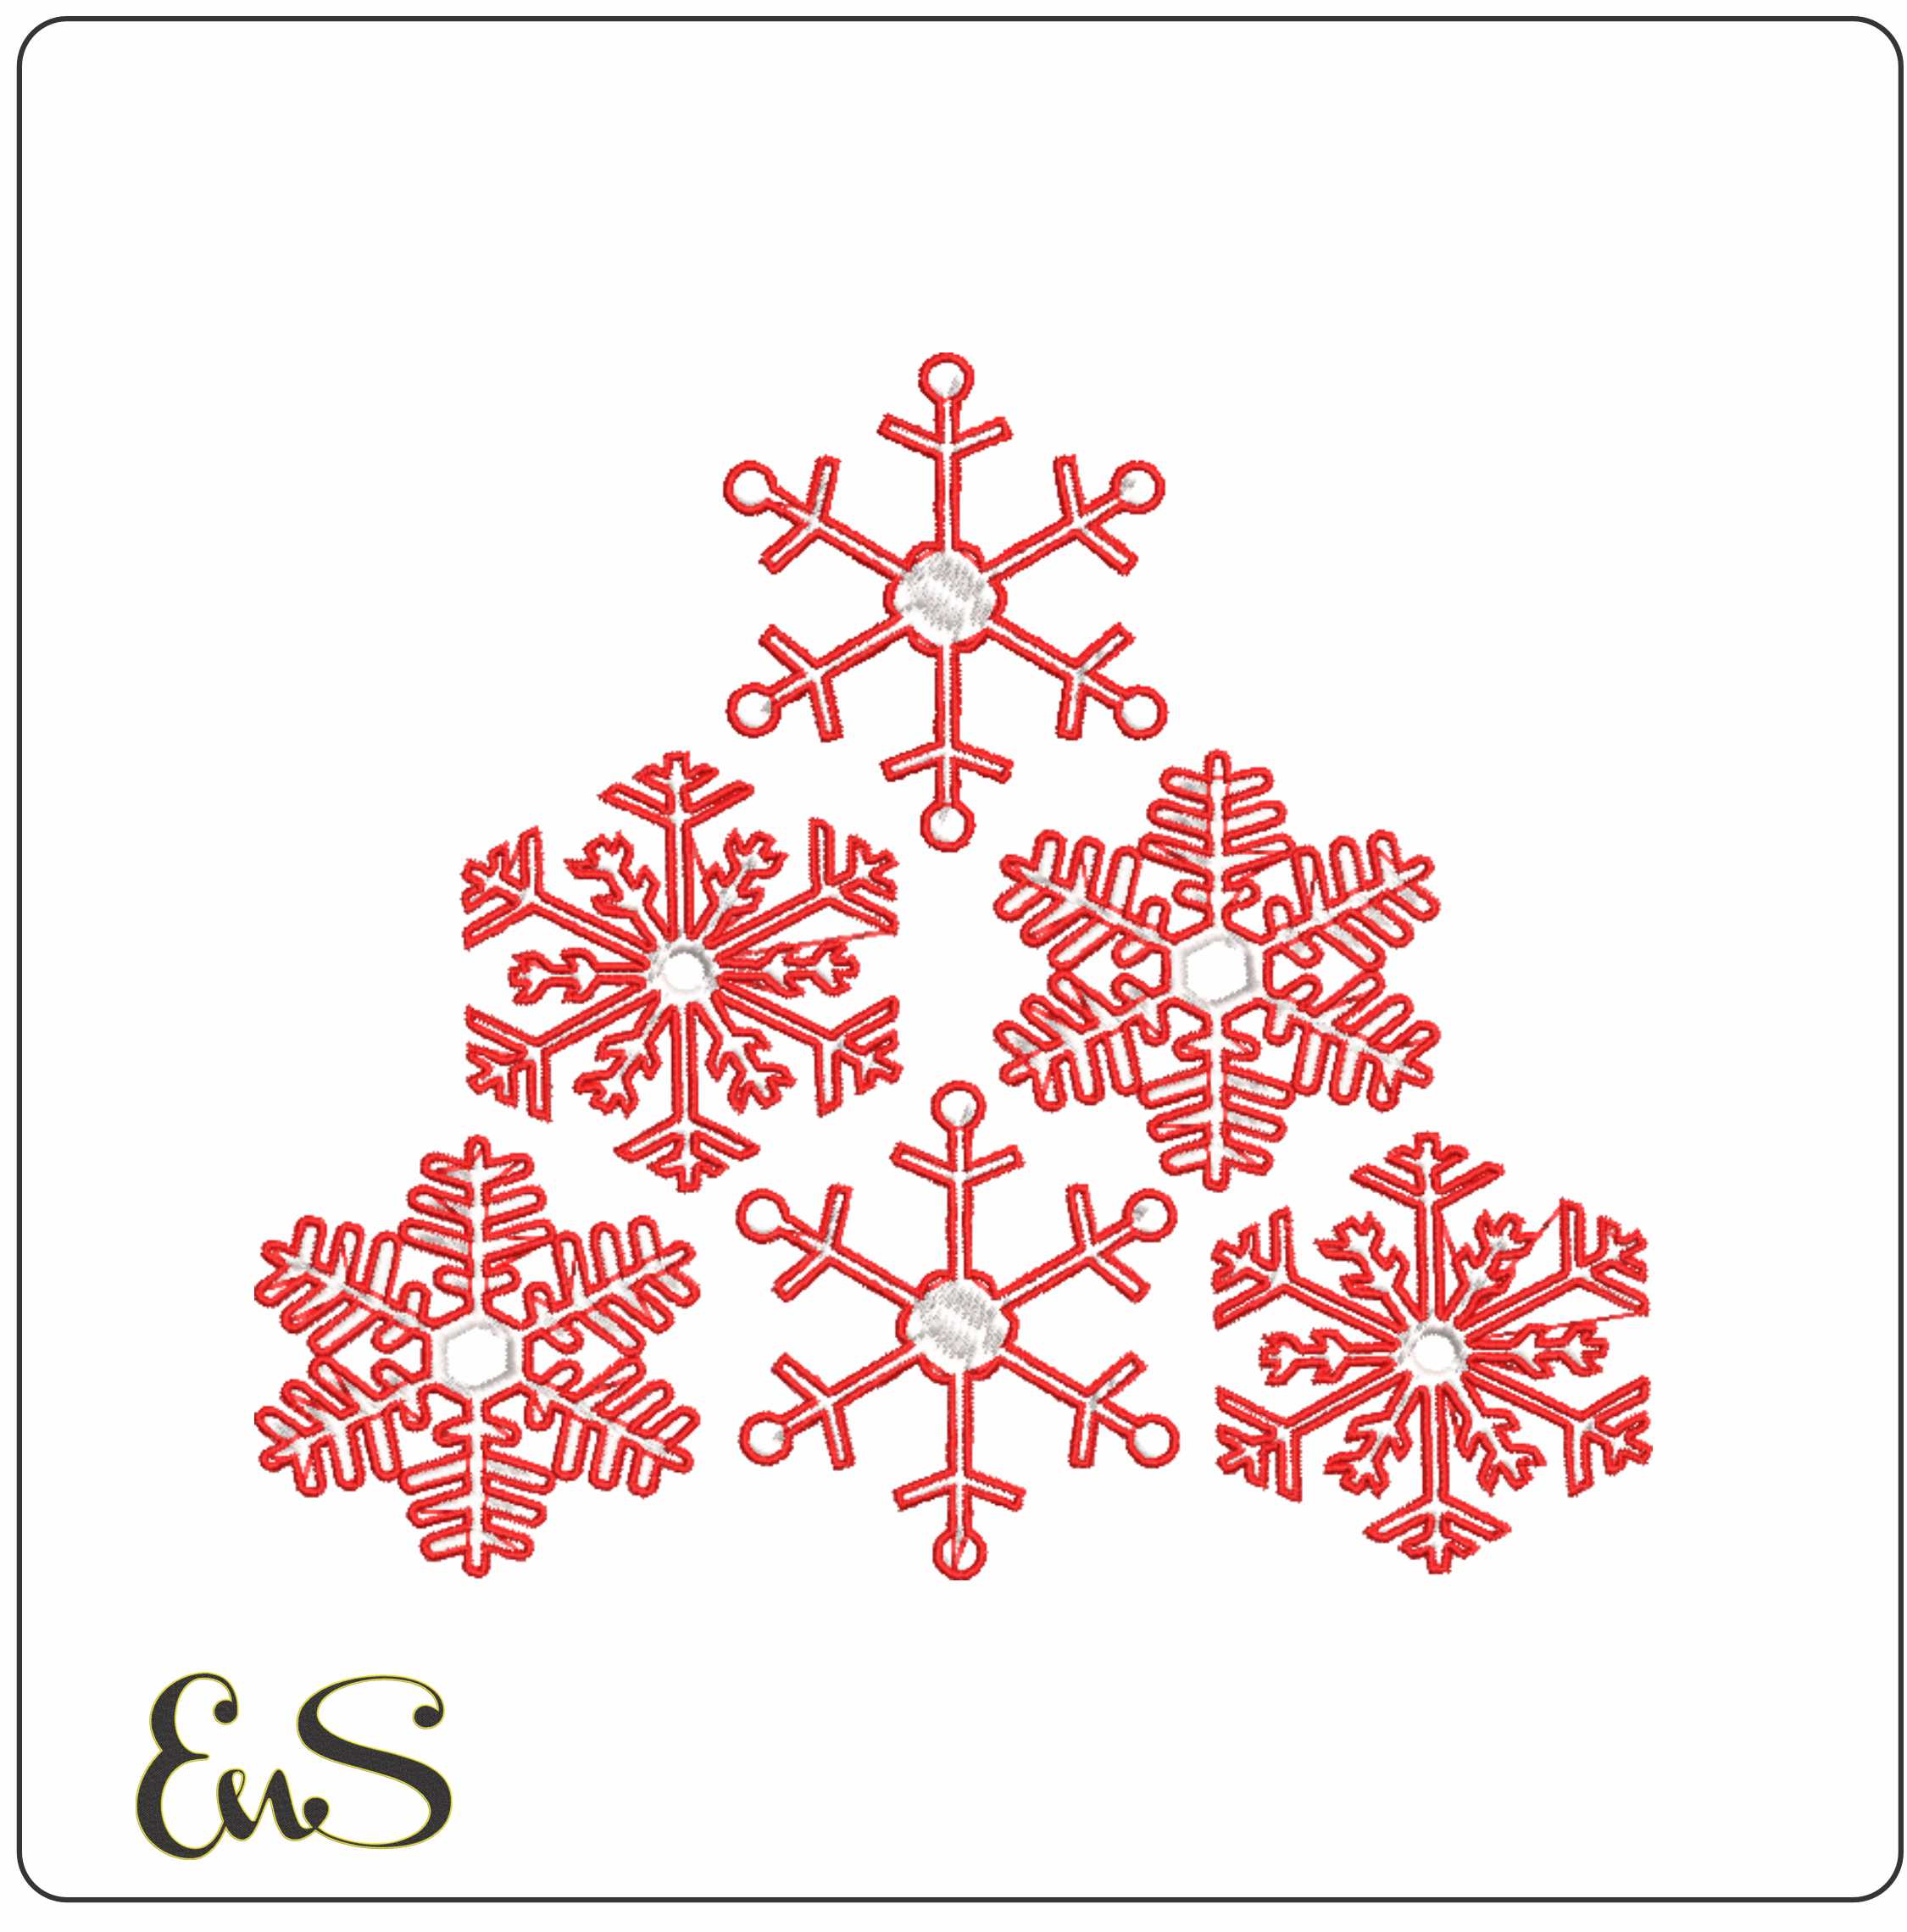
Embroidery n Sewing is a useful next step when you want more embroidery inspiration after planning an angel-and-star composition. Our Christmas machine embroidery designs holiday guide offers ideas for exploring holiday themes and developing your next project. To pair your angel with other festive motifs, try our Snowflake Tree design, the solid snowflake Christmas design or the snowman and present Christmas design.
Turn to Embroidery n Sewing when you're ready to explore embroidery inspiration or browse designs around another theme. If you have a question about finding a suitable direction for your project, contact Embroidery n Sewing.
Choose a Design Direction for Your Next Project
Start your next embroidery project with a clear visual idea. Sketch an angel-and-star arrangement, adapt the motif to a personal theme, or explore another subject. Choosing the design first gives you a practical starting point for decisions about placement, color, and detail. Angels and Stars That Hold Their Shape can inspire a distinctive direction, while another theme may better suit your fabric or intended use.
Embroidery n Sewing offers Digital Embroidery Designs, Machine embroidery designs, and College embroidery designs for different project interests. If you're ready to explore possibilities or discuss what you're looking for, contact Embroidery n Sewing. Take the idea that best fits your project and turn it into your next creative step.