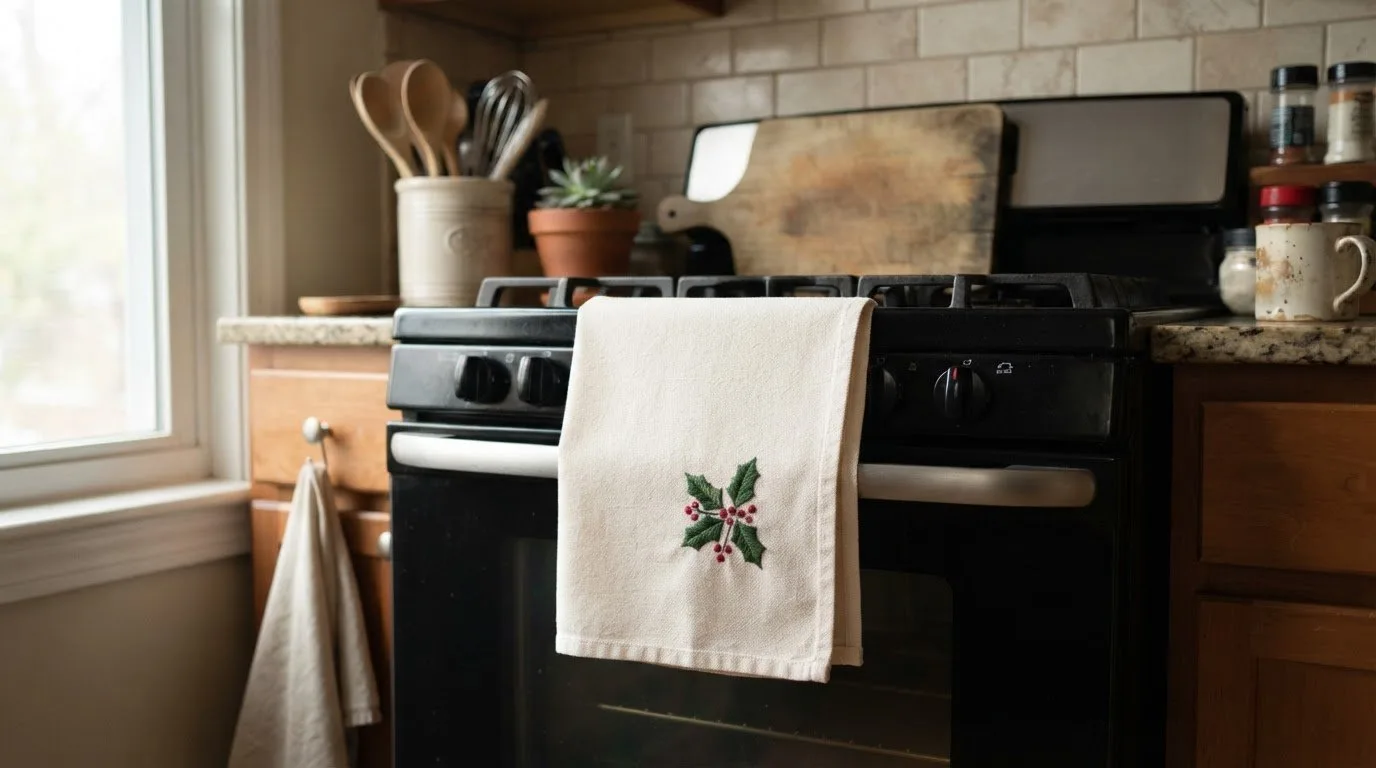

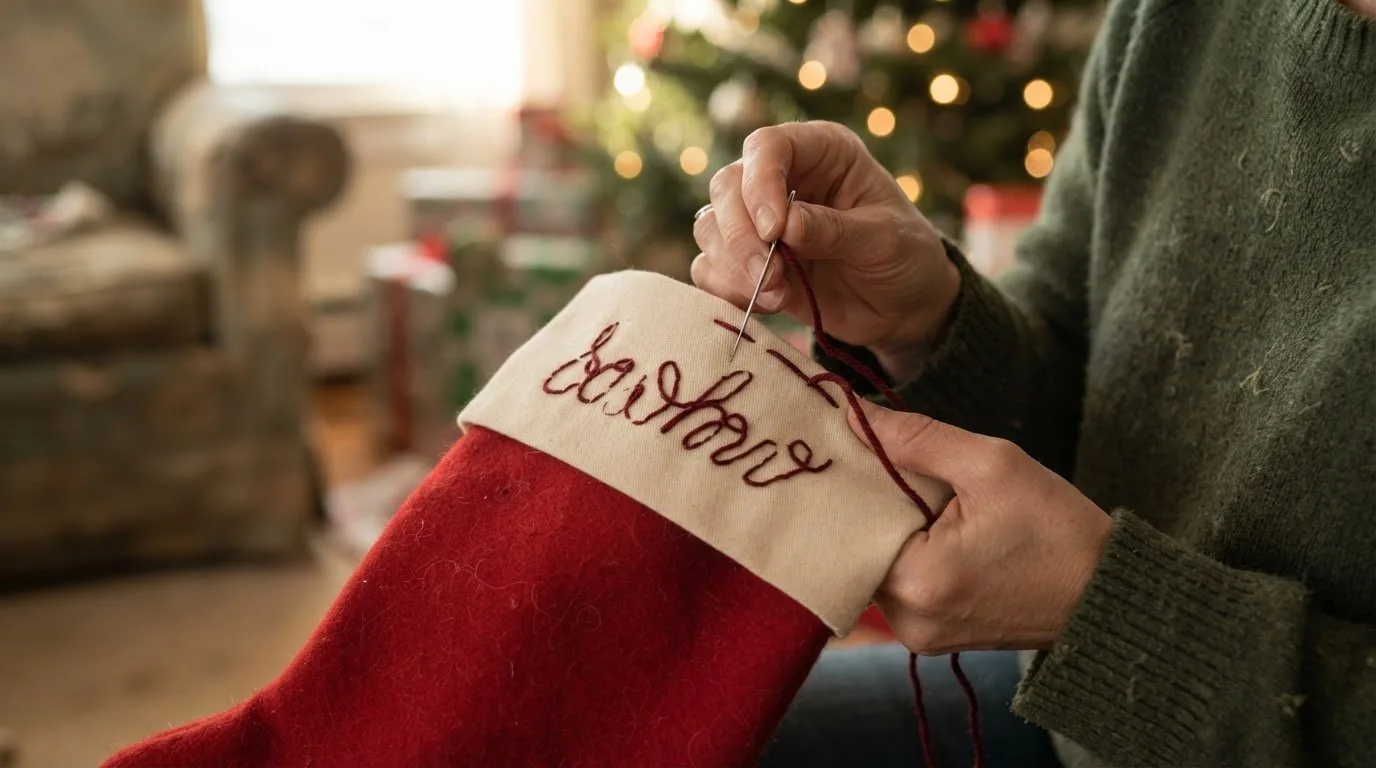
A stocking name doesn't need complicated lettering to feel personal. For Christmas stocking embroidery, adding names is easiest when you plan the script on paper first, choose yarn with a defined twist, and stitch through both layers of the double cuff. A scrap of DK-weight yarn gives you a practical material to work with.
It's natural to want cursive lettering that looks smooth without crowding the stocking. This guide explains how to prepare your materials, size and position a name, and follow the letter shapes as you stitch. You'll also learn how to keep the lettering neat and secure, so you can personalize a stocking with a clear plan from the first stitch to the last.
Key Takeaways
- Prepare a roughly 4-foot length of yarn so you have enough to stitch the name and secure its ends.
- Sketch cursive lettering first, then adjust its size and position to suit the stocking's cuff.
- Choose a backstitch or chain stitch for the letters, and keep the stitching relaxed to help prevent puckering.
- For machine projects, explore our Christmas embroidery designs and embroidery fonts.
Materials for Stocking Embroidery
- Gather scrap DK-weight yarn with a defined twist. Its clearly formed strands help create crisp letters. Cut an approximately 4-foot piece for your name, leaving enough length to stitch and secure the ends.
- Choose a hand-sewing needle with an eye large enough for your yarn or embroidery thread. Keep small scissors nearby, and test the needle on an inconspicuous area before stitching into a finished stocking.
- Use backstitch for clean, separate letter outlines or chain stitch for a connected cursive effect. Both work well for lettering. Shorter stitches make curves and tight turns easier to control.
- Adapt your technique to the surface, whether it's velvet, felt, knit, or fleece. Velvet has a raised pile, so avoid flattening it; felt offers a stable surface; and stretchy knit and fleece need gentle support as you stitch.
- You can embroider a finished or store-bought stocking by hand. Position the name on an accessible area, then stitch carefully through the fabric without catching the opposite side.
- If you prefer not to embroider, consider iron-on letters, fabric paint, or an appliqué name. Match the method to the stocking's surface, and follow the product directions for applying it.
- To prevent puckering, keep each stitch gently tensioned instead of pulling the yarn tight. Weave the ends behind the lettering to secure them, then follow the stocking's care instructions when washing.
- Before stitching, lay out the yarn, needle, scissors, and stocking. A small test stitch shows how the thread sits on the material and whether the lettering is easy to read.
Set aside a scrap of DK-weight yarn with a defined twist to test before stitching. It can help embroidered letters look crisp and well defined.
Planning Cursive Lettering and Letter Placement
- Write the name in cursive on paper before marking the stocking. For Christmas stocking embroidery with a name, make the joins clear, especially in names such as "Lily" or "Noah." Keep the first and last letters readable instead of stretching the script to fill the cuff.
- Use the stocking's cuff as a placement guide. Lay it flat, identify the visible front, and center the name in that area. Leave space around the lettering so it doesn't crowd the cuff edge, seam, or hanging loop.
- Compare the paper lettering with the stocking before stitching. Make sure the name fits the available space and the cursive strokes remain distinct. If a letter looks cramped, redraw the name with simpler joins or more open loops.
- Transfer the layout using a marking method suited to the stocking fabric. Make a light guide rather than a heavy line, and test it in a hidden spot first. Align it with the stocking's center so the name doesn't tilt.
- For machine stitching, prepare the stocking panel so it lies flat and the needle reaches only the intended layer. Choose a lettering design, align it with your guide, and stitch a sample on similar fabric before working on the stocking. Our guide on how to stitch embroidery fonts on any project explains the setup, and our BX fonts guide shows how to type names straight into your software.
- A regular sewing machine can sew a name with a suitable lettering stitch, while an embroidery machine follows a programmed design. With either method, keep the stocking layers from shifting or catching as you stitch. Browse our BX fonts for keyboard-ready lettering.
- Finally, view the planned name from a short distance. It should be readable at a glance, with enough space between words or decorative flourishes to keep each name distinct. This helps you spot awkward spacing before stitching.
How to Embroider a Name on a Christmas Stocking Step by Step
- Embroider the name after felting the stocking. Working on the finished fabric keeps the lettering from being altered by felting afterward.
- Thread a needle with two strands of embroidery thread in a contrasting color. The contrast helps the name stand out, while two strands make the lettering visible without overwhelming the fabric.
- Start with a backstitch for clear letter outlines, or use chain stitch for connected cursive strokes. For a chain stitch, leave an approximately 1/2-inch loop when you begin, then bring the needle up inside that loop.
- Continue the chain with stitches spaced about 1/4 inch apart. Aim for chain stitches about 1/4 inch long, shortening them where a letter needs a tight curve or finer detail.
- Stitch gently through both layers of the stocking's double cuff. Keep the yarn or thread tension relaxed; pulling each stitch tight can pucker the fabric and distort the name.
- Use longer chain stitches along smooth strokes and smaller stitches around turns. For a dotted letter, such as the "i" in "Lily," wrap the yarn around the needle three times to form a French knot.
- Finish by weaving the embroidery ends behind the stitching to secure them. Check the front for loose loops and uneven tension, then adjust any stitches that interrupt the name's flow.
Use backstitch to sew the name onto the stocking. If you choose chain stitch, aim for stitches about ¼ inch long and shorten them for finer detail. Keep the tension gentle to prevent puckering. Longer stitches create smoother-looking strokes, while shorter ones shape detailed areas and tight turns.
When the lettering is complete, weave the embroidery ends behind the stitching to secure them.
Embroidery n Sewing
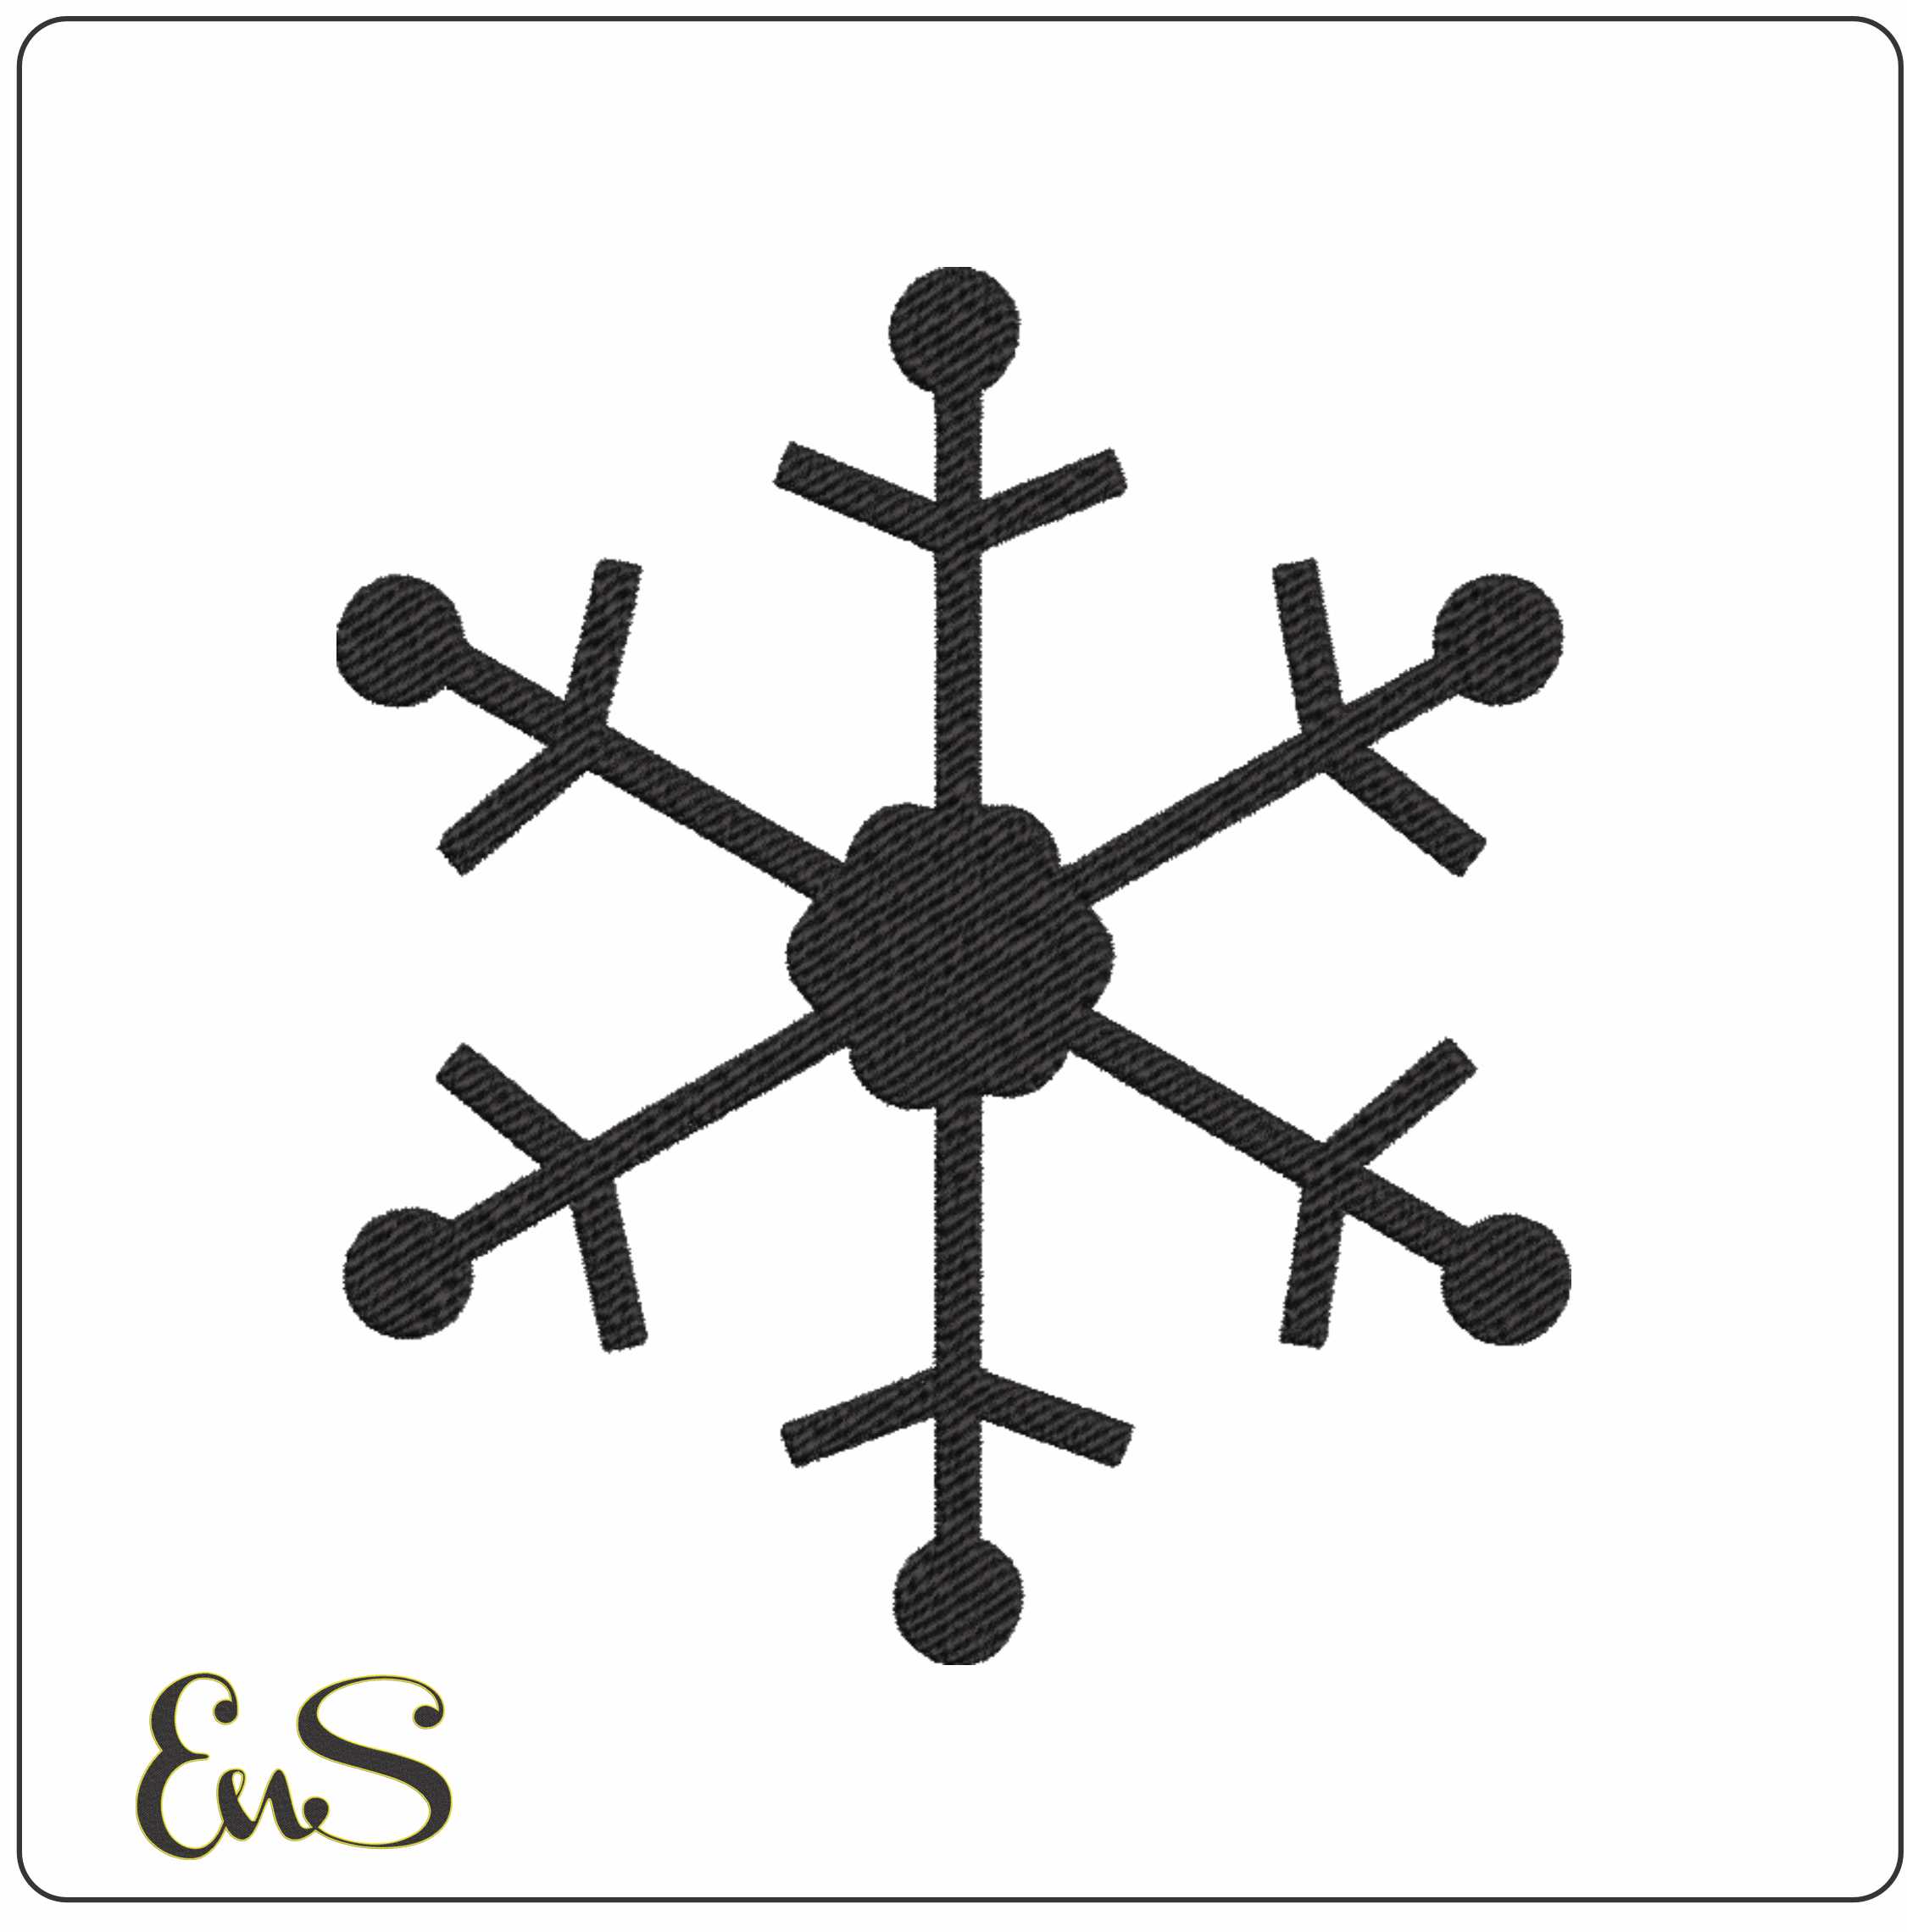
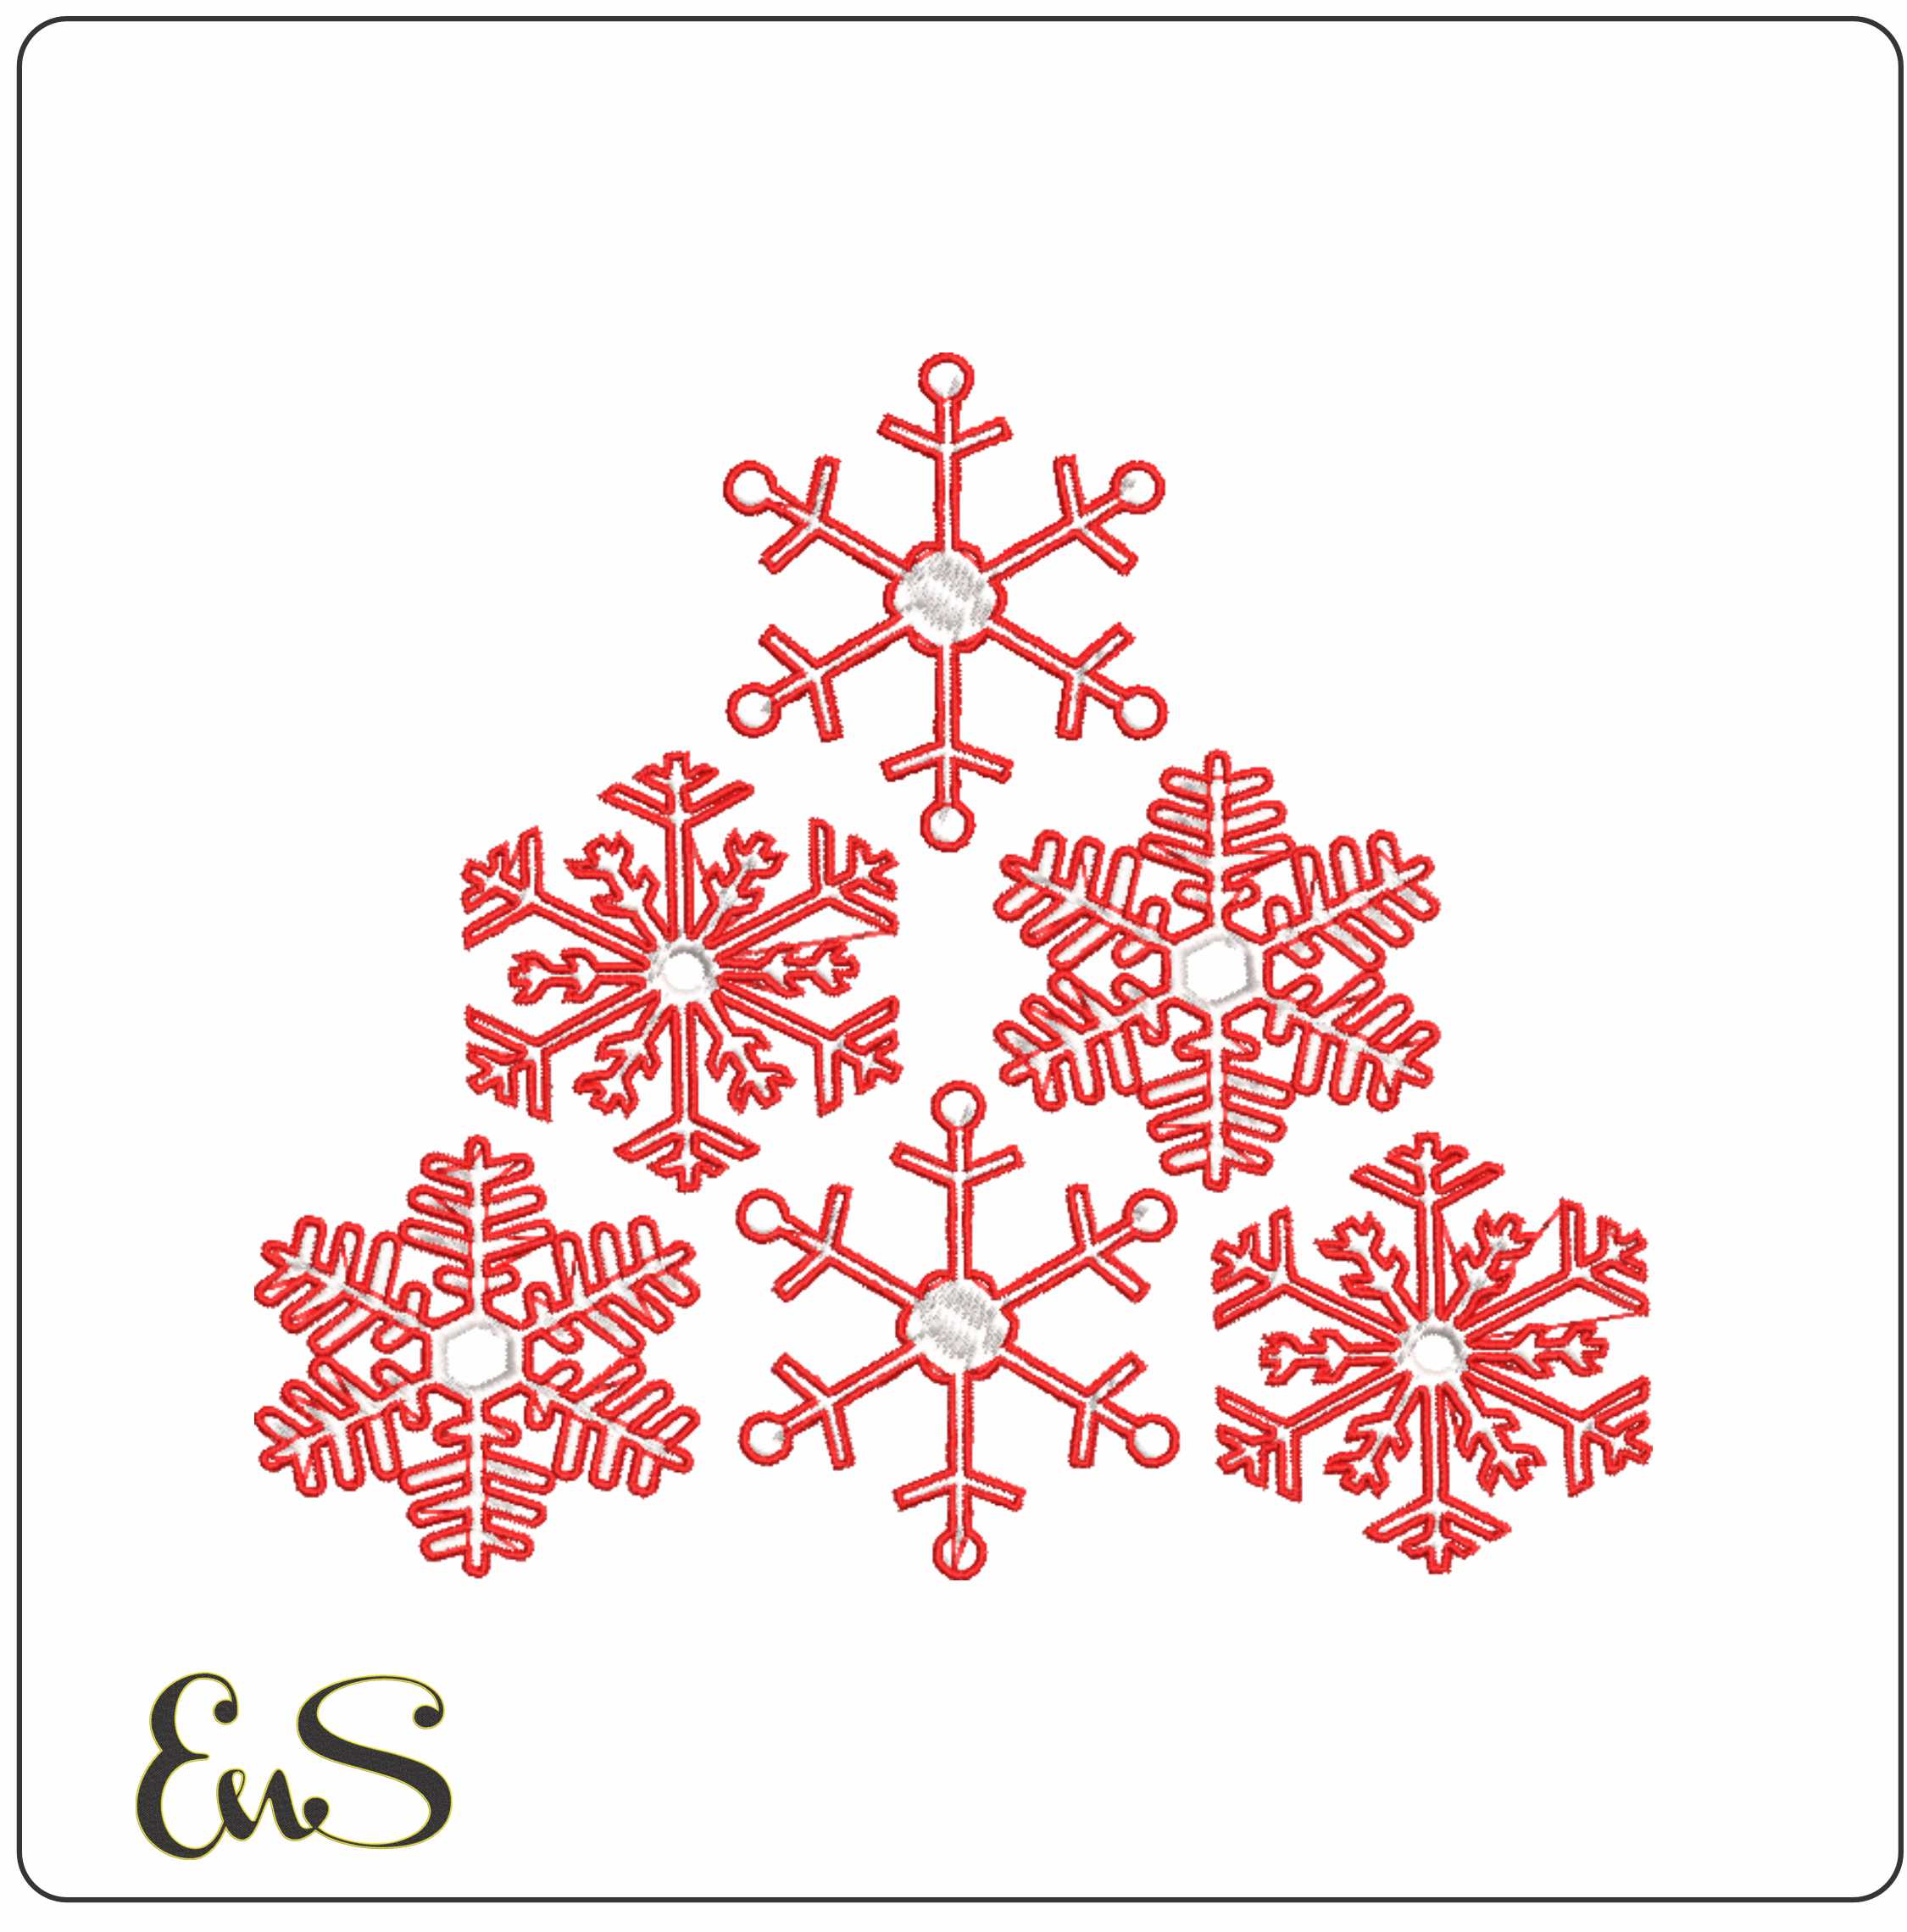
Embroidery n Sewing offers Christmas embroidery designs to pair with your stocking names. Add a festive motif above the name, such as our Snowflake Tree design, the small snowman Christmas design or the solid snowflake Christmas design. For more holiday project ideas, read our complete guide to Christmas embroidery. We also offer sports embroidery designs if you'd like a team-themed stocking for a fan.
Choose Your Next Embroidery Project
Personalizing a stocking can be the start of a broader holiday crafting tradition. Let your Christmas stocking embroidery inspire a matching project, a gift, or a new design theme. Embroidery n Sewing offers digital embroidery designs, machine embroidery designs, and college embroidery designs, giving you ideas to explore beyond seasonal lettering. Choose a theme that reflects the person receiving your project, then build your next idea around it.
If you're ready to explore embroidery designs for another creative project, contact Embroidery n Sewing to get started. Your next piece can be just as personal, with a design that makes it feel distinctly yours.
Frequently Asked Questions
How do I choose the right font and letter size for stocking names?
Choose a simple script with open letter shapes, especially for names with small loops or joined strokes. Measure the usable area on the stocking, then write the name to fit without crowding the edges. Check the lowercase letters at the intended size: if letters such as "e" or "a" close up, enlarge them or choose a less intricate style.
Where should I place a name on a Christmas stocking?
Place the name where it stays visible when the stocking hangs naturally. The cuff is a familiar spot, but the best location depends on its shape and decorations. Avoid seams, the hanging loop, and areas that fold over or rub against trim. Before stitching, hang the stocking and view the proposed placement from the front.
What stabilizer, needle, and thread should I use for stocking embroidery?
Match the stabilizer and needle to the stocking fabric and embroidery method. For machine stitching, a stabilizer supports the fabric; stretchy knit may need firmer support than stable felt. Use a ballpoint needle for knit and a sharp needle for tightly woven fabric. Choose clearly contrasting thread, then test the full setup on a similar fabric scrap.