
Placement can make a festive tea towel feel polished rather than crowded. This guide to Christmas tea towel embroidery brings together 30 design ideas and practical placement tips, from small seasonal motifs to bold holiday lettering.
Choosing a Christmas tea towel embroidery design is only part of the project: the towel's borders, weave, and usable space all affect where it will sit best. Explore ideas for gifts and seasonal kitchen décor, along with practical guidance on centering and hooping a towel before stitching. Match the design's scale to the towel and plan a balanced placement that keeps the fabric useful for everyday tasks.
Key Takeaways
- Choose a festive motif or message that suits the towel's role, whether it's a handmade gift or seasonal kitchen decor.
- Use a magnetic hoop to help position the towel evenly and reduce tugging on its fibers.
- Match stabilizer support to the design: dense stitching may need heavier cut-away stabilizer, while wash-away stabilizer can support a neat finish on both sides.
- Preview the design's scale and position against the towel's borders so the embroidery looks balanced and leaves the fabric useful.
Embroidered Tea Towels as Gifts and Seasonal Decor
A Christmas tea towel makes a practical handmade gift for a host, neighbor, or family member. This Christmas tea towel embroidery guide brings 30 design ideas and placement tips into one project plan, from a small holly sprig to a cheerful "Let It Snow" motif. For seasonal decor, coordinate thread colors with napkins, table linens, or the kitchen palette. For even more inspiration, see our 50 kitchen towel embroidery ideas.
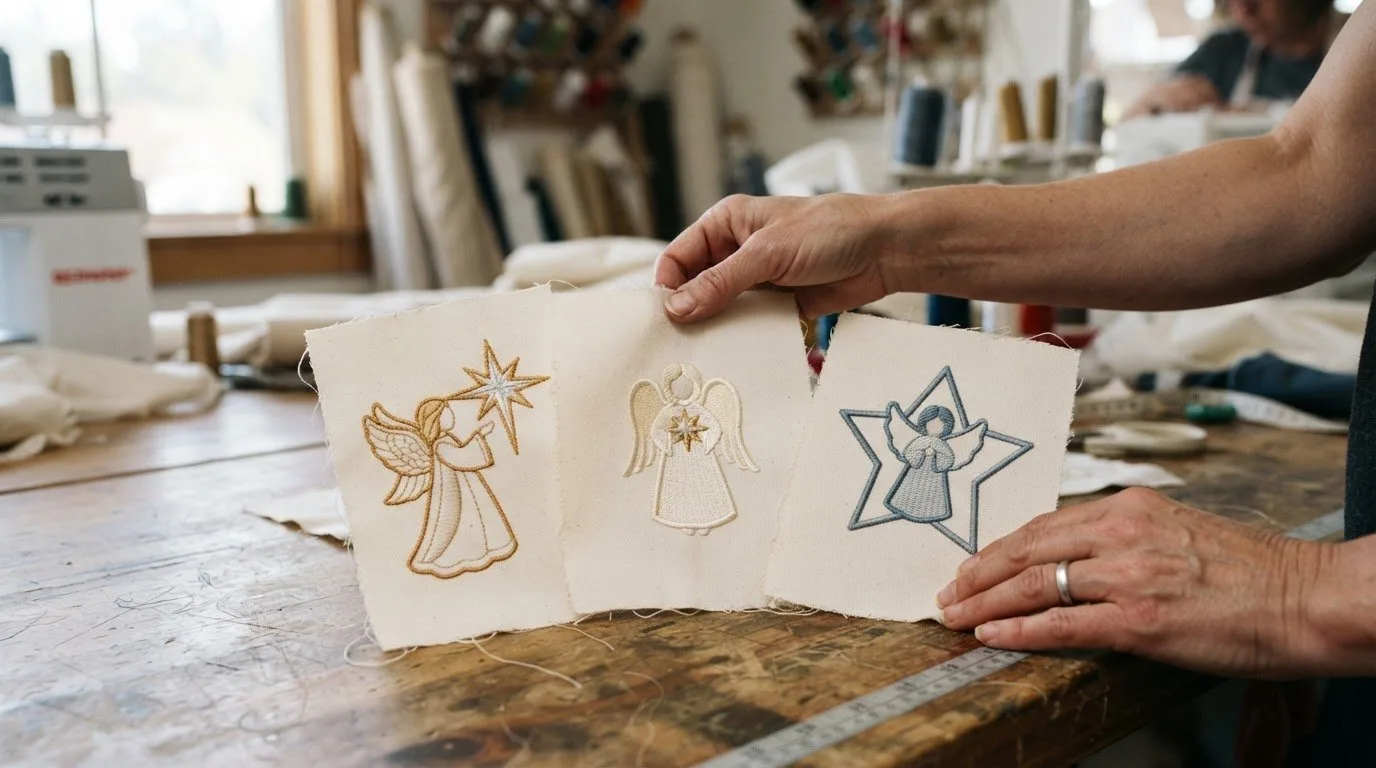
Satin stitch suits compact shapes such as stars and berries, while backstitch works well for fine lettering and twig outlines. Fill stitches cover larger motifs, but keep dense stitching in proportion to the towel. Choose a stitch style that brings out the shape and detail you want to show.
Costs depend on whether you buy a finished towel or embroider one yourself, as well as the design, fabric, thread, and stabilizer. For a DIY project, each tool has a distinct purpose:
- A ruler helps align a motif with the towel's hem.
- A washable fabric marker maps the intended center point.
- An embroidery hoop holds fabric steady during stitching.
For Christmas tea towel embroidery, use these 30 ideas as a starting point: Santa, reindeer, snowman, snowflakes, pine tree, holly, poinsettia, candy cane, gingerbread person, ornament, star, bell, wreath, mitten, stocking, candle, cardinal, evergreen branch, cocoa mug, "Joy," "Noel," "Merry Christmas," "Let It Snow," "Warm Wishes," "Bake the Season Bright," a gift-box border, a tree-line border, a row of stars, a name with holly, or a year with snowflakes.
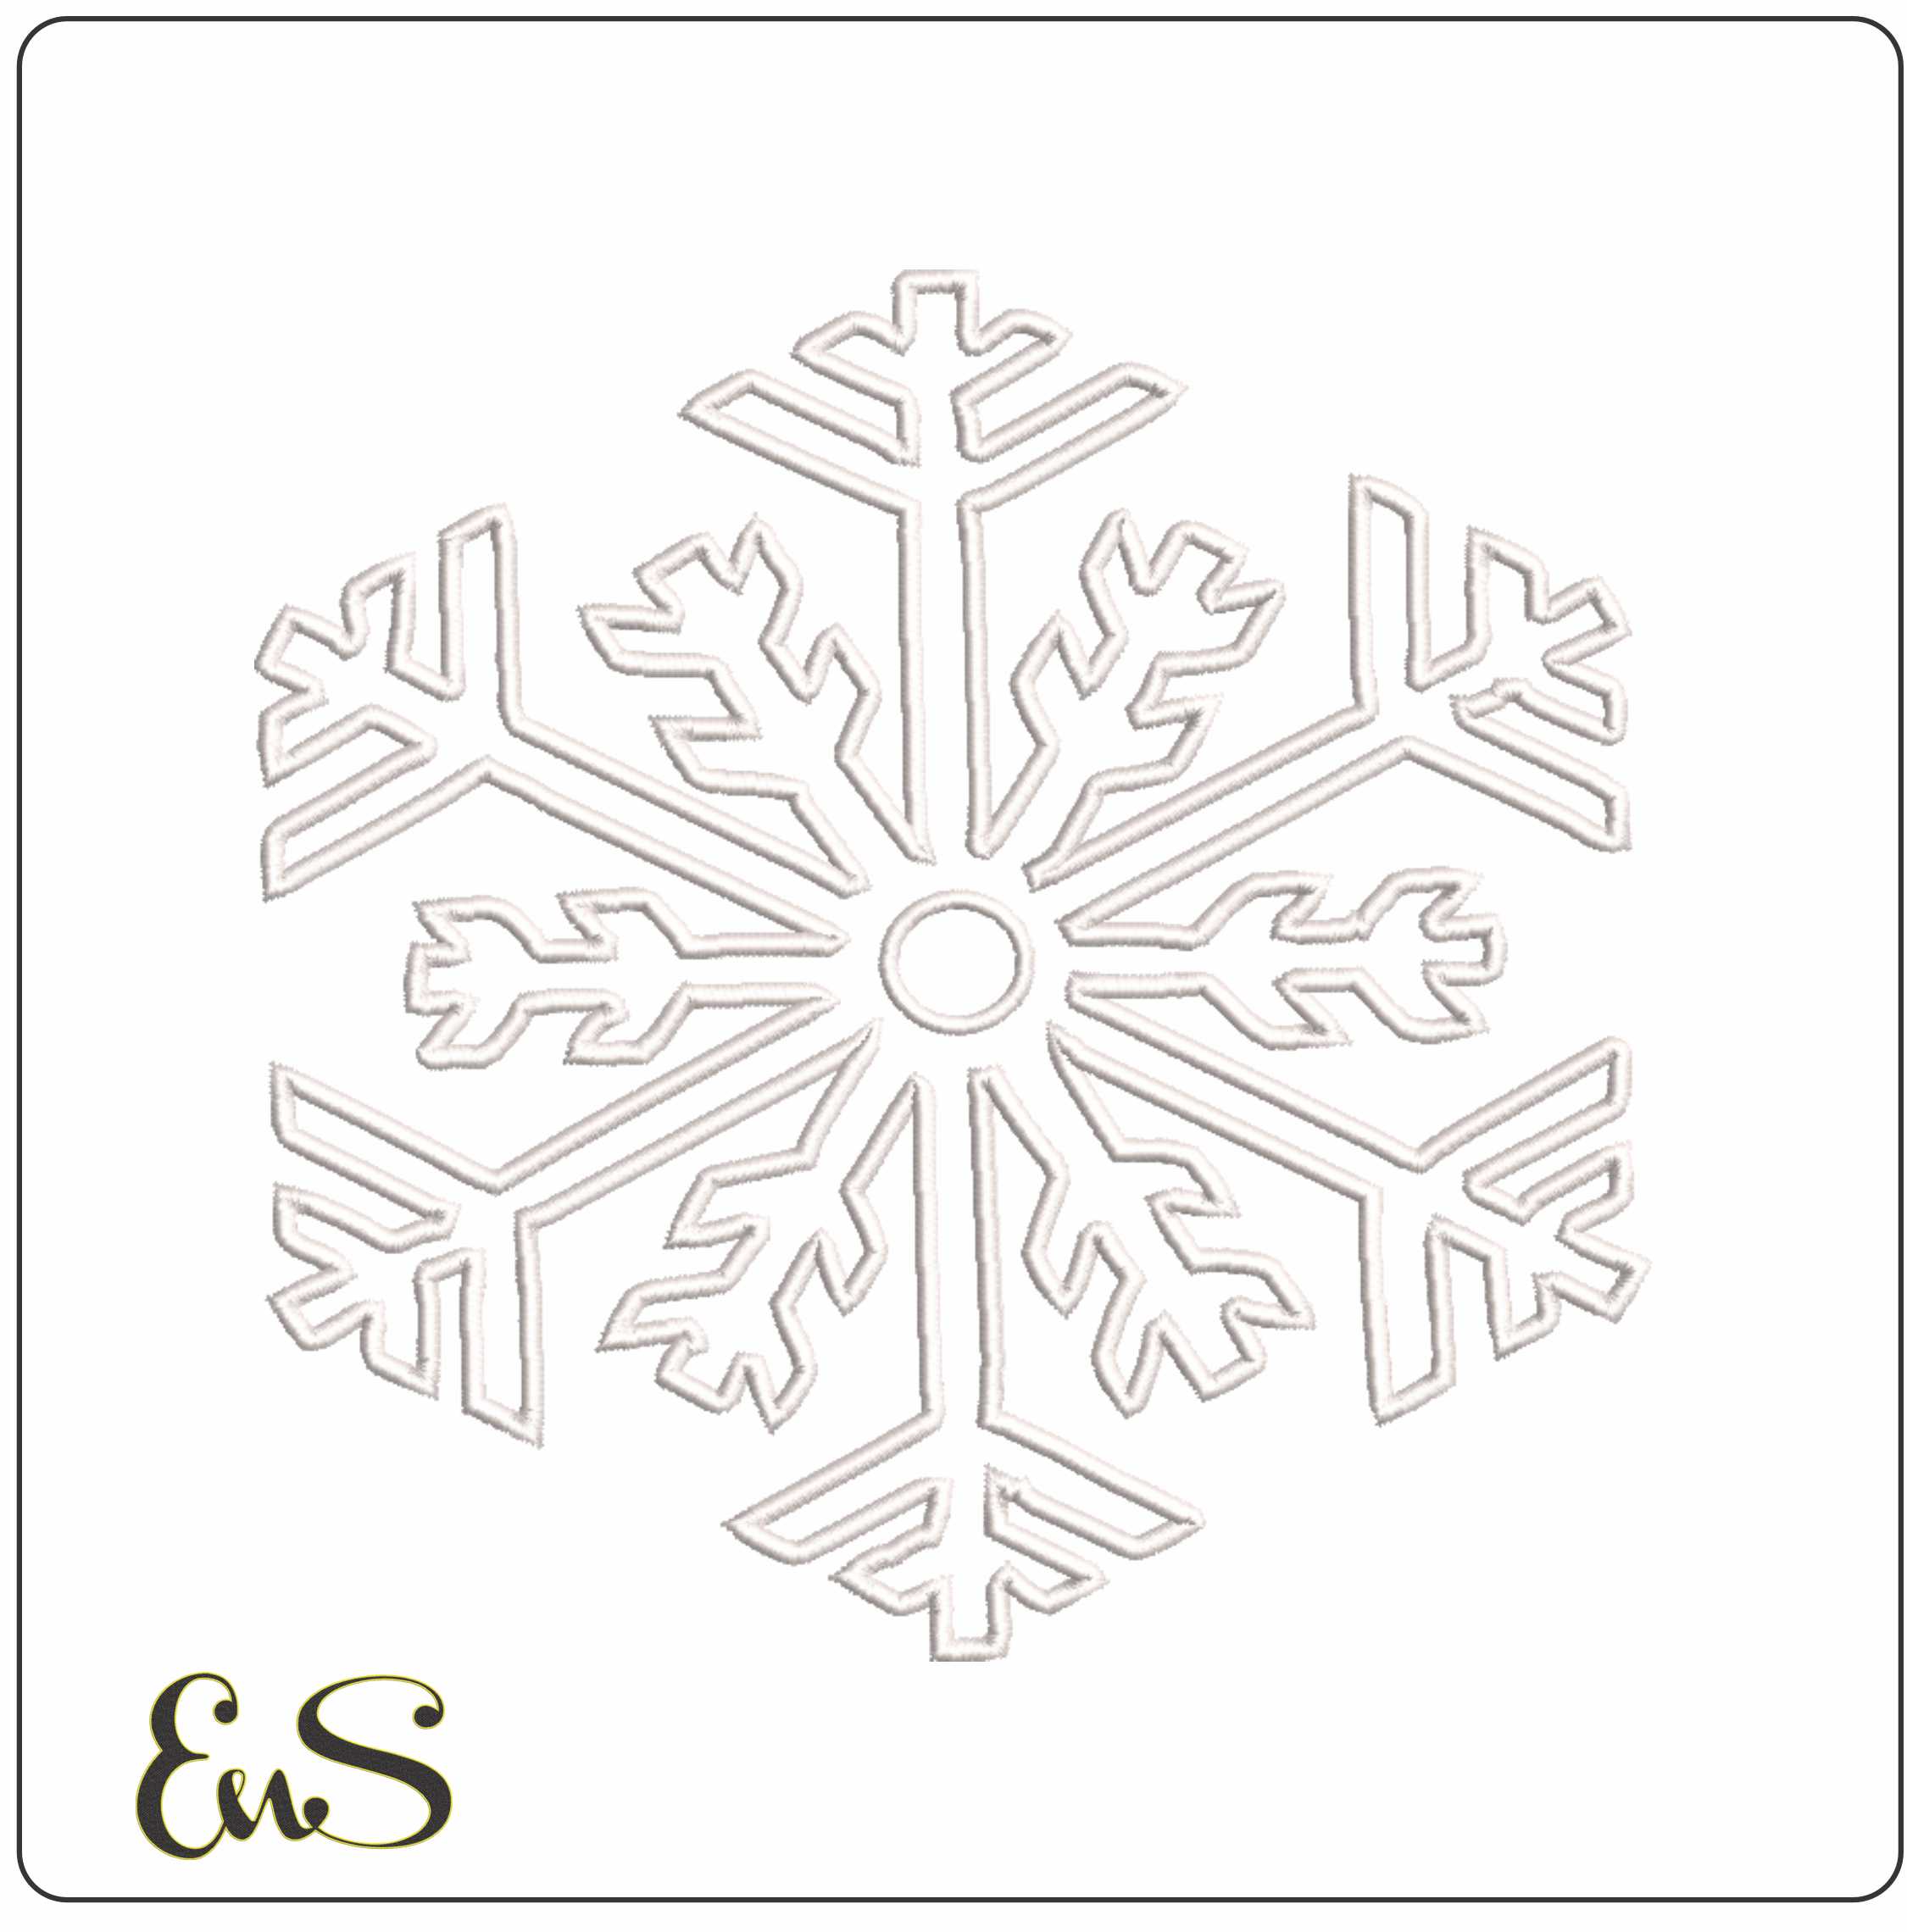
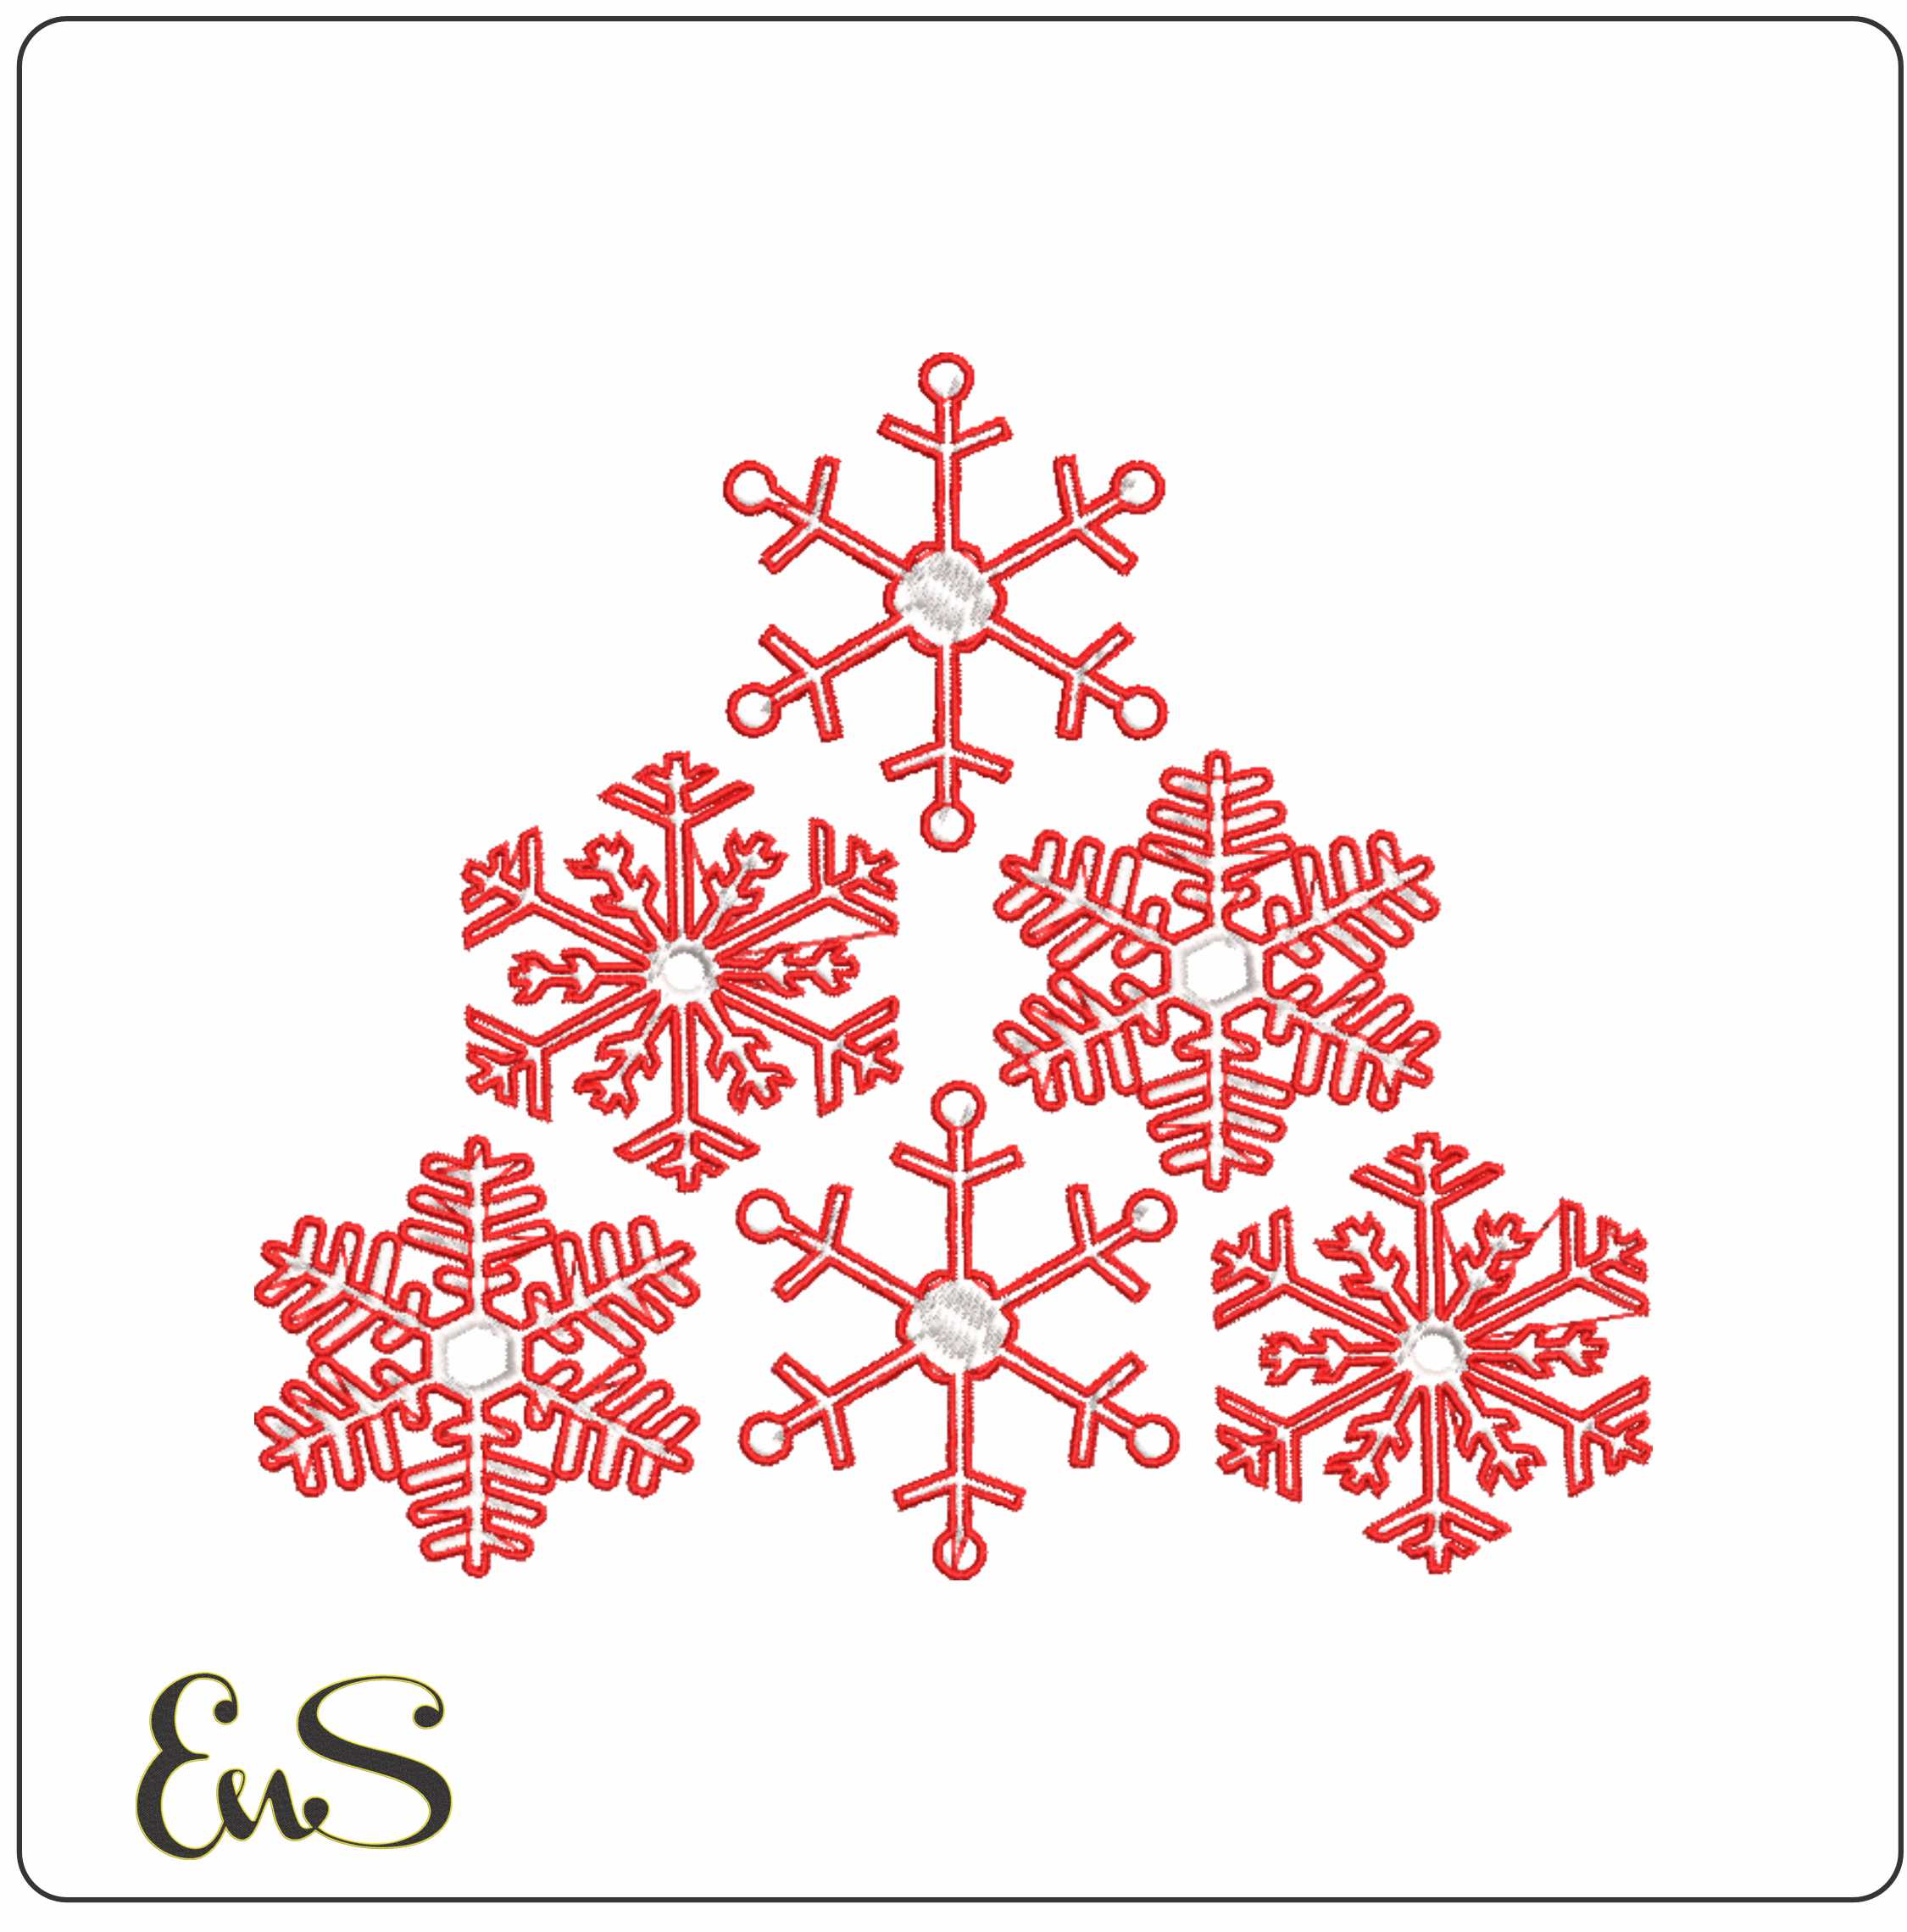
Ready-made options include our Snowflake 1 Outline design, the small snowman Christmas design and our festive Snowflake Tree design. Browse all our Christmas embroidery designs for more.
Follow the towel and thread care labels when washing. Carefully trim loose threads with embroidery scissors, and remember that washing dissolves any remaining wash-away stabilizer.
Centering and Hooping a Tea Towel
First, identify the towel's usable area, excluding hems and hanging loops. Fold it in half lengthwise, then crosswise, and press lightly to mark the center. Use a ruler to measure the design's distance from the hem and a washable fabric marker to indicate its placement.
To machine embroider a Christmas design, place stabilizer behind the selected area, align the design's center with your mark, and secure the towel in a hoop. A magnetic hoop can make centering easier and reduce the need to tug at the towel fibers. Keep the fabric smooth rather than stretched, and check that the marked design area sits square in the hoop. Our beginner's guide to mastering towel embroidery covers more towel-specific tips.
Choose stabilizer based on stitch density. Heavy-weight cut-away stabilizer can support dense designs with large stitch counts. Medium-weight wash-away stabilizer can provide a foundation and a neat appearance on both sides. After stitching, trim excess stabilizer to within ¼ inch of the design. Any wash-away stabilizer left on the towel dissolves in the wash.
Useful tools have distinct jobs:
- A magnetic hoop secures the towel while reducing the need to tug.
- A ruler and washable marker help set and mark the design center.
- Stabilizer supports the fabric during stitching; select it for the design's density.
- Small scissors trim excess stabilizer close to the embroidery.
Avoid hooping over a thick hem, which can make the fabric uneven. Don't stretch the towel to force it into position, since distortion can shift the design. Before stitching, check that the needle path clears hems, loops, and folded fabric.
Design Placement and Visualization
Tea towels vary in size, so there is no single placement measurement that suits every towel. Measure the usable panel between the hems, then position the design relative to that space instead of relying on a fixed distance. Our machine embroidery placement guide explains placement for other projects too.
For a centered motif, measure the panel's width and height with a ruler, then mark its midpoint. A small snowflake or poinsettia can sit near the center, while a long "Merry Christmas" phrase may look better above it. Keep the design clear of hems, hanging loops, and folds that could interrupt the layout.
Preview the composition before stitching. Print a paper template at the intended size, place it on the towel, and step back to assess the balance. Use a washable fabric marker to outline the design area, and take phone photos to compare alternate positions side by side. For a border, align the template with the towel's hem to check that the motif follows the edge evenly.
- Ruler: measures the towel's usable panel and design spacing.
- Paper template: previews the motif's scale without stitching.
- Washable fabric marker: records the chosen placement on fabric.
- Phone camera: captures alternate layouts for easy comparison.
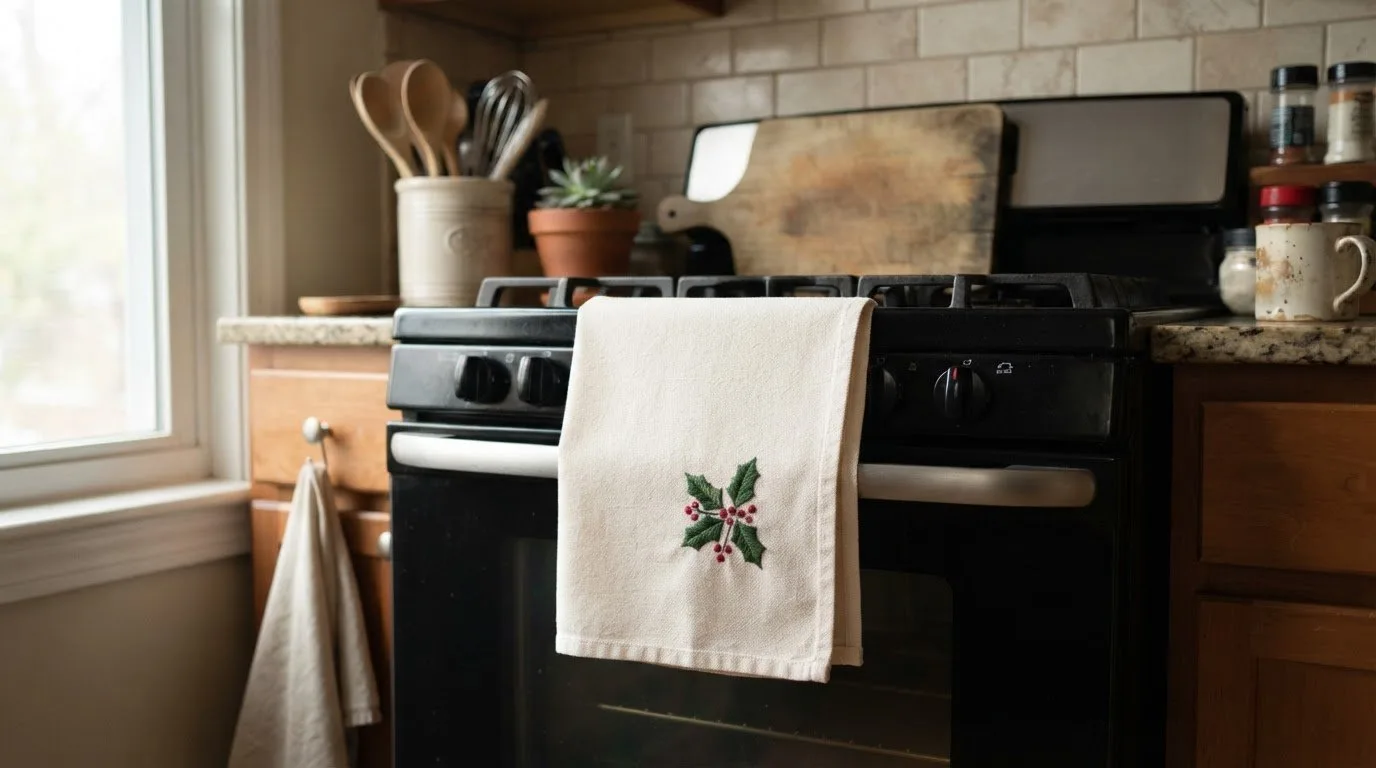
Check the layout from both sides before deciding. A corner motif should remain visible when the towel hangs folded over an oven handle, while a central design should avoid the fold line. Adjust the template until the embroidery reads clearly in the towel's intended display position.
Ready to choose a motif for your layout? Browse our food and drink embroidery designs for kitchen-themed ideas.
Embroidery n Sewing
Embroidery n Sewing offers practical embroidery inspiration beyond this tea towel project; see our complete guide to Christmas embroidery for more seasonal ideas. Decide whether your design calls for a small seasonal motif, lettering, or a border, then explore related themes for your next project. Sports embroidery designs, for example, can inspire personalized projects beyond Christmas décor.
Choose a digital design that suits the fabric, intended placement, and recipient. Keep your towel measurements and preferred motif style in mind as you plan, especially when moving from a seasonal project to another theme. Explore Embroidery n Sewing's digital embroidery designs to find inspiration for your next project.
Make Your Next Project Your Own
Start your next embroidery project with a theme that reflects the person who'll use it. These Christmas tea towel embroidery ideas and placement tips can inspire a seasonal gift, while a different motif can bring a personal touch to other projects.
Embroidery n Sewing offers digital embroidery designs and machine embroidery designs, with themes such as college embroidery designs for projects beyond holiday decor. Choose the direction that fits your next creative idea, then take the next step with a focused design goal.
Share your next project idea with Embroidery n Sewing, and keep creating pieces that feel distinctly yours.
Frequently Asked Questions
Where should embroidery be placed on a tea towel?
Place embroidery where it will remain visible during the towel's usual display or use. A corner motif suits a towel folded over an oven handle, while a central design works well on a towel displayed flat. Keep the artwork away from thick hems and hanging loops, and consider whether folding or draping will cover any part of the finished design.
What thread, needle, and stabilizer should I use for tea towel embroidery?
Choose thread and a needle that suit your embroidery machine, fabric, and design file instructions. When selecting stabilizer, consider the towel's texture and the design's stitch density. Lightweight or textured fabric needs support to help prevent stitches from sinking or pulling the weave. Test the setup on a fabric scrap to spot tension issues before embroidering the finished towel.
How do I hoop and stabilize thin or waffle-weave tea towels?
For thin or waffle-weave fabric, hoop the stabilizer smoothly and lay the towel over it rather than stretching the towel tightly in the hoop. Baste the layers around the embroidery area to keep them aligned. A water-soluble topping can help stitches sit visibly above the raised waffle texture. Test the setup on a scrap first, since the texture and stitch density affect the result.
What are standard tea towel dimensions and embroidery placement measurements?
Tea towels vary in size, so there is no single standard placement measurement. Measure the usable panel between the hems and use its midpoint for a centered design, keeping it clear of hems, hanging loops, and folds.