A great embroidery file can still look wrong when it lands two inches too low on a hoodie or drifts off-center on a tote. This machine embroidery placement guide helps you set up garments, accessories, and gift projects so your design looks intentional before the first stitch begins. Whether you are personalizing team apparel, making children’s gifts, or filling boutique orders, accurate placement is what gives a finished project that polished, ready-to-wear look.
## Start With the Design Size, Not the Hoop Size
Your hoop holds the fabric, but the design size determines where the embroidery should sit. Before marking anything, check the finished dimensions of your embroidery file in your machine screen or software. A small left-chest logo, a wide team name, and a detailed back design each need different spacing and visual balance.
A design that is technically small enough for the hoop may still be too large for the item. This is especially common with sweatshirt fronts, youth shirts, cap panels, and narrow tote bags. Consider the available flat area, seams, pockets, zippers, and the way the item will hang when worn.
For apparel, place the actual garment on a table and look at it from a few feet away. That quick visual check often catches a design that feels too high, too low, or too wide. If you are stitching multiple sizes of the same design, such as adult and youth tees, adjust the placement and design scale instead of relying on one setup for every garment.
Machine Embroidery Placement Guide for Shirts
Shirts are the projects most likely to show placement mistakes. A small shift can be obvious once the garment is on a person, so use the garment’s structure as your reference point rather than guessing from the hoop edge.
For a standard adult left-chest design, a common starting point is about 7 to 9 inches down from the shoulder seam and 3 to 4 inches from the center front. The exact position depends on the garment size, collar shape, and design dimensions. A compact monogram or small sports-inspired logo may sit closer to the center than a wide word design.
Instead of measuring from the neckline alone, find the center front of the shirt first. Fold the shirt vertically with the shoulder seams aligned, then lightly crease or mark the center line. Measure outward from that line to establish your design center. This keeps the embroidery balanced even if the neckline is not perfectly straight.
For women’s fitted shirts, placement often needs to be slightly higher or closer to the center front than on a boxy unisex tee. Avoid placing dense designs directly over a curve where the finished embroidery may pull or distort when worn.
Full-front and center-chest designs
Center-chest embroidery works best when the design has room to breathe. Start around 3 to 4 inches below the neckline for adult shirts, then adjust for the design height. A tall vertical design may need to start higher, while a wide horizontal name or graphic can sit lower without looking crowded.
Center the design from the shirt’s vertical fold line, not from a printed tag or an uneven collar. If the design includes lettering, confirm that the baseline is level with a ruler or placement grid. Even a slight tilt is easy to notice on names, school themes, and bold block fonts.
Hoodie fronts and pockets
Hoodies add bulk, drawstrings, pockets, and thick seams. Keep embroidery clear of the front pouch pocket seam whenever possible. A center design can sit above the pocket, while a left-chest design should be positioned with the hood and drawstring area in mind.
If hooping a finished hoodie is difficult, float the garment after hooping stabilizer or use a hooping station to keep the fabric straight. Always check the needle path so the machine will not sew through a pocket, zipper, or interior layer.
Placement for Hats, Bags, and Small Items
Small projects require more precision because there is less room to correct a crooked design. On caps, the center front panel is usually the focal point. Mark the vertical center line from the base of the crown toward the top, then place the design so it follows the cap’s shape without getting too close to the bill.
Cap designs should be sized for the available panel, not for the largest hoop your machine can use. Dense, oversized files can cause puckering or create a stiff panel that does not sit well. Structured caps, foam-front trucker hats, and soft unstructured hats all behave differently, so test a new design style on a spare cap when possible.
For tote bags, center the design between the side seams and consider the handle placement. A design placed too close to the top edge can disappear behind the handles when the bag is carried. On zippered pouches, leave enough clearance for the zipper seam and pull. For towels and blankets, use the finished edge or decorative band as a reliable horizontal reference.
Mark the Center and Use the Machine’s Tools
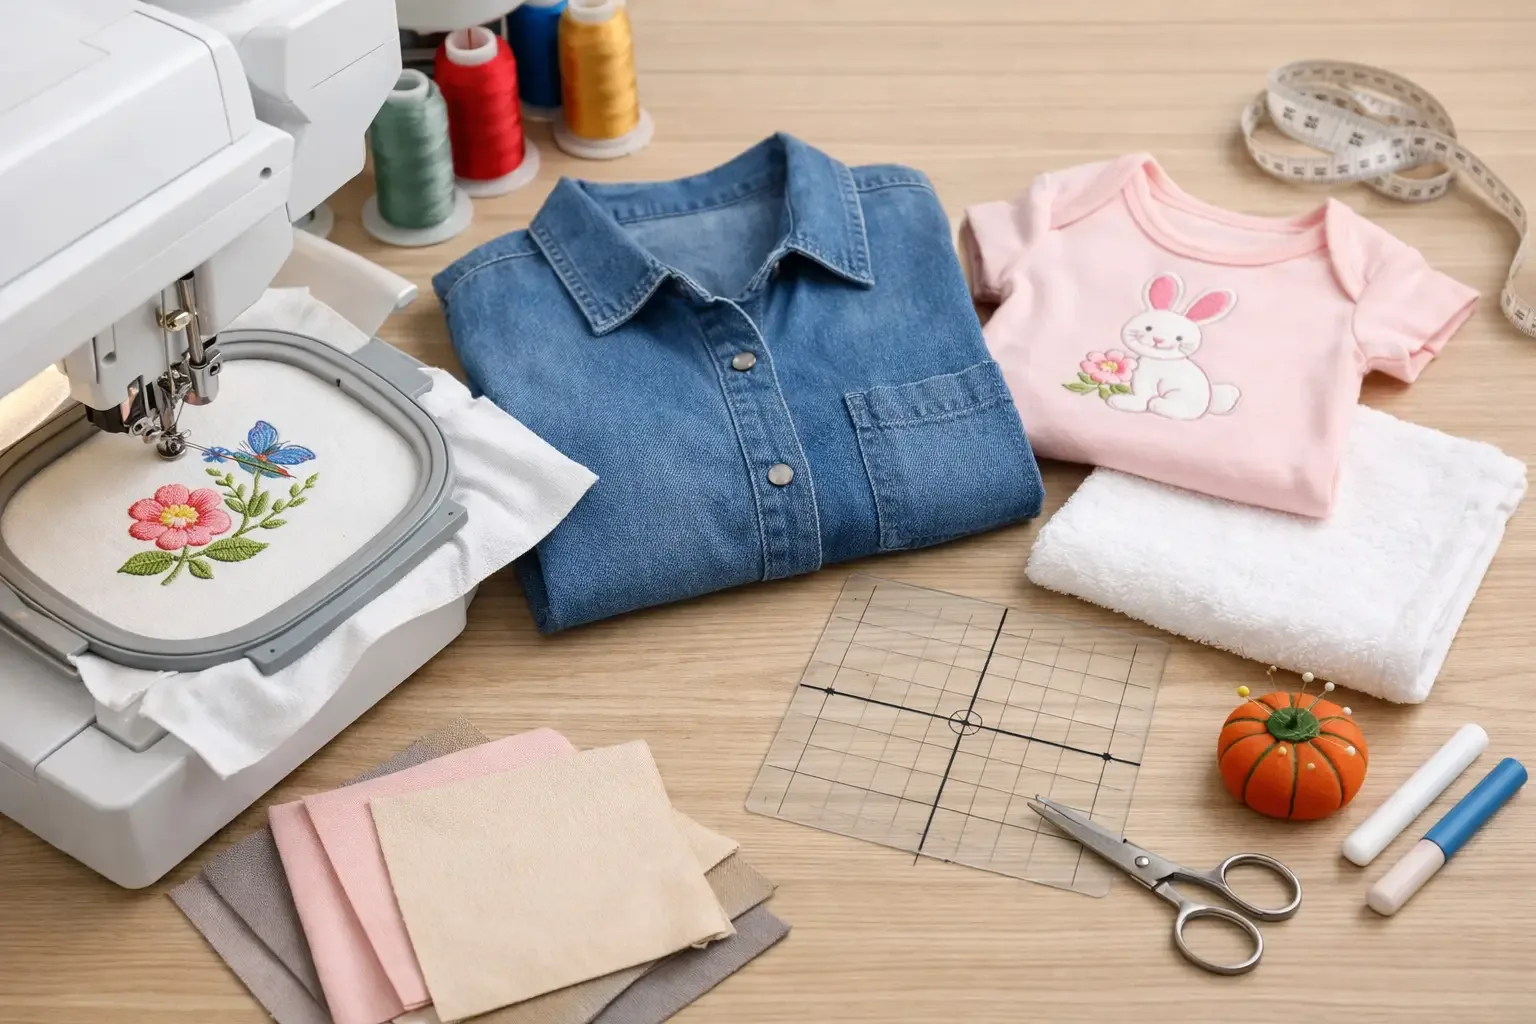
Placement gets easier when you mark the fabric before hooping. A water-soluble marker, air-erase pen, chalk pencil, or placement sticker can help you identify the exact center point and the design boundaries. Choose a marking method that is safe for the fabric color and always test it on a hidden area first.
Many embroidery machines offer a trace, trial, or basting function. Use it. The machine can outline the design area before stitching, allowing you to catch a design that is too close to an edge, seam, or pocket. A basting box is particularly useful for floating towels, bulky sweatshirt fleece, and ready-made bags.
Do not assume the center of the hoop is the center of the design. The machine’s needle position, hoop orientation, and chosen design rotation all matter. Once the item is hooped, verify that the marked center aligns with the design center shown on the machine screen.
Stabilizer Changes Placement Results
Even perfect marks can shift if the fabric moves. Stabilizer supports the project, but it also affects how the item sits in the hoop. Lightweight tees often need cut-away stabilizer for dense designs, while towels may need tear-away backing plus water-soluble topping to keep stitches from sinking into the pile.
Stretch fabrics should be hooped without pulling them taut. Overstretching can make a design look correctly placed in the hoop but distorted or off-position after the garment relaxes. For slippery, thick, or difficult-to-hoop items, floating may be the better choice, provided the item is secured with basting stitches.
When working on a new blank or a high-stitch-count design, stitch a sample first. This is not wasted material. It is the fastest way to see whether the stabilizer, thread colors, design size, and placement all work together.
A Quick Placement Check Before You Stitch
Before pressing start, pause for a final inspection. This simple routine prevents most costly mistakes:
- Confirm the design is centered on the garment or item, using seams and folds as references.
- Check that lettering reads level and is oriented correctly in the hoop.
- Trace the design area to verify clearance from pockets, zippers, seams, and edges.
- Make sure the hoop is firmly attached and the fabric is smooth, not stretched.
- Recheck the selected file, color sequence, and finished design size on the machine screen.
For repeat orders, write down your measurements and hoop setup. A simple project note for adult left-chest shirts, youth tees, caps, or tote bags saves time and creates consistent results across a batch. This matters for craft sellers and team orders, where every item should look like it belongs together.
Let the Project Lead the Placement
There is no single measurement that works for every embroidery project. A compact football-themed design on a child’s backpack needs a different setup than a floral monogram on a tote or a large anime-inspired design on a sweatshirt back. Fabric type, garment size, design density, and intended use all influence the best location.
Build your placement around the finished item, not just the file. With a clear center mark, the right stabilizer, and a quick trace before stitching, even an instant-download design can become a clean, professional-looking project that is ready to gift, wear, sell, or show off.