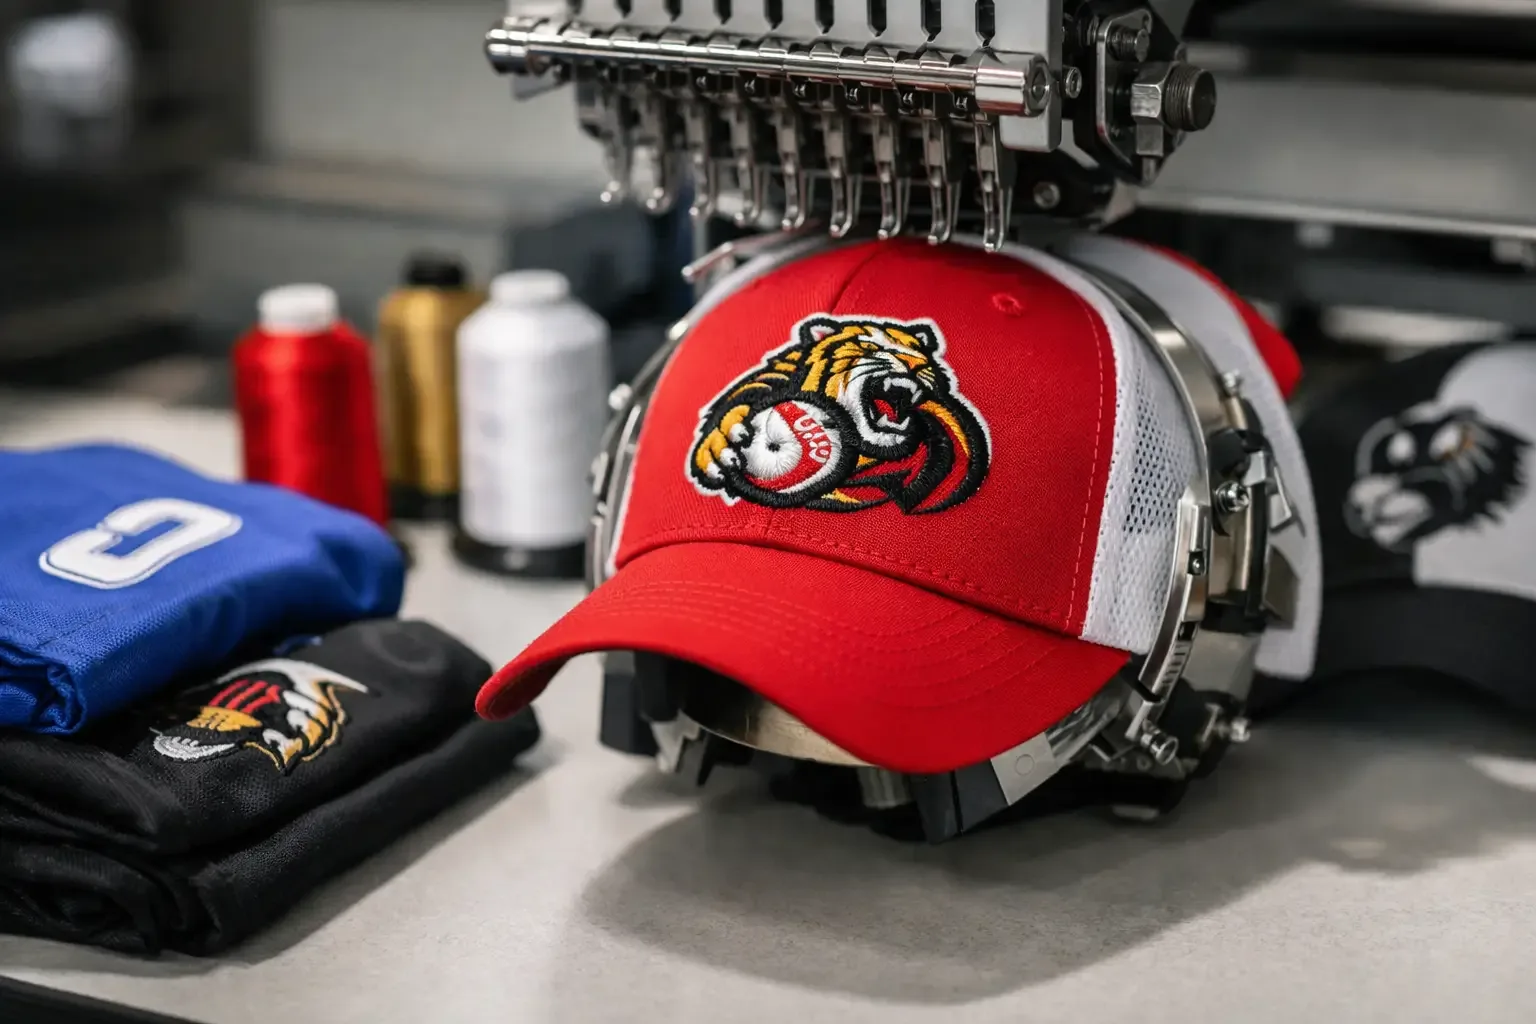
Sports apparel looks simple until the needle hits stretch fabric, a thick seam, or a performance jersey that shifts halfway through the run. That is where an embroidering sports apparel guide helps most - not with theory, but with the practical choices that keep logos crisp, names readable, and finished pieces wearable. If you decorate team gear, fan merch, school spirit wear, or small-batch custom orders, the goal is usually the same. You want a design that stitches cleanly, holds up to washing, and looks right on the garment style your customer actually wears. That means the file matters, but the fabric, backing, size, and placement matter just as much.
## [Why sports apparel embroidery is different]
Sports apparel is rarely forgiving. Hoodies, fleece warmups, mesh jerseys, performance polos, twill jackets, caps, and gym bags all behave differently under a machine. A design that runs beautifully on a cotton sweatshirt can sink, stretch, or distort on slick polyester. The challenge is not just getting a design onto fabric. It is keeping edges clean on moving material, avoiding puckering on lightweight items, and choosing artwork that still reads when stitched at practical sizes. Sports-themed embroidery often includes bold lettering, outlines, mascot-style shapes, and high-contrast fills. Those elements look great, but they need enough space and the right underlay to stitch well. This is also where ready-to-stitch files save time. For many makers, instant download sports designs are the fastest way to move from idea to finished garment without paying for custom digitizing or waiting on revisions.
## [Choosing the right design for the garment]
The best-looking sports embroidery starts before hooping. A file has to match both the garment and the stitch area. Large, dense logo-style designs may work well on jacket backs or sweatshirt fronts, but they can overwhelm a polo chest or pull lightweight jerseys out of shape. For left chest placements, cleaner is better. A compact team-inspired logo, athletic monogram, mascot head, or short text design usually performs better than artwork loaded with tiny outlines and narrow details. On hoodies and heavier fleece, you have more flexibility because the fabric can support a denser stitch count. On performance wear, less density and simpler shapes are usually the safer choice. It also helps to think like a customer. A youth soccer parent may want a bold, recognizable sports motif. A boutique seller may need a polished look for school spirit wear. A fan gift may call for a stadium-style or team-color design that feels personal without being oversized. The more closely the file fits the final use, the better the finished product tends to look.
## [Embroidering sports apparel guide to fabrics and backing]
Fabric choice changes everything. Cotton hoodies and sweatshirts are generally beginner-friendly because they are stable and easy to hoop. Performance polos and athletic pullovers are trickier because they stretch, slide, and can show needle marks. Mesh jerseys add another layer of difficulty because open holes and thin construction give stitches less support. Backing needs to match that reality. Cut-away stabilizer is usually the safest choice for stretchy sports apparel because it stays behind the stitches and helps the embroidery keep its shape after repeated wear and washing. Tear-away can work on more stable items, but on activewear it often does not offer enough long-term support. A topping can also make a big difference, especially on textured fleece, pique polos, or loosely knit fabrics. It helps stitches sit on the surface instead of sinking into the garment. That matters when you are stitching letters, borders, or small details that need to stay sharp. There is no one-size-fits-all setup. A heavyweight varsity-style jacket and a lightweight training shirt should not be treated the same way. If the fabric stretches easily in your hands, plan for more support.
## [Sizing and placement for teamwear]
Sports apparel is often judged from a distance. That means readability matters more than intricate detail. Names, numbers, and athletic-style marks should be sized to stay clear when someone is standing in a gym, on a field sideline, or in the bleachers. Left chest embroidery remains the safest all-around placement for polos, quarter-zips, lightweight jackets, and spirit wear. It feels professional, leaves the garment comfortable to wear, and works well for school, league, and fan-themed designs. Full front embroidery can look great on sweatshirts and heavier casual apparel, but density becomes more of a concern as design size increases. Sleeves, hat fronts, and bags are useful add-on placements for small sports motifs. They are also popular with sellers because they make a standard file feel more versatile. A compact baseball, football, basketball, or mascot-style design can often work across several products with only small size adjustments. Before stitching a production run, test placement on the actual garment size. Youth hoodies, women’s fitted styles, and cropped pieces can throw off standard placement measurements.
## [Thread, needles, and machine settings]
Sports apparel usually looks best with clean satin columns, solid fills, and thread colors that echo team palettes. Polyester embroidery thread is a practical choice because it handles wear and washing well. It is especially useful for garments that will be washed often, like practice gear, school apparel, and team hoodies. Needle choice matters more than many beginners expect. Ballpoint or stretch needles are often better for knit athletic wear because they move between fibers instead of piercing them aggressively. For stable woven warmups or bags, a standard embroidery needle may be fine. If you see skipped stitches, snags, or visible damage, the needle is one of the first things to check. Speed is another trade-off. Running a machine too fast on slippery or stretchy apparel can lead to registration issues. Slowing down often improves results, especially on detailed logo-style files or layered lettering. It takes longer, but it usually saves time compared with redoing a garment.
## [Common problems when embroidering sports apparel]
Puckering is the complaint most decorators run into first. Usually that points to a mismatch between fabric, stabilizer, hooping tension, and design density. If the garment is stretched in the hoop or the design is too heavy for the material, the fabric may ripple when removed. Poor detail is another common issue. Small text, thin outlines, and tight corners do not always translate well on activewear. A design that looks sharp on screen may need to be stitched larger or swapped for a simpler version. This is especially true for chest logos and compact fanwear designs. Hoop burn and marking can also happen on delicate performance fabrics. In those cases, floating the garment with proper support may be safer than standard hooping. It depends on the material and your machine setup, but testing matters. Then there is show-through. Dark garments can reveal jump stitches or backing shadows, while light performance wear can expose stabilizer and thread paths from the back. Clean trimming and thoughtful color sequencing help, but file quality plays a big part too.
Picking sports embroidery files that save time
Not every sports-themed design is practical for apparel. Good files for wearable projects tend to have balanced stitch density, clear shapes, and sizing that makes sense for common placements. They should also be available in the machine format you use so you can move from checkout to stitching without extra conversion headaches. If you make for schools, fan shops, gift buyers, or online storefronts, variety matters. Having access to broad sports categories, athletic lettering, mascot-style artwork, and team-inspired options gives you more ways to match the garment to the customer. That is part of what makes a large instant-download marketplace useful. You can source a football design for a hoodie, a softball motif for a tote, and a college-style script for a quarter-zip without starting from scratch each time. Embroidery n Sewing fits that practical workflow well because the selection is built around searchable, ready-to-stitch themes and fast access to files people actually want to put on apparel.
The garments that sell best are usually not the most complicated. They are the ones customers can picture wearing right away. A clean baseball mom design on a sweatshirt, a bold team-color monogram on a quarter-zip, or a school spirit motif on a tote has an easy buying story. That is why garment choice and design choice should work together. Heavy embroidery feels right on outerwear, fleece, and accessories. Lighter, cleaner designs fit better on athletic polos and performance tops. If you are selling finished goods, this balance affects both appearance and return rates. It also pays to keep a few dependable combinations ready for repeat use. When a file has already stitched well on a hoodie brand or polo style you trust, production gets faster and more predictable. For hobbyists, that means less trial and error. For small sellers, it means fewer surprises when an order comes in. A good sports embroidery project does not start with the machine. It starts with choosing a design that fits the fabric, sizing it for the garment, and supporting it properly from the first stitch. Get those decisions right, and the finished piece looks less like a test run and more like something worth wearing again next season.