
How to Fix Embroidery Design Misalignment: Pro Tips
A small overlap can prevent a visible gap: when digitizing, add about 1-1.5 mm between adjacent stitch areas. This helps account for fabric and stitches shifting as the design is sewn. If embroidery design misalignment affects only an outline, the overlap may not be the only factor to adjust.
It’s frustrating to finish stitching and find that sections of the embroidery design misalignment leave the artwork out of place. The fix depends on where the shift begins, so this guide covers how hoop fit, fabric movement, digitizing order, pull compensation, and underlay can affect alignment. You’ll also find practical checks to narrow down the cause, including securing fabric and testing the design on scrap material.
Key Takeaways
- Choose a hoop that fits the design and secure the fabric flat to reduce movement during stitching.
- Trace recurring shifts to possible setup issues, including stabilizer choice, frame fit, thread tangles, or machine tension.
Table of Contents
Choosing a hoop close to the design size
Fabric markers, a properly sized hoop, suitable stabilizer, and a test stitch help check alignment. For a multi-hoop design, mark the placement and registration points, then match those marks when repositioning the hoop.
Use these steps to keep fabric steady and align each section:
-
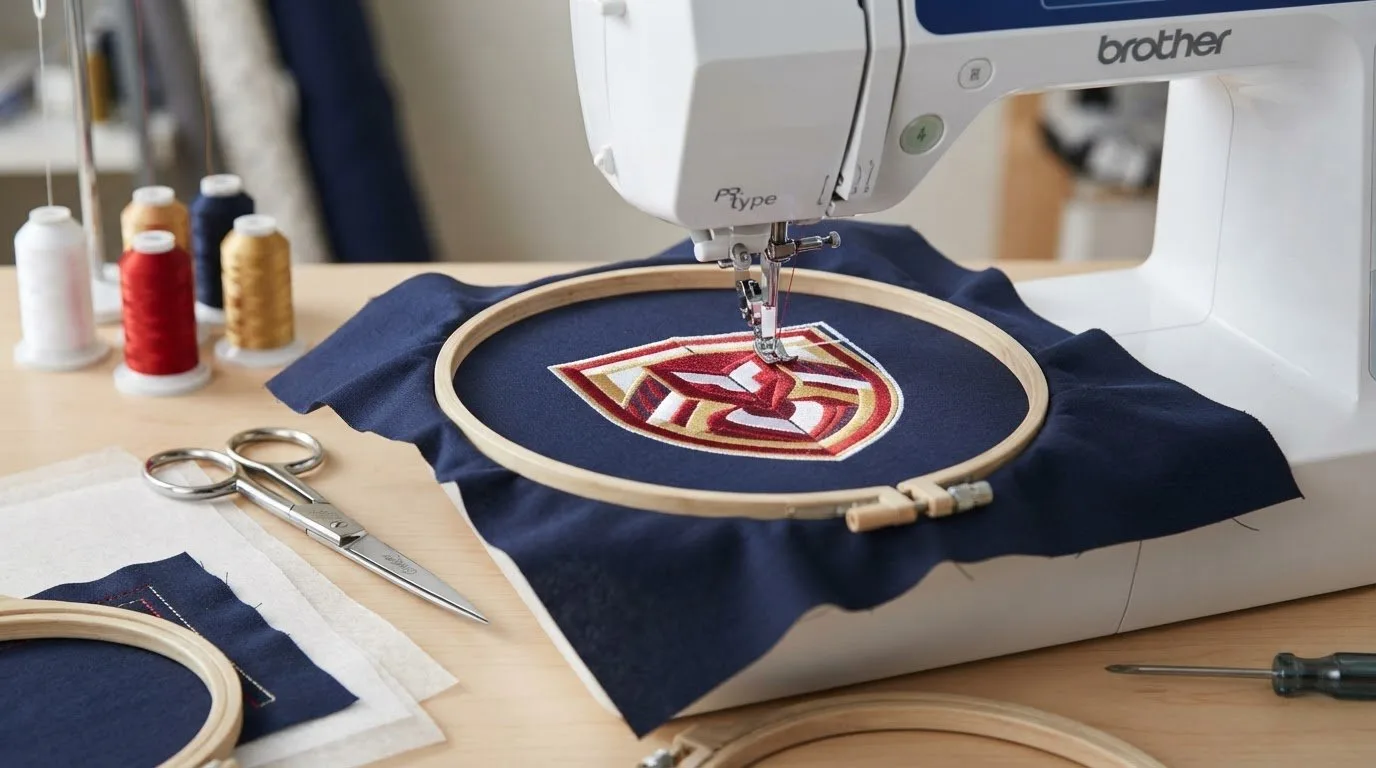
Match the hoop to the design. Choose a hoop that holds the full stitch area without excessive empty space. An overly large hoop can let fabric shift while the machine stitches.
-
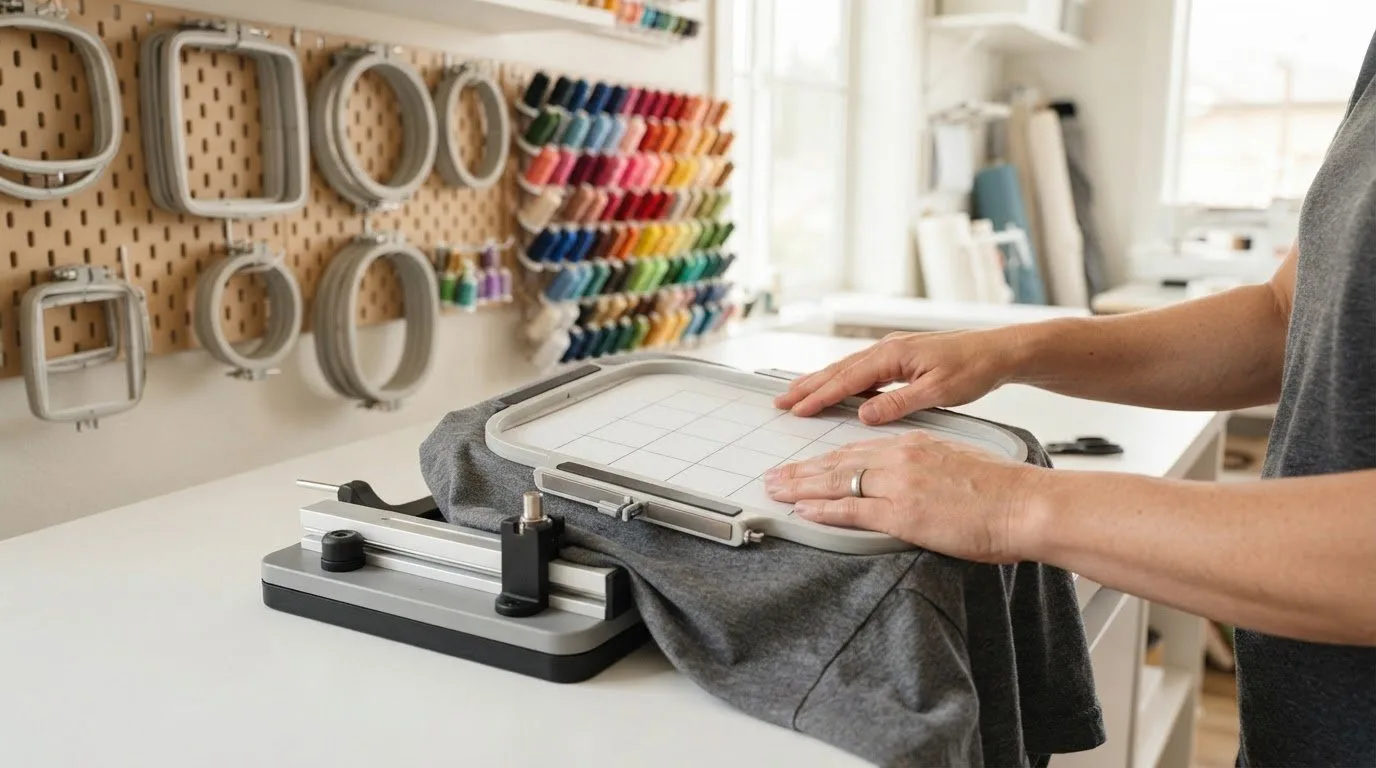
Secure the fabric evenly. Hoop the fabric and stabilizer together, keeping the material taut and flat. Smooth out ripples before stitching, since folds can move the design off its intended position.
-
Select stabilizer for the fabric. Thin or stretchy fabric can shrink under stitches, so support it with stabilizer. For a difficult-to-hoop item, float the fabric flat on stabilizer or use sticky-back tear-away stabilizer to hold it steady.
-
Mark the placement before stitching. Use a fabric marker to draw the design center or placement guidelines. For a multi-hoop design, mark matching registration points, then align those points carefully after moving the hoop.
-
Test the setup on scrap fabric. Stitch the design, or its alignment-sensitive sections, on a similar fabric and stabilizer. Check whether the placement shifts before starting the finished project.
Machine embroiderers should use a hoop sized appropriately for the design because an overly large hoop may allow fabric to move and cause alignment issues. Machine embroidery fabric should be taut and properly secured in the hoop to reduce shifting during stitching. These choices help maintain steadier placement.
Correct digitizing, pull compensation, and underlay
-
Inspect adjacent stitch areas. During digitizing, add about 1-1.5 mm of overlap where sections meet. This allowance helps cover small gaps caused by stitch shrinkage. Apply it at shared edges, rather than expanding every shape indiscriminately. Then test the design to see whether the joins remain covered.
-
Check the stitching order. A fill can pull fabric before its outline stitches down. If only the outline looks displaced, review whether the fill and outline sequence contributes to the shift. Adjust the digitizing order, then stitch a sample to assess the edge placement.
-
Review pull compensation. Stitches can draw fabric inward, changing the finished shape. Pull compensation accounts for that movement in the digitized design. If an outline falls short of the fill, examine compensation alongside overlap and stitching order. Change one factor at a time, then compare the result.
-
Match underlay and compensation to fabric. Stretchy and high-napped fabrics may need more pull compensation or underlay. Underlay supports the design beneath its visible stitches, while compensation addresses fabric pull. Assess the fabric’s stretch and surface before adjusting either setting.
-
Separate design errors from setup issues. If several parts shift in the same direction, inspect how the fabric behaves during stitching. If only one boundary fails, focus on that area’s digitizing, overlap, and sequence. A test stitch on similar material can show whether the design itself needs revision.
A design may be misaligned if it was not digitized correctly. For example, fill stitches may pull the fabric before the outline stitches, causing the outline to sit out of place.
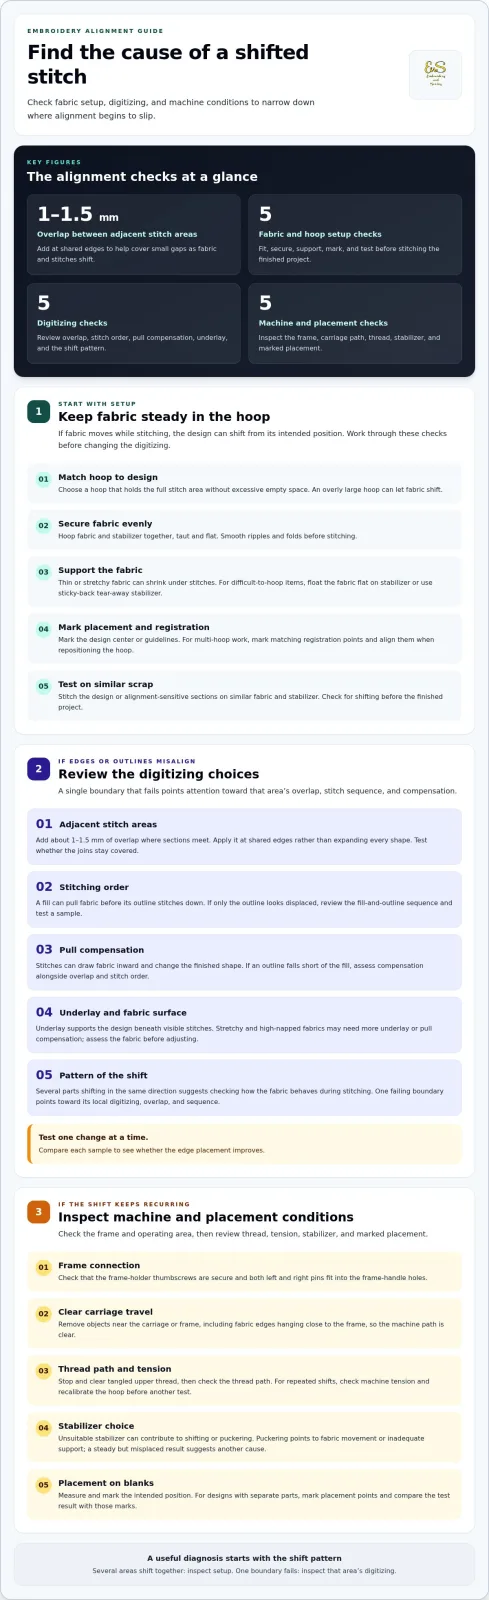
Possible causes of embroidery pattern misalignment
-
Check the frame connection. Loose thumbscrews on the embroidery-frame holder can let the frame shift. Confirm both left and right pins fit securely into the holes in the frame handles. Tighten loose thumbscrews before stitching, then watch whether the frame stays seated as the design runs.
-
Clear the machine’s operating field. Objects near the carriage or embroidery frame can be struck during movement. Remove items from the machine’s path, including fabric edges that hang close to the frame. Run the design only after the carriage has room to travel freely.
-
Inspect thread and tension. Tangled upper thread can disrupt stitching and contribute to pattern misalignment. Stop the machine, clear the tangle, and check the thread path. If designs repeatedly shift, check machine tension and recalibrate the hoop before another test.
-
Match stabilizer to the fabric. An unsuitable stabilizer can contribute to shifting or puckering. Examine the fabric and stitched sample: puckering points to fabric movement or inadequate support, while a steady but misplaced result suggests another cause. Change the stabilizer choice, then compare a test stitch.
-
Map placement on blanks. Measure and mark the intended design position before stitching. For designs with separate parts, mark their placement points so each section follows the same layout. If the embroidery design misalignment persists, compare the test result with those marks and inspect the setup again. Explore embroidery design ideas for your next project.
Embroidery n Sewing: Sports Embroidery
Embroidery n Sewing offers Sports Embroidery for crafters ready to choose a sports-themed digital design. Once you’ve refined your alignment process, explore a team-focused idea that suits your next project. Options include Buffalo Bills Embroidery and Detroit Lions designs, giving you specific themes to consider for your stitching plans. The right choice depends on the look you want and how you intend to place the design. Treat accurate setup and theme selection as separate steps: first prepare your project, then choose a design that fits your creative direction. Browse the sports options to find an idea that inspires your next stitch. For sports-themed embroidery inspiration, visit the Embroidery n Sewing website.
Put Your Next Embroidery Project in Motion
Let your next project turn careful preparation into a design you’re excited to stitch. If embroidery design misalignment continues to distract from the creative part, treat each project as a chance to refine your process and choose artwork that suits your fabric and intended placement. Embroidery n Sewing offers Digital Embroidery Designs, Machine embroidery designs, and College embroidery designs, so you can explore different themes for future projects. Choose a design that sparks an idea, then plan your fabric and placement before stitching. A clear creative direction makes it easier to move from browsing to making. Contact Embroidery n Sewing about your next project, and take the next step toward a design you’ll enjoy bringing to life.
Frequently Asked Questions
Why is my embroidery design misaligned?
Fabric movement, a design-file issue, or machine setup can shift stitching. Check whether the design drifts in one direction or only one section moves. Stitch the same file on comparable scrap fabric. If the shift repeats in the same spot, inspect the design; if it varies, focus on fabric handling or machine setup.
Why is only the outline misaligned?
Fill and outline stitches can affect fabric differently as they pull, or the outline may be positioned incorrectly in the file. Compare the outline’s offset around the whole shape. A consistent gap suggests the outline placement needs review; an uneven gap may indicate shifting or distortion during stitching. Test a sample before changing the finished piece.
What causes embroidery design misalignment?
Common causes include fabric movement, unsuitable stabilizer, a loose frame connection, tangled thread, or incorrect digitizing. Stitch the same design on similar fabric and note where the shift appears. A flaw that repeats in the same area suggests a file issue; shifting that changes points to setup or material.
How do you hoop fabric to prevent embroidery misalignment?
Lay the fabric and stabilizer smoothly in the hoop, securing them without stretching the fabric out of shape. Before stitching, check that the material lies flat across the design area and that no edge can catch on the machine. For a small test, mark the center and compare the stitched placement with your intended center point.
How do stabilizer type and fabric choice affect embroidery alignment?
Stretchy or thin fabric can distort as stitches form, while unsuitable stabilizer can allow shifting or puckering. Test the intended fabric with its stabilizer before stitching the final item. Compare the sample’s shape and surface, not just its outline. If the fabric stretches or has a raised nap, consider how those properties affect support and stitch coverage.