

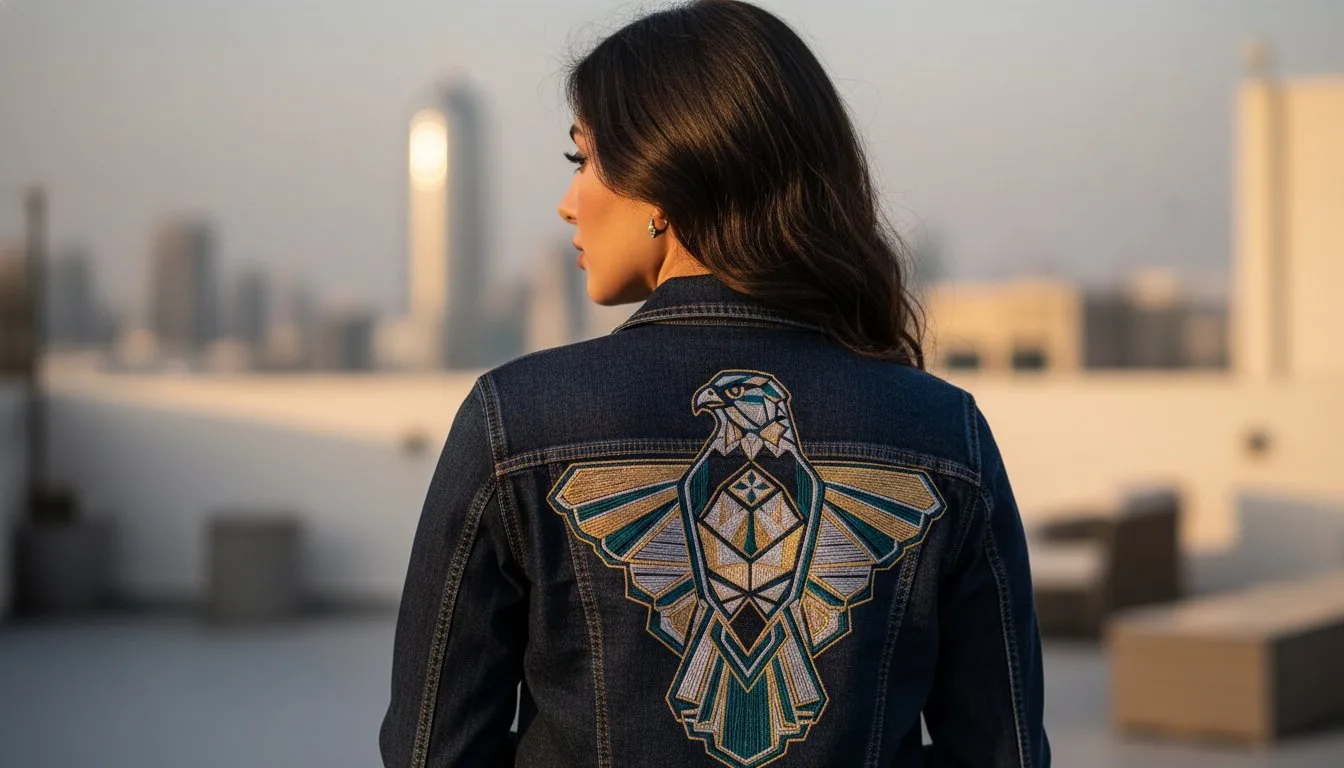
Have you ever stared at a plain denim jacket, imagining it transformed with a stunning design, only to be stopped by a wave of uncertainty? The fear of ruining an expensive garment is real, and navigating the world of large-scale jacket back embroidery patterns can feel overwhelming. Questions about sizing for such a large canvas, choosing the right stabilizer for heavy fabric, or wondering if your hoop is big enough can quickly turn creative inspiration into intimidation. It’s a common hurdle, but one you can absolutely overcome.
This is your ultimate guide to turning that hesitation into confidence. We are diving deep into the process, showing you exactly how to choose the perfect statement design for your project. You'll learn essential tips for sizing, crucial fabric prep techniques, and how to select the right tools for the job. Get ready to be inspired by a gallery of beautiful ideas and gain the skills to create a unique, personalized jacket that turns heads everywhere you go.
- Discover popular aesthetic themes to find a design that perfectly captures your personal style and transforms your jacket into wearable art. - Learn the key technical factors for selecting jacket back embroidery patterns that are suitable for large-scale projects and specific fabrics. - Master the essential preparation steps, from fabric stabilization to proper hooping, to guarantee a professional, pucker-free result. - Understand how to correctly size and place your chosen design on the jacket back for maximum visual impact and a balanced look.
Table of Contents
- Why Jacket Back Embroidery is the Ultimate Personalization Project
- Finding Your Style: Popular Themes for Jacket Back Patterns
- Technical Essentials: How to Choose a Pattern That Actually Works
- Prepping Your Jacket for a Flawless Stitch-Out
In a world of fast fashion, a custom-embroidered jacket is a powerful declaration of individuality. It’s more than just an accessory; it’s a piece of wearable art that tells your story. The back of a denim, leather, or bomber jacket offers a large, uninterrupted canvas, perfect for transforming a generic garment into a one-of-a-kind masterpiece that showcases your personality, passions, or allegiances.
The trend of personalized jackets has moved from subcultures to the mainstream, with everyone from high-fashion designers to DIY enthusiasts embracing the craft. Whether you're displaying your favorite band, a meaningful quote, or intricate floral art, a well-executed design makes an unforgettable statement. Exploring different jacket back embroidery patterns is the first step toward creating a garment that is uniquely and authentically yours.
Imagine a standard, off-the-rack denim jacket. Now, picture it with a vibrant, textured tiger embroidered across the back. The transformation is immediate and dramatic. Embroidery adds a layer of depth, color, and tactile quality that screen printing or patches simply cannot match. Because the threads are stitched directly into the fabric, the design becomes an integral part of the jacket itself. This durability is a key reason the art has such a rich global history of embroidery, with stitched textiles surviving for centuries. An embroidered jacket isn’t just for a season; it’s an heirloom in the making.
The expansive space on a jacket's back invites bold, ambitious designs. Unlike a small logo on the chest, a back piece is a true centerpiece meant to be seen and admired from a distance. This is where a single, large-scale design can make a far greater impact than multiple small ones. When selecting jacket back embroidery patterns, consider how the design will command attention and serve as the focal point of your outfit. A large design allows for:
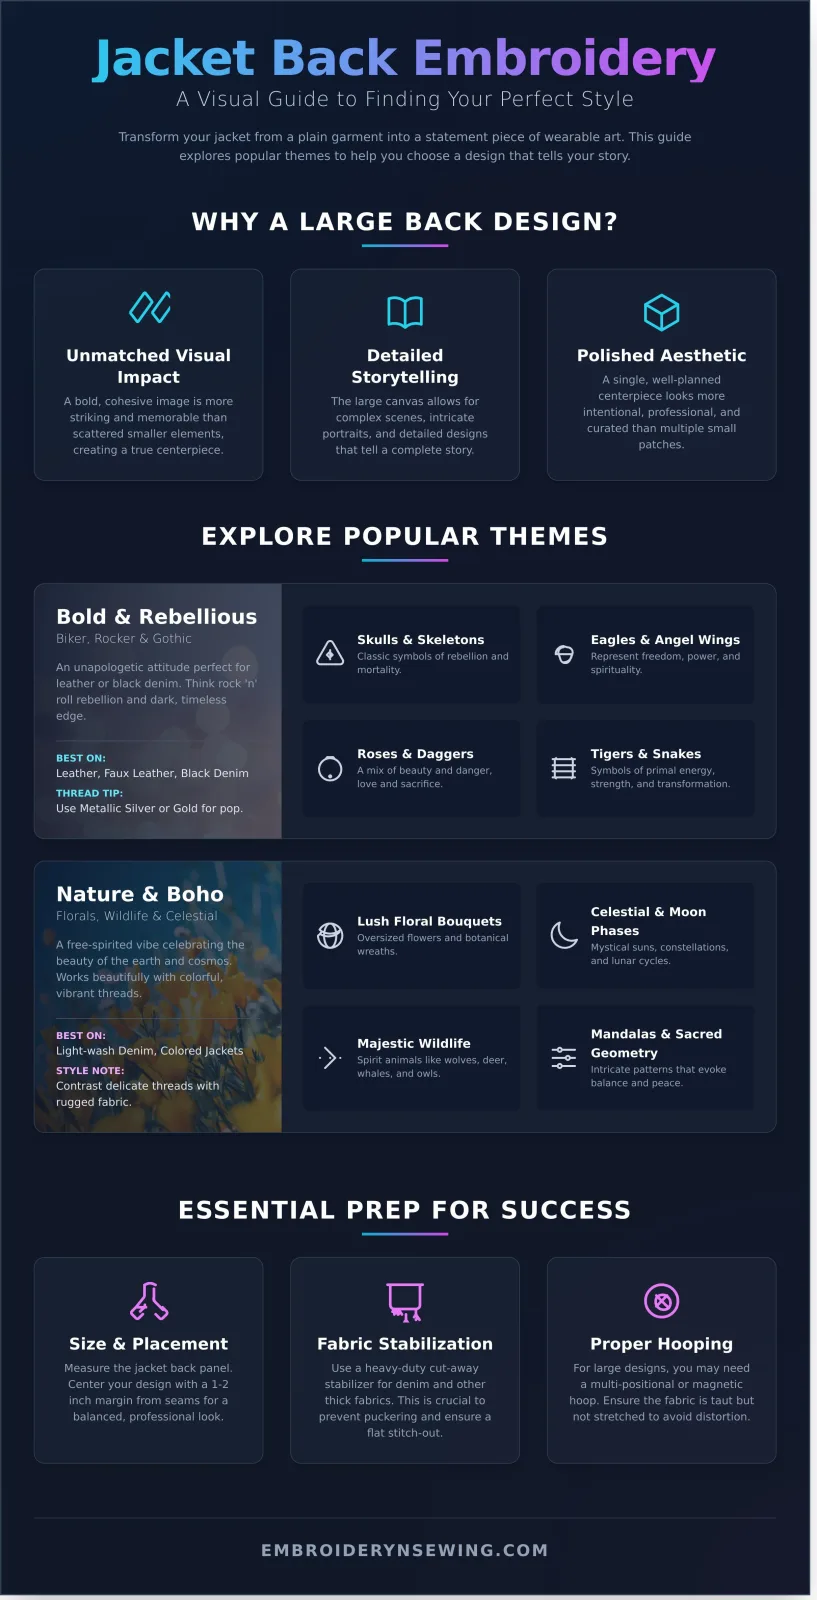
- Unmatched Visual Impact: A bold, cohesive image is more striking and memorable than scattered, smaller elements.
- Detailed Storytelling: You have enough room to create complex scenes, intricate mandalas, or detailed portraits that tell a complete story.
- A Polished Aesthetic: A single, well-planned centerpiece design looks more intentional and professionally curated.
Finding Your Style: Popular Themes for Jacket Back Patterns
A blank jacket is a canvas waiting for your story. The key to creating a standout piece is choosing jacket back embroidery patterns that truly reflect your personality. Moving beyond simple categories, exploring popular aesthetic themes helps you narrow down the options and find the perfect design. The art of embellishing textiles has a rich history, and modern tools allow us to use professional embroidery techniques to create stunning, durable art on our clothing. Let’s explore some popular styles to inspire your next project.
Bold & Rebellious: Biker, Rocker, and Gothic Themes
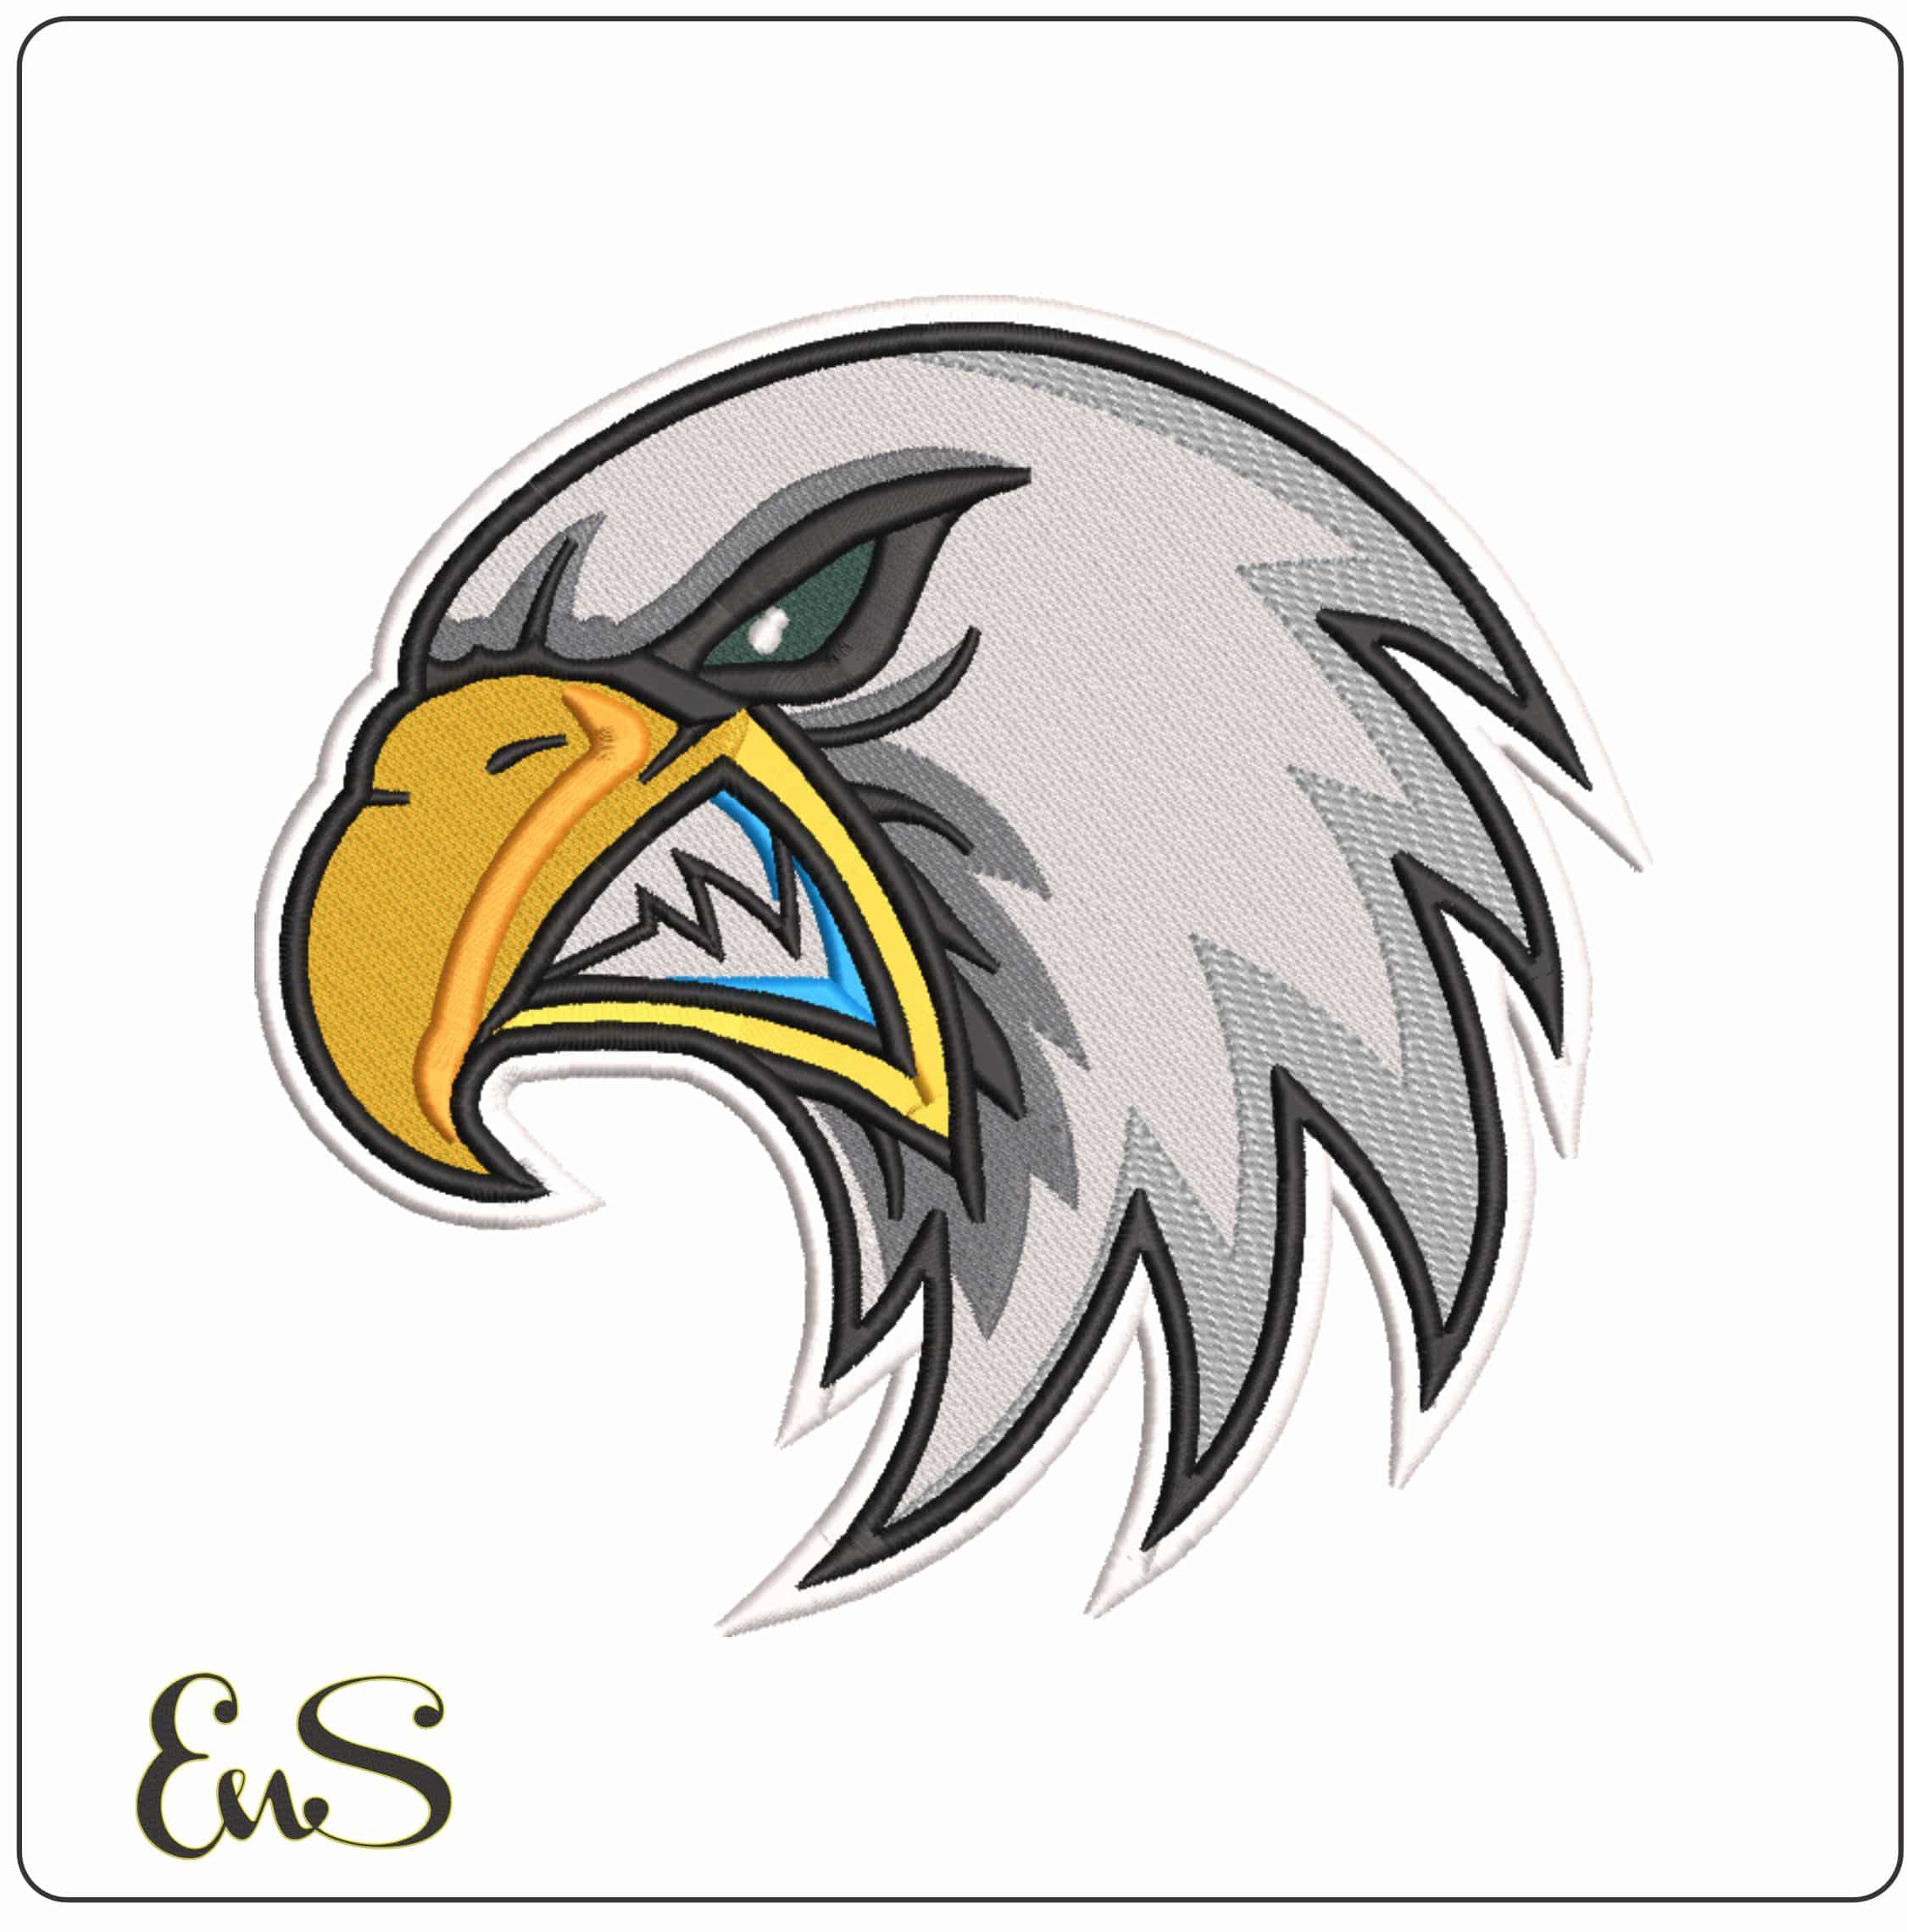
This style is all about an unapologetic attitude. Think classic Americana, rock 'n' roll rebellion, and dark gothic edge. These powerful designs are a perfect match for leather, faux leather, or black denim jackets, creating a timeless look that commands attention. For an authentic feel, consider using metallic silver or gold thread to make the details pop against the dark fabric. Iconic imagery includes:
- Skulls, skeletons, and crossbones
- Majestic eagles, roaring tigers, and coiled snakes
- Classic red roses paired with daggers or thorns
- Sprawling angel or demon wings that cover the entire back panel
Nature & Boho: Florals, Wildlife, and Celestial Designs
For a softer, more free-spirited vibe, look to the natural world for inspiration. This theme works beautifully on light-wash or colored denim jackets, where vibrant and pastel threads can truly shine. These designs celebrate the beauty of the earth and the cosmos, creating a sense of peace and wonder. The contrast between delicate, colorful threadwork and rugged denim fabric is what makes this style so appealing.
Popular motifs include:
- Lush, oversized floral bouquets and intricate botanical wreaths
- Intricate mandalas and sacred geometry patterns
- Majestic wildlife like wolves, deer, or whales
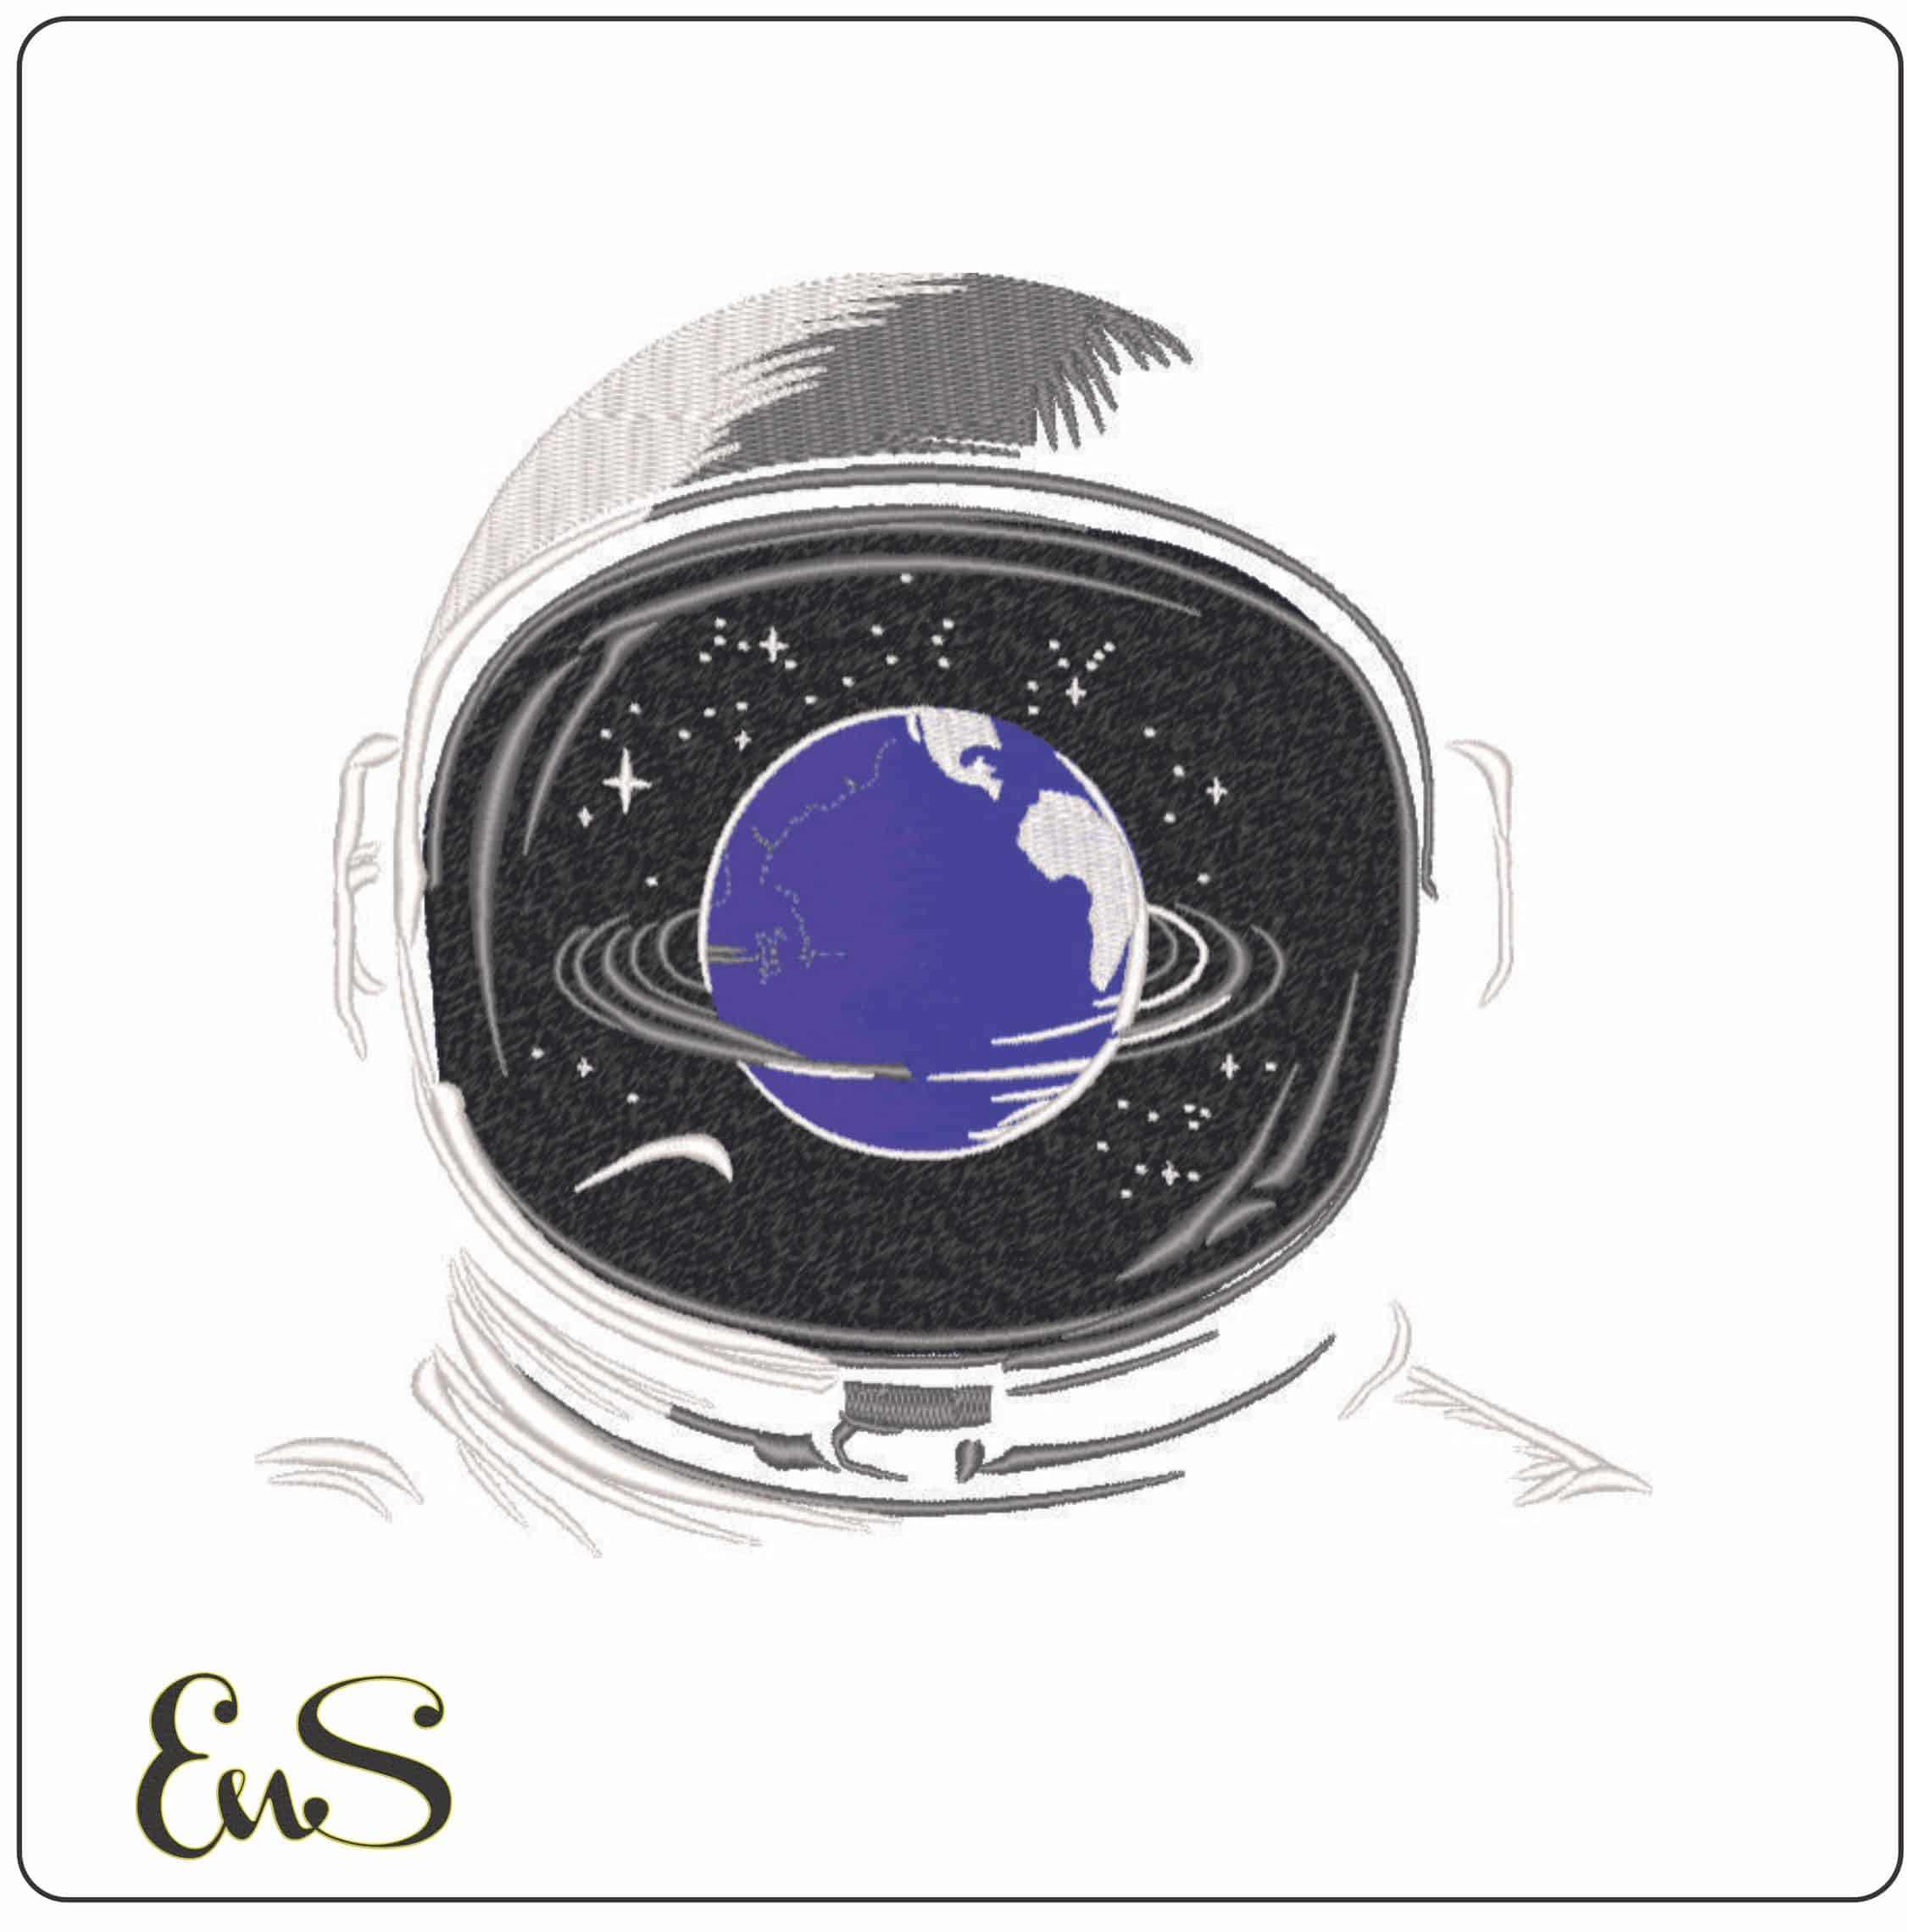
- Celestial scenes featuring moon phases, constellations, or mystical suns
Pop Culture & Fandom: Characters, Logos, and Quotes
Wear your passions on your back! Showcasing your favorite media is a fantastic way to connect with a community and express what you love. From intricate portraits of anime heroes to bold band logos, the possibilities are endless. This is your chance to turn your jacket into a badge of honor for your fandom. Don't forget the power of words-an iconic movie quote in a stylized font can make a huge statement. Whether you're repping your favorite team or paying homage to a classic film, these designs make your jacket uniquely yours. Find your favorite team logo in our Sports collection!
Technical Essentials: How to Choose a Pattern That Actually Works
Venturing into a large-scale project like a jacket back can feel intimidating, but success is all about preparation. Not every beautiful design is suitable for this grand canvas. The art of selecting a pattern lies in understanding the crucial relationship between the design's technical specs, your jacket's fabric, and your machine's capabilities. With a long and detailed history of embroidery showing how textiles and thread have always been intertwined, this foundational knowledge is key to a professional result.
Sizing and Placement for Perfect Balance
Proper placement is what separates a homemade project from a designer piece. Before you even download a pattern, measure the usable space on your jacket back, typically the area between the shoulder seams and below the collar. As a rule of thumb, leave a 2-3 inch buffer from all seams to avoid stitching over thick layers and to create a visually balanced look. Many embroidery software programs allow you to upload a photo of your jacket and overlay the design, giving you a perfect preview. Always find and mark the true horizontal and vertical center of this space before hooping.
Understanding Stitch Count and Density
A pattern with a massive stitch count isn't necessarily better-in fact, it can be a disaster. Extremely dense designs pull heavily on the fabric, causing it to pucker and become stiff. The best jacket back embroidery patterns are those specifically digitized for large-scale use, often incorporating a mix of stitch types to manage density.
- Fill Stitches: These cover large areas but can become very dense. Look for patterns that use lighter, less dense fill styles.
- Satin and Running Stitches: These are lighter and ideal for outlines and details, putting less stress on the fabric.
Crucial Tip: Avoid the temptation to significantly resize a standard embroidery file. Shrinking or enlarging a design by more than 20% will distort its stitch density, leading to thread breaks, puckering, or gaps in the final stitch-out.
Matching Patterns to Jacket Materials
The fabric of your jacket dictates what kind of pattern will succeed. A design that looks stunning on denim might destroy a delicate bomber jacket. Here’s a quick guide:
- Denim: This is the ideal canvas. Its stable, sturdy weave can handle dense, complex designs with high stitch counts beautifully.
- Leather/Faux Leather: Opt for lower-density patterns with more running stitches and open spaces. Use a specialized leather needle to perforate the material cleanly rather than tearing it.
- Canvas/Twill: Like denim, these are wonderfully stable fabrics that provide a great foundation for most jacket back embroidery patterns.
- Bomber Jackets (Nylon/Polyester): These slippery, stretchy materials require careful handling. Choose lighter, less dense patterns and use a firm cut-away stabilizer to prevent the fabric from puckering under the tension of the stitches.
Prepping Your Jacket for a Flawless Stitch-Out
You’ve chosen the perfect design, but before a single stitch is made, the real magic happens. Proper preparation is about 80% of your success, especially with a challenging item like a jacket. Don't be intimidated! By breaking the process down into these manageable steps, you'll ensure your final stitch-out is crisp, clean, and perfectly placed.
The Critical Role of Stabilizer
For the weight and density of most jacket back embroidery patterns, a single layer of heavy-duty cut-away stabilizer is non-negotiable. This provides a permanent, stable foundation that prevents the fabric from stretching or puckering. Unlike tear-away stabilizer, which can break down under the stress of a large, dense design, cut-away supports every single stitch for the life of the garment. For best results, use a temporary spray adhesive to lightly bond the stabilizer to the inside of the jacket, ensuring it stays smooth and secure.
Mastering Hooping for Bulky Items
Trying to force a thick denim or leather jacket into a standard hoop is a recipe for frustration. Instead, use a professional technique called floating. This means you only hoop the stabilizer itself, making it taut like a drum. The jacket then "floats" on top. Once the hooped stabilizer is locked into your machine, carefully position the jacket over it. Use your machine's basting stitch function to run a large, temporary rectangle of stitches around the design area, securing the jacket directly to the stabilizer. This holds everything firmly in place without the struggle.
Marking and Alignment for Professional Results
Perfect placement transforms a good project into a great one. Taking a few moments to mark your jacket guarantees your design is precisely where you want it. Follow these simple steps for perfect alignment:
- Find the Center: Lay the jacket flat, face down. Fold it in half vertically, aligning the side seams, and press lightly to create a center crease. Use a ruler to find the desired horizontal center.
- Mark Your Lines: Use a water-soluble marking pen or tailor's chalk to draw a clear vertical and horizontal crosshair at your center point.
- Align with the Needle: Place the project under your machine's needle. Use the machine's controls to move the needle until it is positioned exactly over the intersection of your marked lines. You are now ready to sew.
With your jacket perfectly stabilized and centered, you've set the stage for a stunning result. This meticulous prep work is what separates amateur efforts from professional-quality embroidery on all kinds of jacket back embroidery patterns. For more expert tutorials and supplies, explore our resources at embroiderynsewing.com.
Transform Your Jacket into a Wearable Masterpiece
You now have the knowledge to turn any ordinary jacket into an extraordinary piece of wearable art. By understanding how to select a style that reflects your personality and the technical essentials for a flawless stitch-out, you're ready to begin your most rewarding project yet. The right design is the crucial final piece that brings your vision to life, and finding the perfect jacket back embroidery patterns is the next exciting step in your creative journey.
Ready to find that showstopper design? Browse Our Full Collection of Jacket Back Embroidery Patterns and discover your next project. With thousands of high-quality, tested designs specifically optimized for large-scale projects, you're guaranteed to find a stunning pattern. Enjoy instant digital downloads in all major machine formats and start stitching right away.
Don't just wear a jacket-wear your story. Go ahead, pick your pattern, and create something truly unforgettable.
Frequently Asked Questions
What is the best stabilizer for embroidering on a denim jacket?
For a sturdy fabric like denim, a medium-weight cut-away stabilizer is your best choice. It provides permanent support for dense stitches, preventing puckering and distortion even after washing. To ensure your fabric doesn't shift during the process, consider using a temporary spray adhesive to lightly bond the stabilizer to the jacket before hooping. This combination ensures a crisp, professional-looking result for your embroidery.
How big of an embroidery hoop do I need for jacket back designs?
The ideal hoop size depends entirely on your design's dimensions. For large, single-piece jacket back designs, you will want the largest hoop your machine can accommodate, often 8x12 inches (200x300mm) or bigger. Always check your machine's maximum embroidery area before purchasing a design. If your design is larger than your biggest hoop, you can use the multi-hooping technique to stitch it in sections.
Can I use multiple smaller designs to create one large jacket back piece?
Absolutely! Combining smaller designs is a fantastic way to create large, custom jacket back embroidery patterns. This technique, often called tiling or multi-hooping, allows you to tackle ambitious projects that are larger than your hoop. Use your machine's positioning features or software with alignment stitches to ensure each section lines up perfectly. This method opens up endless creative possibilities for a truly unique piece.
How do I embroider on a leather jacket without damaging it?
Embroidering on leather requires a delicate touch to avoid permanent damage. Never hoop the leather directly, as the pressure can leave marks. Instead, hoop a sticky-back tear-away stabilizer and "float" the jacket on top, pressing it firmly onto the adhesive surface. Use a new leather-specific needle (e.g., a size 110/18) and slow your machine's stitch speed to prevent tearing and ensure clean perforations.
What file format (PES, DST, JEF) do I need for my embroidery machine?
The correct file format depends on your embroidery machine's brand. Each manufacturer uses a proprietary format to communicate with their machines. For instance, Brother and Baby Lock machines typically use PES, Janome uses JEF, and many commercial machines like Tajima use DST. Always check your machine's manual to confirm the required format before you purchase any jacket back embroidery patterns to ensure compatibility.
Is it possible to embroider over a seam on a jacket?
Yes, you can embroider over seams, but it requires careful preparation. The uneven surface can cause needle deflection and skipped stitches. To prevent this, use a firm cut-away stabilizer for support. When approaching the seam, slow your machine speed significantly. You can also place a small piece of folded stabilizer or a commercial "seam jumper" next to the seam to help level the presser foot as it travels over the bulk.
How do I wash a jacket after I've embroidered on it?
To protect your beautiful embroidery, proper washing is key. Turn the jacket inside out before placing it in the washing machine. Use a gentle cycle with cold water and a mild detergent. Avoid using bleach or harsh fabric softeners. It is best to let the jacket air dry by hanging it or laying it flat. If you must use a dryer, choose a low-heat or tumble-dry setting to prevent shrinkage.


