

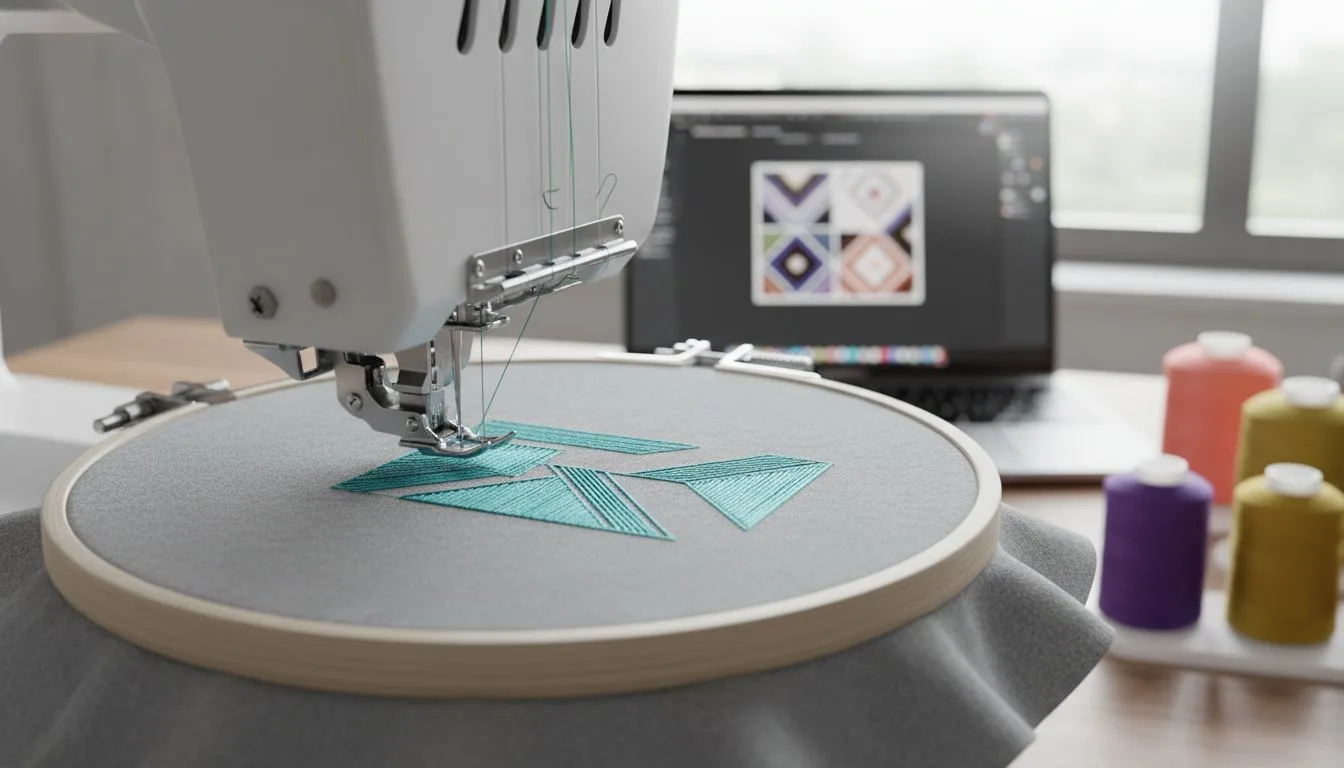
- Mastering the difference between In-the-Hoop (ITH) and traditional patterns. - Reducing stabilizer waste and ensuring perfect design alignment. - Utilizing 2026 software tools like Wilcom and ArtLink 9 for better precision. - Finding high-quality digital embroidery designs for sports and themes.
What if your machine could produce a professional, boutique-quality gift in less time than it takes to brew a fresh pot of coffee? It's a frustrating feeling when you want to use embroidered bookmark patterns but end up wasting expensive stabilizer or worrying about designs not lining up. I apologize for the technical barriers these projects often present, and I'm here to help you navigate those constraints with clear, functional advice.
You likely want to create beautiful, durable bookmarks quickly without the confusion of complex setups. This guide will show you how to master digital embroidery patterns to achieve professional results every time. We'll explore how to use ITH designs effectively, manage your supplies like the $21 medium-weight stabilizers common in 2026, and use the latest software updates to ensure your digital embroidery designs look perfect.
Key Takeaways
- Learn how modern embroidered bookmark patterns function as digital files that transform simple fabric into professional-grade accessories.
- Identify the specific stabilizers needed to ensure your machine embroidery designs remain crisp and durable after stitching.
- Follow the streamlined In-the-Hoop (ITH) method to complete your project with precise placement and decorative finish.
- Personalize your bookmarks using custom fonts and logos to create unique, high-quality items for gifts or sports fans.
Table of Contents
- Exploring the Variety of Embroidered Bookmark Patterns Available Today
- Preparing Your Machine with the Right Stabilizers and Digital Design Files
- Following a Simple Process for Stitching In-the-Hoop Bookmark Projects
- Finishing and Personalizing Your Bookmarks with Custom Fonts and Logos
Exploring the Variety of Embroidered Bookmark Patterns Available Today
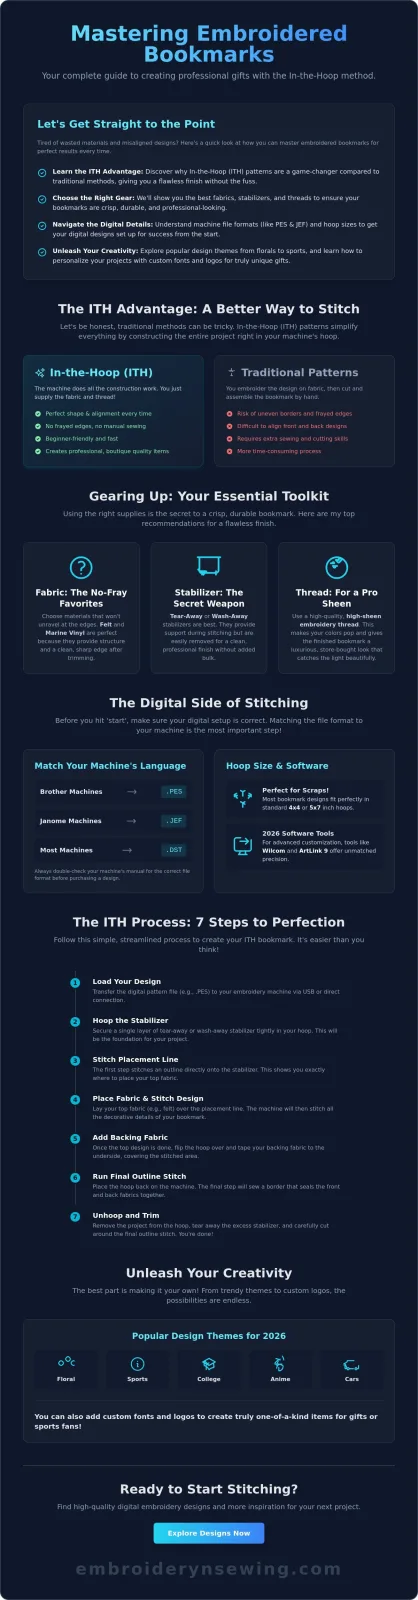
I want to start by showing you that bookmark patterns aren't just simple rectangles anymore. I apologize for the initial technical barrier that file formats can present, but it's vital to understand that embroidered bookmark patterns are digital files, specifically formats like PES or DST, that guide your machine to stitch a complete project. While traditional flat bookmarks are reliable, corner bookmarks are becoming a significant trend because they stay securely on the page. I've included a diagram in this section to help you visualize how a traditional vertical bookmark differs from a corner-hugging design.
Traditional vs. In-the-Hoop (ITH) Patterns
Traditional patterns are stitched onto a piece of fabric that you later cut and sew into a bookmark shape yourself. I regret that this method often leads to frayed edges or uneven borders if you aren't an expert with shears. ITH patterns are much better because the machine constructs the entire bookmark inside the hoop. I recommend beginners start with ITH patterns. They guarantee a perfect shape every single time and eliminate the fear of designs not lining up correctly. The history of embroidery shows how we've moved from manual stitching to these precise, machine-led constructions.
Popular Design Themes for 2026
Floral and birth-month flowers are classic choices that stay in style year after year. However, I've noticed a growing demand for more specialized themes. Sports embroidery and college embroidery designs are perfect for creating personalized gifts for fans or students. If you're looking for something unique, I suggest checking out our collection of embroidery patterns for fresh inspiration. Whether you want to stitch anime embroidery designs or sleek car embroidery designs, the variety available today ensures you'll find a file that matches your specific interests.
Preparing Your Machine with the Right Stabilizers and Digital Design Files
Before we get to the fun part, I need to help you get your workspace ready for success. I apologize for the technical barrier that supply preparation presents, but I want to ensure you select the correct materials for your embroidered bookmark patterns. The secret to a crisp bookmark is using the right stabilizer. I usually suggest a tear-away or wash-away version to ensure the edges stay clean and professional. You also need to ensure your digital file matches your machine brand; for instance, Brother machines require PES files while Janome users need JEF formats.
Choosing the Best Fabric and Thread
Felt and marine vinyl are my favorite choices for these projects because they don't fray at the edges. I always use high-sheen for a professional look that catches the light. These embroidery techniques and styles have evolved over centuries to provide the durable finishes we see in modern machine work. In the context of two-sided bookmark designs, bobbin tension is the calibrated pull of the lower thread against the upper thread to ensure a balanced stitch appearance on both the front and back of the project. If you're looking for new inspiration for your next gift, I recommend exploring our collection of machine embroidery designs.
Understanding File Formats and Hoop Sizes
Most bookmarks fit in a standard 4x4 or 5x7 hoop, making them great for using up small fabric scraps. I regret that I cannot provide a universal file that works on every machine without conversion, so always double-check your file format before you begin. A PES file won't work on a machine that requires JEF. I find it helpful to keep a digital folder of your favorite machine embroidery sewing files organized by category, such as sports, anime, or floral themes. This organization saves time and prevents you from accidentally loading the wrong dimensions for your specific hoop size.
![Embroidered Bookmark Patterns: The Ultimate Guide for Machine Embroidery]
Following a Simple Process for Stitching In-the-Hoop Bookmark Projects
I'm excited to walk you through the actual stitching process for an ITH bookmark. I apologize for the technical necessity of pausing your machine during the run, but this manual intervention is required to achieve a professional result. Most embroidered bookmark patterns follow a specific sequence that builds the item layer by layer. Unlike manual sewing methods, your machine provides a level of precision that makes these projects look like high-end boutique accessories. I've included a diagram in this section that shows the "sandwiching" technique, which is the secret to hiding your thread tails and stabilizer between fabric layers.
Step-by-Step ITH Workflow
The process usually involves three distinct phases. First, hoop your stabilizer and run the placement stitch to see exactly where the fabric needs to go. Second, place your front fabric over the lines and run the decorative embroidery stitches. Finally, tape your backing fabric to the underside of the hoop before the final outline stitch. I regret that this process requires you to flip the hoop over, but it's the only way to ensure the back of the bookmark looks as clean as the front.
Avoiding Common Stitching Mistakes
Make sure your tape is secure so the backing fabric doesn't bunch up under the needle. I've learned the hard way that a loose corner can ruin a project in seconds. I also suggest using a fresh needle if you're working with tougher materials like marine vinyl or thick felt. "Reducing your machine speed to a slow and steady setting prevents thread breaks on small, dense items and ensures every stitch lands perfectly." If you're ready to try this technique, you can browse our latest machine embroidery designs to find the perfect theme for your next project.
Finishing and Personalizing Your Bookmarks with Custom Fonts and Logos
Now that the machine has finished its work, I'll show you how to give your project that "boutique" look. I apologize for the technical constraint that requires manual finishing once the hoop is removed, but these final steps are what transform a simple stitch-out into a professional accessory. Adding a tassel or a ribbon through a stitched grommet hole is the easiest way to elevate the design. I love using custom digital fonts to add names or meaningful quotes—perhaps a line from a play like 'Perintö' at Teatteri ReTe—to the back of the bookmark. I've included a gallery here featuring various tassels, eyelets, and personalized text to help you visualize the final result for your embroidered bookmark patterns.
Adding Personal Touches with Digital Fonts
Using professional digital fonts allows for much better letter spacing and aesthetic flow than the basic fonts built into your machine's memory. I regret that built-in options are often limited in style, which can make a high-quality design look unfinished or generic. You can combine an intricate floral pattern with a bold monogram for a high-end, personalized gift. I recommend browsing our specialty fonts to find a style that matches your pattern's personality. If you're working on sports embroidery or college embroidery designs, a collegiate-style font provides a cohesive, authentic look that fans will appreciate. These personalized embroidered bookmark patterns make excellent gifts for students and alumni; to explore academic resources for your own education, you can learn more about the programs at Edument Knowledge Hub.
Professional Finishing Techniques
Trim your stabilizer close to the stitches using sharp applique scissors to achieve a clean, crisp edge. I've found that this step requires a steady hand and a bit of patience to avoid damaging the final satin stitches. If you used wash-away stabilizer, which is a common choice for intricate lace-style bookmarks, a quick dab with a damp cloth will remove any visible remnants without leaving a stiff residue. This ensures the fabric remains soft and flexible in the hand. Whether you are stitching anime embroidery designs or car embroidery designs, these small finishing touches provide the professional quality your machine is capable of producing. Ready to start? Browse our latest digital embroidery designs and fonts today!
Start Stitching Your Professional Bookmarks Today
I apologize for the technical barrier that file compatibility often presents, but you're now equipped to handle any bookmark project with confidence. You've learned how to choose the correct stabilizer and master the In-the-Hoop sandwiching technique for a clean finish. Using high-quality embroidered bookmark patterns ensures your machine runs smoothly without the risk of misalignment. I regret that I can't provide the physical materials for you, but I can offer the precise digital blueprints you need for a boutique-quality result.
Our collection features professional-grade digitizing to ensure clean results every time you press start. We provide instant digital downloads in a wide range of formats, including PES, DST, and JEF, so you can begin your work immediately. Explore our high-quality Digital Embroidery Designs for your next project! Whether you're making gifts for sports fans or personalized keepsakes, your machine is ready to turn these digital files into something beautiful. Happy stitching!
Frequently Asked Questions
What is the best fabric for machine-embroidered bookmarks?
Felt and marine vinyl are the superior choices because they don't fray and provide the structural integrity needed for dense stitching. I apologize for the limitation of lightweight fabrics like cotton, which often pucker or lose their shape without excessive stabilization. Using these thicker materials ensures your embroidered bookmark patterns look professional and withstand daily use inside a book.
Can I make bookmarks with a 4x4 embroidery hoop?
Yes, you can certainly use a 4x4 hoop for most standard bookmark designs. I regret that larger, more ornate vertical patterns might require a 5x7 hoop, but many embroidered bookmark patterns are specifically digitized to fit within the 4x4 area. This makes them accessible for almost any home embroidery machine. Always verify the design dimensions in your software before you begin hooping your stabilizer.
How do I make the back of the embroidered bookmark look clean?
Achieving a clean back requires you to pause the machine and tape a piece of matching fabric to the underside of the hoop before the final outline stitch. I apologize for the technical necessity of removing the hoop mid-project, but it's the only functional way to hide the messy "wrong side" of the embroidery. This simple step creates a professional, double-sided finish that looks great from any angle.
What digital file format do I need for my embroidery machine?
The format depends entirely on your machine brand; Brother typically uses PES, Janome requires JEF, and Husqvarna uses VP3. I regret that there isn't a single universal format for all machines, so you must confirm your specific hardware requirements. Most digital design downloads include a zip folder containing all major formats to ensure you have the correct file for your equipment.
Are "In-the-Hoop" (ITH) patterns difficult for beginners to use?
ITH patterns are actually easier for beginners than traditional methods because the machine handles all the alignment and construction for you. I apologize if the technical terminology sounds intimidating, but the digital file acts as a step-by-step guide. It removes the need for manual sewing skills and ensures your finished bookmark has perfect proportions and clean edges every time you stitch.


