Does the thought of your embroidery needle punching permanent, unforgiving holes into a gorgeous piece of leather make your palms sweat? You’re not alone. The fear of ruined projects, dreaded thread nests lurking underneath, and unsightly hoop marks keeps many crafters from attempting this stunning combination. But what if you could approach this luxurious material with total confidence instead of anxiety? The art of embroidering on leather with a machine doesn't have to be a high-stakes gamble that ends in wasted, expensive hides.
This is your complete 2026 expert guide to getting it right, every single time. We’re pulling back the curtain on the professional techniques you need to master this craft. You’ll unlock the secrets to choosing the perfect stabilizer, selecting the right needle that glides through without shredding your thread, and optimizing digital designs for clean, flawless results. Get ready to transform that leather jacket or handbag from a high-risk project into a beautifully finished masterpiece you can be proud of.
- Discover the specific needle type and stabilizer that prevent thread shredding and provide essential support for leather projects. - Learn why certain digital designs can perforate and destroy leather, and what styles to choose instead for clean, professional results. - Master the "floating" technique, the professional method for embroidering on leather with a machine that completely avoids permanent hoop marks.
- Understand the "One-Shot Rule" for leather-every needle strike is permanent, making your setup and design choice absolutely critical for success.
Table of Contents
- Understanding Leather as an Embroidery Substrate
- The Essential Toolkit for Machine Embroidery on Leather
- Selecting the Right Digital Designs for Leather
- Step-by-Step: The 'Floating' Technique for Leather
- Finishing Touches and Troubleshooting Common Issues
## Understanding Leather as an Embroidery Substrate
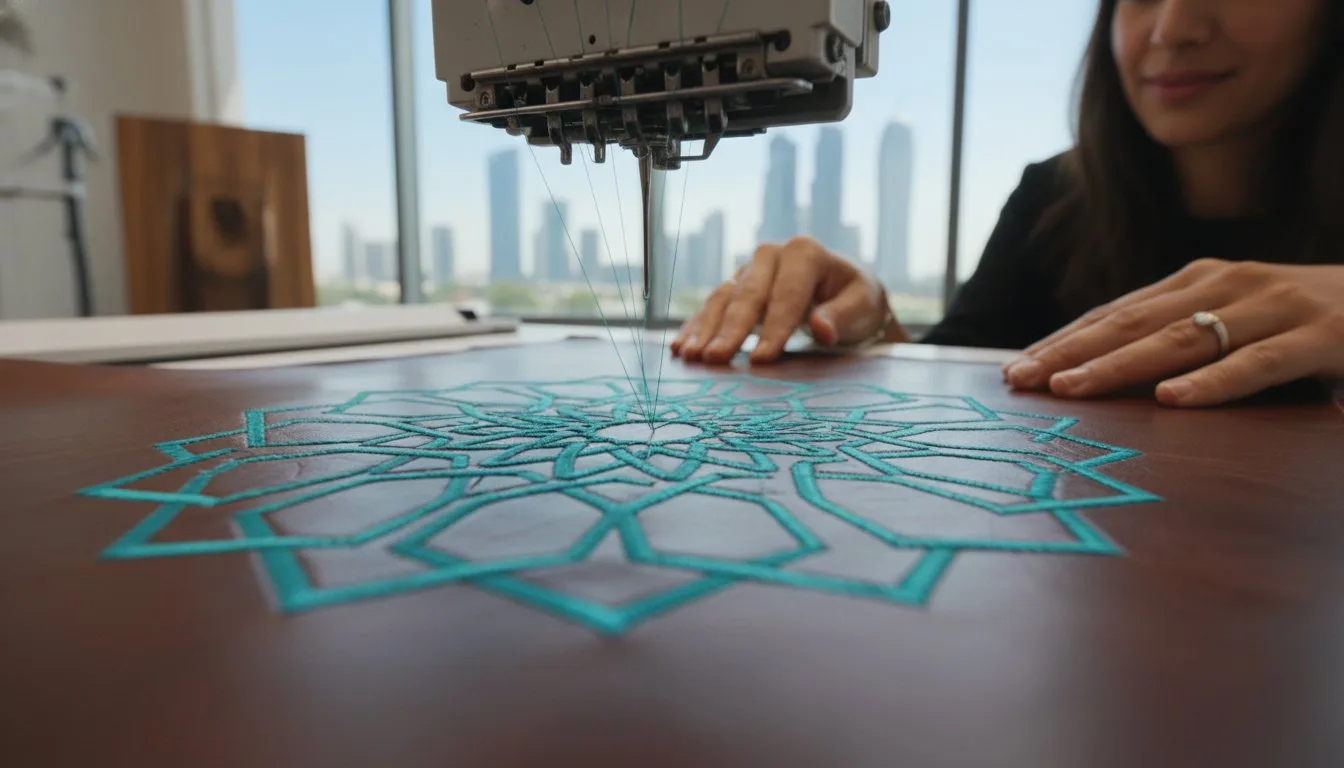
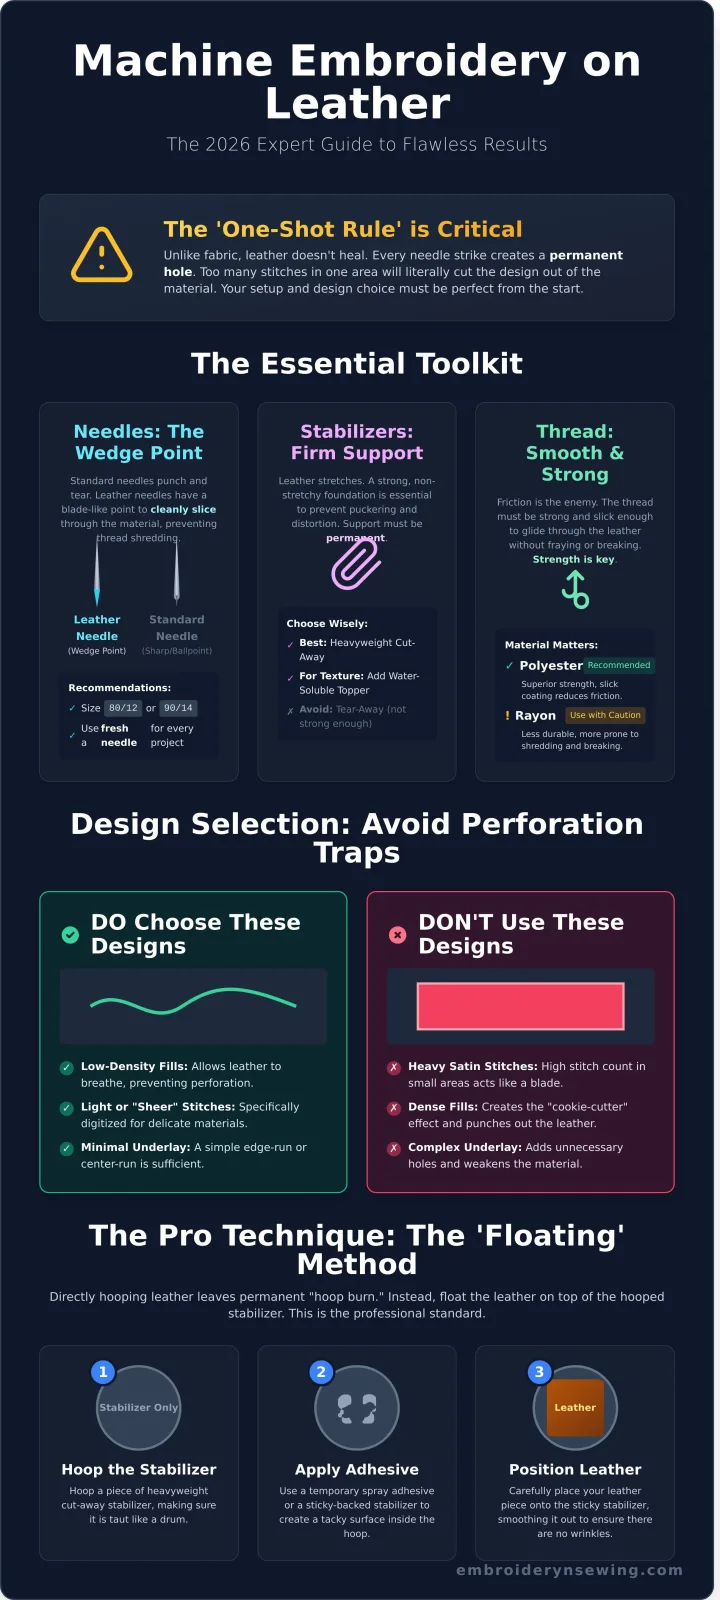
Before you even thread your needle, it’s crucial to understand that leather is fundamentally different from fabric. Unlike woven materials like cotton or linen, leather is a non-woven substrate made from animal hide. This means it has no grain to "heal" around a needle strike. Every single penetration from your machine's needle creates a permanent, unfixable hole. This is what we call the 'One-Shot Rule' in leather embroidery: you only get one chance to get it right.
This permanence is why the process of embroidering on leather with a machine demands precision. Too many stitches packed into a small area can create a 'cookie-cutter' effect, literally perforating the material until the embroidered section punches right out. The entire discipline of Leather crafting is built on respecting the material's unique properties, and embroidery is no exception. Success depends on balancing design integrity with the leather's structural limits, which is often determined by its weight (measured in ounces, where 1 oz equals about 0.4mm of thickness).
The type of leather you choose will dramatically impact your project's outcome. For high-end, delicate work, soft lambskin or Nappa leather (2-3 oz) is the gold standard, but it's less forgiving. Thicker materials like cowhide or buffalo hide are incredibly durable but often require a commercial machine with enough power to punch through cleanly. For beginners, synthetic options like PU leather or marine vinyl are excellent starting points. Their woven fabric backing provides extra stability, making them more forgiving of dense designs.
The Anatomy of a Leather-Safe Design
Not all digital embroidery files are suitable for leather. Look for designs that are specifically digitized for this substrate, often labeled as 'sheer,' 'light,' or 'low-density.' You must learn to spot 'perforation traps'-areas with heavy satin stitches or dense fills that will shred natural hides. When embroidering on leather with a machine, underlay stitching should also be minimal. A simple edge-run or center-run underlay is often sufficient; any more adds unnecessary holes and risks compromising the material.
Diving into embroidering on leather with a machine requires a specific set of tools that differ significantly from those used for fabric. Using the wrong equipment will not only ruin your expensive leather but can also damage your machine. Forget your standard sewing kit; success with leather lies in a specialized approach that respects the material's unique properties.
Needle Science: The Wedge Point Advantage
Your standard sharp or ballpoint needles are designed to pierce through woven fabric threads. On leather, they act like a blunt punch, creating a large, tearing hole that weakens the material and generates immense friction. This friction shreds your thread and can lead to skipped stitches and a messy finish. The solution is a dedicated leather needle, also known as a wedge point needle.
- Slicing Action: A leather needle has a unique point shaped like a small blade, which cleanly slices a tiny incision into the hide. This minimizes resistance and protects both the leather and your thread.
- Size Matters: For most garment or accessory leather, a size 80/12 or 90/14 leather needle is the sweet spot. It's strong enough to penetrate without leaving an overly large hole.
- Replace Often: Leather dulls needles much faster than fabric. For best results, start every new leather project with a fresh needle to ensure clean, crisp stitches.
Stabilizers: Preventing the Stretch
Leather has a surprising amount of stretch, and without proper support, your design will distort and pucker. The goal of a stabilizer is to create a firm, unyielding foundation for the stitches. For this, heavyweight cut-away stabilizer is king. It provides the robust, permanent support leather needs to maintain design integrity, whereas tear-away stabilizers often fail to prevent shifting during the stitching process.
For textured surfaces like suede or embossed leather, consider adding a water-soluble topper. This thin film sits on top of the leather, preventing stitches from sinking into the texture and getting lost. For very thin or soft garment leathers, the "sandwich" technique-placing a stabilizer both underneath and on top of the leather-offers maximum stability.
Thread and Adhesives for a Flawless Finish
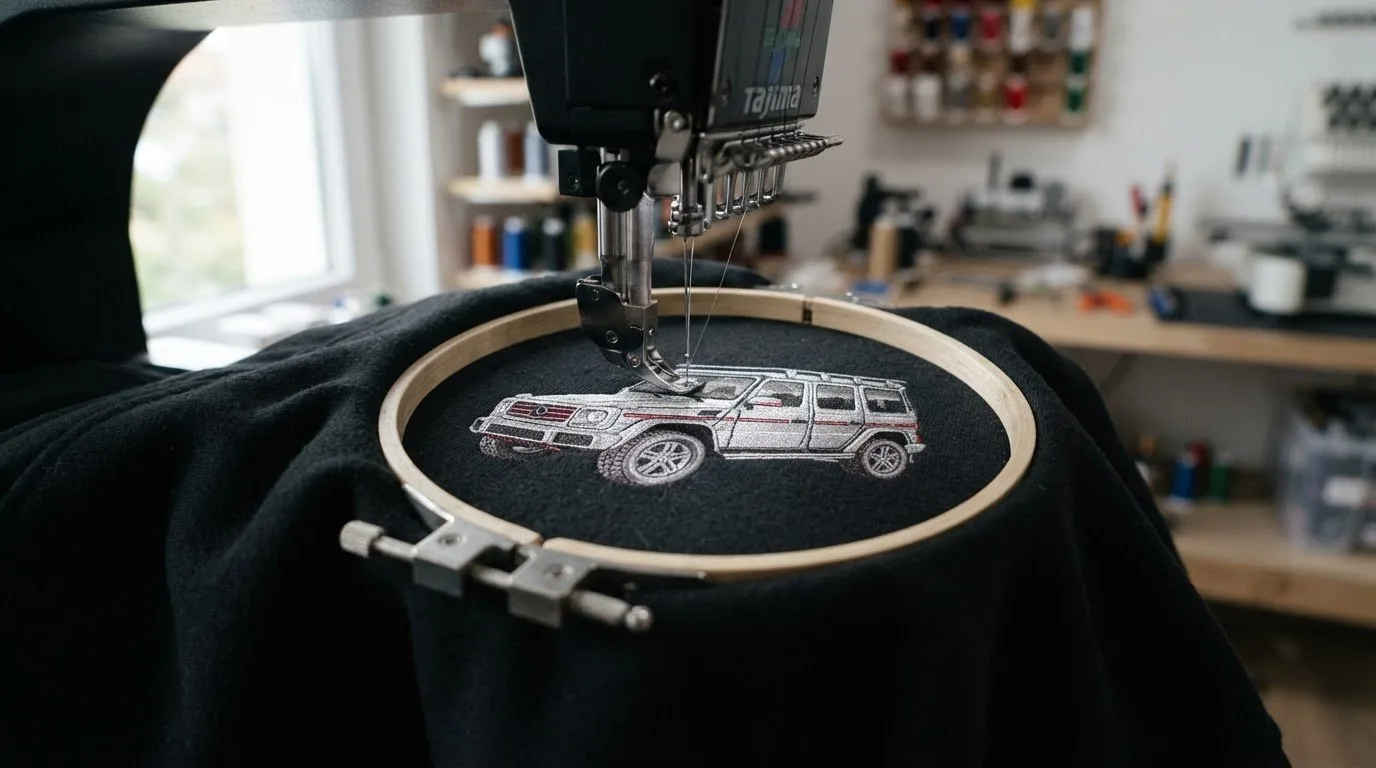
When it comes to thread, friction is the enemy. Polyester embroidery thread is generally recommended over rayon because its superior strength and slick coating help it withstand the friction of passing through the leather. Finally, since hooping leather directly can leave permanent "hoop burn" marks, you'll need tools for the 'floating' method. This no-hoop method is a cornerstone of successful embroidery on real leather as it prevents damage. You’ll hoop only your stabilizer, then use a temporary spray adhesive or specialized embroidery tape to secure the leather piece firmly on top. This ensures your project remains pristine from start to finish.
Selecting the Right Digital Designs for Leather
Leather is not fabric; every needle penetration is a permanent hole that won't self-heal. This makes your choice of digital design the most critical factor when embroidering on leather with a machine. A dense, complex design can effectively perforate the material, causing it to tear or fall apart along the stitch lines.
For this reason, you must avoid designs heavy with 'fill stitches'. These areas of solid color are created by thousands of tiny stitches packed together, which will shred your leather. Instead, opt for lighter styles like 'satin outlines' or 'redwork' designs. These use running stitches and wider satin columns that preserve the material's integrity. Similarly, be wary of small fonts. Tiny text acts like a serrated knife, cutting the leather rather than embellishing it. Before you stitch, always preview your PES or DST file in embroidery software to identify and reduce high-density areas. For reliable results, consider using designs from Embroidery n Sewing that are optimized for light-impact projects.
Density and Stitch Length Adjustments
The key to success is reducing the number of needle penetrations. In your embroidery software, lower the stitch density. While a standard design might have a density of 0.40mm, aim for a safer range of 0.45mm to 0.50mm for leather. You should also increase the stitch length slightly. This "lightens" the design, creating fewer holes per inch and putting significantly less stress on the material.
Best Design Categories for Leather Projects
Certain design types are naturally better suited for the unique challenges of leather. Focusing on these categories will give you a much higher chance of success.
- Monogramming: Choose open, airy fonts instead of dense, blocky styles. Script and sans-serif fonts with wider spacing work beautifully and look classic.
- Line Art & 'Sketch' Styles: These are the safest bet for beginners. They rely on single running stitches to create an image, minimizing perforations while adding a sophisticated touch.
- Appliqué: This is a clever technique where a piece of fabric is stitched onto the leather. It allows you to add bold color and texture while dramatically reducing the total stitch count on the leather itself.
Step-by-Step: The 'Floating' Technique for Leather
The single most important rule when embroidering on leather is to never hoop it directly. The intense pressure from an embroidery hoop will permanently crush the leather fibers, leaving an unsightly, indented mark known as 'hoop burn'. This damage is irreversible. The professional solution is a technique called 'floating', where the leather rests on top of a hooped stabilizer instead of being clamped within it.
This method ensures your leather remains pristine while providing the stability needed for flawless stitching. Slowing your machine down is also crucial; leather is an unforgiving material, and a slower speed reduces needle friction and prevents skipped stitches, giving you superior control.
Mastering the 'Float'
The key to successfully embroidering on leather with a machine lies in a perfectly stable, non-hooped setup. Follow these steps precisely for a secure foundation:
- Hoop the Stabilizer: Tightly hoop a piece of heavy-weight, non-stretch cut-away stabilizer. Ensure it is taut like a drum skin. This is your embroidery canvas.
- Apply Adhesive: Lightly spray the stabilizer with a temporary fabric adhesive. Alternatively, you can use double-sided embroidery tape around the perimeter of your design area.
- Position the Leather: Carefully place your leather piece onto the sticky stabilizer, gently smoothing it from the center outwards to eliminate any wrinkles or air bubbles.
- Baste for Security: Before starting your main design, use your machine’s 'basting stitch' function. This runs a large stitch around the design's outer edge, temporarily tacking the leather to the stabilizer for maximum security.
During the Stitch: Monitoring for Heat and Friction
Leather generates more friction than fabric, causing the needle to heat up quickly. This heat can cause thread to fray or break and can also melt the temporary adhesive, causing it to gum up the needle. To prevent this, consider applying a silicone-based sewing lubricant directly to the needle.
Pay close attention to the sound of your machine. If you start to hear a distinct 'thumping' or 'punching' sound with each stitch, stop immediately. This is the tell-tale sign of a dulling needle that is punching, rather than piercing, the leather. Change to a fresh, sharp leather needle to prevent damaging your project.
Finishing Touches and Troubleshooting Common Issues
You've successfully completed the challenging part of embroidering on leather with a machine, but the job isn't finished yet. Proper cleanup and knowing how to handle common mishaps are what separate an amateur project from a professional-grade piece. These final steps protect both your stitches and the leather itself.
If you encounter a thread jam, or 'birdnesting,' stop the machine immediately. Avoid pulling the leather out. Instead, carefully use sharp snips to cut the tangled threads from both the top and underside. Use tweezers to gently pull out the snipped pieces to prevent scratching or scarring the hide. For minor perforation tears near a stitch line, apply a tiny amount of flexible leather glue to the back of the tear with a toothpick for a nearly invisible repair.
When removing stabilizer, work carefully. For tear-away, hold the stitches down with your finger and tear gently away from the stitching. For cut-away, trim as close as possible without cutting the leather or bobbin threads. If you used a spray adhesive, clean any residue by dabbing a cotton swab with a small amount of isopropyl alcohol. Always test on a hidden scrap or area first, as some leather finishes can be sensitive.
Post-Embroidery Cleanup
The final details make all the difference. Use ultra-sharp, curved embroidery snips to trim jump threads. The curve allows you to get extremely close to the leather surface without accidentally nicking it. If you notice 'hoop burn' from accidental hooping, gently buff the area with a soft cloth and a small amount of leather conditioner. Finally, apply a quality leather conditioner over and around the embroidered area to restore any moisture lost during the process.
Where to Get Leather-Ready Designs
The success of embroidering on leather with a machine starts with the right design file. Standard, dense designs will perforate and destroy leather. We highly recommend exploring the Embroidery n Sewing collection for files specifically digitized with the low-density, minimal underlay stitching that leather requires. Remember, paying for professional digitizing is always cheaper than ruining an expensive leather jacket or bag.
Before you hit 'Start' on your next project, run through this final checklist:
- Needle: Is it a new, sharp, leather-specific needle?
- Stabilizer: Is the correct stabilizer securely adhered without hooping the leather?
- Design: Is it a low-density design intended for leather?
- Speed: Have you reduced your machine's stitching speed?
With the right preparation and finishing techniques, your leather embroidery will look stunning and last for years. Find your next perfect leather-ready design at embroiderynsewing.com today.
Unlocking Your Creativity: Your Next Steps in Leather Embroidery
You've now navigated the essentials of embroidering on leather with a machine, transforming it from an intimidating challenge into an exciting new skill. Remember that your success hinges on a few key principles: always use the correct sharp needle and stabilizer, master the 'floating' technique to avoid permanent hoop marks, and select digital designs with a lower density to respect the material's integrity. These foundational steps are your ticket to a professional, durable finish on every project.
The final piece of the puzzle is a flawless design built for this unique craft. To get started with confidence, why not browse our collection of machine-ready embroidery designs for your next leather project! We offer a wide variety of sports, fonts, and seasonal patterns, all tested for stitch-out reliability. Our high-quality digital files in PES, DST, and EXP formats are ready to bring your vision to life. Grab your leather, fire up your machine, and start creating something truly remarkable today!
Frequently Asked Questions
Can I use a regular sewing machine needle for leather embroidery?
It is highly recommended to use a needle specifically designed for leather. A standard needle has a rounded point that pushes fabric fibers aside. A leather needle, however, has a sharp, wedge-like or chisel point that cleanly pierces the material. Using a regular needle can create large, ragged holes, tear the leather, and potentially damage your machine. For best results, use a leather needle in a size appropriate for your thread and material.
How do I prevent 'hoop burn' on soft lambskin leather?
'Hoop burn' occurs when the pressure of the hoop leaves marks on delicate material. To avoid this, 'float' the lambskin instead of hooping it. Hoop a piece of medium-weight cut-away stabilizer, then use a temporary spray adhesive to lightly secure the leather on top. This method keeps the leather flat without any direct hoop pressure. If you must hoop the leather, place a thin piece of batting or flannel between the hoop and the leather to cushion it.
What is the best type of thread for embroidering on leather?
The best choices are polyester or rayon embroidery thread, typically in a 40-weight size. Polyester thread is incredibly strong, colorfast, and durable, making it perfect for items that will get a lot of use, like jackets or bags. Rayon thread offers a beautiful, high-sheen finish that looks luxurious but is slightly less durable than polyester. Avoid using cotton thread, as the tannins in leather can cause it to weaken and break down over time.
Is it possible to embroider on thick vegetable-tanned leather?
Yes, but it presents a challenge for most home machines. Thick vegetable-tanned leather requires a powerful, heavy-duty machine. If you attempt it, you must use a large, sharp leather needle (e.g., size 110/18 or 120/19) and significantly reduce your machine's stitching speed. Choose a very simple, low-density design. A standard home embroidery machine may struggle to penetrate the material, leading to needle breaks and skipped stitches. It's often best left to semi-industrial machines.
Do I need to use a special stabilizer for faux leather?
Absolutely. A stabilizer is essential to prevent faux leather from stretching or puckering during the embroidery process. A medium-weight cut-away stabilizer is the best all-around choice, as it provides permanent support to the stitches after the project is complete. For textured or very soft faux leathers, consider adding a layer of water-soluble topping. This prevents the stitches from sinking into the material, resulting in a cleaner, more defined design.
What should I do if my embroidery design is too dense for leather?
A design with high stitch density will perforate leather, essentially cutting the design out of the material. You must reduce the density. The best option is to use embroidery digitizing software to lower the stitch count or increase stitch spacing. If you can't edit the design, you must choose another one. Look for designs specifically digitized for leather, which often feature lighter fills, running stitches, or "Redwork" styles that preserve the material's integrity.
Can I embroider on leather with a home embroidery machine like a Brother PE800?
Yes, a home machine like the Brother PE800 is capable of embroidering on leather, provided you work with the right kind. Stick to thinner, softer materials like garment leather, suede, or lambskin. These machines can handle such projects well when equipped with a proper leather needle and stabilizer. For successful embroidering on leather with a machine at home, it's also crucial to slow down the stitching speed and choose designs with a low stitch density.