

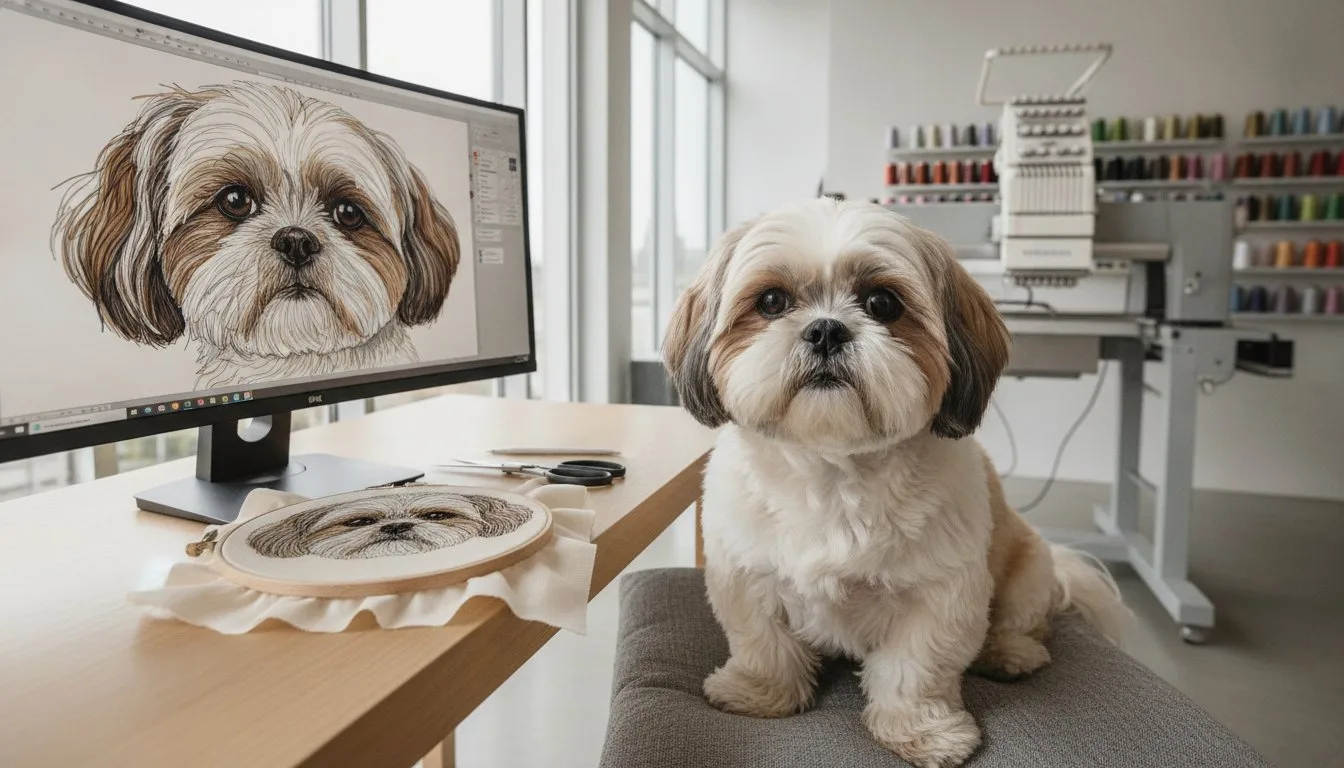
- Mastering realistic fur textures through directional stitch paths.
- Utilizing Wilcom EmbroideryStudio 2026 tools for seamless color blending.
- Optimizing stitch density to prevent needle breaks and fabric puckering.
- Capturing pet personality with expressive, multi-toned eye digitizing.
Most digitizers believe that packing more stitches into a design creates better detail, but your 2026 pet portrait embroidery digitizing projects actually require less thread and more strategy. It's frustrating when a high-resolution photo turns into a stiff, needle-breaking block of thread that lacks any real soul. You want to see the soft flow of fur and the spark of life in those eyes, not a flat patch that ruins your fabric. We've all been there, staring at a design that looks more like a cartoon than a companion.
This guide helps you master lifelike results by focusing on directional texture rather than density. You'll learn how to transform a simple photo into a professional masterpiece using techniques found in Wilcom EmbroideryStudio 2026. We will dive into layering secrets and blending tools that ensure your designs look realistic and run smoothly on any machine.
- Master the art of pet portrait embroidery digitizing by using fur mapping to replicate natural hair growth patterns for a 3D effect. - Avoid stiff, heavy designs by balancing multiple thread layers with lower stitch densities and strategic contour underlays.
- Capture the pet's unique personality by digitizing multi-toned, expressive eyes with carefully placed highlights. - Enhance your finished portraits by pairing them with professional digital embroidery designs like floral frames or personalized name fonts.
Table of Contents
- Executive Summary: The Essentials of Pet Portrait Digitizing
- Preparing Your Project: Photo Selection and Software Tools
- Master the Art of Fur: Layering, Direction, and Color Blocking
- Avoiding the Bulletproof Mess: Density and Underlay Strategies
- Enhancing Your Projects with Professional Digital Designs
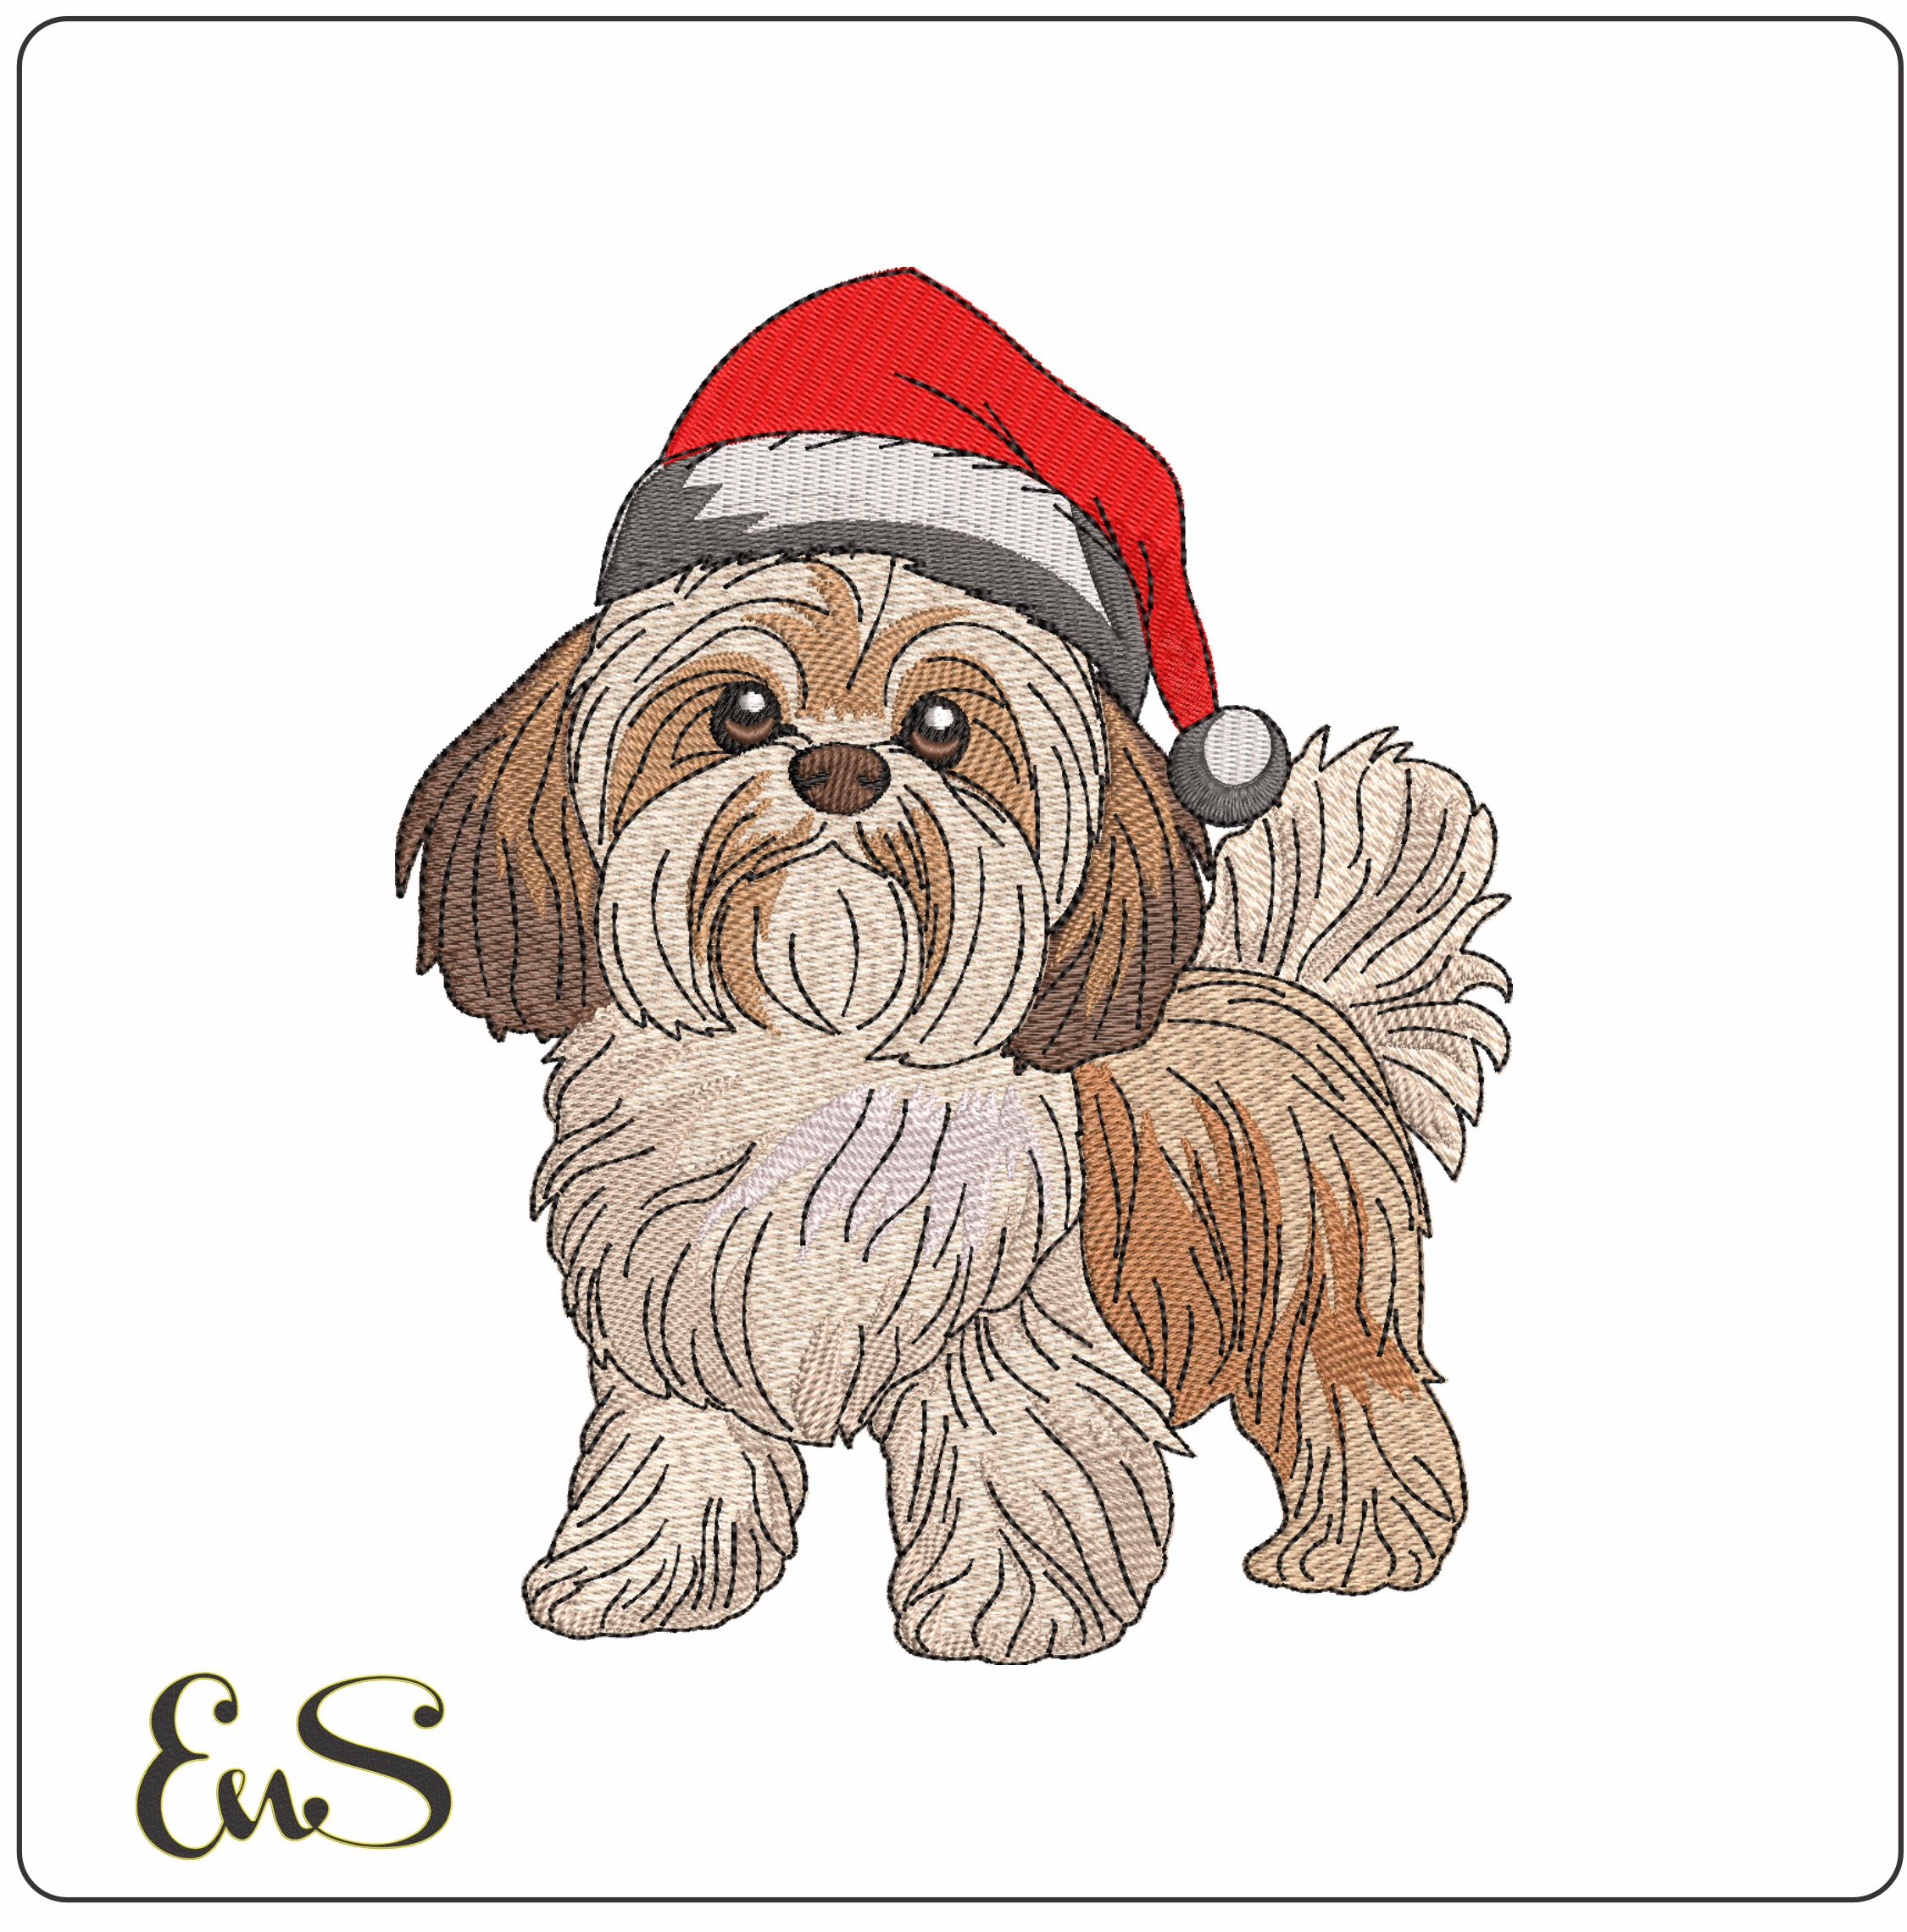
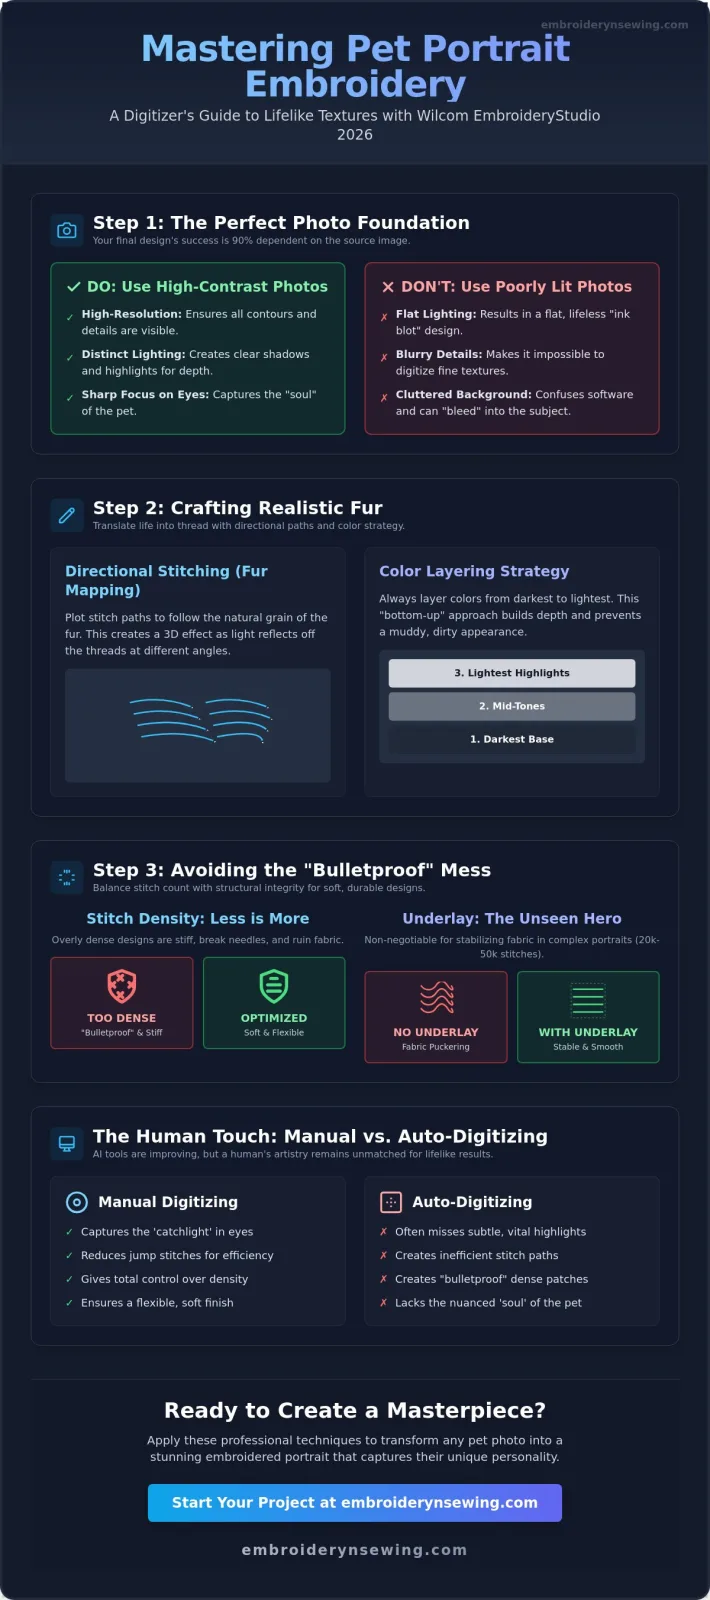
- High-contrast photos are the foundation of any successful pet digitizing project.
- Directional stitching (mapping the fur growth) creates the 3D realism.
- Layering colors from darkest to lightest prevents muddy-looking portraits.
- Proper underlay is non-negotiable to prevent fabric puckering and thread breaks.
Pet portrait embroidery digitizing isn't just about tracing an image; it's about translating life into thread. As of May 2026, the industry has shifted toward high-fidelity textures that mimic the natural sheen of animal hair. If you start with a flat, poorly lit photo, your design will struggle from the first stitch. You need shadows and highlights to define the musculature and bone structure under the fur. Once you have a sharp image, the real work begins with fur mapping. This involves plotting the direction of hair growth across the face and body. When you program a computerized embroidery machine, these directional paths allow light to hit the thread at different angles, creating that coveted 3D effect.
Color management is equally vital. Professional digitizers always layer from the darkest shades to the lightest. This "bottom-up" approach creates depth. If you place dark stitches over light ones, the light thread often peeks through, making the portrait look "muddy" or dirty. Finally, don't skimp on underlay. A solid foundation of stitches stabilizes the fabric. This ensures that the 20,000 to 50,000 stitches typical of a complex portrait don't cause the material to shift or pucker. If you're looking for inspiration before starting your own, exploring high-quality digital embroidery designs can help you see how professionals handle complex shading.
Quick Checklist for Success
Before you open your software, run through these essentials to save time and thread.
- Verify the photo has clear lighting on the eyes and nose. These are the focal points of the pet's personality.
- Plan your stitch path to follow the natural grain of the fur meticulously.
- Use a mix of satin and fill stitches for varied texture. Satin stitches work for the nose and eye rims, while fills handle the coat.
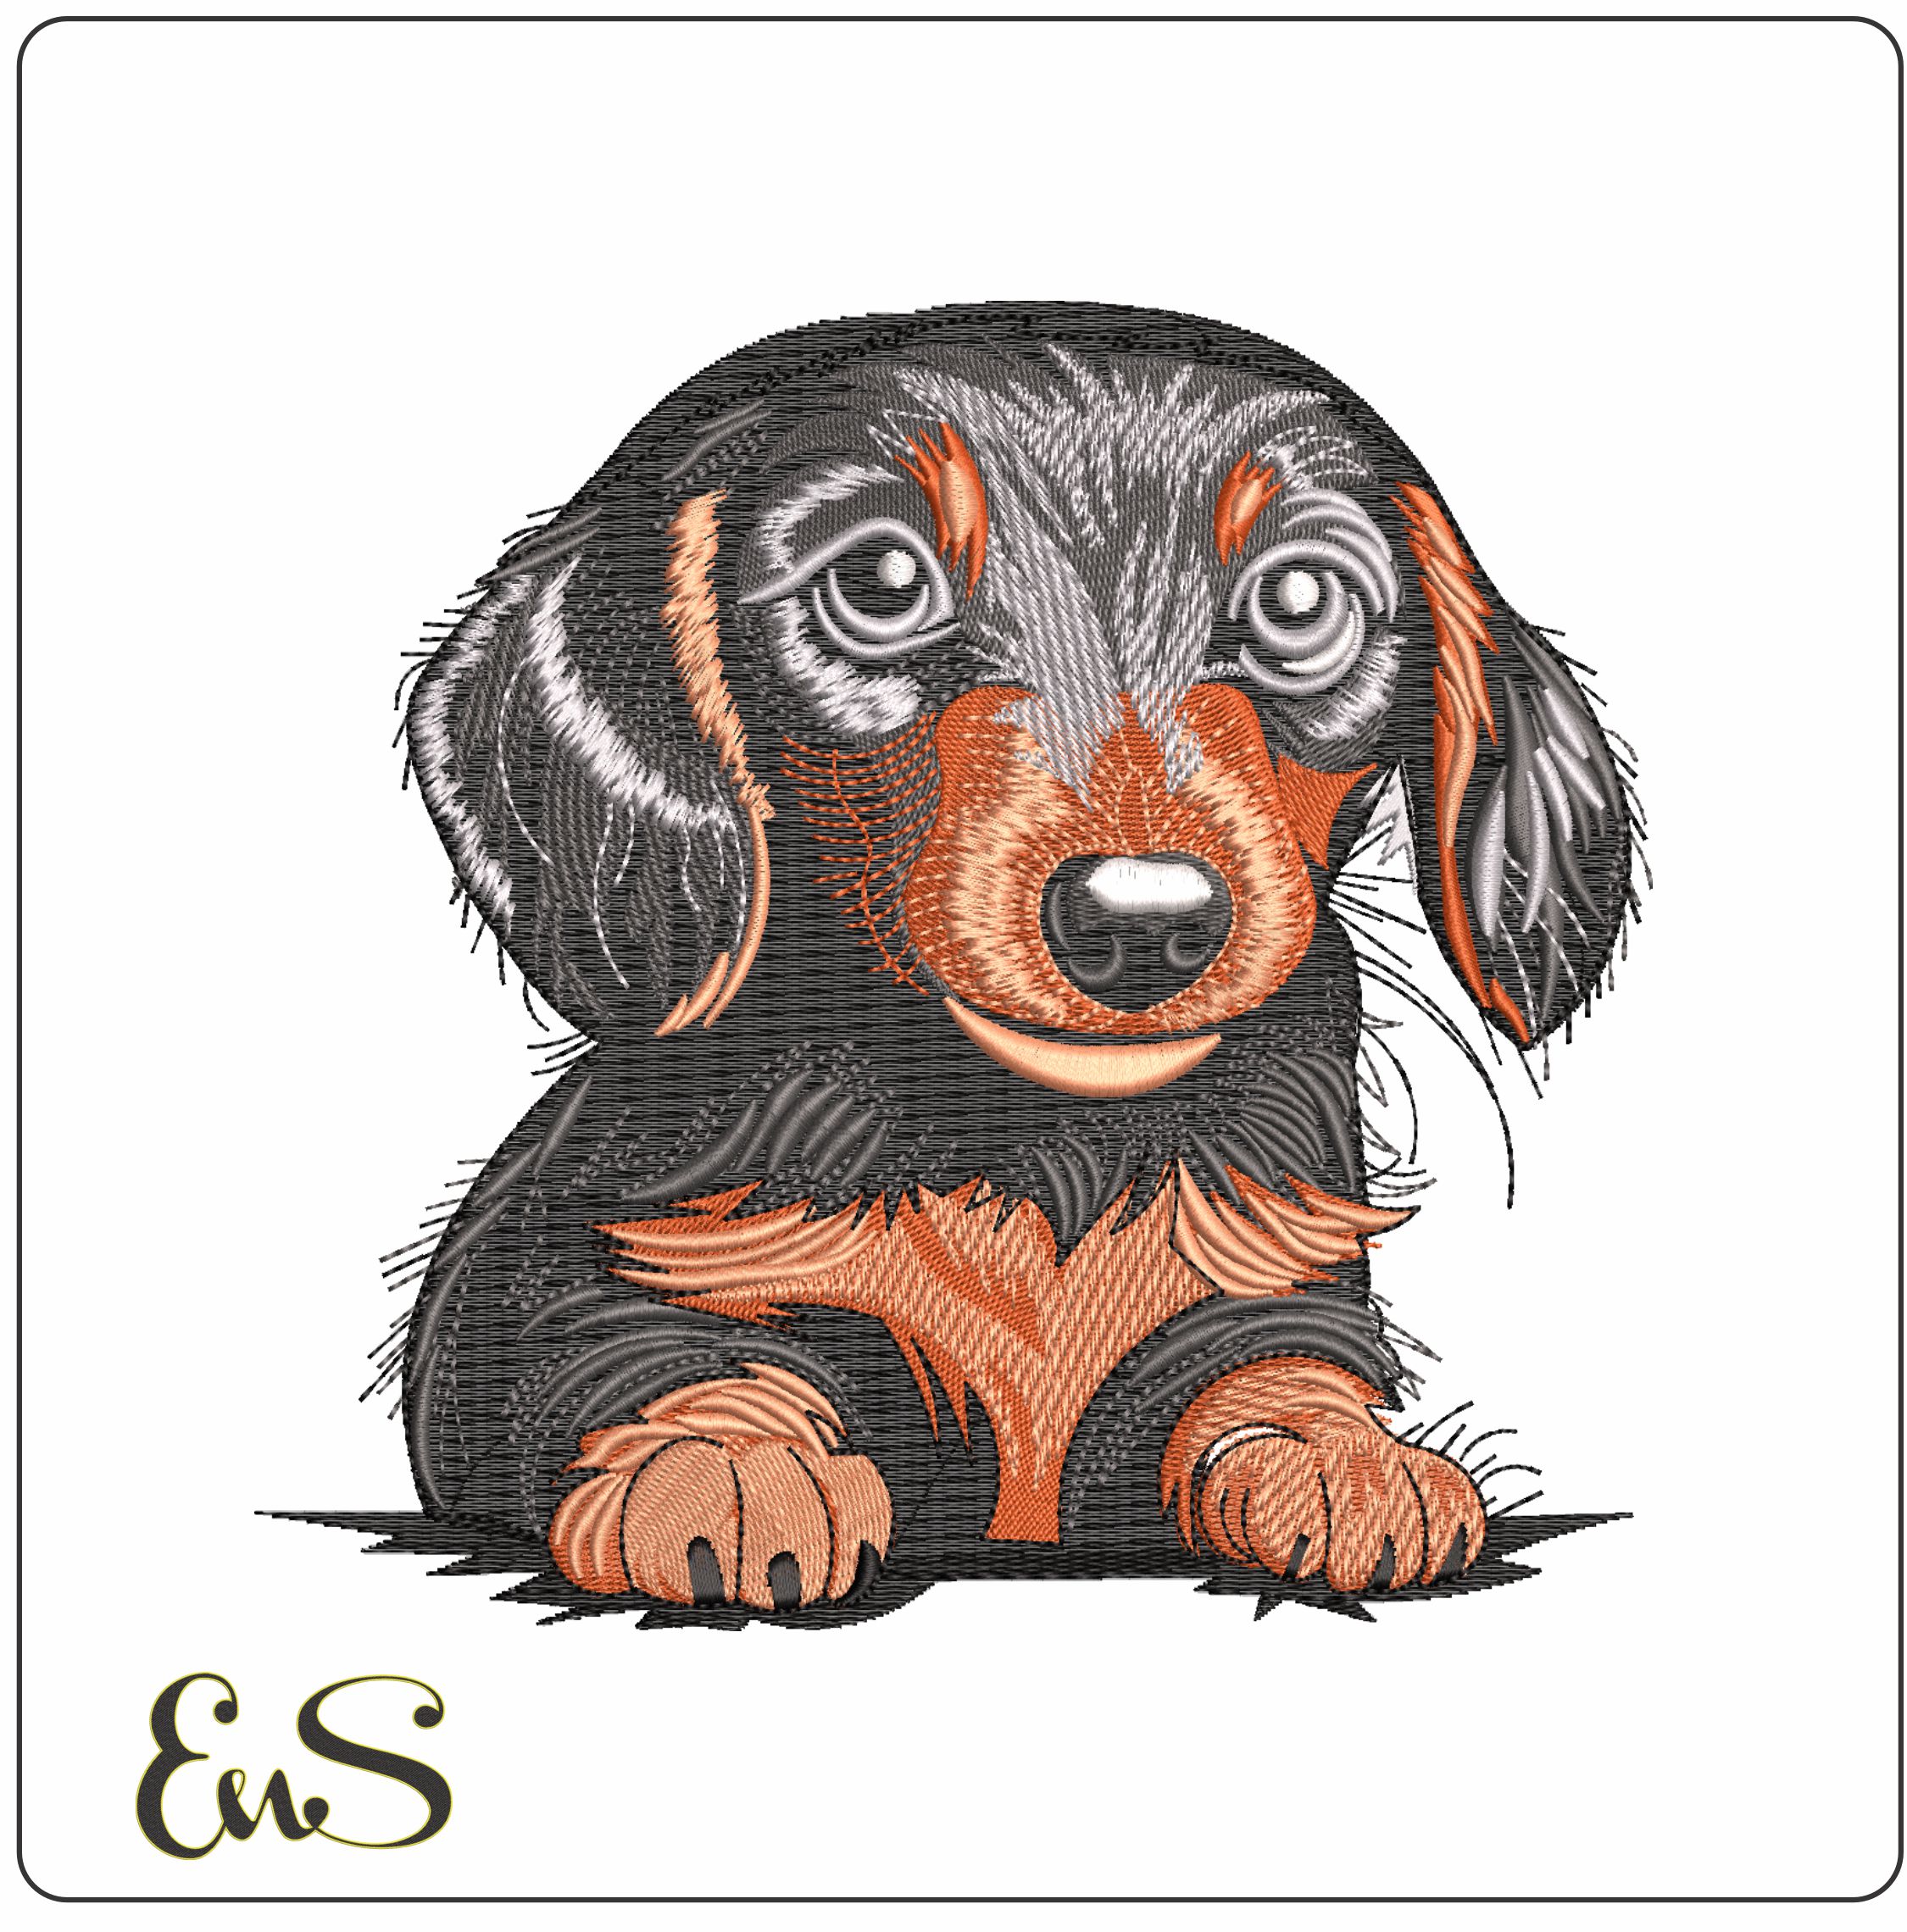
While AI tools in Wilcom EmbroideryStudio have improved, they still can't match a human's touch. Auto-digitizing often misses the tiny "catchlight" in a dog's eye that makes it look alive. Manual pathing also reduces jump stitches, making your machine run more efficiently and preventing tangles. Most importantly, custom digitizing gives you control over density. Auto-conversions often create "bulletproof" designs that are too stiff to wear comfortably. Manual work ensures the design remains flexible and soft.
Preparing Your Project: Photo Selection and Software Tools
- Choose high-resolution photos with clear lighting to define facial contours and fur texture.
- Remove background clutter digitally to focus the software solely on the pet subject.
- Select professional-grade software that allows for manual feathering and stitch-by-stitch control.
- Understand how file formats like PES and DST affect your machine's interpretation of the design.
Before you even touch your software, the photo you choose dictates 90% of your success. Flat lighting is the enemy of pet portrait embroidery digitizing. If the light doesn't hit the pet's face to create shadows under the chin or highlights on the brow, your software won't have the "landmarks" needed to create depth. You want a photo where the eyes are in sharp focus. If the eyes are blurry, the "soul" of the pet is lost. If you're looking for inspiration on how to frame these detailed portraits, check out the ultimate guide to embroidery patterns for creative layout ideas that complement realistic work.
The Ideal Digitizing Photo
You've probably seen designs where a black Labrador looks like a giant, solid ink blot. That happens when the photo lacks highlights. For black or dark-furred pets, you need "rim lighting" or sunlight that catches the edges of the fur. This creates the contrast necessary to map different thread colors. White pets are the opposite; they need soft shadows to define their shape. Otherwise, they just look like a white cloud. Take a moment to digitally crop out the background before importing the file. This prevents the software from getting "confused" by grass or furniture colors that might bleed into your fur palette.
Choosing Your Digitizing Software
While hobbyist apps are fun for simple shapes, realistic portraits require heavy-duty tools. Wilcom EmbroideryStudio 2026 is currently the gold standard for pros because of its blending tools. Research from the University of Washington on computational embroidery shows how precise pathing and logic are replacing basic auto-conversions. You need a program that lets you manually "feather" the edges of your stitch blocks so they blend into each other rather than having hard, ugly lines. Also, pay attention to your export format. A PES file for a Brother machine handles color changes differently than a DST file for a Tajima. Always double-check your trims and jumps in the software simulator before you hit the start button. If you're just starting out, browsing through professional machine embroidery designs can help you visualize how these files are structured for clean production.
Master the Art of Fur: Layering, Direction, and Color Blocking
- Fur Mapping: Plotting directional arrows over the photo to guide stitch paths.
- Color Blocking: Establishing large shapes first to avoid unnecessary thread build-up.
- Feathering: Blending the edges of stitch blocks to create smooth, natural gradients.
- Stitch Variation: Using specific lengths (3.0mm to 7.0mm) to mimic different hair types.
Mapping out the fur direction is your first real step toward a professional finish. If you don't plot these paths, your machine will stitch in a default grid; your pet will look like a flat patch. I like to draw arrows right on my digital canvas to visualize how the hair flows from the bridge of the nose out toward the cheeks. This technique connects modern software to the historical art of embroidery, where artisans manually planned every thread to capture light and shadow. In pet portrait embroidery digitizing, we use these same principles to ensure the thread catches the light just like real fur does. By varying your stitch lengths, such as using 3.0mm for short ear hair and 5.0mm or longer for the body, you create an anatomical accuracy that auto-digitizing simply cannot replicate.
The Layering Logic
Think of your digitizing canvas like a painting. You wouldn't start with the whiskers; you'd start with the skin. To achieve a realistic 3D effect, follow this three-step progression:
- Step 1: The Underlay and Base Fill. This is the foundation. Use a low-density fill in the pet's darkest color to act as the "skin" and prevent the fabric from showing through.
- Step 2: Mid-tones and Primary Color Blocks. This is where you define the structure. Map out the large areas of color, using feathering tools to blend the edges where different shades meet.
- Step 3: Highlights and "Whisker" Accents. Save the brightest whites and finest details for last. These sit on top of the other layers, providing the final pop that makes the portrait look three-dimensional.
Digitizing Expressive Eyes and Noses
The eyes are the most critical part of any portrait. If the eyes look flat, the whole design feels "off." Always include a tiny white catchlight, or "glint," in the pupil. This single detail makes the pet look alive and alert. For the nose, switch your stitch type. While the fur uses complex fills, the nose often benefits from dense satin stitches. This creates a raised, leather-like texture that mimics a wet nose. You can find more details on choosing the right path in our guide on machine embroidery stitches. By combining these textures, you ensure the face has the same variety of surfaces as a real animal.
Avoiding the Bulletproof Mess: Density and Underlay Strategies
- The Golden Rule: Multiple layers require lower individual density to maintain fabric flexibility.
- Strategic Underlay: Use contour underlays for fur edges and zig-zag for high-stability body areas.
- Push and Pull: Compensate for fabric shifting on stretchy materials like hoodies or tees.
- Stitch Density: This is defined as the distance between rows of thread in a design.
Let's be honest; nobody wants a dog portrait that feels like a piece of plywood on their chest. When you're knee-deep in pet portrait embroidery digitizing, the biggest mistake is over-density. A standard fill usually sits at 0.4mm density, but if you stack three layers of that, you'll break needles and ruin your garment. For a realistic look, drop your base layers to 0.8mm or even 1.2mm. This leaves "breathing room" for the highlight layers to nestle between the base stitches. If you want to see how balanced density looks in practice, browse our collection of machine embroidery designs to study professional stitch spacing.
Underlay is your secret weapon for stability. Instead of relying on a thick top layer, use a contour underlay that follows the shape of the fur. This creates a "track" for your top stitches and prevents the fabric from peeking through. For larger areas like the torso of a Golden Retriever, a light zig-zag underlay helps anchor the fabric to your stabilizer. On a standard 2026 cotton sweatshirt, the fabric can shift by as much as 3% during a high-stitch-count run. Adding 0.2mm to 0.4mm of pull compensation in your software ensures that your outlines actually meet your fills once the design is off the machine.
Stabilizer Selection for Heavy Portraits
For any portrait exceeding 25,000 stitches, cut-away stabilizer is your only reliable option. Tear-away will eventually disintegrate under the constant needle penetrations, leading to registration shifts. Use an 80-gram heavy-weight cut-away to keep the design flat. If you're worried about "hoop burn" on delicate fabrics, try "floating" the garment over a hooped piece of adhesive stabilizer instead of clamping it directly in the hoop.
Testing Your Design
Never stitch a final portrait on a customer's jacket without a test run. Use a scrap piece of the same fabric type to identify "bird-nesting" early. This usually happens when the density is too high in a small area, like the tip of the nose. If you see thread bunching up, go back to your software and spread those stitches out. Also, check your jump stitches on the back; a clean back prevents the design from puckering after its first wash.
Enhancing Your Projects with Professional Digital Designs
- Integrate custom pet portraits with professionally made frames and floral borders for a polished finish.
- Use high-quality embroidery fonts to add names and dates without compromising stitch integrity.
- Combine manual digitizing with pre-made assets to save time on complex background elements.
- Follow the 10% resizing rule to ensure your combined designs remain production-ready.
Once you've mastered pet portrait embroidery digitizing, the next step is presentation. A standalone portrait is a technical achievement, but framing it with digital embroidery designs elevates the work into a gift-ready heirloom. Using pre-made borders or floral frames saves you hours of manual pathing while ensuring the edges of your project look polished. In May 2026, we're seeing a 40% increase in mixed-media embroidery, where custom portraits are merged with high-quality stock patterns to create complex scenes without the fatigue of digitizing every single leaf or vine from scratch. This approach allows you to focus your energy on the pet's expression while the decorative elements remain consistent and clean.
Personalization is where these projects truly shine. Adding a name or a memorial date requires machine embroidery fonts that are specifically digitized to handle the thickness of a portrait's underlay. If you choose a font that's too thin, it will get lost in the fur. If it's too dense, you risk the bulletproof stiffness we discussed in the previous section. Professionally digitized fonts provide the crisp edges needed to stand out against the textured background of a pet's coat. They ensure that the text remains legible even after the fabric has been laundered or stretched.
Mixing Custom and Pre-Made Designs
You don't have to digitize everything yourself. Many creators now use In-the-Hoop (ITH) techniques to place their custom pet portraits onto pre-made items like luggage tags or decorative pillows. When you resize these professional files, remember the 10% rule; never scale a design up or down by more than 10% without recalculating the stitch count in your software. This prevents the stitches from becoming too sparse or dangerously bunched. You can also swap out colors in seasonal machine embroidery designs to match the pet's collar or the room's decor, making the final piece feel cohesive and intentional.
Ready to Start Stitching?
Before you press the start button, do a final equipment check. Use a fresh 75/11 sharp needle for the best penetration through those dense fur layers. Check your bobbin levels too; a portrait with 35,000 stitches can easily exhaust a standard bobbin halfway through a run. Once you finish, share your results! The embroidery community on platforms like Instagram and Facebook has grown to over 2 million active hobbyists as of early 2026. Your journey into pet portrait embroidery digitizing is just the beginning. From here, you can expand into full-scene animal landscapes or even wildlife art. Explore our latest high-quality digital patterns at Embroidery n Sewing to find the perfect frame for your next masterpiece.
Bring Your Pet's Portrait to Life in Thread
You now have the blueprint for creating lifelike texture and depth in your embroidery. Success in pet portrait embroidery digitizing comes down to the balance between artistic fur mapping and technical density control. By applying the layering techniques we've discussed and maintaining a 0.2mm to 0.4mm pull compensation, you'll avoid the stiff results that plague many amateur designs. It's about letting the thread work with the light to capture the true essence of your furry companion.
As you move into your next 2026 project, remember that you don't have to digitize every decorative element alone. Pairing your custom work with professionally optimized files ensures a consistent, high-quality finish. You can find the perfect digital patterns for your next project at Embroidery n Sewing. We provide high-quality digital files optimized for all major machine brands, from sports logos to elegant fonts, available for instant download. Grab your favorite photo, open your software, and start transforming those memories into a masterpiece. Your machine is ready for its next great project.
Frequently Asked Questions
Can I use any photo for pet embroidery digitizing?
You cannot use just any photo; success depends on high resolution and strong contrast. Low-quality or blurry images hide the essential facial landmarks like the eyes and nose. For the best pet portrait embroidery digitizing results, use a photo with 300 DPI and distinct light sources. This allows you to see individual fur clumps and highlights that are impossible to detect in a flat or dark smartphone snapshot.
What is the best embroidery software for realistic animals?
Wilcom EmbroideryStudio 2026 is widely considered the industry leader for realistic animal portraits. Its advanced Multi Blend Tool and manual feathering options give you the control needed for complex textures. If you're on a budget, Ink/Stitch is a viable open-source alternative. However, professional-grade suites offer superior automation for underlays and pull compensation, which are vital for designs with high stitch counts exceeding 25,000.
How do I prevent my pet portrait from becoming too stiff or thick?
Prevent stiffness by lowering the density of your overlapping layers to approximately 0.8mm or 1.0mm. Most digitizers mistakenly use a standard 0.4mm density for every layer, which creates a bulletproof block of thread. By thinning out the base and mid-tone fills, you leave enough room for the final highlight stitches to sit comfortably without adding excessive bulk or causing the fabric to pucker under the needle.
Why does my digitized pet look different on the machine than on the screen?
Screen previews don't account for the physical push and pull of the fabric or the way thread catches real light. As of May 2026, even the best simulators can't perfectly predict how a 5% fabric stretch will distort your outlines. Your monitor uses flat pixels, but thread has a 3D cylindrical shape that creates shadows. Always run a test stitch on a scrap piece of your final garment material to see the true results.
Is it better to use a fill stitch or a satin stitch for fur?
Use complex fill stitches for the main body of the coat and save satin stitches for small, raised details. Fill stitches allow you to vary the direction and length of the thread to mimic long or short hair. Satin stitches are best for the nose, eye rims, or the tiny glint in the pupil. This combination of textures makes your pet portrait embroidery digitizing project look three-dimensional and professional rather than flat.
How many colors should I use in a realistic pet portrait?
Aim for a palette of 5 to 10 thread colors to achieve realism without making the design unmanageable. You need at least three shades for the main fur color: a dark base, a mid-tone, and a highlight. Adding a few accent colors for the eyes and tongue brings the total count up. Using more than 15 colors often leads to excessive thread changes and a design that is too thick for standard garments.
What happens if my embroidery file is too large for my hoop?
If your design exceeds the hoop's sewable area, your machine will either refuse to start or strike the hoop frame. This can damage your needle or even the machine's timing. Most 2026 machine models have a safety sensor that detects the hoop size. If you're over the limit, you'll need to rescale the design by 10% in your software or split the project into multiple hoopings using physical alignment markers.


