
For easy ways to thread a 15-needle embroidery machine, follow the selected needle's thread path from the spool through its guides, tension area and take-up lever, then down to the needle. To pass thread through the eye, loop it over the needle, pinch the thread so only a small section shows, and push that section through the eye.
Threading can feel fiddly, especially when a missed guide or loose thread causes tangles or breaks. A clear sequence makes the task easier to repeat. This guide covers setting up the thread path, using the loop-over-needle method, and checking common causes of bird nesting and thread breaks so you can get back to stitching with more confidence.
Key Takeaways
- Trace each selected thread through its guides and tension area in order to reduce missed steps.
- Use the loop-over-needle method to guide a small section of thread through the eye.
- Learn which tension, needle, and thread issues can contribute to bird nesting or breaks, and when to replace a needle.
- Once your machine is ready, explore our Sports Embroidery designs for your next project.
Avoiding Bird Nesting and Thread Breaks
To reduce tangles, restore the thread path, then check the tension, needle condition, and bobbin fit. Stop the machine before threading or clearing a snag, and keep your fingers clear of the needle.
- Restore thread after a break or runout. Stop stitching, remove loose thread, and rethread the affected needle from its spool through each guide. Follow the machine's marked path, making sure the thread sits correctly in the tension area and take-up lever. Don't tie new thread to a frayed end, since knots can catch in the guides. Before restarting, gently pull the thread through the needle eye and clear loose strands beneath the hoop.
- Set thread tension after threading. Start with the machine's usual tension setting, then sew a small test design on similar fabric. Inspect both sides: uneven stitches or loops can indicate that tension needs adjusting. Make small changes and test after each one instead of making a large correction. Bird nesting beneath the fabric can also result from incorrect threading, so recheck the guides before tightening the tension. Keep the upper thread seated in the tension path. Our guide to troubleshooting machine embroidery tension covers this in more depth.
- Check the needle, thread, and bobbin. Replace a needle after three thread breaks in quick succession. For most commercial multi-needle machines using 40-weight thread, size 75/11 is a standard starting point. Polyester embroidery thread in 40 weight is a common machine choice. Check that the bobbin class matches the machine; L, M, and A classes aren't interchangeable. A bent, dull, or mismatched needle can contribute to breaks, so confirm its condition and fit before restarting the design.
Following the Upper-Thread Guide Sequence
These easy ways to thread a 15 needle embroidery machine begin with matching each spool to its needle station. Find the threading diagram in the manual for your exact model or printed on the machine.
- Identify the spool and needle position before routing the thread. Match the selected thread station to its needle number to prevent strands crossing between positions. Leave unused threads in their own guides, and work on one color path at a time.
- Lead the thread from the spool through the first guide, then follow each marked guide in sequence. Route it through the tension area and take-up lever as shown for your model. Keep the thread inside every guide rather than passing it over a hook or guessing the route.
- Continue through the lower guide above the needle bar, then pass thread through the matching needle eye. Keep the strand straight and untwisted. For easy ways to thread a 15 needle embroidery machine accurately, trace the machine's diagram from spool to needle instead of copying an adjacent station.
- Repeat the model-specific path for each needle you plan to use. Gently pull the thread near the needle to check for snags. Confirm that the take-up lever is threaded and the strand remains in the tension path. A missed guide can disrupt thread feeding during stitching.
Looping Thread Over a Needle to Help Thread Its Eye
Looping thread over a needle can make threading the eye easier when the end is frayed or difficult to guide. Use the selected needle and follow your machine's threading instructions.
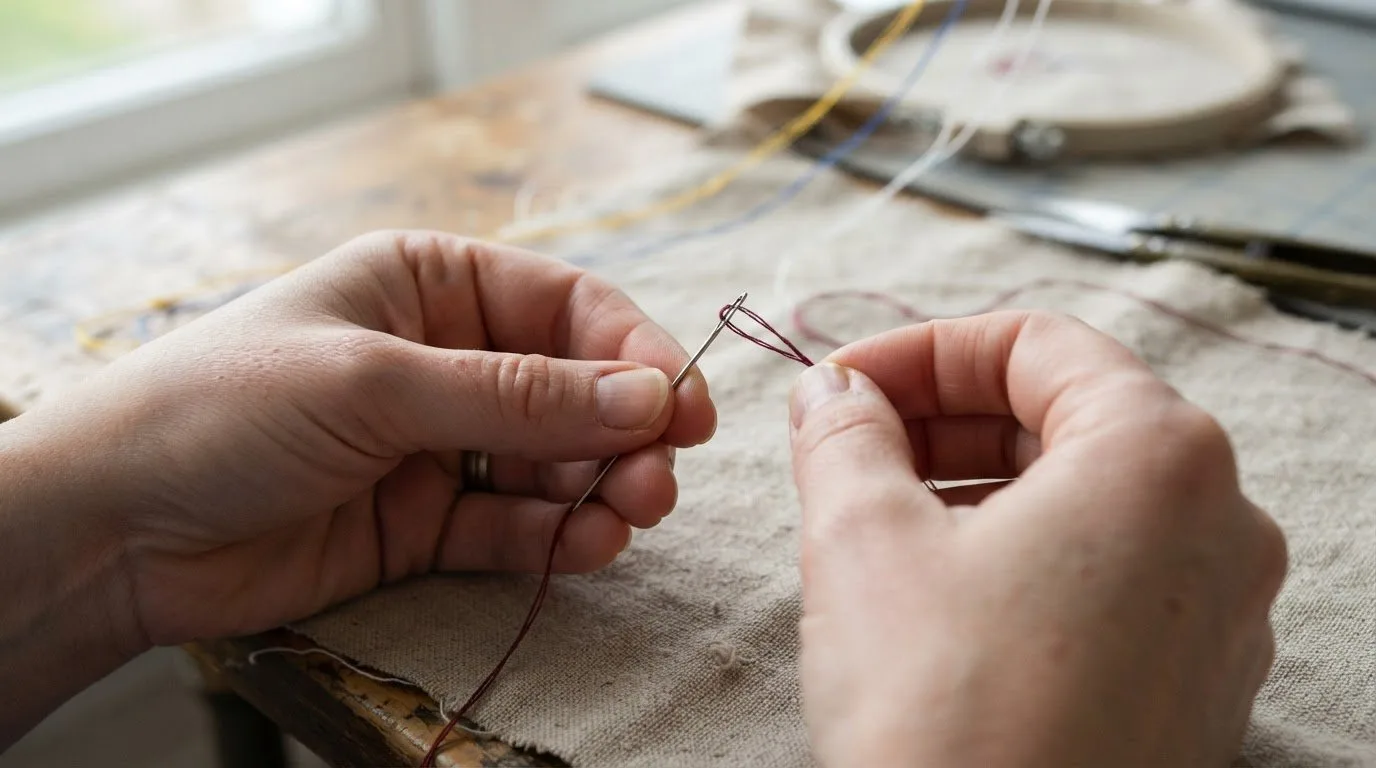
- Trim the thread end if it is badly frayed, then hold the needle steady. Loop the thread over the needle and pinch it between your fingers. Leave only a small section visible, then push that folded section through the eye. Pull the thread through gently, without scraping it against the needle.
- Use the loop-over-needle method when the thread end won't pass cleanly through the eye. A needle threader can also help. Choose one suited to the needle and handle it gently. Keep the machine stopped while working near the needle, and don't pull hard enough to bend the needle or damage the thread.
- If your machine has an automatic needle threader, select the correct needle position and follow the model's manual. Lower or engage the threader as instructed, place the thread in its guide, and release the mechanism only as directed. Automatic threaders vary, so don't force a lever or threader hook that resists movement.
- For rayon or polyester, route the thread through the same machine guides in the sequence shown for that needle. Keep each spool matched to its thread path, and seat the thread correctly in the tension area. Polyester embroidery thread in 40 weight is a standard machine-embroidery choice; see our complete guide to choosing the best embroidery thread. After threading, pull gently through the eye to ensure the strand moves freely.
Embroidery n Sewing: Sports Embroidery
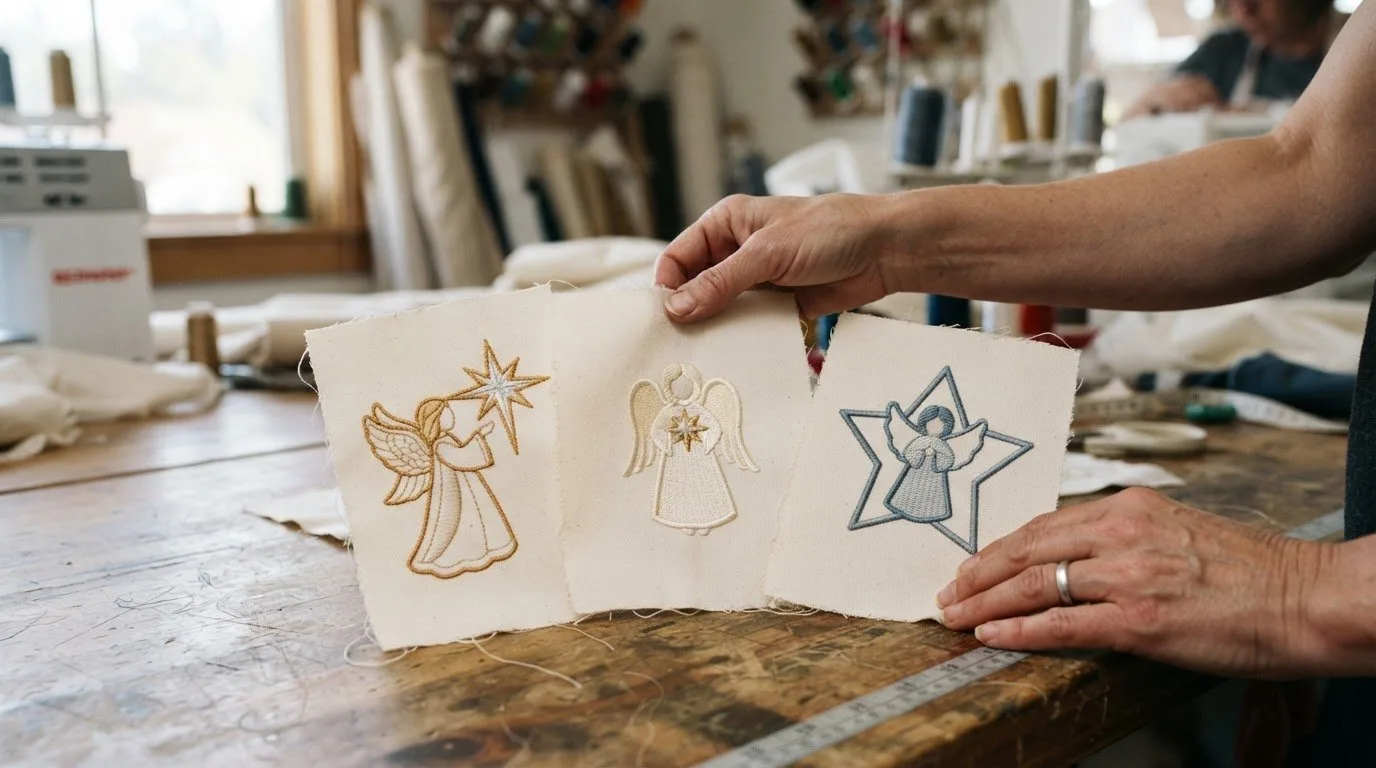
Embroidery n Sewing offers sports embroidery designs for crafters choosing a theme for their next machine-embroidery project. Once your threading is set, explore sports designs for inspiration that fits your project. Multi-colour team designs are a great test of all 15 stations; try our Buffalo Bills stadium design, Chicago Bears Wrigley Field design or Eagle Hitter baseball design. Narrowing a broad sports theme to a specific subject can help you move from machine setup to planning your stitch-out.
Choose a Design for Your Next Stitch-Out
Once your machine is ready, let the design guide your next creative decision. These easy ways to thread a 15-needle embroidery machine can help you approach setup with a repeatable process, leaving more attention for the project itself. Consider the fabric, intended placement, and visual style before choosing a design, so your next stitch-out has a clear direction. Our embroidery color matching guide can help you pick the right thread colors for each station.
Embroidery n Sewing offers digital embroidery designs, machine embroidery designs, and college embroidery designs to inspire different project themes. Browse our best-selling embroidery designs for an idea that fits what you want to create, then plan your materials and stitching approach around that design. If you'd like to explore your options, contact Embroidery n Sewing. Choose a theme that excites you, prepare your machine carefully, and enjoy bringing your next embroidery idea to life.
Frequently Asked Questions
How do you thread a 15-needle embroidery machine step by step?
Thread one needle station at a time, starting with the spool assigned to that needle. Follow its printed path, then compare it with the machine's threading diagram before moving to the next color. For example, if you're threading the second needle, keep its thread in that station's guides rather than using a neighboring route.
Where are the thread guides and tension discs on a typical 15-needle embroidery machine?
Guides sit along the thread path between each spool position and its needle. Trace the route from the spool stand toward the needle: guides direct the thread, while the tension discs sit in the tension area along that path. Use the diagram for your exact model to identify each part, since machine layouts differ.
What are common threading mistakes and how can you avoid them?
Common mistakes include using the wrong spool station, skipping a guide, or letting thread tangle around another strand. Compare the spool and needle positions before threading, then inspect the full route before sewing. If the thread catches during a test stitch, stop and retrace that station's path instead of pulling harder or changing several settings at once.