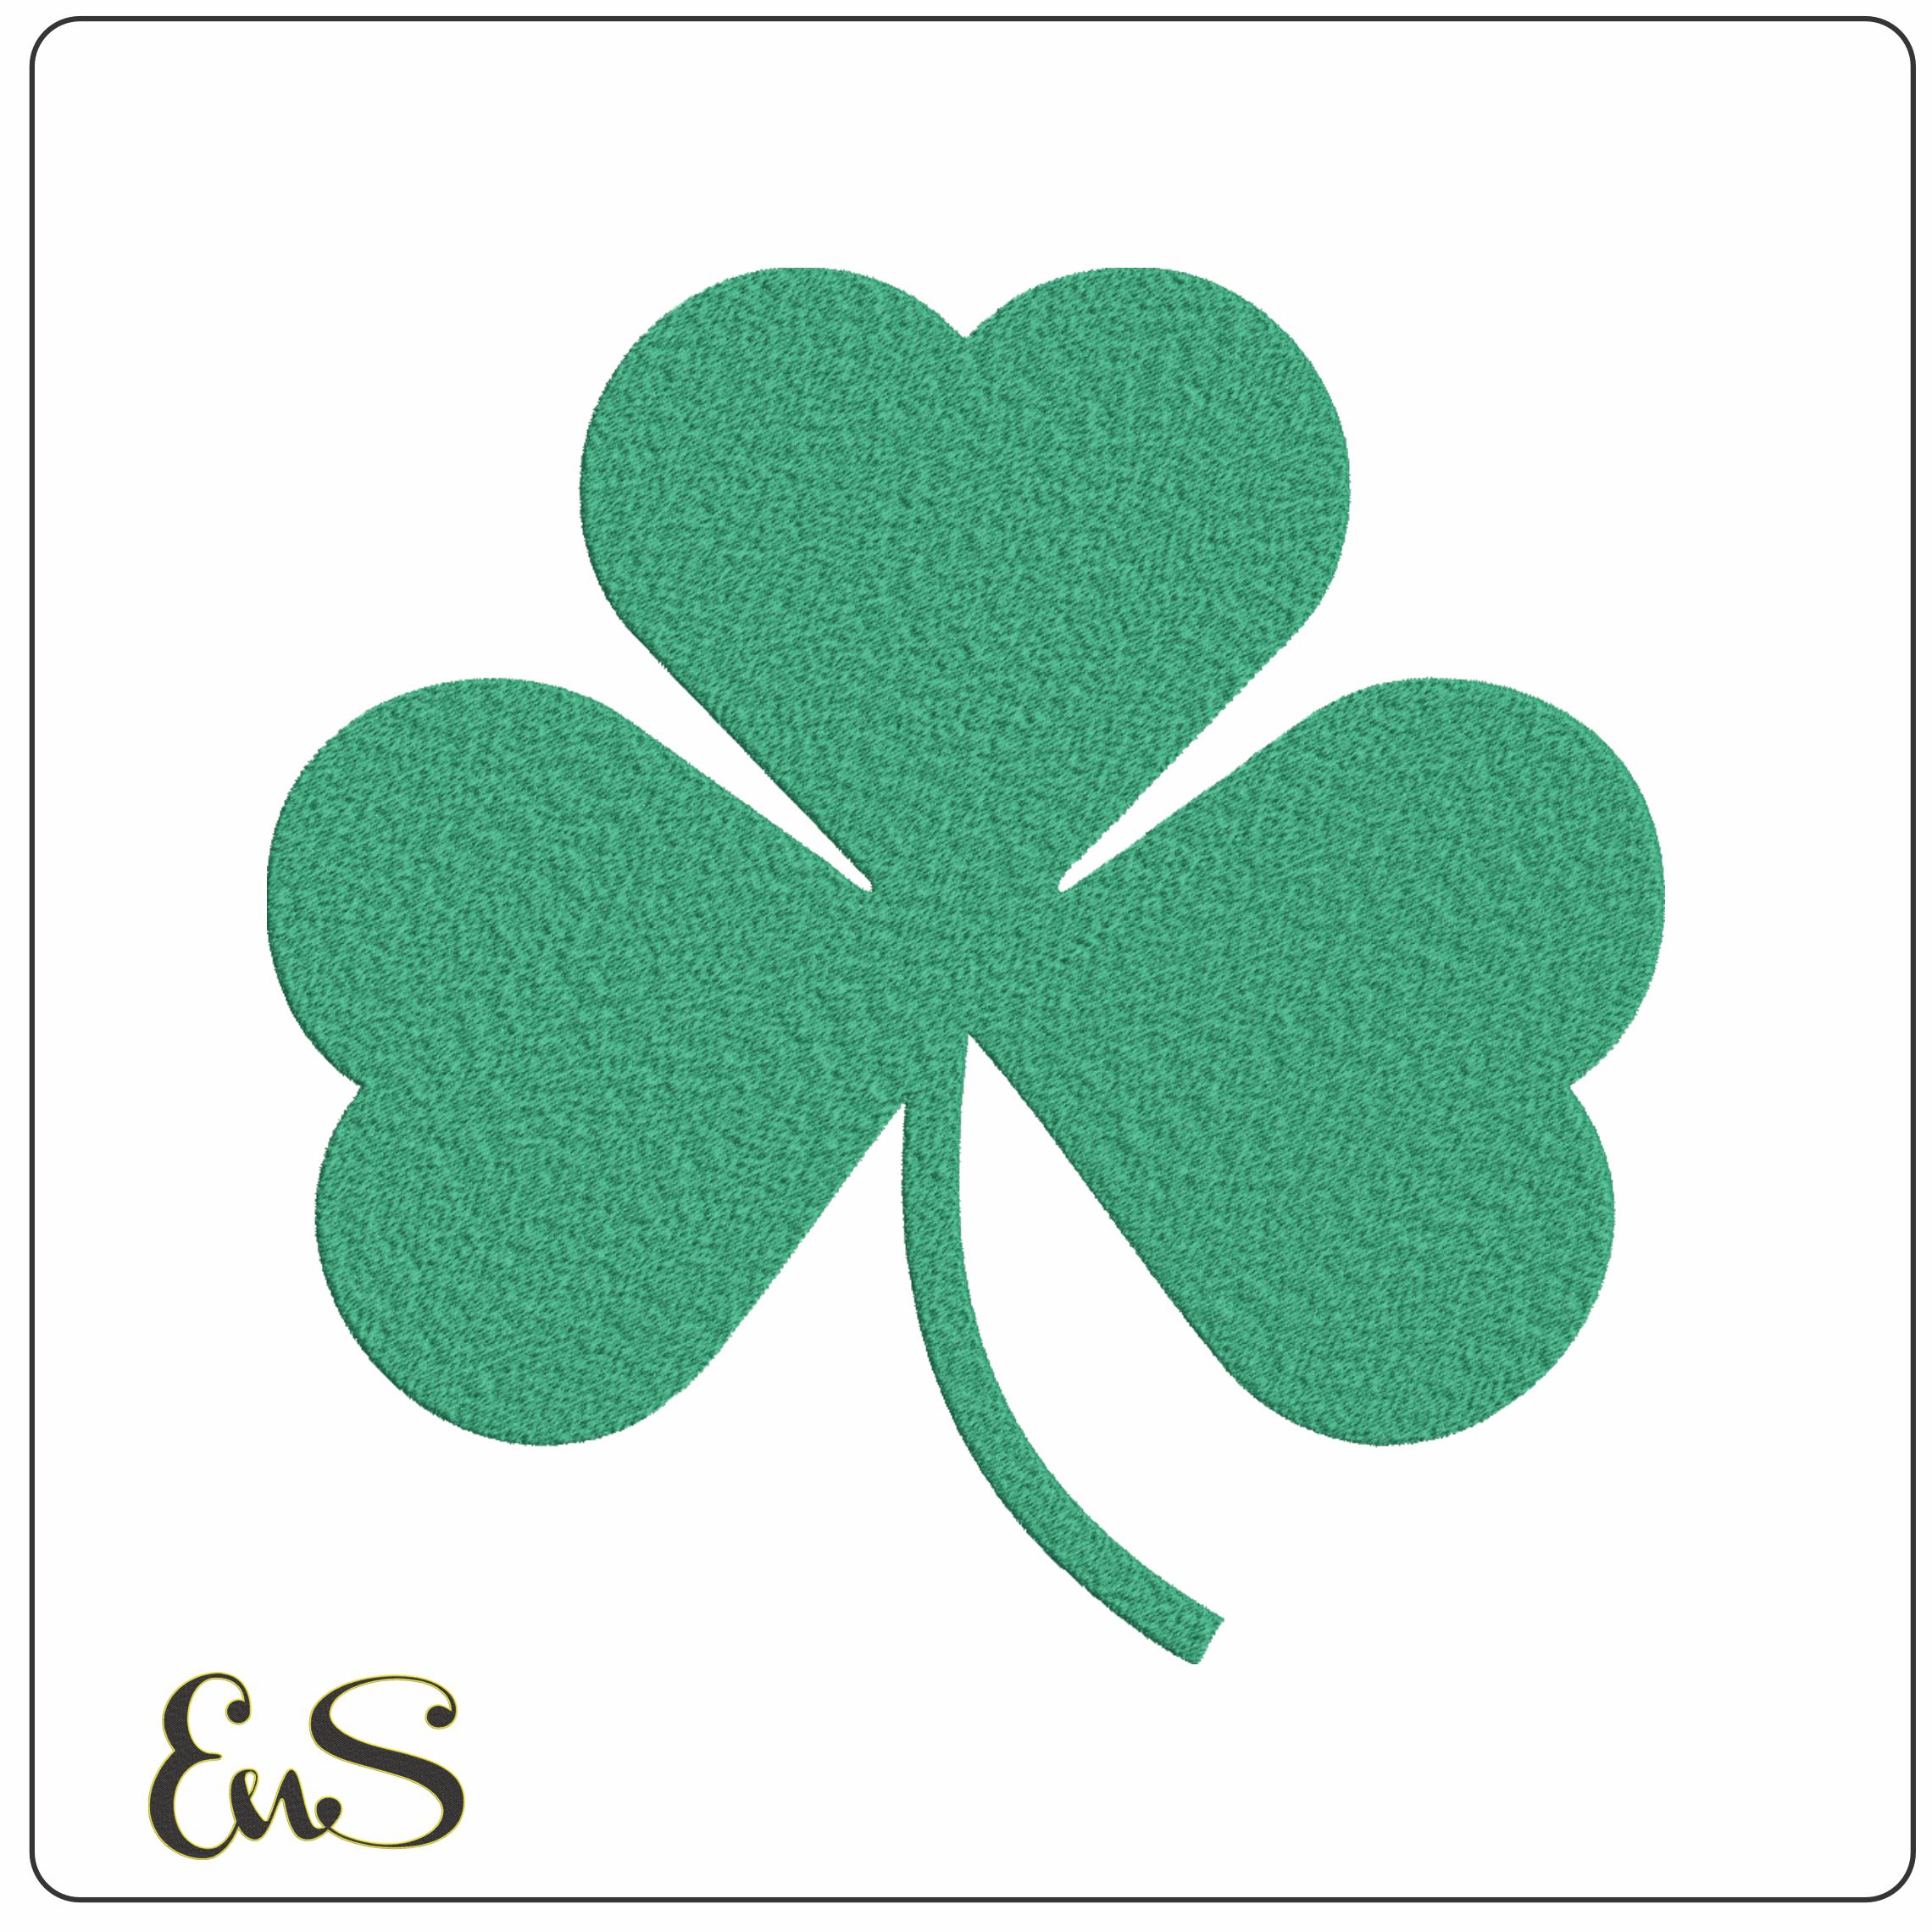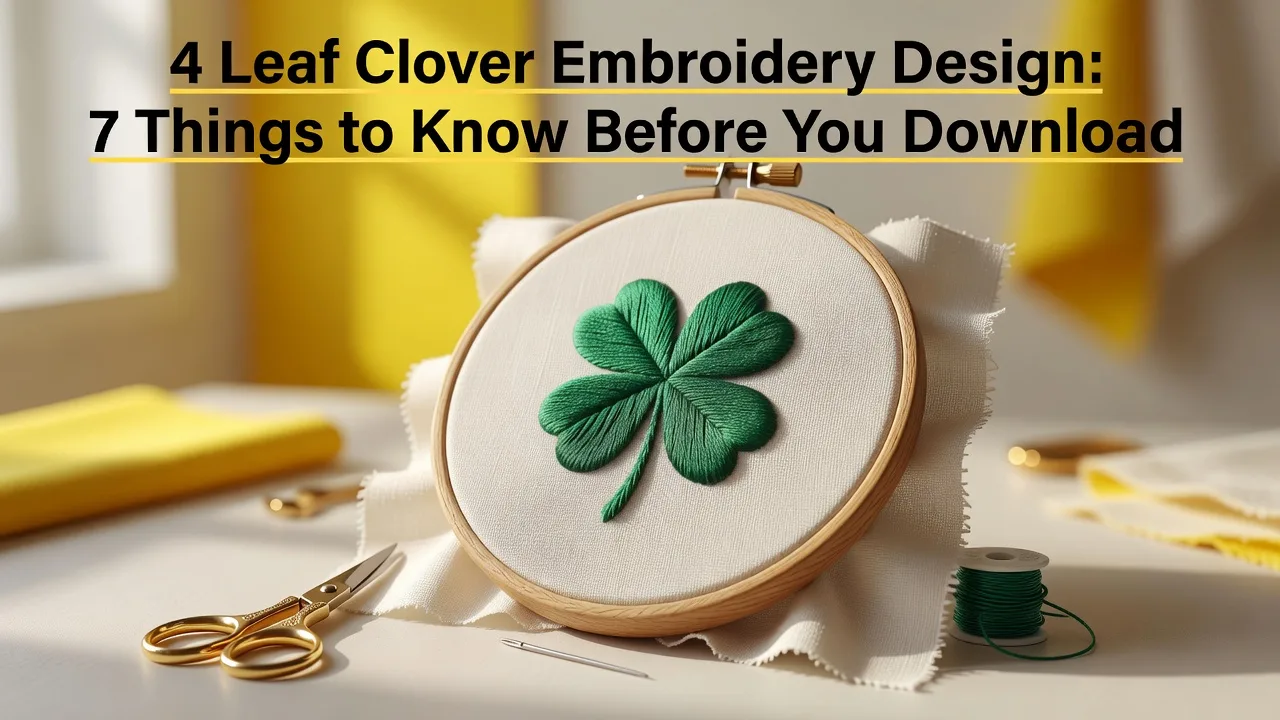
So you've stumbled across the world of embroidery and you're already dreaming about stitching up something with a little luck baked right into it. We love that for you! A 4 leaf clover embroidery design is honestly one of the best starting points for beginners, cute, symbolic, and just the right amount of satisfying to stitch.
But before you hit that download button on the first design you find, there are a few things worth knowing. Not all designs are created equal, and what looks gorgeous on a screen can turn into a frustrating mess on fabric if you're not prepared. Trust us, a little bit of research goes a long way.
In this post, we're breaking down 7 key things every beginner should know before downloading a 4 leaf clover embroidery design. From file formats and fabric choices to hoop size and stitch count, we've got you covered. By the end, you'll feel confident, informed, and totally ready to bring that lucky little clover to life. Let's dive in!
What Makes a Great 4 Leaf Clover Embroidery Design
Not all 4 leaf clover embroidery designs are created equal, and knowing what separates a great one from a frustrating one can save you a lot of time and wasted thread. Here are the key quality markers to look for before you hit download.
1. Clean Petal Separation A well-digitized clover treats each of the four leaves as its own distinct fill zone. On dense fabrics like fleece or terry cloth, stitches from one petal can physically push into neighboring areas if there are no defined outlines between them. Look for designs where each leaf has a clear boundary, and check that stitch directions vary between petals. That directional variation is what keeps colors crisp and prevents that muddy, blurry look.
**2. Balanced Fill Density Across All Four Leaves** Fill density refers to how tightly packed the stitch rows are, and too much density on a lightweight cotton tee or a baby onesie is a recipe for puckering and fabric distortion. A quality design keeps stitch weight balanced and appropriate for the target fabric. According to professional digitizers, a 3.5-inch design at standard tatami fill can easily exceed 18,000 stitches, which creates real stress on lighter materials. Balanced density keeps your finished project looking smooth and flat.
3. Proper Underlay Stitching Underlay is a foundational layer of stitches sewn before the visible top layer, and its job is to stabilize the fabric so everything sits correctly. If you are new to embroidery, underlay is one of the easiest quality signals to ask about because it is either there or it is not. A design without proper underlay will shift, stretch, and look uneven once stitched out. This is one reason checking digitizing quality matters before purchasing, and resources like a free digitizing 101 course can help you understand what to look for in any design file.
4. Satin Stitch Borders The border finish on a clover design makes a significant difference in how professional it looks and how long it lasts. Satin stitch borders use dense parallel thread passes to seal the petal edges, giving a smooth, polished outline that holds up through repeated washing. A simple run stitch outline, by contrast, is just a single thread path that can look thin, worn, and ragged after a few cycles in the laundry. When you spot satin stitch borders in a design preview, that is a good sign the digitizer cared about durability.
5. Readable Thumbnail Silhouette Before you download anything, zoom out and look at the thumbnail. A quality 4 leaf clover embroidery design should be instantly recognizable as four distinct leaf lobes even at a tiny preview size. If the petals blur together into an unrecognizable blob at thumbnail scale, that blurring will likely translate to a muddy result on your garment. Sharp petal separation at preview size is your first and fastest indicator of a well-constructed design worth stitching.
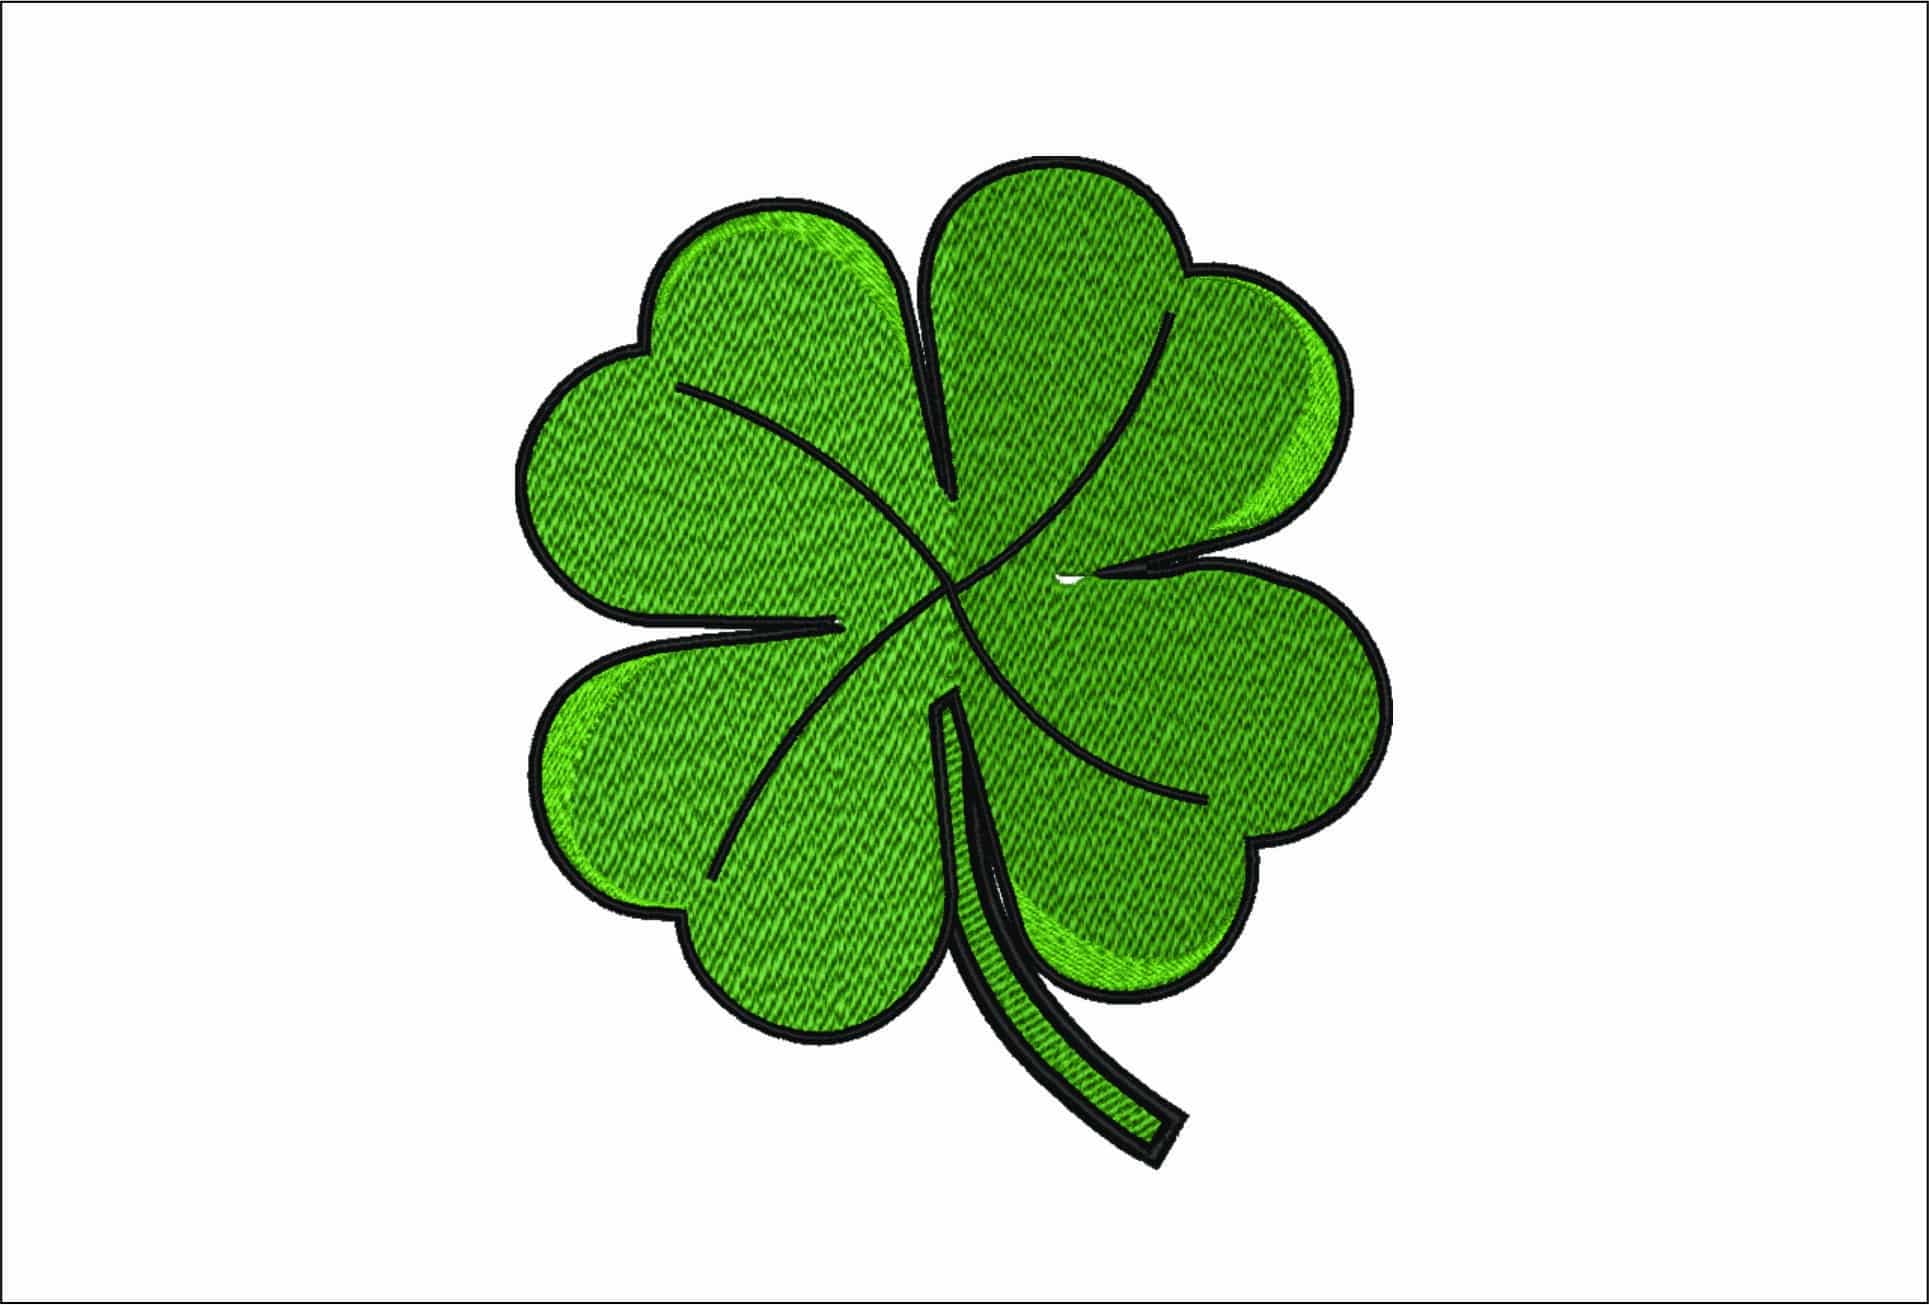 Embroidery design4 Leaf Clover- Elegant embroidery design file - instant downloadView this design →
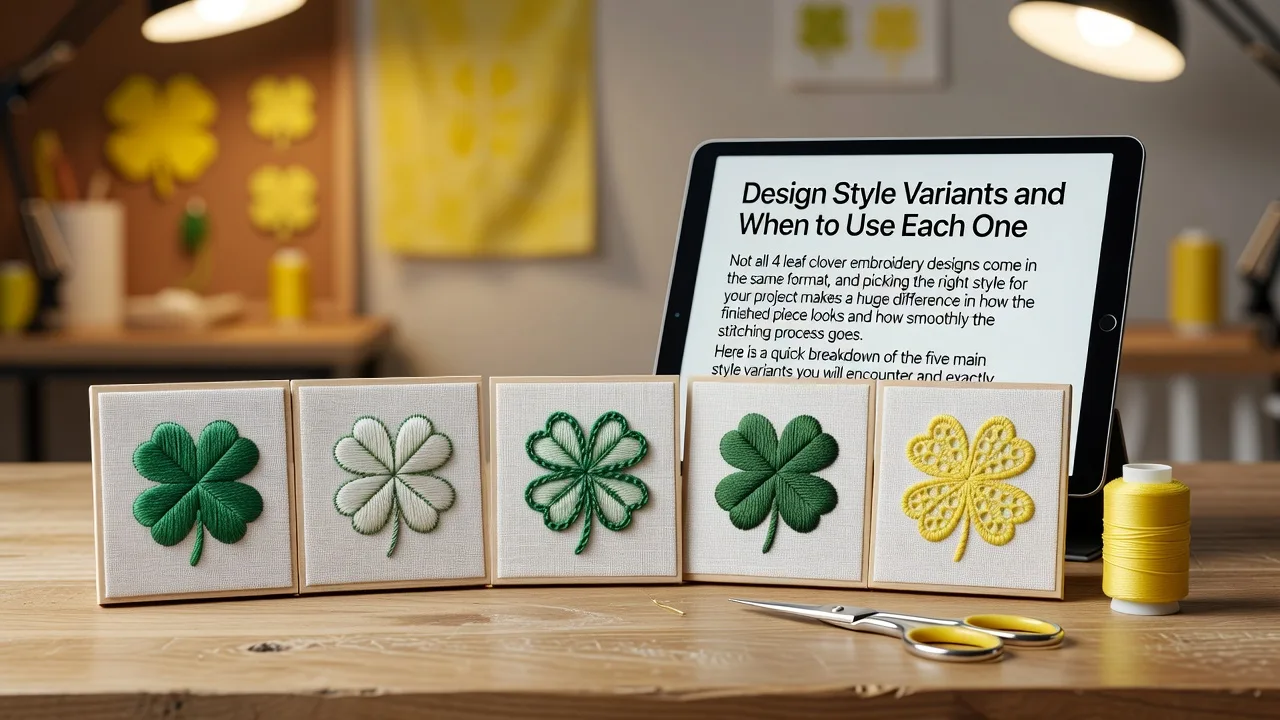
Not all 4 leaf clover embroidery designs come in the same format, and picking the right style for your project makes a huge difference in how the finished piece looks and how smoothly the stitching process goes. Here is a quick breakdown of the five main style variants you will encounter and exactly when each one shines.
1. Appliqué Style Appliqué designs use a fabric cutout layered on top of your base material, with stitching around the edges to secure it in place. Because you are not filling the entire clover shape with thread, the stitch count drops significantly and your machine finishes the design faster. The result is bold, slightly raised, and very eye-catching, which makes this style a natural fit for tote bags, denim jackets, and structured outerwear where you want maximum visual impact without weighing down the fabric. You can browse 4 leaf clover appliqué file options on Etsy to get a feel for what finished appliqué clovers typically look like.
2. Sketch or Ripple Fill Style The sketch fill style uses light, open stitch lines to mimic a hand-drawn look rather than packing the design solid with thread. This dramatically reduces fabric pull and distortion, making it the go-to choice for baby onesies, lightweight knit shirts, and fine linen projects. A sketch fill four leaf clover design gives you a soft, artistic finish that feels modern and approachable rather than heavy or stiff.
3. In-the-Hoop (ITH) Designs ITH designs are self-contained projects that start and finish entirely inside your embroidery hoop with no extra sewing steps needed. Popular ITH clover projects include felt patches, keychains, bag tags, and holiday ornaments, all of which make charming St. Patrick's Day crafts or small handmade gifts.
4. Free-Standing Lace (FSL) Style FSL clovers are stitched onto water-soluble stabilizer, then rinsed under water so only the delicate thread structure remains. The finished piece looks like intricate lace and works beautifully as a greeting card embellishment, a bookmark, or a decorative accent on Irish-themed home décor. This style does require a bit more patience but the results are genuinely stunning.
5. Standard Filled Designs If you are just starting out, a standard filled design is your safest and most rewarding option. These designs use satin or run-stitch fill across the entire clover shape, producing clean, predictable results on everyday fabrics like cotton, canvas, and fleece. You only need basic stabilizer knowledge to get a great finish, and resources like free St. Patrick's Day embroidery designs can help you practice before committing to a paid file.
File Formats Explained: Which One Works With Your Machine
Picking the right file format before you download is one of the most important steps you can take as a beginner, and it is a lot simpler than it sounds once you know what to look for.
1. PES (Brother and Baby Lock machines) PES is the format you want if you own a Brother or Baby Lock machine, and it is consistently one of the most requested formats in the hobbyist embroidery market. Brother makes a huge range of home embroidery machines, so there is a good chance PES is exactly what you need if you are just getting started.
2. DST (Commercial and multi-needle machines) DST is the industry standard for commercial and multi-needle machines, including Tajima equipment. If you are running even a small custom apparel operation from home, DST is the format that keeps your production runs moving without compatibility headaches. Check out this overview of embroidery file formats for a deeper look at how DST stacks up against other options.
3. JEF and VP3 (Janome, Husqvarna Viking, and Pfaff) JEF is the native format for Janome machines, and VP3 is what Husqvarna Viking and Pfaff machines use. Always confirm your machine brand before downloading anything, because loading the wrong format is one of the most common frustrations beginners run into.
4. EXP and XXX (Older Melco, Bernina, and Singer machines) EXP covers older Melco machines and certain Bernina models, while XXX is the native format for Singer embroidery machines. A quality design pack should include both so no one gets left out.
5. Multi-format ZIP bundles A download that bundles five or more formats in a single ZIP file is the clearest sign of a well-prepared design. You skip the hassle of hunting down a conversion tool, and you get stitching faster. When two designs are priced similarly, the one offering more formats is almost always the better deal. You can also get a helpful visual breakdown in this machine embroidery file formats video if you prefer learning by watching.
Hoop Size Guide: Matching the Design to Your Project
Picking the right hoop size is one of those beginner decisions that has a big ripple effect on everything else, so let's break it down in plain terms.
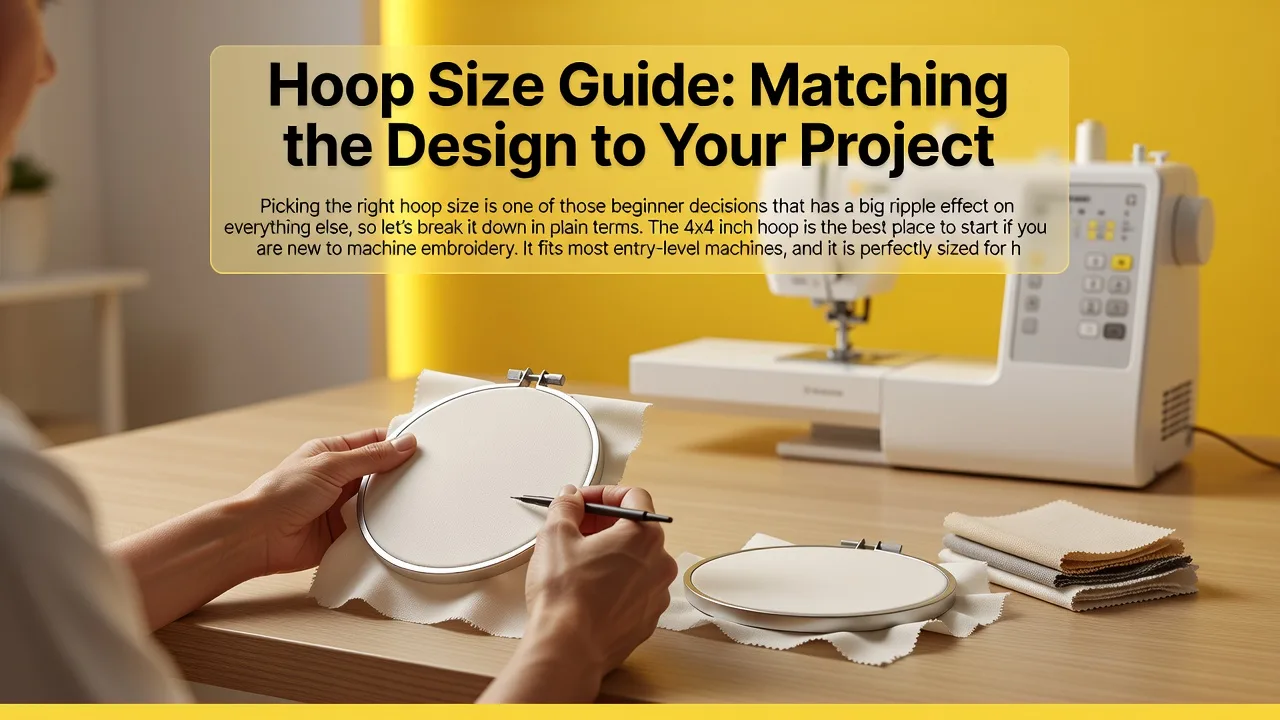
The 4x4 inch hoop is the best place to start if you are new to machine embroidery. It fits most entry-level machines, and it is perfectly sized for hat fronts, shirt pockets, baby onesie chests, and small gift bag accents. A 4 leaf clover sits neatly in this space without feeling cramped or oversized on the item you are decorating.
The 5x7 inch hoop is where things get more exciting. At this size, your clover design can become the true focal point of a project rather than just a small accent. Tote bag panels, youth shirt fronts, and decorative kitchen towels all have enough surface area to let a mid-sized clover shine without running into seams or edges. Check out this helpful embroidery hoop size chart for perfect stitches if you want a quick visual reference.
A 6x10 or larger hoop is your go-to for hoodie backs, quilt blocks, and full-front tote bags where maximum visual impact is the goal. Just make sure your machine supports that hoop size before purchasing, since not every machine handles jumbo formats. The machine embroidery hoop sizes guide from Maggie Frames covers compatibility in useful detail.
A practical rule to keep in mind: when in doubt, size down rather than up. A clover filling roughly 80 percent of the hoop looks intentional and balanced on most garments, while a design that is too large can get cropped or sit uncomfortably close to the hoop edge, causing distortion.
Finally, look for designs sold in multiple hoop sizes within a single download. That kind of bundle gives you the flexibility to use the same clover motif across different project types without buying the design twice.
Best Project Ideas for a Lucky Clover Embroidery Design
Now that you know which design styles and file formats work best, it's time to think about what you'll actually make. A lucky clover embroidery design is one of the most versatile motifs in the catalog, and these five project ideas cover everything from seasonal bestsellers to year-round gift staples.
1. St. Patrick's Day T-Shirts and Sweatshirts
Seasonal apparel is where clover designs earn their keep the most. The production window for St. Patrick's Day runs roughly from late January through March 17, and that roughly six-week sprint is when demand spikes hard. If you are planning to make custom shirts for customers, a local school, or just your own family, you want your design downloaded and test-stitched well before February ends. Green crewneck sweatshirts and basic cotton tees are the go-to blanks, and a single well-digitized clover lands right in the chest or center panel without needing resizing.
2. Baby Onesies and Toddler Tees
A four-leaf clover is one of those designs that just makes sense on tiny clothes. The compact shape fits neatly on a onesie chest or a toddler sleeve, and "lucky little one" themed gifts are perennially popular with new parents. If you sell custom apparel from home, this category is worth keeping in regular rotation, not just in March.
3. Tote Bags, Tea Towels, and Reusable Grocery Bags
The botanical simplicity of a clover design makes it a natural fit for linen and cotton surfaces. Sulky of America highlights totes and table linens as ideal project surfaces for clover motifs, and it is easy to see why. These items sell year-round at farmers markets and gift shops, well beyond the St. Patrick's Day season.
4. Structured Hats and Caps
Hat embroidery is a high-volume application for anyone doing custom apparel work. Most four-leaf clover designs are digitized at 4x4 inches, which fits directly into a cap hoop without any adjustments. Pinterest boards for four-leaf clover embroidery show caps as one of the most-pinned project applications, confirming that buyers are actively looking for this exact combination.
5. Quilt Blocks and Fabric Patches
Quilters who work with nature or Irish heritage themes are a real crossover audience for clover designs. An embroidered clover block adds dimension and texture to a patchwork project in a way that printed fabric simply cannot match. Fabric patches also work beautifully for iron-on or sew-on applications, making this a low-barrier entry point for beginners who want to try something beyond apparel.
Bundle It: Designs That Pair Perfectly With a Four-Leaf Clover
One of the best things you can do once you find a four-leaf clover design you love is build a small coordinated collection around it. Buying a single motif is fine, but pairing it with a few companion designs opens up so many more project possibilities.
Shamrocks are the most natural starting point. The three-leaf shamrock carries its own cultural meaning tied to Irish heritage, so mixing shamrock and four-leaf clover designs across a set of items gives your project both visual variety and a little storytelling depth. Think coordinated tote bags where one features the clover and another features the shamrock.
Horseshoes and rainbows round out a luck-themed bundle perfectly. These motifs work great for party favors, gift bags, and matching custom apparel sets for a St. Patrick's Day event. They are thematically consistent and stitch up beautifully alongside the clover.
Celtic knots and Irish harp designs take things in a more personal direction. If you have Irish heritage or are creating a gift for someone who does, these motifs elevate the project from a seasonal craft into something genuinely meaningful.
Embroidery fonts in blocky or Celtic styles are an underrated pairing. Adding a name, the word "Lucky," or a simple phrase beneath your clover transforms a plain garment into a personalized keepsake.
The smartest move is to grab all your designs from one curated catalog. When you shop everything at embroiderynsewing.com, the stitch quality, scale, and aesthetic stay consistent across every file, which is something you simply cannot guarantee when piecing together downloads from scattered sources.
The Meaning Behind the Four-Leaf Clover
There is a genuinely satisfying reason why this little motif carries so much weight, and it goes deeper than holiday decoration. The four-leaf clover is a natural genetic mutation of the common three-leaf white clover (Trifolium repens), and it occurs roughly once in every 10,000 plants. That rarity is the whole foundation of the luck connection. Finding one in the wild feels improbable enough to seem almost magical, which is exactly why cultures across centuries latched onto it as a symbol of exceptional good fortune.
Traditional Irish symbolism takes it a step further by assigning a specific meaning to each leaf: faith, hope, love, and luck. That four-part framework gives the motif real emotional depth. When you embroider a four-leaf clover onto a gift, you are not just adding a pretty green shape; you are stitching a personal message into the fabric.
It is also worth understanding the difference between the shamrock and the four-leaf clover. St. Patrick reportedly used the three-leaf shamrock to explain the Christian Trinity, and the four-leaf variant evolved into a broader symbol of Irish cultural pride and good fortune, distinct from but connected to that heritage.
Beyond St. Patrick's Day, the motif fits naturally into the botanical embroidery trend that industry sources including Printful have flagged as a key direction for 2026, meaning demand for clover designs stretches well past March 17 each year. That makes it a smart addition to any embroidery collection you plan to use year-round.
Ready to Start Your Lucky Clover Project?
You have got everything you need to make this project a success, so let's do a quick recap before you dive in. When browsing for your 4 leaf clover embroidery design, keep your checklist handy: look for multi-format downloads, multiple hoop sizes, a clearly labeled style variant (appliqué, sketch, fill, or in-the-hoop), and solid digitizing quality markers like clean color stops and defined stitch layers. These details separate a smooth stitching experience from a frustrating one.
Embroiderynsewing.com is a great starting point because designs are available as instant downloads with broad machine format compatibility, meaning you can purchase and stitch the same day whether you are running a St. Patrick's Day batch or a year-round nature-themed project. Browse the related St. Patrick's Day and nature motif collections to pull together a coordinated bundle that gives your finished pieces a polished, cohesive look.
One last reminder for seasonal crafters: March 17 comes faster than expected. Download early, run a test stitch, and give yourself time to troubleshoot before your production window closes.
Conclusion
You now have everything you need to download your first 4 leaf clover embroidery design with total confidence. Remember the big takeaways: always check your file format before purchasing, match your design's stitch count to your skill level, choose the right fabric and hoop size for clean results, and never skip reading the design specs. These small steps make a massive difference between a finished piece you're proud of and one that ends up in the "learning experience" pile.
Embroidery is one of those crafts that rewards a little preparation, and you've already done the hard part by doing your research. Now it's time to find that perfect clover design, thread your needle, and stitch a little luck into something beautiful.
Browse our collection of beginner-friendly 4 leaf clover embroidery designs and start your project today. Your lucky stitch is waiting!