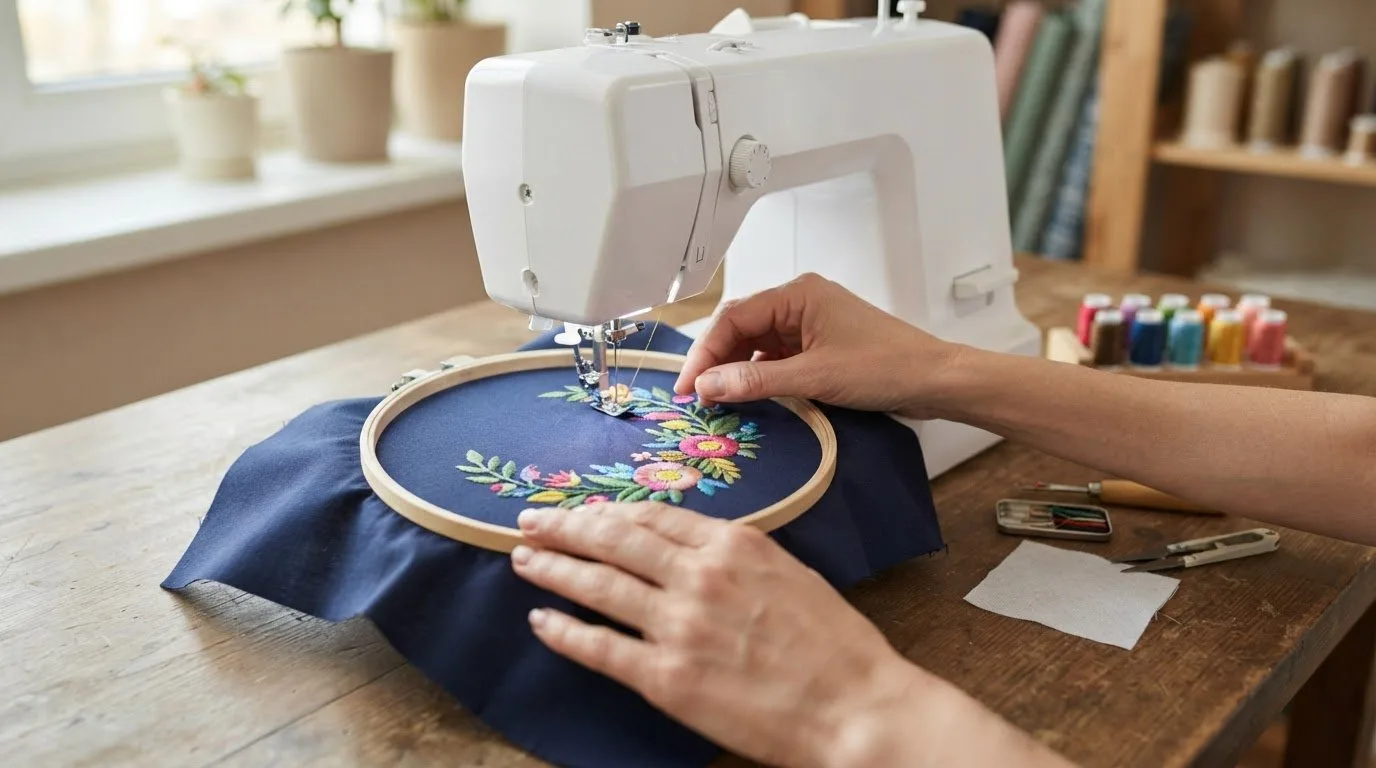
Complex artwork can make embroidery look crowded, stiff, or unclear. Common embroidery design issues and their solutions often begin with simplifying the artwork, matching stitch density to the fabric and design size, and choosing stitch directions that support the shape.
It's frustrating when a design that looks clear on screen loses detail on fabric. Artwork complexity, stitch direction, needle choice, thread tension, stabilizer, and hooping can all affect the result. Learn to identify the likely cause and adjust your setup before stitching the finished item.
Key Takeaways
- Simplify artwork and balance stitch direction and density with the fabric to help preserve detail and reduce puckering.
- If fabric folds behind the project and gets stitched, keep it hooped while carefully removing the unwanted stitches with a seam ripper.
- Match the needle and thread setup to the fabric, and troubleshoot looping or breaks by checking threading and tension.
- Choose a stabiliser suited to the fabric, then hoop it taut without stretching or over-tightening to help prevent shifting.
1. Why Do Poor Stitch Directions Cause Problems?
Stitch direction affects how embroidery sits on fabric. Incorrect stitch angles can pull the fabric unevenly and cause puckering. For example, fill stitches running across a curved shape may distort its edge. Review the design's stitch angles and how they follow the shape before stitching. Direction also matters alongside stabilizer choice, fabric weight, and design size.
Choose a stabilizer suited to the fabric's type and weight. Lightweight fabric may shift or pucker if the stabilizer provides too little support. Heavier fabric needs support that suits its structure without obscuring the design. Hoop the fabric and stabilizer together, keeping them taut but not stretched, and avoid overtightening the hoop.
Raised-nap fabrics need a surface barrier. For sherpa, terry cloth, or fleece, place a water-soluble topper over the fabric before stitching. It helps prevent the nap from pushing through the stitches, keeping details smoother. This is especially useful for lettering and small design elements on textured fabric.
If fabric folds behind the project and gets stitched, keep the project hooped while repairing it. Use a seam ripper to remove the unwanted stitches, not scissors, which can cut the fabric. Work carefully around the design, then release the folded fabric without pulling the embroidery out of alignment.
Appliqué errors need a different fix. If the tack-down stitches are cut or the appliqué fabric is too small, place a new piece over the area. Restitch the tack-down instead of removing the existing stitches. This restores coverage while preserving the surrounding embroidery. Before stitching, check that the replacement fabric covers the area. For appliqué projects, browse our appliqué embroidery designs.
2. Needle and Tension Troubleshooting
Prevent bird nesting under the fabric by clearing lint and debris from the bobbin case and surrounding areas. Use quality bobbin thread compatible with your machine, then test the setup on scrap fabric. If the thread still bunches, try another bobbin, as the bobbin may be defective. Our full guide on how to fix bird nesting in embroidery goes into more detail.
Match needle size to thread thickness and fabric type. A mismatch can contribute to skipped stitches or thread breaks. Replace a dull or bent needle, and choose a sharp one suited to the fabric and design. If stitches start skipping during a detailed section, inspect the needle.
Thread loops on top of the fabric often point to a tension problem. They may occur when the upper tension is too loose or the bobbin tension is too tight. Check the thread path and rethread the top thread if it frays or breaks. Clear debris from the path before stitching again.
Set thread tension according to the machine and thread specifications. Bobbin tension needs to balance with upper-thread tension, so adjust carefully rather than changing default settings without expert guidance. A separate thread stand can also help troubleshoot thread and bobbin problems.
Slow the machine for dense or intricate embroidery, since rapid stitching can contribute to skipped stitches and thread issues. Check the machine settings and choose a speed suited to the project. A test on scrap fabric can show whether the needle, thread path, tension, and speed work together before you stitch the final item.
3. Stabiliser Selection and Hooping
How do you choose the right needle, thread, stabilizer, and hoop? Match the needle size to the thread thickness and fabric, then choose a stabilizer suited to the fabric's type and weight. Select compatible thread and use a hoop that holds the layers securely without stretching them.
How do you fix puckering or fabric distortion? First reassess stabilizer support and hooping, since an unsuitable stabilizer can let fabric buckle or shift. Re-hoop the fabric flat, keeping it taut rather than stretched, and secure the stabilizer with it. If thin fabric still puckers, consider whether dense stitching is pulling it. See our guide on how to prevent fabric puckering in machine embroidery for more fixes.
Let the fabric guide your choices. Stretchy material can distort a design, so stabilize it to limit movement during stitching. Lightweight, delicate fabric needs support suited to its weight; thick or textured fabric may hide fine details. Aim for a stable foundation without forcing the fabric out of shape.
Before stitching, check that the fabric and stabilizer sit evenly inside the hoop. Tighten the hoop enough to hold both layers, but don't overtighten it. Gently tug near the edges: if either layer slips, reset it. If the fabric looks stretched in the hoop, loosen it and reposition it. If parts of your design still don't line up, our guide on how to fix embroidery design misalignment can help.
After stitching, inspect the fabric around the design. Puckering can signal that support, hooping, or stitch density needs adjustment. Change one factor at a time, then test the setup on a fabric scrap. To choose a design for your next test, browse our best-selling embroidery designs.
Embroidery n Sewing: Sports Embroidery
Embroidery n Sewing offers digital sports embroidery designs for projects with a sports theme. Once your fabric, stabilizer, hooping, needle, and thread are ready, choose a design that suits your idea. Explore sports themes, including our Buffalo Bills stadium design and Chicago Bears Wrigley Field design.
Choose a sports-themed design when you want a clear theme for your project. The troubleshooting steps above help you assess stitch quality and fabric handling; a suitable design gives that preparation a creative direction. Browse the available themes and select one that fits your project.
Visit Embroidery n Sewing to explore sports embroidery designs.
Put Your Next Embroidery Idea Into Practice
Build your next project on what you've learned. Test one design choice at a time and note how the fabric responds. Keeping a short record of your setup can help you make more consistent decisions on future pieces, especially when working with different fabrics or artwork styles.
For a fresh project direction, Embroidery n Sewing offers digital embroidery designs, machine embroidery designs, and college embroidery designs. Find a theme that suits your plans. Understanding common embroidery design issues and their solutions also gives you a practical foundation for choosing and stitching your next design with care.
Contact Embroidery n Sewing for help exploring design options, and take your next embroidery idea from inspiration to a finished project.
Frequently Asked Questions
Issue 1: What Happens When Artwork is Too Complicated?
Fine details can merge or disappear after stitching, especially in small lettering. Simplify the artwork by removing delicate shading and tiny elements that thread cannot clearly define. Embroidery fonts smaller than 4 mm can lose readability, so enlarge text or choose a simpler lettering style. For example, replace several narrow interior lines with a clear outline and fewer broader shapes.
Issue 2: Why Do Poor Stitch Directions Cause Problems?
Poor stitch direction can distort a shape and change how its surface reflects light. Plan stitches to follow the design's contours. For example, angle fill stitches across a leaf instead of using one direction throughout. Review direction changes where shapes meet, since abrupt transitions can make edges look uneven. A test stitch can reveal these effects before you stitch the final piece.
Issue 3: Are You Choosing the Wrong Fabric for Embroidery?
Fabric may not suit a design when its stretch or texture conflicts with the level of detail. Stretchy material can distort the finished shape, while heavy or textured fabric can hide small elements. Match the design's scale to the fabric: bold lettering is easier to distinguish on a textured surface than tiny decorative lines. Consider how the fabric behaves before choosing detailed artwork.
Issue 4: How Does Wrong Stitch Density Affect the Outcome?
Incorrect stitch density can leave gaps or make fabric stiff. Too few stitches may create patchy coverage that looks faded; too many can strain the fabric and contribute to thread breaks or needle jams. Density should suit both the fabric and design size. For example, a dense fill on thin material can pucker more readily than a lighter design.
Why Do Embroidery Design Issues Matter?
Design choices affect whether embroidery looks clear, lies smoothly, and feels comfortable on its fabric. Excessive density, for example, can make a garment feel stiff, while poor coverage may leave a logo looking incomplete. Understanding common embroidery design issues and their solutions helps you spot likely problems before stitching, choose artwork that suits the project, and make adjustments with a clear purpose.