
How to Prevent Fabric Puckering in Machine Embroidery
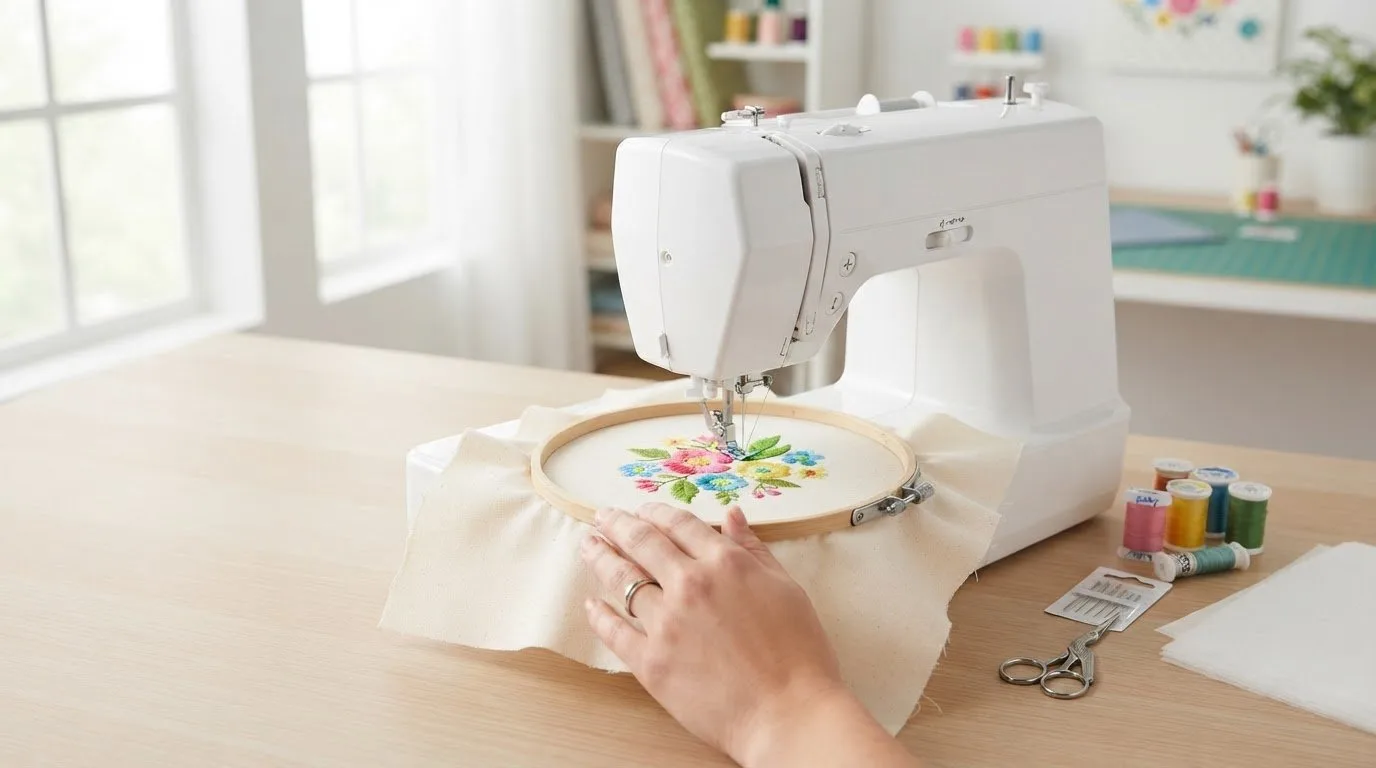
A design that looks simple on screen can still distort the fabric beneath it. Embroidery puckering occurs when fabric shifts or gathers during stitching instead of lying flat. Dense stitching or inadequate underlay can contribute, and thin, stretchy, or slippery fabrics are especially prone to movement under repeated needle penetrations.
It’s frustrating to finish stitching and find ripples around a design, especially when the fabric looked smooth in the hoop. Knowing the causes helps you choose an approach that supports the material without adding strain. This article explains which fabrics are more prone to fabric puckering, how stitch density and underlay affect stability, and why digitizing quality matters. You’ll also learn how these factors interact, making it easier to tell whether the issue comes from the fabric, the design’s structure, or its support.
Key Takeaways
- Match the needle to the material: knits generally call for a ballpoint needle, while cotton works with a universal or sharp needle.
Table of Contents
## Which Fabrics Are Most Likely To Pucker?
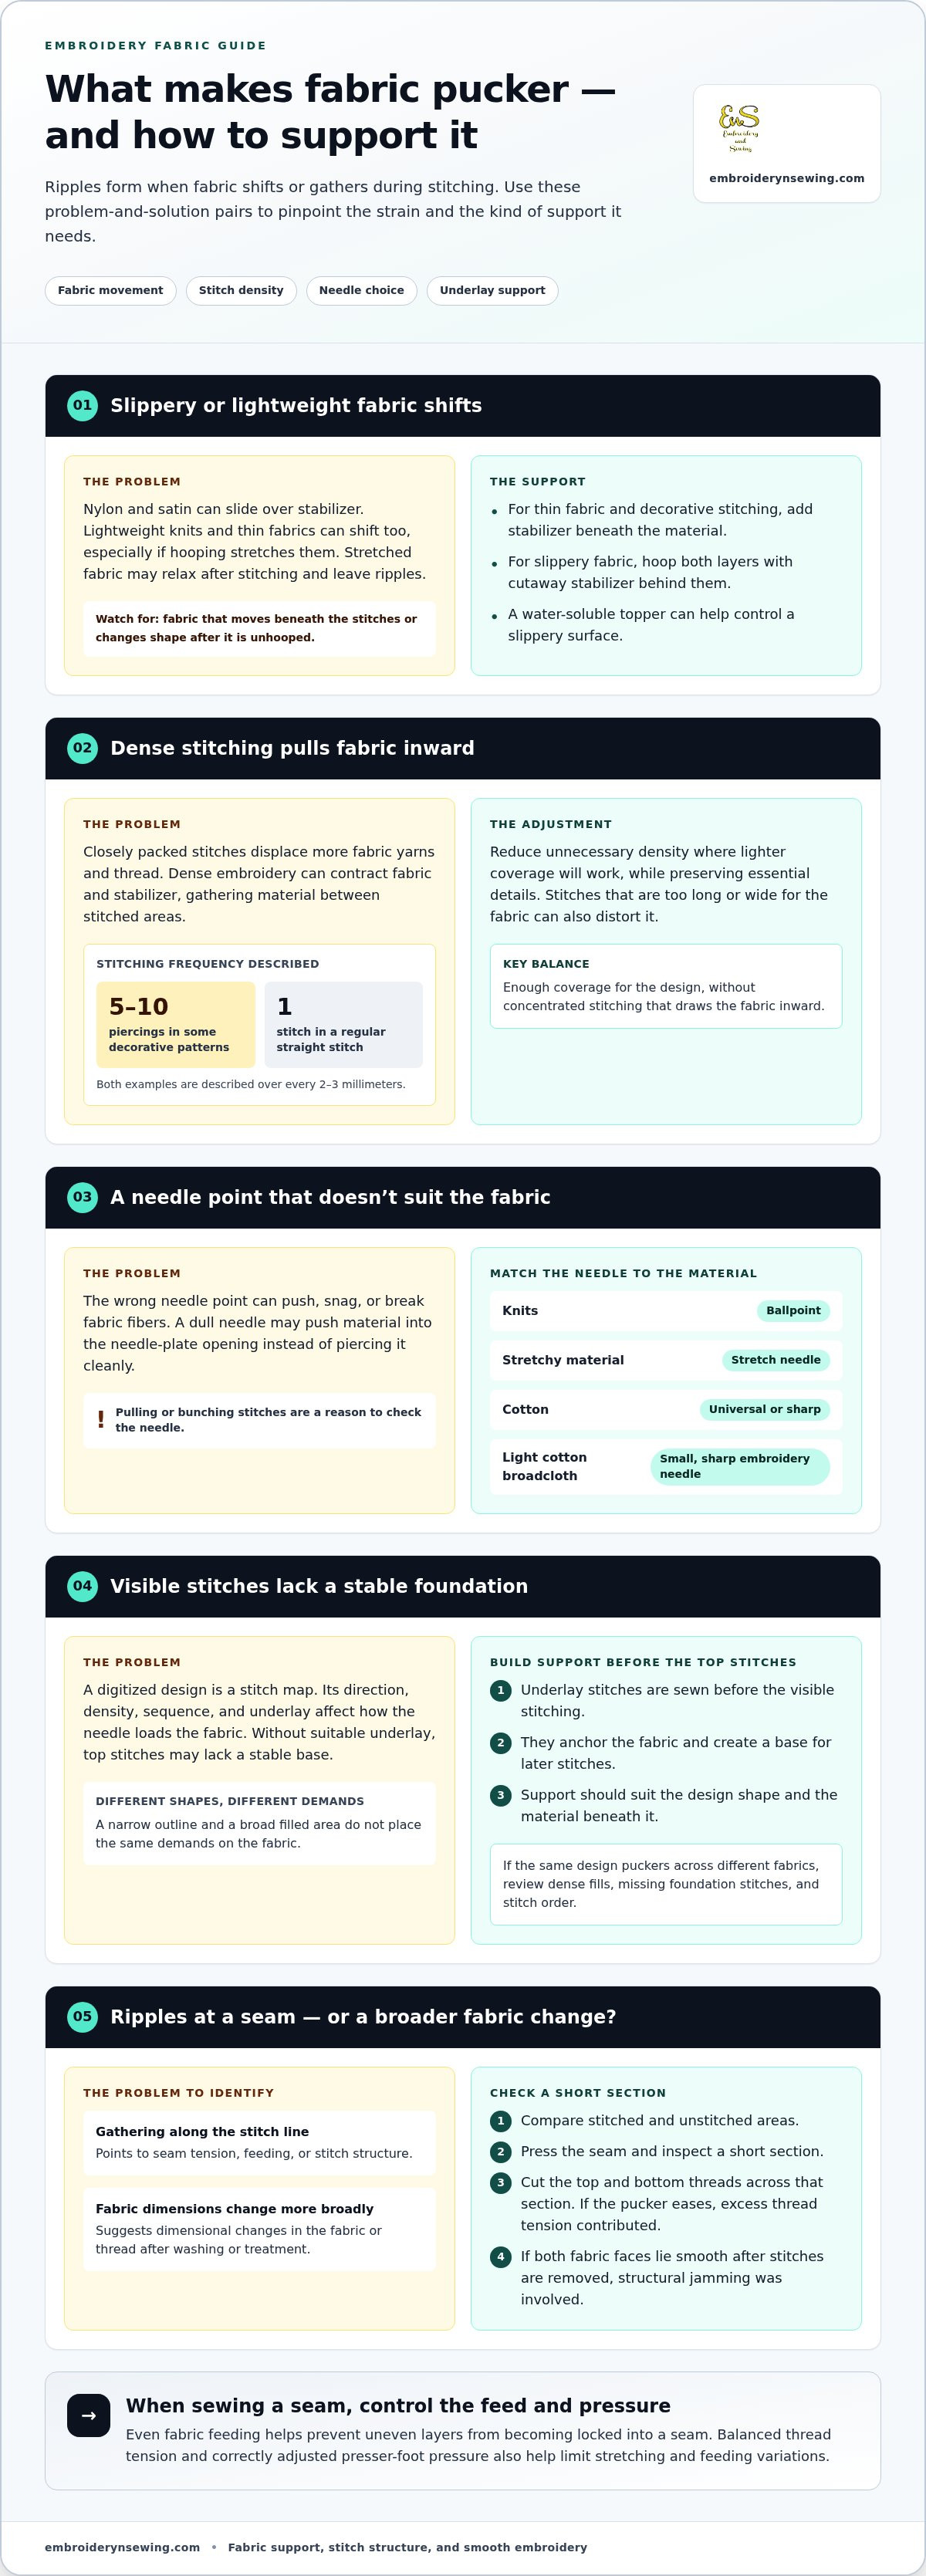
Nylon and satin can slide over stabilizer, making them prone to movement during embroidery. Lightweight knits and thin fabrics can shift too, particularly if hooping stretches them. Once the stitching is done, stretched fabric may relax and form ripples around the design. This movement is a common cause of fabric puckering—especially on flexible cotton jersey, which is why custom textile creators such as justtshirtquilts.com rely on proper backing and stabilization when transforming stretchy shirts into durable quilts.
Stitch density adds strain. Dense embroidery can contract fabric and stabilizer, gathering the material between stitched areas. Some decorative patterns pierce fabric 5-10 times every 2-3 millimeters. A regular straight stitch makes a stitch every 2-3 millimeters. Multiple rows can build stress, while stitches too long or wide for the fabric can distort it.
For zigzag or decorative stitching on thin fabric, add stabilizer beneath the material for support. If puckering starts during embroidery, place another layer of tear-away stabilizer beneath the hooped fabric to support it as you continue. With slippery fabrics, hoop both layers and use cutaway stabilizer behind them to limit shifting. A water-soluble topper can also help control a slippery surface.
Seam puckering gathers along the stitch line, while shrinkage changes the fabric’s dimensions more broadly after washing or treatment. Compare stitched and unstitched areas. A gathered seam points to tension, feeding, or stitch structure; broader changes suggest dimensional changes in the fabric or thread.
To fix a puckered seam, press it and inspect a short section. Cut the top and bottom threads across that section; if the pucker eases, excess thread tension contributed. If removing the stitches lets both fabric faces lie smooth, structural jamming was involved.
Industrial sewing reduces puckering by controlling fabric feeding, thread tension, presser-foot pressure, and stitch density. Even feeding helps prevent uneven fabric layers from becoming locked into a seam. Balanced tension and correctly adjusted foot pressure also help limit stretching and variations in feeding.
What Is Embroidery Puckering?
Embroidery puckering happens when fabric shifts during stitching and bunches instead of lying flat. Needle choice matters too: the wrong needle point can push, snag, or break fabric fibers.

Choose a needle point suited to the fabric’s construction. For knits, use a ballpoint needle; for stretchy material, choose a stretch needle. Cotton generally works with a universal or sharp needle. Light cotton broadcloth needs a small, very sharp embroidery needle rather than a stretch needle. Matching the point to the material helps limit snags and distortion around the stitches.
Needle and Thread Sizing
Match needle and thread sizes to each other and to the fabric’s thickness. Finer threads work with finer needles, while threads with controlled elongation and low shrinkage can help limit distortion. Fine cotton thread may reduce puckering because it stretches less than polyester thread. A smaller needle or shorter stitch may also help, as long as the thread passes cleanly through the needle eye.
Check the needle if stitches begin pulling or bunching the fabric. A dull needle may push material into the needle-plate opening instead of piercing it cleanly. A sharp-point needle can help with woven fabric. A general ballpark recommendation is to replace a sewing machine needle after 4-8 hours of real sewing time.
A straight-stitch needle plate has a small opening that supports fabric near the needle. The throat plate and presser-foot holes should be approximately twice the needle size. Some straight-stitch plates have 3 holes, allowing different needle positions while retaining support close to the needle.
With your fabric and needle choices settled, browse digital embroidery designs and choose a project for your next stitch-out.
## Digitizing quality and design underlay
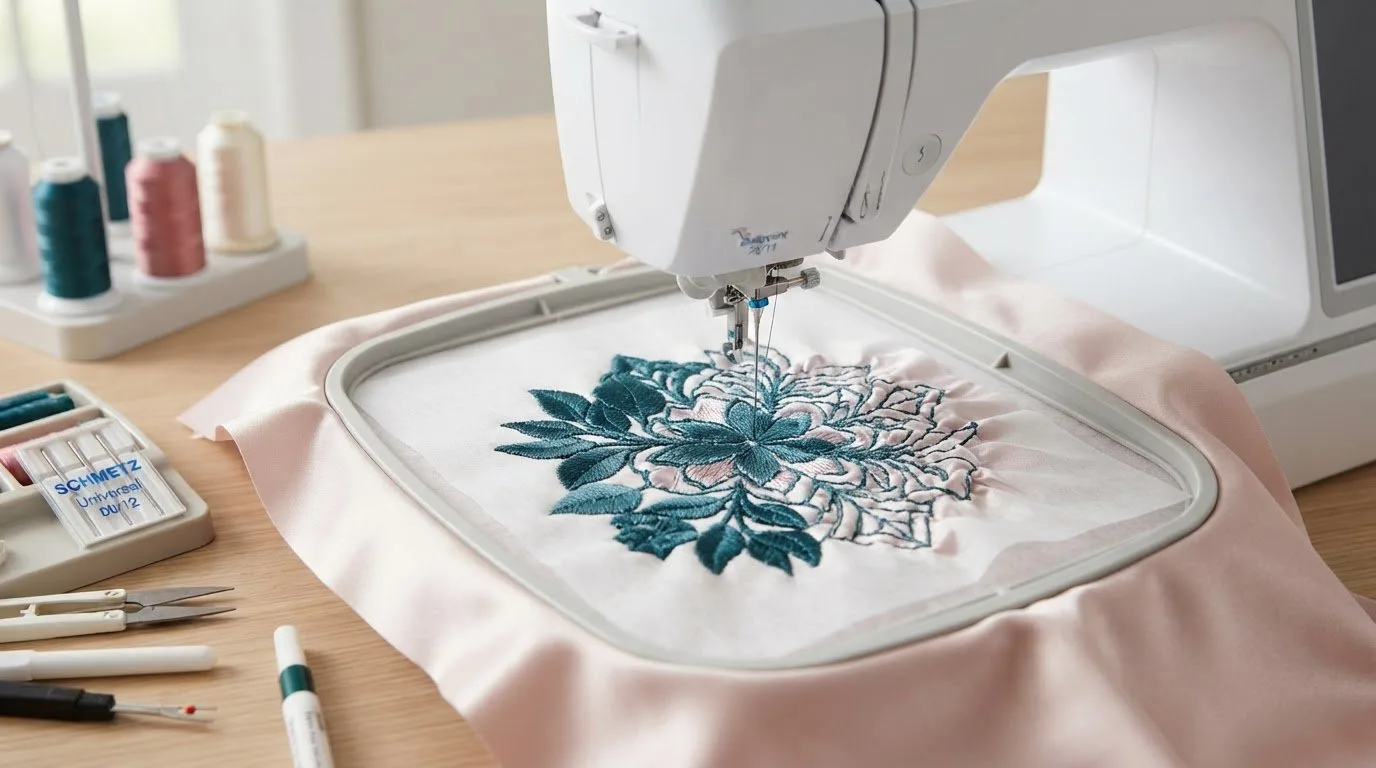
A digitized design is a stitch map, not simply artwork converted into thread paths. Stitch direction, density, sequence, and underlay determine how the needle loads the fabric. Without suitable underlay, visible stitches lack a stable foundation, which can contribute to puckering. For example, a flower with dense petal fills needs support beneath those fills.
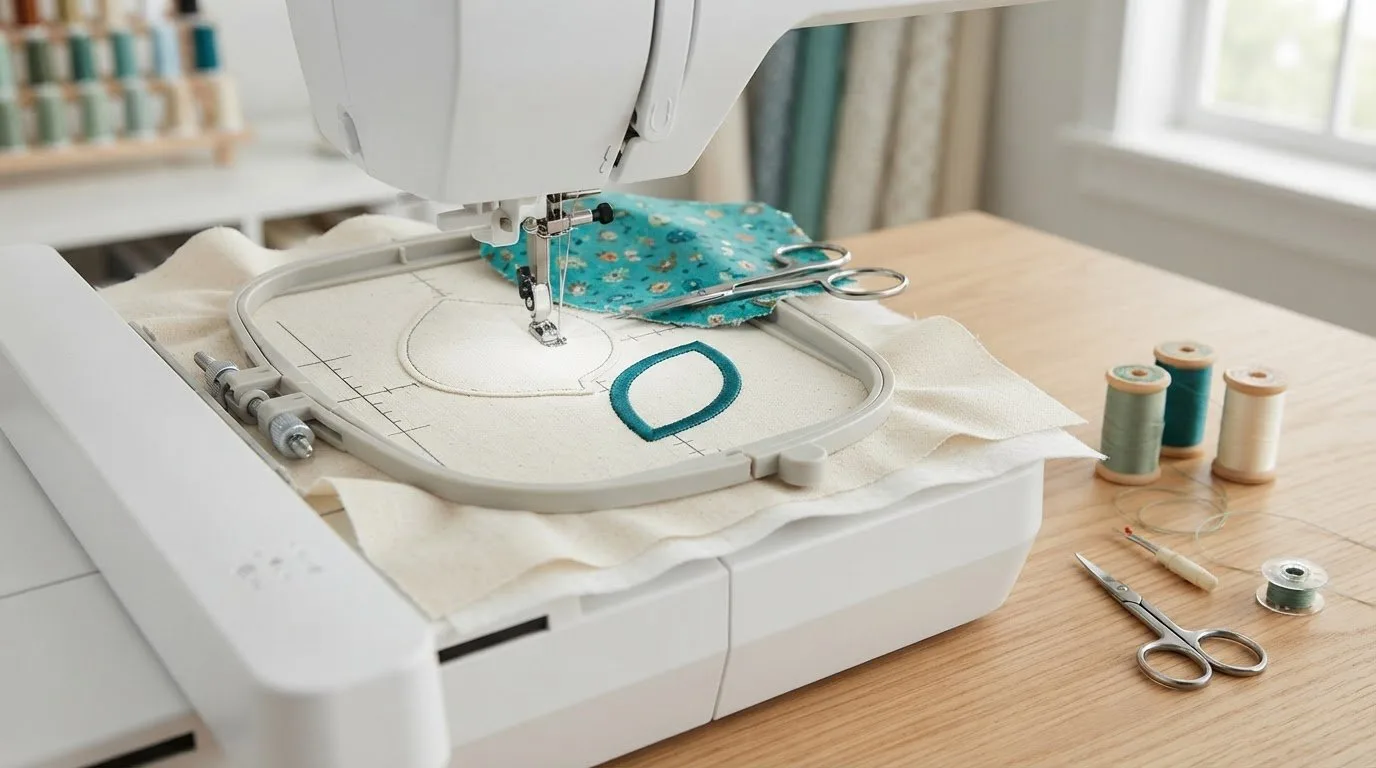
Underlay stitches are sewn before the visible top stitching. They help anchor the fabric and create a base for later stitches. The right foundation depends on the design’s shape and the material beneath it. A narrow outline and a broad filled area place different demands on fabric, so the same underlay settings may not support both equally well.
Stitch density affects distortion too. Closely packed stitches displace more fabric yarns and thread, increasing the pull around filled sections. If a design uses dense stitching where lighter coverage would work, the fabric can draw inward. Reducing unnecessary density helps limit strain while preserving essential details.
Stitch sequence matters as well. If one area is completed before nearby sections, its stitches may pull the fabric before the surrounding design provides support. A well-planned sequence distributes stitching more evenly. For example, balancing adjacent filled shapes can reduce concentrated stress compared with completing one large area first.
If puckering follows the same design across different fabrics, review its digitizing and underlay before changing fabric settings. Look for dense fills, missing foundation stitches, or an unbalanced stitch order. Suitable underlay and thoughtful stitch planning support the material before top stitches build up.
## Embroidery n Sewing: Sports Embroidery
Embroidery n Sewing offers Sports Embroidery for crafters choosing a sports theme for a machine embroidery project. Once you understand how fabric, stitch density, and underlay affect the result, selecting a design that suits your project is a practical next step. Explore sports-inspired options, including Buffalo Bills Embroidery and Detroit Lions designs, to find a theme that fits your creative plans. The Best Embroidery Blogs can also provide more embroidery inspiration as you plan future projects. Choose a design with the fabric and stitching demands of your project in mind, then apply the stabilizing and digitizing principles covered above. For sports-themed embroidery inspiration, visit Embroidery n Sewing.
Make Your Next Stitch-Out a Confident Choice
Put what you’ve learned to work with a practical test. Choose a design suited to your fabric and make a small stitch-out to see how its details look on that material. If fabric puckering appears, you’ll have a clearer starting point for adjusting your design choice or setup before beginning a larger project.
Finding a theme you’re excited to stitch makes that next step more enjoyable. Embroidery n Sewing offers digital embroidery designs, machine embroidery designs, and college embroidery designs to explore as you plan your project. Choose a design that fits your creative goal, then apply what you’ve learned about fabric support and stitch structure.
For help exploring your next embroidery project, contact Embroidery n Sewing. Keep experimenting, and let each stitch-out guide your next idea.
Frequently Asked Questions
What causes puckering?
Puckering usually develops when stitching and fabric respond differently to the sewing process. Ripples along a seam, for example, may point to thread tension or uneven feeding, while fabric that changes shape after washing may reflect different shrinkage between cloth and thread. Note where the distortion appears and whether it changes after laundering to narrow down the cause.
What is Seam Puckering?
Seam puckering is a gathered or rippled appearance along a stitched seam. It can show on one or both fabric faces and may appear immediately or after laundering. Compare the seam with nearby unstitched cloth. If the fabric looks smooth away from the stitch line, the distortion is likely concentrated in the seam rather than across the whole piece.
What causes puckering in fabric and seams?
Fabric and seams can pucker for different reasons. Tension, uneven feeding, or repeated needle penetrations can gather material during stitching; washing may later reveal differences in how the thread and fabric change size. A blouse seam that puckers only after washing suggests a different issue from ripples that appear as soon as the seam is sewn. Note when the distortion first appears.
How can you prevent fabric puckering when sewing?
Test the fabric, thread, and seam on a scrap cut from the same material before sewing your project. Keep the layers aligned as they feed, avoid pulling fabric behind the presser foot, and press each finished seam. For slippery cloth, basting can hold the layers in position. Change one setup factor at a time so you can tell what helped.
Which sewing machine settings prevent puckering?
No single setting suits every fabric. On a scrap, adjust stitch length and thread tension gradually, then check whether the seam lies flat on both sides. Use the lightest tension that still forms a balanced stitch, and adjust presser-foot pressure to feed the layers evenly. If ripples persist, compare a different stitch length before changing several settings at once.