
How to Adjust Embroidery Underlay for Different Fabrics
The same embroidery design can look crisp on denim and sink into a towel, so changing the file isn’t always the first fix. If you’re asking about “different fabrics and how they effect designs an how to adjust with underlay or design setup,” start with how the fabric behaves under the needle. Stable wovens, stretchy knits, and high-pile textures each need a different starting setup.
It’s frustrating when a design stitches differently on a new material, especially when you’re unsure which stabilizer, hooping method, or file adjustment to try. This guide explains how fabric behavior affects stitch quality and how to choose a practical setup before editing a design.
You’ll learn when stabilizer and underlay changes may help, when the design setup needs attention, and how to test a sew-out on a fabric sample before stitching a finished item.
Key Takeaways
- Assess stretch, thickness, texture, and stability before choosing a starting setup.
- Different fabrics can affect stitch results in different ways, so don’t assume one underlay or setup works for every material.](/articles/embroidering-on-leather-with-a-machine-the-complete-2026-expert-guide)
Table of Contents
How fabric behavior affects machine embroidery designs
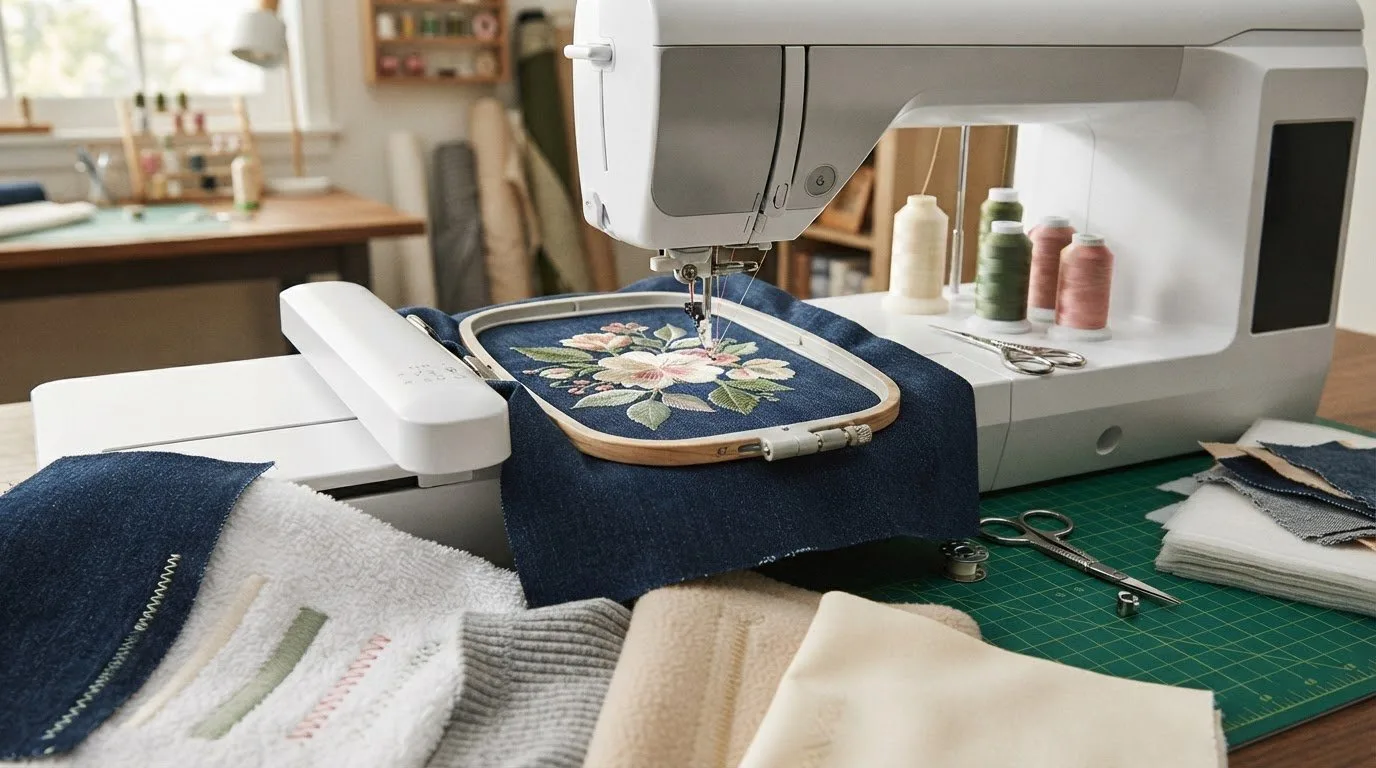
Fabric behavior describes how material responds to needle penetrations and stitch tension. Stretch, thickness, surface texture, and stability all affect how well the fabric supports a design. A stable woven such as denim generally moves less than a knit, while fleece and other textured fabrics have a raised surface that can obscure fine details. These differences can affect registration, stitch appearance, and whether the material shifts as the design sews.
Designs are made from stitches arranged in a sequence, as outlined in this overview of Machine embroidery. The file is only one part of the sew-out: fabric, design size, stitch coverage, stabilizer, hooping, and machine setup work together. Dense coverage on stretchy or bulky material may need more support than a small design on stable cloth. Changing underlay alone won’t necessarily solve every issue.
What changes when stitching knits, denim, fleece, or textured fabric?
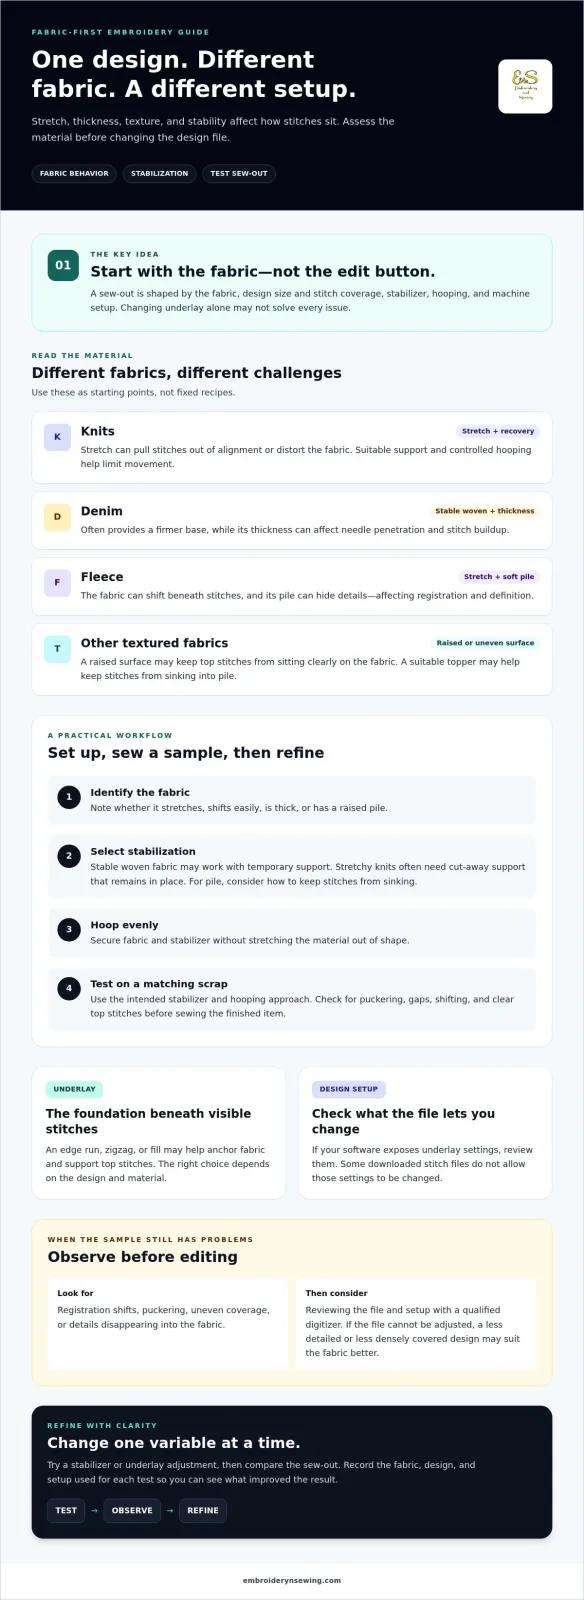
Each surface presents a different challenge. Treat these examples as starting points, not fixed recipes:
- Knits: Stretch and recovery can pull stitches out of alignment or distort the fabric. Suitable support and controlled hooping help limit movement.
- Denim: This stable woven often provides a firmer base, though its thickness can affect needle penetration and stitch buildup.
-
Fleece: Stretch and a soft pile can shift beneath stitches or hide details, affecting registration and definition.
-
Other textured fabrics: A raised or uneven surface may prevent top stitches from sitting clearly on the fabric.
When considering different fabrics and how they effect designs an how to adjust with underlay or design setup, begin with the actual fabric and design combination. Test a sample using the intended stabilizer and hooping approach before stitching the finished item. If the fabric has a pile, check whether the top stitches remain visible; a suitable topper may help keep stitches from sinking into the surface. A matching fabric scrap is more informative than relying on a universal setting.
How to adjust embroidery setup and underlay for different fabrics
A fabric-first process makes setup easier to assess. Embroidery changes the fabric as stitches add tension and structure, a relationship explored in this study of how embroidery alters fabric. Start by noting the material’s stretch, thickness, and surface, then consider the design’s size and stitch coverage. These factors guide the support needed. No single underlay or stabilizer suits every project.
A practical fabric-first setup and test-stitch sequence
-
Identify the fabric. Note whether it stretches, shifts easily, or has a raised pile.
-
Select stabilization. Stable woven fabric may work with temporary support, while stretchy knits often need cut-away support that remains in place. For pile, consider how to keep stitches from sinking into the surface.
-
Hoop evenly. Secure the fabric and stabilizer without stretching the material out of shape. For more preparation guidance, see embroidery articles on thread choice and hooping.
-
Test the design. Stitch on a scrap of the project fabric, then check for puckering, gaps, shifting, and clear top stitches.
Underlay is the foundation beneath the visible stitches. An edge run, zigzag, or fill may help anchor the fabric and support the top stitches, but the right choice depends on the design and material. If your digitizing software exposes underlay settings, check them before editing. Not every downloaded stitch file allows those settings to be changed.
Adjust one variable at a time, such as the stabilizer or underlay, so you can tell what improved the result. Record the fabric, design, and setup used for each test. This turns “different fabrics and how they effect designs an how to adjust with underlay or design setup” into a practical process: test, observe, and refine before stitching the finished item. Once you have a setup in mind, explore embroidery design categories to find a design suited to your project.
![Different fabrics and how they effect designs an how to adjust with underlay or design setup]
When to change design files or choose another approach
A sew-out problem doesn’t always mean the design file needs editing. First, check whether your embroidery software can access the design’s underlay and stitch settings. Some downloaded files don’t expose those details, so you may be able to use the design as provided but not change its stitch structure. Review the software documentation to confirm which adjustments are available.
Test on a scrap that matches the project fabric, using the same stabilizer and hooping approach planned for the finished item. Look for registration shifts, puckering, uneven coverage, or details that disappear into the fabric. If the sew-out still has problems, review the file and setup with a qualified digitizer. If the file can’t be adjusted, a less detailed or less densely covered design may suit the fabric better.
Choosing a suitable design and planning the finished project
Match the design’s detail and stitch coverage to both the fabric surface and the item. Fine details can be harder to see on a raised pile, while a dense design may place more demands on stretchy material. Consider the item’s shape and how it will be handled, too. For broader machine-stitching steps, consult machine embroidery articles and your machine’s documentation.
Planning for different fabrics and how they effect designs an how to adjust with underlay or design setup means evaluating the material and design together, rather than assuming every file can be changed. After choosing a project theme and considering the fabric, browse embroidery design categories to explore downloadable options for your next sew-out.
Plan Your Next Sew-Out with Confidence
Reliable embroidery starts with the fabric, not a one-size-fits-all setting. Consider stretch, texture, and stability when choosing support, then test the design on a matching scrap before stitching the finished item. Underlay can help anchor the material and support top stitches, but the right setup depends on the fabric and design.
Understanding how different fabrics effect designs and how to adjust with underlay or design setup helps you make practical choices: assess the material, check which file settings are editable, and change one variable at a time when troubleshooting. A test stitch can reveal whether the design and fabric are a good match.
With your project plan in mind, explore downloadable designs across popular themes and project types. Digital files let you begin without waiting for custom digitizing. Browse machine embroidery design categories to find a design that suits your fabric, then prepare a sample before starting your project.