

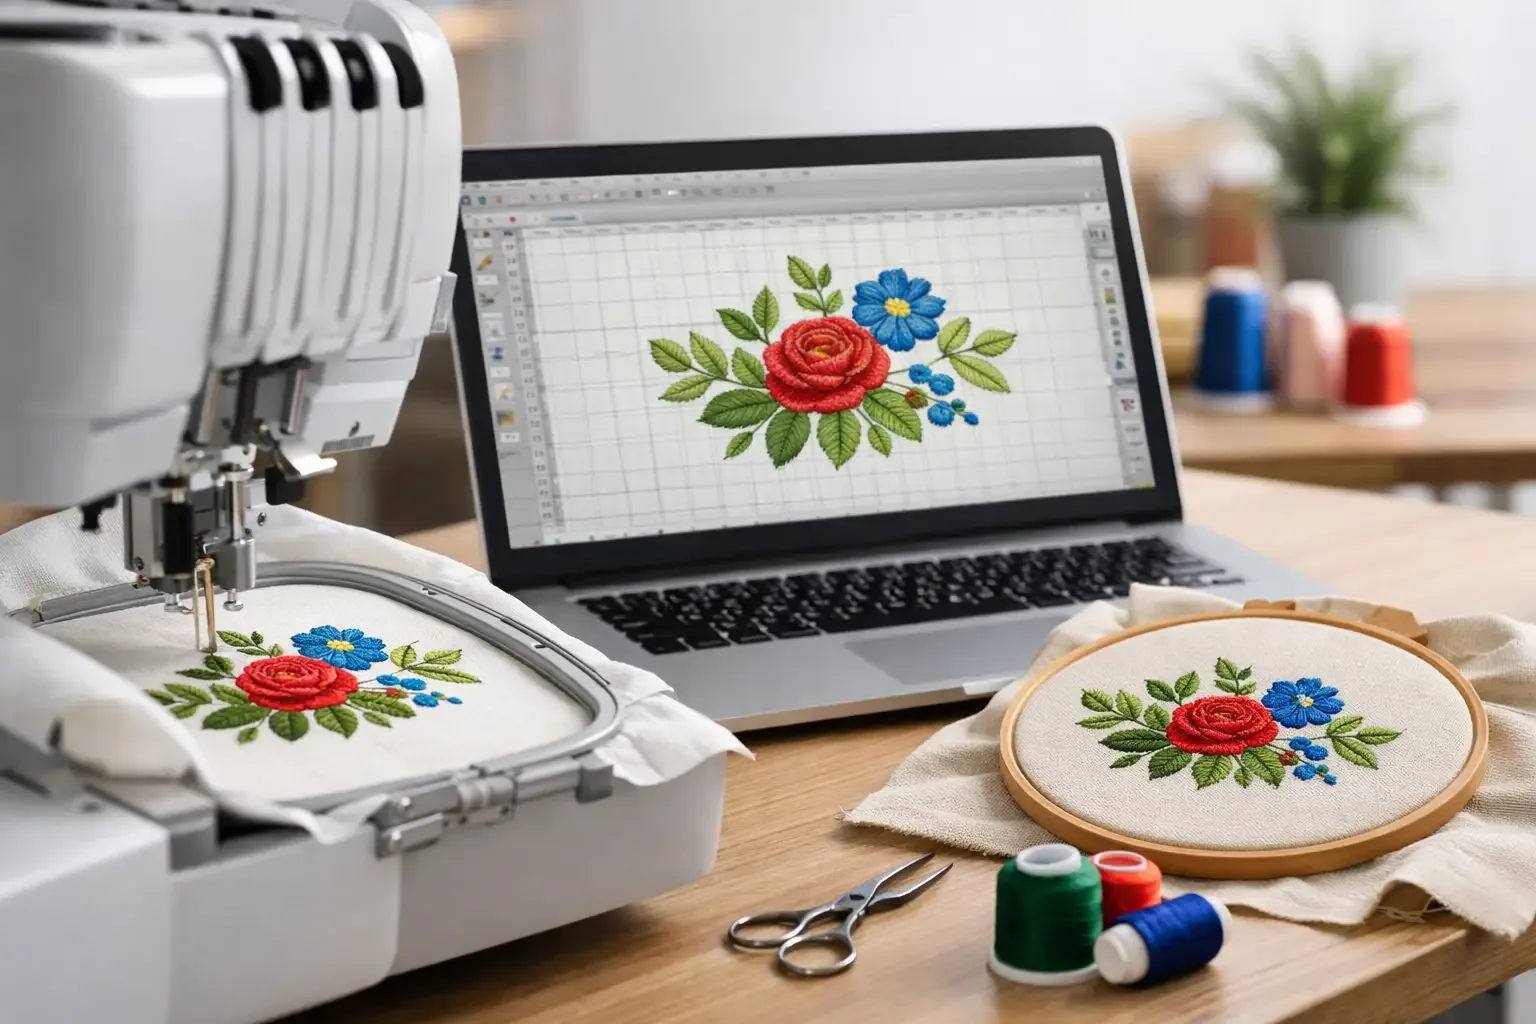
If you are searching for how to digitize embroidery designs free, you are probably trying to turn a logo, name, or simple graphic into a stitch file without paying custom digitizing fees upfront. That is possible, but there is a catch - free digitizing works best for simple artwork, basic text, and low-detail shapes. If you expect a polished production-ready file from a busy image in five minutes, free tools will feel limited fast. For hobbyists, Etsy-style sellers, and small apparel decorators, the better question is not just whether you can digitize for free. It is whether the result will stitch cleanly on your machine, on your fabric, and at the size you actually need. That is where most beginners get stuck.
## [How to digitize embroidery designs free and what to expect]
Free digitizing usually means one of three things. You are using a free trial of embroidery software, using open-source design software plus manual stitch planning, or converting artwork with a low-cost or free auto-digitizing tool. The first path gives you the best control for testing. The second can work if you are patient. The third is the fastest, but often creates the most cleanup. The biggest misconception is that digitizing is just image conversion. It is not. Embroidery files are built around stitch types, stitch direction, density, pull compensation, underlay, and sequencing. A machine does not read your artwork the way a printer does. It needs instructions for how each section will sew. That is why a clean one-color baseball icon can be realistic for a free workflow, while a shaded sports logo with small lettering may not be worth the time. In embroidery, simple often wins.
Start with the right artwork
If your goal is a free result that actually stitches, start by simplifying the source image before you touch any digitizing software. Clean vector-style artwork is ideal. High-contrast PNG files can also work. Fuzzy screenshots, compressed social graphics, and photos are usually poor starting points. Look at the design the way a machine will. Tiny outlines, thin gaps, gradients, distressed textures, and small text often need to be removed or rebuilt. A shape that looks sharp on a phone screen may turn into a thread mess at 3 inches wide. For best results, reduce the artwork to solid blocks of color and clearly separated sections. If two elements are too close together, combine them or enlarge them. If lettering is under a quarter inch tall, consider replacing it with a satin-capable font or skipping it entirely.
There is no perfect free embroidery digitizing platform that matches the polish of paid commercial software, but there are workable options. Ink/Stitch is one of the most common free choices. It runs as an extension for Inkscape and is strong for manual setup on simple vector-style artwork. It gives you more control than one-click converters, which matters if you want cleaner stitch paths and fewer surprises at the machine. Free trials from commercial embroidery programs can also help if you only need to test a file or learn the process. The limitation is usually export restrictions, time limits, or missing advanced tools. Still, trials are useful for practice. Some machine brands include basic software with limited editing or lettering features. If you already own a machine, check what came with it. It may not be full digitizing software, but it can help with resizing, combining elements, and testing simple layouts. Auto-trace tools and free converters exist too, but results vary a lot. They are tempting because they are fast. They are also the quickest way to create too many trims, bad stitch angles, and bulky fills. Use them carefully, especially for logos and merchandise you plan to sell.
## [A simple free digitizing workflow]
The most reliable free workflow is manual, not automatic. It takes longer, but the output is usually better. First, import or draw your artwork in a clean vector format. Break the design into separate objects such as fills, borders, and satin columns. Keep the object count manageable. If a shape is too complex, simplify the nodes and smooth the curves. Next, assign stitch types based on the shape. Large areas generally use fill stitches. Medium-width columns and lettering often use satin stitches. Fine outlines may need a running stitch, but only if they are large enough to hold cleanly on your fabric. Then set stitch direction. This part matters more than beginners expect. Stitch angle changes the way light hits the thread and affects how smooth or uneven a section looks. Adjacent objects should not always run in the same direction. Small angle changes can help define separate sections. After that, add underlay and reasonable density. Heavy density does not make embroidery look better. It usually makes it stiff, puckered, and harder to sew. Underlay gives structure; top stitching provides coverage. A balanced combination is better than piling thread into every area. Finally, set the sewing order. Start with background elements, then move toward top details. Try to reduce jumps and trims where you can. Clean sequencing can make a basic design look more professional even before you test stitch it.
## [Why auto-digitizing often disappoints]
If you are learning how to digitize embroidery designs free, auto-digitizing will look attractive because it promises speed. The problem is that software does not always know what should be a satin border, what should be a fill area, or what details should be removed. It often treats everything as equal visual information. That leads to common problems. Small text gets filled instead of satined. Borders get too narrow to sew well. The machine creates unnecessary trims between objects that could have been sequenced together. On knit fabrics, the file may sink, shift, or pucker because the stitch plan was never built with fabric behavior in mind. Auto-digitizing is most useful as a rough starting point for bold, simple shapes. It is not a shortcut to a polished file for every design.
## Test stitch before you trust the file
This is where real digitizing starts. [A file] can look clean on screen and still sew badly. Always run a test stitch on a similar fabric and stabilizer before using the design on finished goods. Watch for gaps between sections, bulky overlaps, poor registration, looping satins, and details that disappear. If the design shifts out of place, the issue may be density, underlay, hooping, or push and pull compensation. If fills look rough, adjust stitch angle or reduce complexity. Size matters too. A design built at 4 inches is not automatically safe to shrink to 2.5 inches. Satin widths, small gaps, and lettering can all break down when reduced. In many cases, redigitizing for the final size works better than aggressive resizing.
## When free is worth it and when it is not Free digitizing makes sense when you are creating simple monograms, basic shapes, clean icons, and personal-use projects. It also works if you enjoy learning the craft side of embroidery software and do not mind spending time on test runs. It makes less sense when the artwork is detailed, the deadline is tight, or the finished item is for sale and needs consistent repeat results. If you are decorating team gear, fandom items, boutique apparel, or gift products, bad stitch files cost more than the price of a ready-to-stitch design. You lose blanks, thread, time, and customer trust. That is why many makers use a mixed approach. They learn free digitizing for names, simple graphics, and edits, then buy ready-made files for niche themes, seasonal items, sports-inspired looks, and detailed artwork. It is often faster and more profitable. For many projects, instant download designs are the practical answer. Instead of spending hours rebuilding artwork and troubleshooting stitch paths, you can start with a file that is already created for embroidery use. That is especially helpful when you need recognizable categories customers actively search for, from kids' themes to florals to game-day styles. A large [design library] like Embroidery n Sewing can save a lot of trial and error when speed matters.
## Common mistakes beginners make
Most free digitizing problems come from trying to keep too much detail. The second biggest issue is using the wrong stitch type for the shape. The third is skipping test stitches because the design looked fine in preview. Another mistake is assuming fabric does not matter. A file that sews nicely on stable twill may struggle on a stretchy tee. Hoodies, caps, towels, and baby items all behave differently. Good digitizing is never just about the image. It is about the final surface. If you are new, keep your first projects simple. A bold name, a clean mascot-style icon, or a basic patch design will teach you more than wrestling with a tiny multicolor logo full of outlines. Learning free digitizing is worth the effort if you treat it like a skill, not a button. Start simple, test often, and be honest about when a ready-to-stitch file will get you to the finish line faster.


